wirejock
Well Known Member
Hello. First I have to say thanks for all the assistance. I've found answers to most questions with the search function including most of the one below, but I still need some expert clarification.
I am prepping ribs for the wing assembly and reached the point where I need to drill for plumbing and wiring.
My plan is to stay as close to Vans design as possible. I'm a first time builder and don't feel qualified to wander too far into the deep end of the experimental pool.
Wiring will go through the Vans conduit per plan and I know where that hole goes from the Vans wing wiring pdf.
It also shows the location for the pitot through 1/4" grommets inserted into existing 7/16" holes.
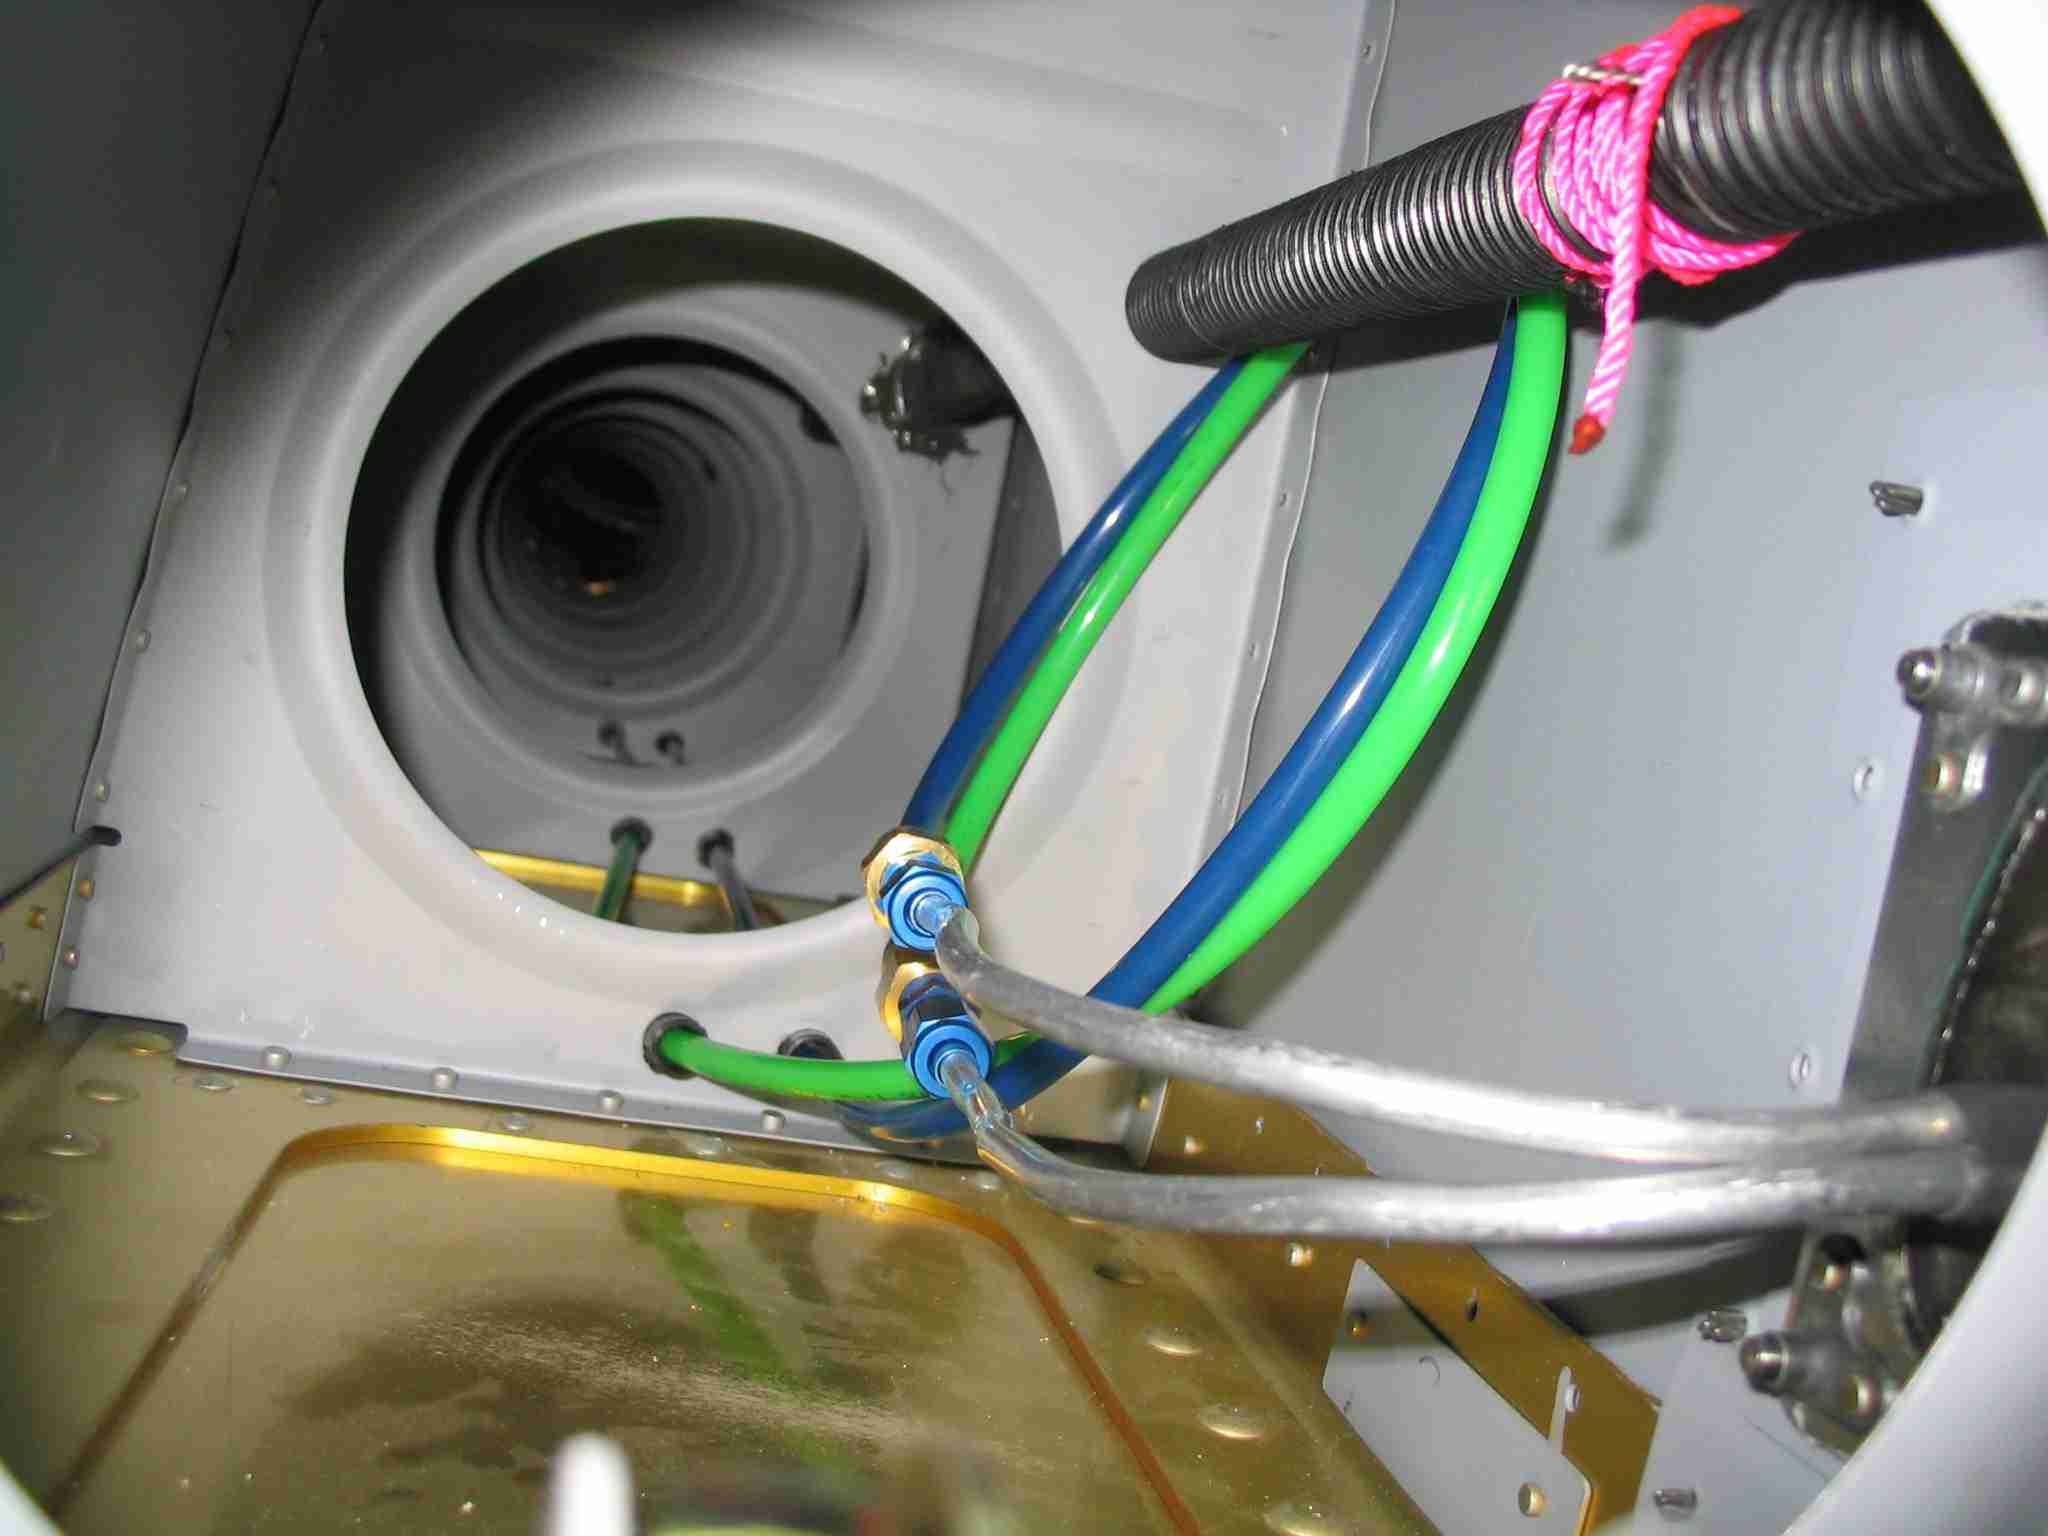
However, I want to use the Dynon pitot/AOA with the Gretz mast and the SafeAir plumbing.
The system requires two holes for the plastic tubing which must be slightly smaller than the Vans aluminum tubing as the holes for the Safe Air tubing grommets are 3/8".
From a search I was able to find the recommended location for the Gretz mast to be outboard of the aileron bellcrank access panel which means all the plumbing has to pass the bellcrank mechanics.
Sorry to ramble but here's my questions (finally).
1. Can I run the SafeAir tubing through the Vans grommets? I think there will be a little slop and I don't want any rubbing through the tubing. It may be moot since the plumbing needs to go past the bellcrank. See next question.
2. If the plumbing needs to go outboard of the bellcrank, should I drill all the holes in another location and what is recommended by others who have used the same solution? Looking at plans, ribs and spar, it looks like I can use the existing plumbing hole for one line (depending on the answer to #1) and one of the tooling holes enlarged to 3/8" the SafeAir grommets. That would probably route tubing up against the web of the spar and between the bellcrank brackets. I'm not certain this is a good idea so feel free to tell me I'm nuts. I've got thick skin.
Help!
Thanks in advance
I am prepping ribs for the wing assembly and reached the point where I need to drill for plumbing and wiring.
My plan is to stay as close to Vans design as possible. I'm a first time builder and don't feel qualified to wander too far into the deep end of the experimental pool.
Wiring will go through the Vans conduit per plan and I know where that hole goes from the Vans wing wiring pdf.
It also shows the location for the pitot through 1/4" grommets inserted into existing 7/16" holes.
However, I want to use the Dynon pitot/AOA with the Gretz mast and the SafeAir plumbing.
The system requires two holes for the plastic tubing which must be slightly smaller than the Vans aluminum tubing as the holes for the Safe Air tubing grommets are 3/8".
From a search I was able to find the recommended location for the Gretz mast to be outboard of the aileron bellcrank access panel which means all the plumbing has to pass the bellcrank mechanics.
Sorry to ramble but here's my questions (finally).
1. Can I run the SafeAir tubing through the Vans grommets? I think there will be a little slop and I don't want any rubbing through the tubing. It may be moot since the plumbing needs to go past the bellcrank. See next question.
2. If the plumbing needs to go outboard of the bellcrank, should I drill all the holes in another location and what is recommended by others who have used the same solution? Looking at plans, ribs and spar, it looks like I can use the existing plumbing hole for one line (depending on the answer to #1) and one of the tooling holes enlarged to 3/8" the SafeAir grommets. That would probably route tubing up against the web of the spar and between the bellcrank brackets. I'm not certain this is a good idea so feel free to tell me I'm nuts. I've got thick skin.
Help!
Thanks in advance