What's new
Van's Air Force

Don't miss anything! Register now for full access to the definitive RV support community.

Catto prop - installation pictures or diagram?

BSwayze

Well Known Member
Hello everybody,

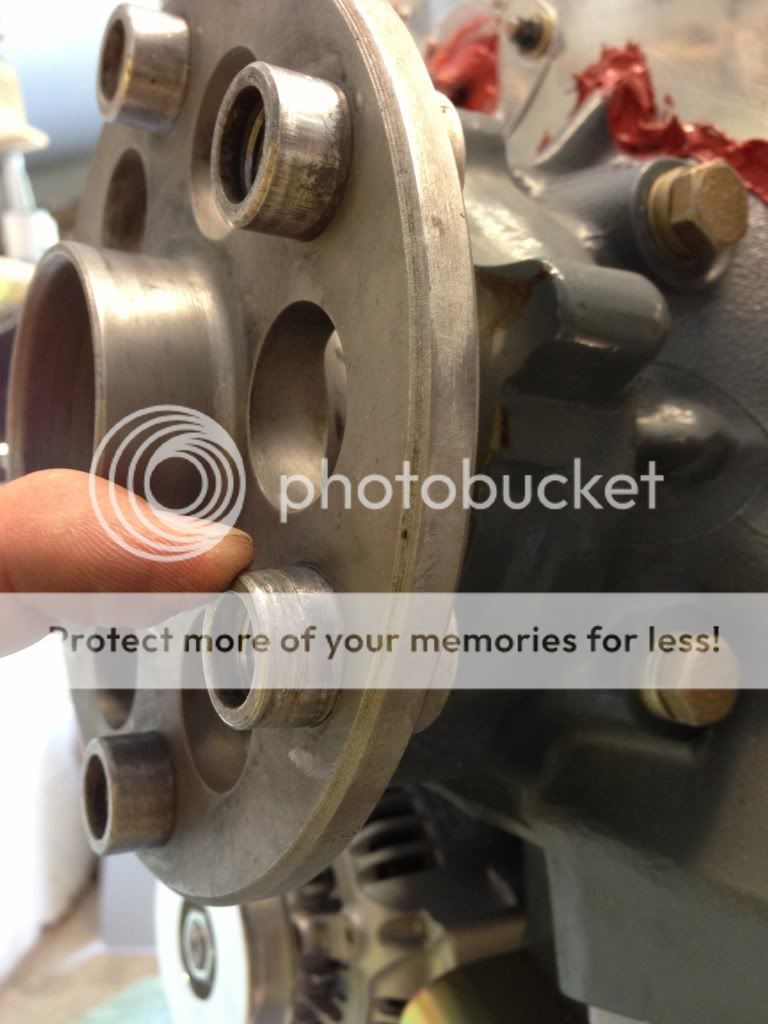
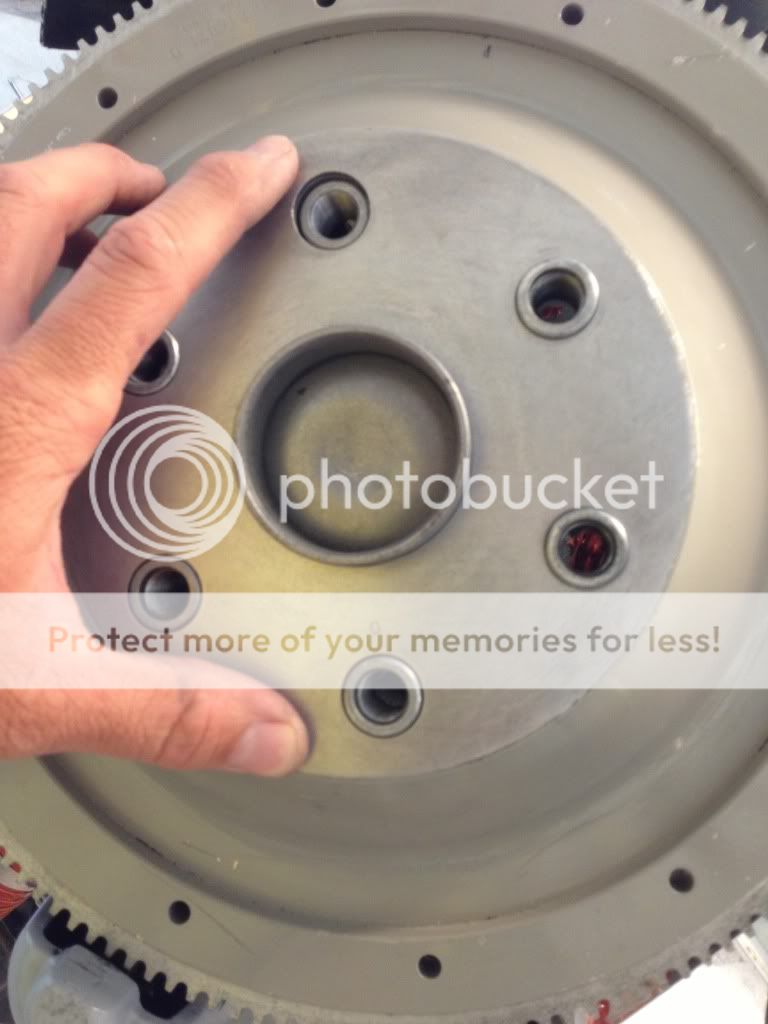
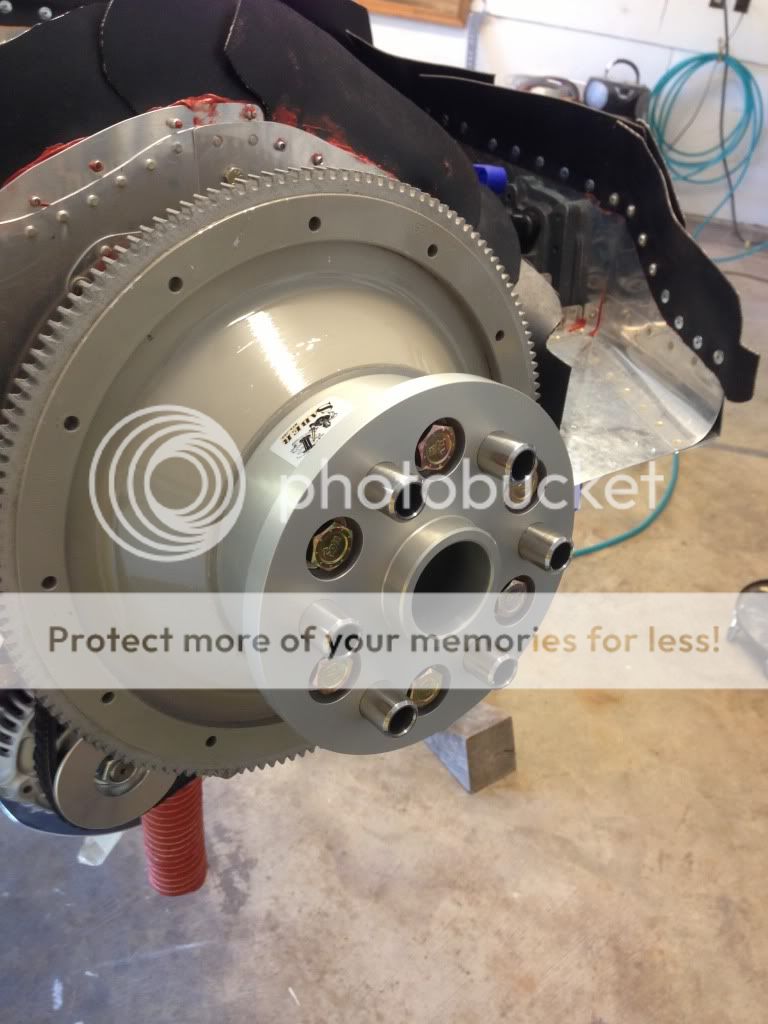
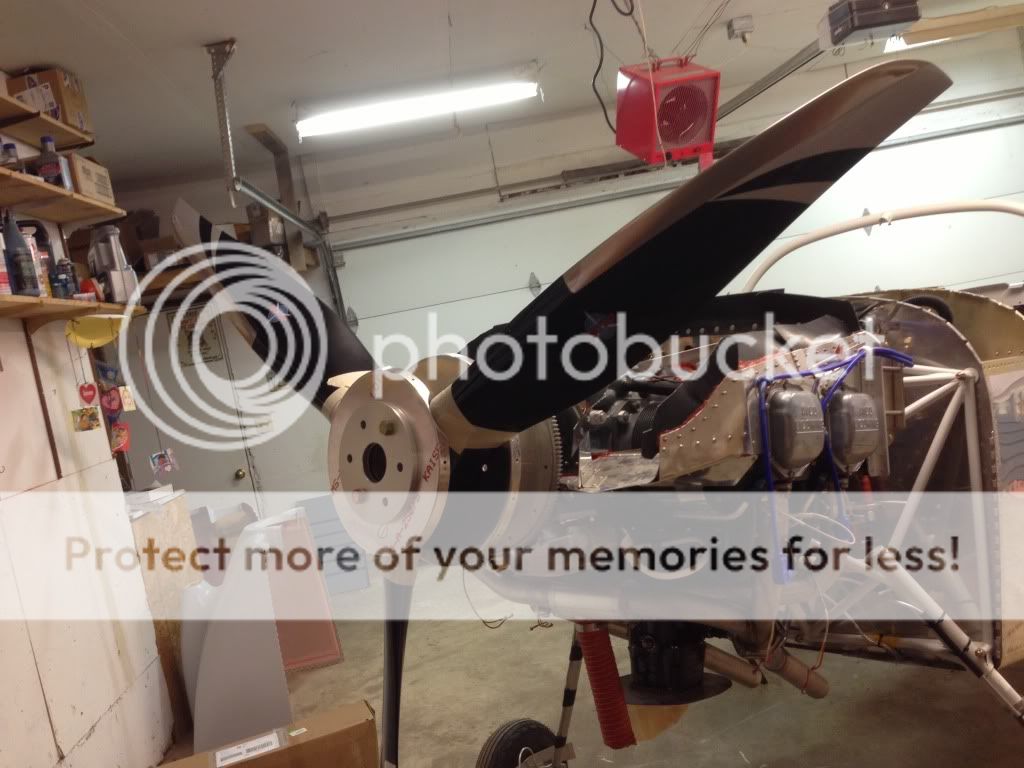
I'm planning on a Catto 3-blade prop for my RV-7A. I know the installation is probably very simple and basic, but does anyone have some pictures of the installation process? Or a diagram of all the parts and how they all go together? I've searched the forums here and I find a lot of nice pictures of the finished installation, but that's about it. I want to start on my cowling soon, before I order the prop, and this will help me with the fitting and so on with the cowl.

I purchased the Saber 2-1/4" spacer and crush plate, so I have those in hand.

Thanks in advance for anything you can offer. :)
 
Craig will send you some pictures after your prop ships. I think it's fairly straight forward. He does not show putting the little wings on the back side of the props from the rear bulkhead but I am doing it.
 
Crank, flywheel, saber spacer, spinner backplate.
13538BE2-6D01-45F0-A0C9-060E391523D4-8145-000004695C379330_zpsf8b84763.jpg

76D461E1-C505-4985-A97D-9C974D4D4940-8145-00000468E52F2A06_zps8d2fbb20.jpg

4838A417-817A-43D8-9732-10D7572BDB8A-8850-0000049C883A1933_zps9eb492ba.jpg

7BCDAB49-1EE3-4184-8B07-0D62EB7B2A3D-8850-0000049B86C9571A_zpscd6128dd.jpg


I used 2 1/4 inch PVC spacers in between the flywheel and spinner backplate when fitting my cowling and it turned out great. Using the saber spacer will be even better, just figure out a way (circle of plywood on spinner back plate as others on VAF have done)to fix the front position of the cowl while fitting.

Good luck!
 
Sorry, that deserves a better explanation. No pics, but trace/cut your spinner backplate on a piece of 3/4 plywood. Bolt everything in assembly with the plywood in place of the prop on the front of the spinner backplate. You'll have to bevel the edge of the plywood to match the angle of the spinner backplate flange. When I had the cowl partially fitted and was ready to fix the position on the front of the cowl I used a couple scrap pieces of angle (sorry no pics) several inches long drilled and clecoed to the cowl in two places and one place on the plywood disk at the 2 & 10 O'clock positions. The curve in the top of the cowl matches the spinner and the angles laid perfectly, I used Popsicle sticks to offset it slightly for engine sag.
 
If you get a spinner from Craig, it comes precut with the requisite holes, no little back wedge to add. You can also use any standard spinner/spacer combo to set up your cowl. I originally had a Sensenich aluminum prop on mine, and the Catto bolted on (with the Saber extension) and fit perfectly with no adjustments needed.

Greg
 
Back
Top