
Van's Air Force
You are using an out of date browser. It may not display this or other websites correctly.
You should upgrade or use an alternative browser.
You should upgrade or use an alternative browser.
avionics panel
- Thread starter dspender
- Start date

panel choices...
Greetings!
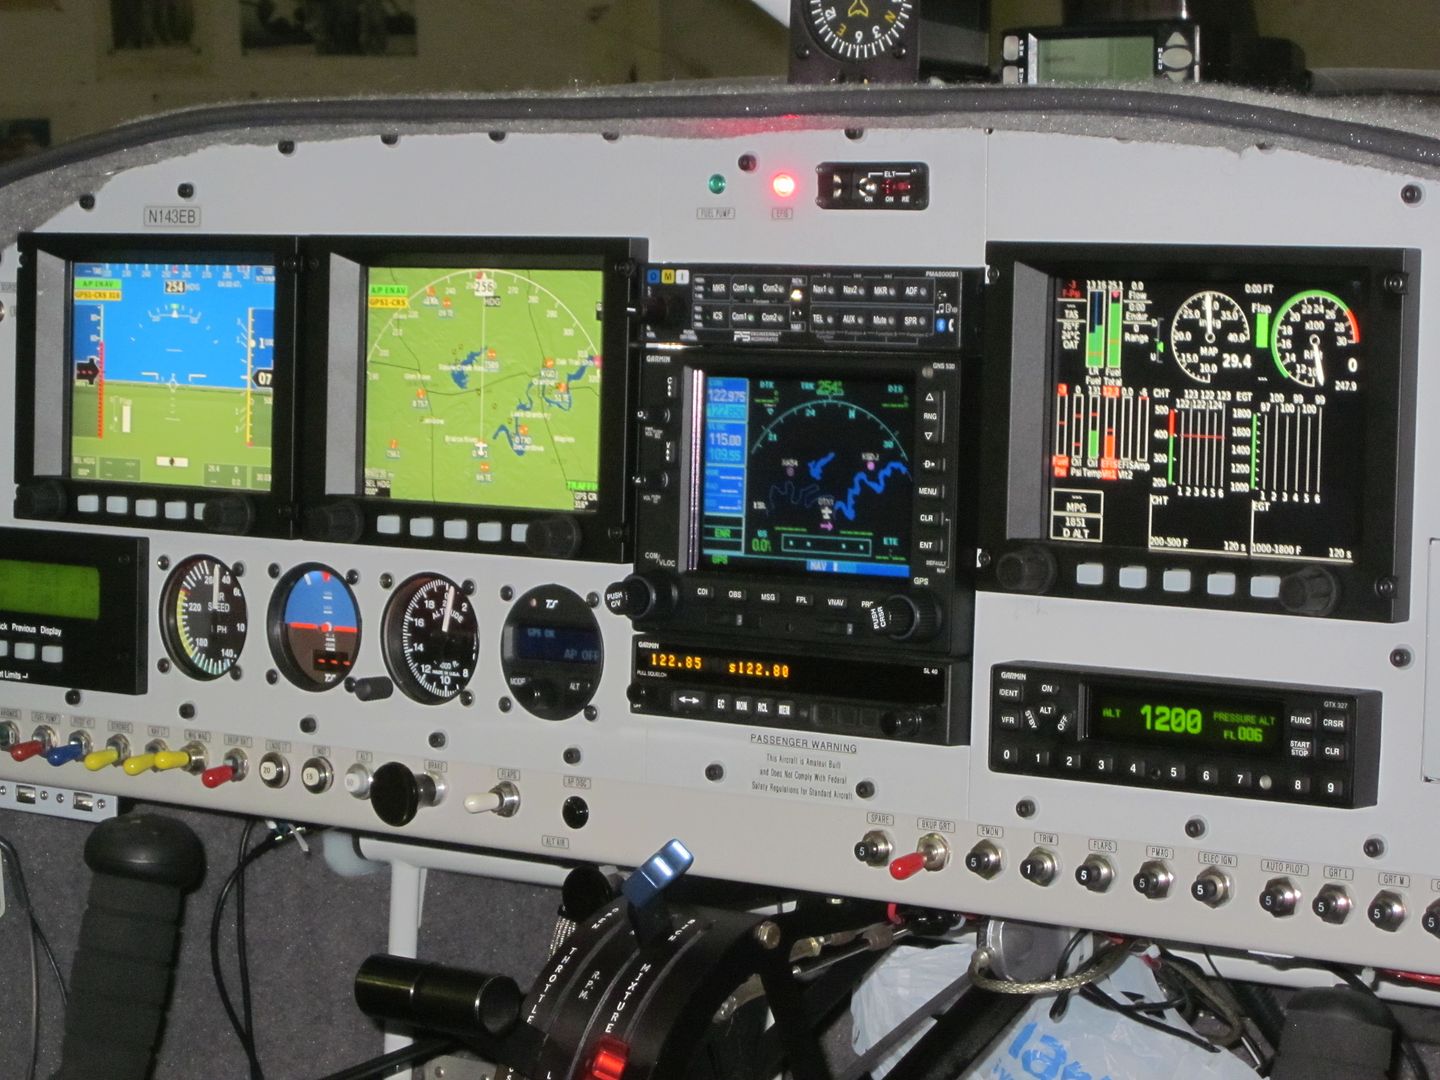
I used a three part panel. I wanted the ability to remove panel sections to do maintenance.
Affordable panels made my three part panel. http://www.affordablepanels.com/
UpNorth aviation
http://www.upnorthaviation.com
cut the holes and also makes this panel.
I'm real happy.

Greetings!
I used a three part panel. I wanted the ability to remove panel sections to do maintenance.
Affordable panels made my three part panel. http://www.affordablepanels.com/
UpNorth aviation
http://www.upnorthaviation.com
cut the holes and also makes this panel.
I'm real happy.
Vans stock panel
and a little sprucing up on the bottom end, a fiberglass cover rounding off
the lower curves and leveling the step from the panel to the cross brace.
As to access and panel removal, not to worry, remove a couple of glass displays, four screws each and gain enough access to get 2 hands with tools, a light and a set of eyeballs behind the panel from the comfort of your seat.
Of course you can spend money and get a really professional looking carbon fiber cockpit, the choice is yours.

tommylewis
Well Known Member
my panel
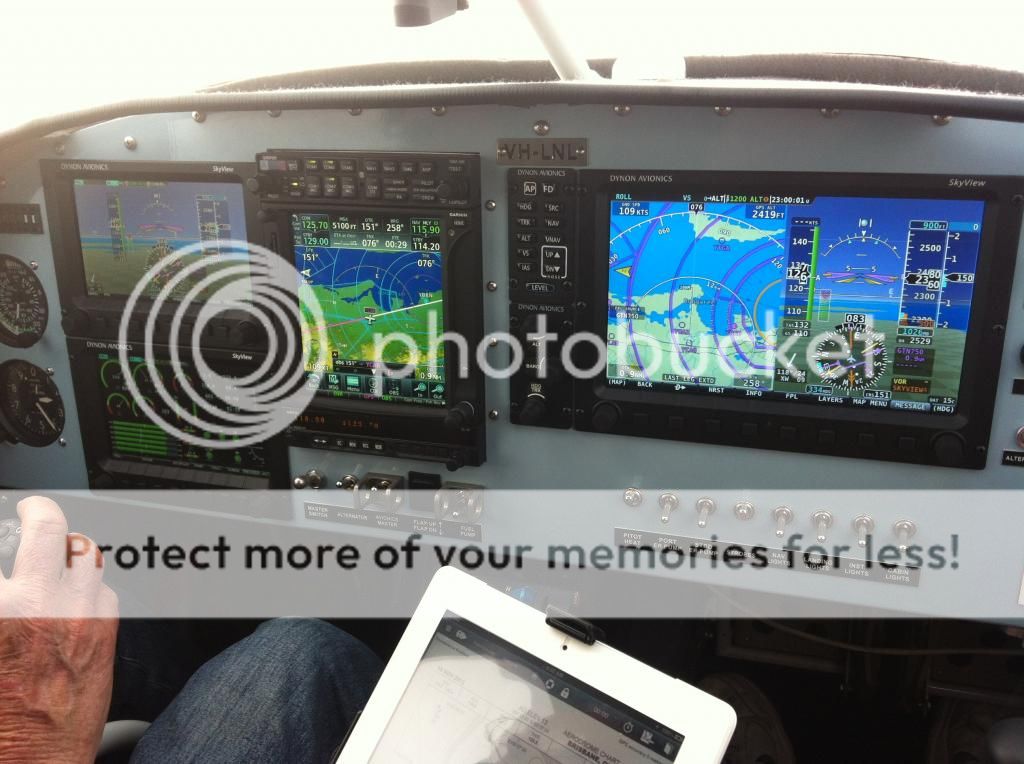
This is my panel in our RV10. I used Vans standard panel and cut it so I can take either the left or right half out separately like an Affordably panel. When I recently removed the XM receiver and installed the ADSB receiver, I had the right half out and worked behind the panel.
This is my panel in our RV10. I used Vans standard panel and cut it so I can take either the left or right half out separately like an Affordably panel. When I recently removed the XM receiver and installed the ADSB receiver, I had the right half out and worked behind the panel.

AircraftWraps
Well Known Member
Double post...
Deleted
Deleted
Last edited:
AircraftWraps
Well Known Member
The stock Vans panel can be helped with our product.
This is just black carbon but we have almost every finish in our "textured" line of vinyl. Larry Vetterman (pictured panel) can attest that our vinyl is by far the best product on the market.

We are currently working on our first 100% printed panel to the owners exact specifications. Photos to follow soon.
AircraftWraps has recently invested both in FAA/3M Aviation Certifications as well as the latest in large scale Hi-Definition printers.

