I'll be the contrarian in the bunch. I fit the bottom cowl first.
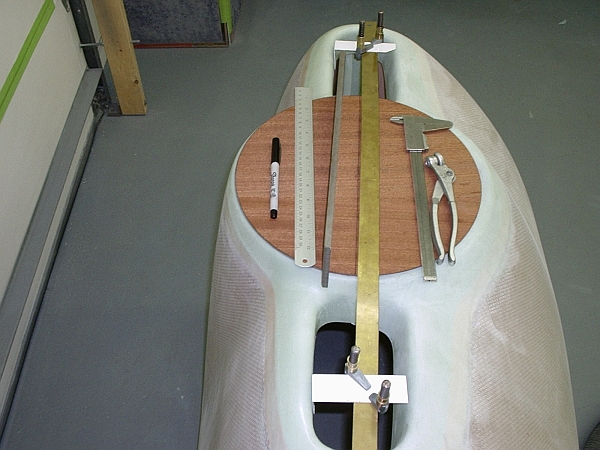
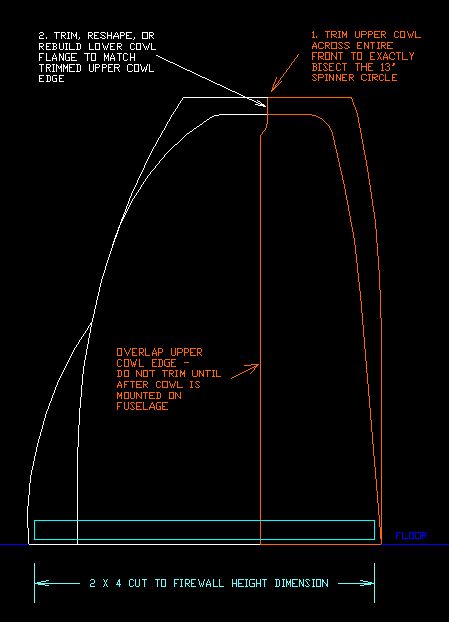
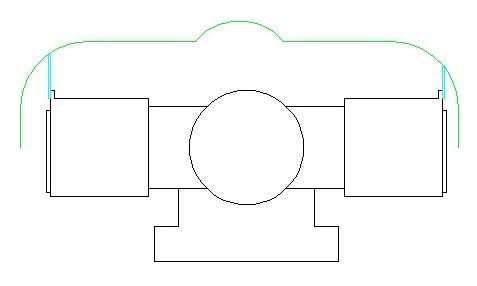
Before I did though, I made a 13" diameter disc out of plywood. I drew a line straight across the diameter. With the bottom cowl on the floor pointing up, I laid the disc on the cowl and aligned it with the spinner face, with the diameter line parallel to the joggle. In my case it turned out that the joggle lip (edge) aligned perfectly with the diameter line. In other words, the joggle lip formed a line that bisected the spinner, as I desired.
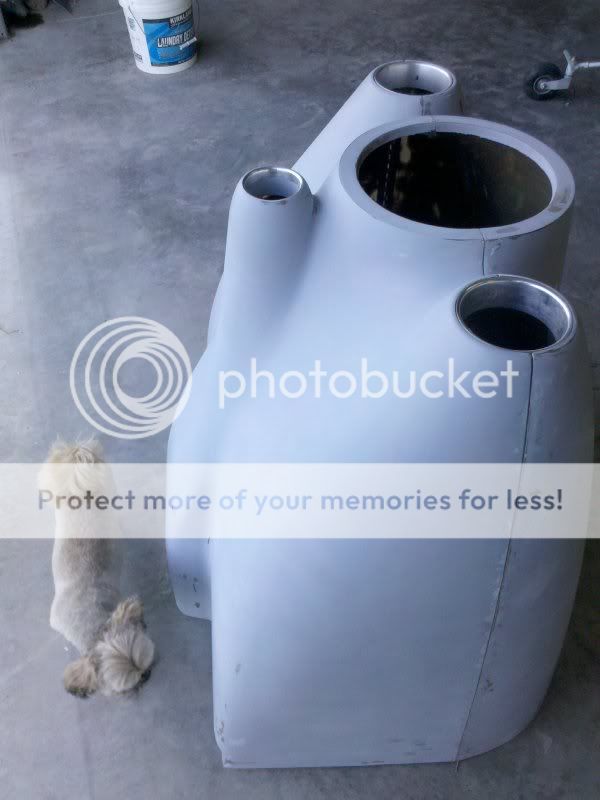
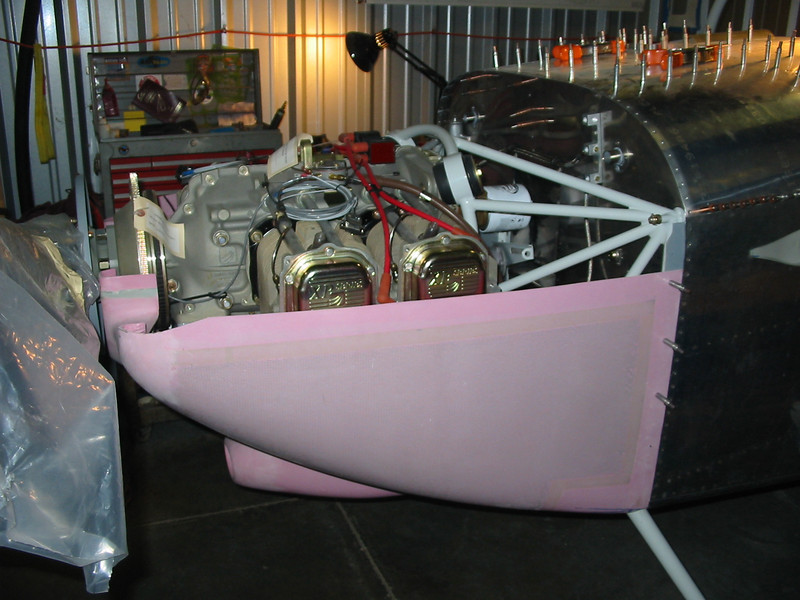
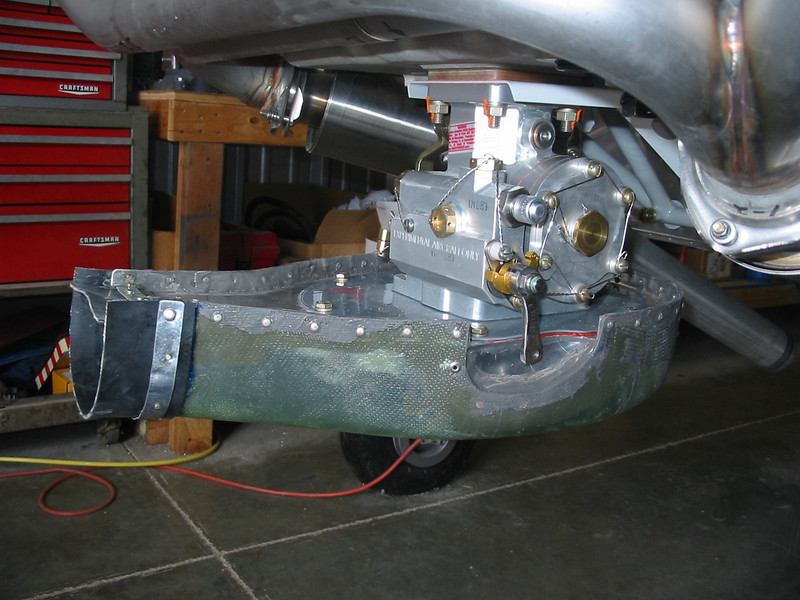
The outboard edges of the inlets and the sides of the lower cowl clearly extended up beyond the split line and would need to be trimmed. I laid a long straight edge across the joggle line and used a sharpie to extend the split line out to the outer edges of the inlets. Leaving some material for later trimming, I cut back the outer edges of the inlets so the upper cowl could be fit to the lower cowl. You can sort of see the trimmed port outer inlet in this photo:
Keeping Dan's advice in mind, I iteratively heated/bent/trimmed the spinner interface of the upper and lower cowling, using my plywood disc and straightedge, until they fit together fairly well, without worrying too much at that point about how the flanges/joggles fit around the inboard edge of the inlets.
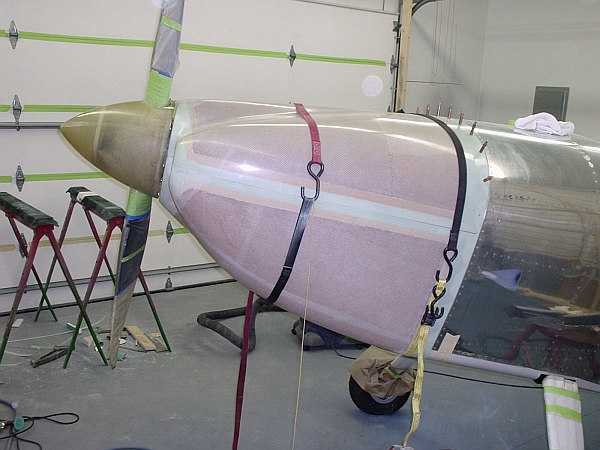
My rationale for fitting the lower cowling was as follows: At the front, the cowl has to match up with the spinner. At the back, the cowl has to fit the squared-off fuselage, which defines the vertical and lateral placement. No room for sliding around here. Since I'm building a tailwheel model, I had to trim the aft corners of the cowl to fit the gear legs, but that shouldn't matter for this discussion. I used a piece of 1/4" plywood, some strips of sheet metal and some spring clamps to locate and fix the front end of the cowl, and a thin ratchet strap around the engine and cowl to hold the back end up against the fuselage. I had previously marked a line on the fuselage per plans so that I could locate the trim line on the cowl. I'm using camloc strips which I had already attached, but with hinges the procedure should be similar.
I trimmed the bottom and side aft edges of the lower cowl, then drilled/clecoed that edge to the camloc strips.
Next, I started fitting the upper cowl to the fuselage. When I dropped it in place, it was obvious that the spinner face of the upper cowl angled forward severely. Drawing on courage obtained from the encouragement of experienced guys on this board, I cut most of the spinner face off the upper cowl, leaving it barely attached at the bottom on each side. I opened up enough of a gap that the face could push back until the face was parallel to the aft edge of the spinner flange and (surprise!) to the lower cowl face.
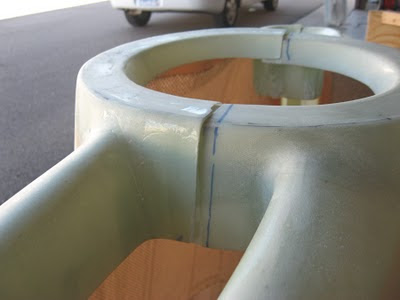
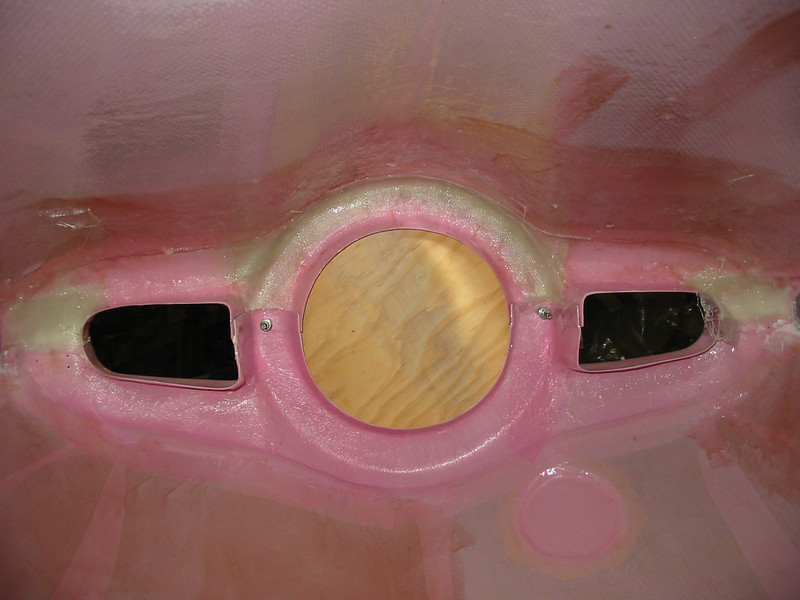
I drilled some holes along the sides where the upper overlapped the lower, for clecoes. That way, with the cowl halves off the fuselage, I could reassemble them correctly so they lined up as on the airframe. Using my plywood disc and the usual masking tape/epoxy/glass/filler I reattached the spinner face to the upper cowl. While I was at it, I created some fiberglass flanges, bonded to the lower cowl, to align the upper cowl at the outboard leading edges of the inlets. You can see some of the glasswork in this photo:
I don't have a photo showing those flanges.
After trimming the aft edge of the upper cowl as per the plans, I wound up letting the aft corners of the upper cowl define the aft starting point of the split line since the cowl was symmetrical within my ability to measure from side to side at that location, and it looked right. Making the cuts on upper & lower was a matter of using a piece of kit-supplied aluminum strip as a flexible straight edge (to follow the inward curve of the cowl towards the front), rough trimming with a cutoff wheel in a die grinder and finishing to an edge with a long sanding block.
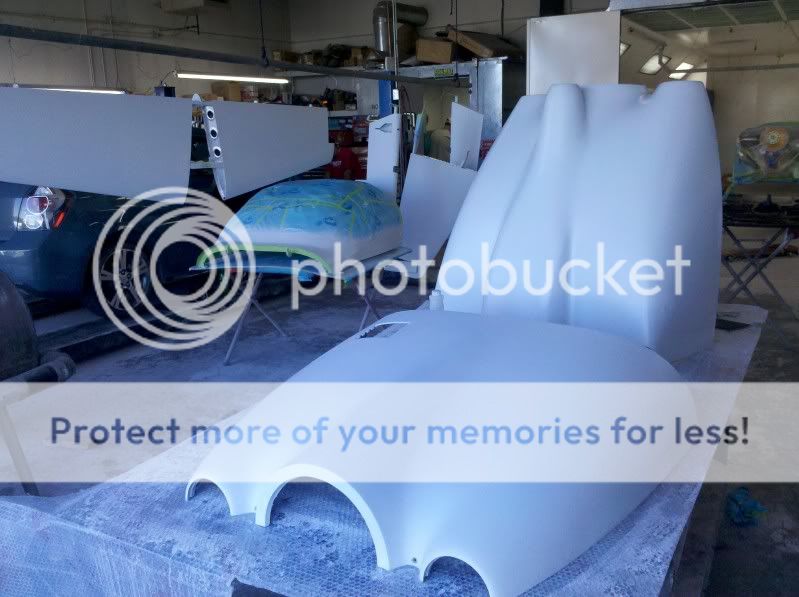
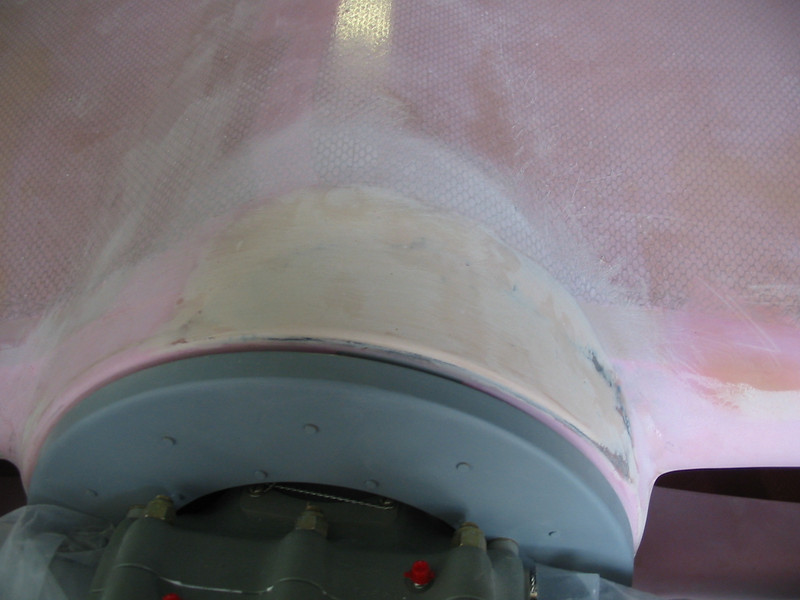
I then realized that the upper cowl had a big flat spot on it on the port side just aft of the spinner. Filling/sanding until it was symmetrical was a bit tedious, but I'm satisfied with the results. Somewhat visible in this photo:
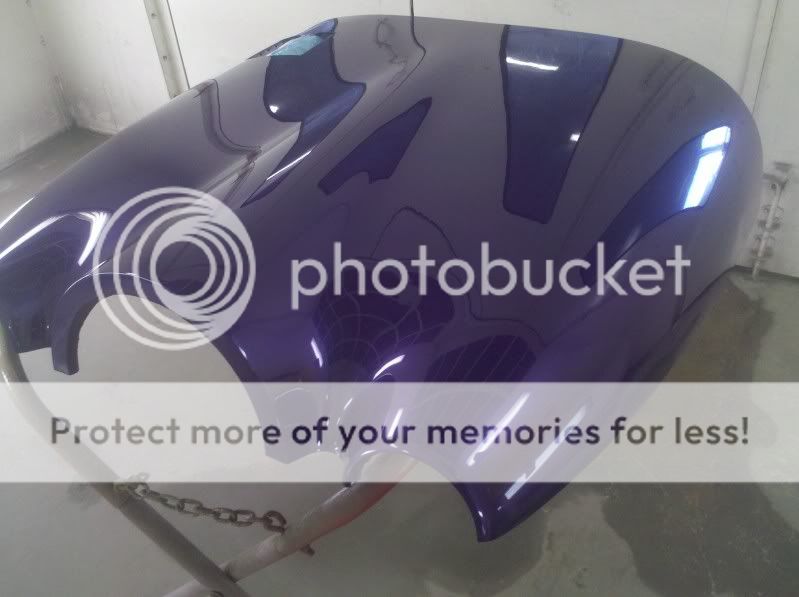
Still a ways to go, but with the oil door and the air intake done, it's starting to feel like it might be done someday.
I can drone on if anyone's interested. I didn't originate any of this. I give credit to the talented guys on this board who have done a good job of teaching and sharing, among them Brantel and DanH, for giving me the confidence I needed to dive in.