What's new
Van's Air Force

Don't miss anything! Register now for full access to the definitive RV support community.

UHMW Adhesive Removal Solution

Kyle Boatright

Well Known Member
I posted in an old thread a few days ago about my difficulty removing the residue left behind by 10 year old UHMW tape. Solvents, scraping, lots of gnashing of teeth, and no good solution was in sight.

Then I went by my local auto body supply shop and explained what I was trying to do. They handed me one of these and sent me on my way:

http://www.amazon.com/Eraser-Pad-Pi..._2?s=automotive&ie=UTF8&qid=1314142476&sr=1-2

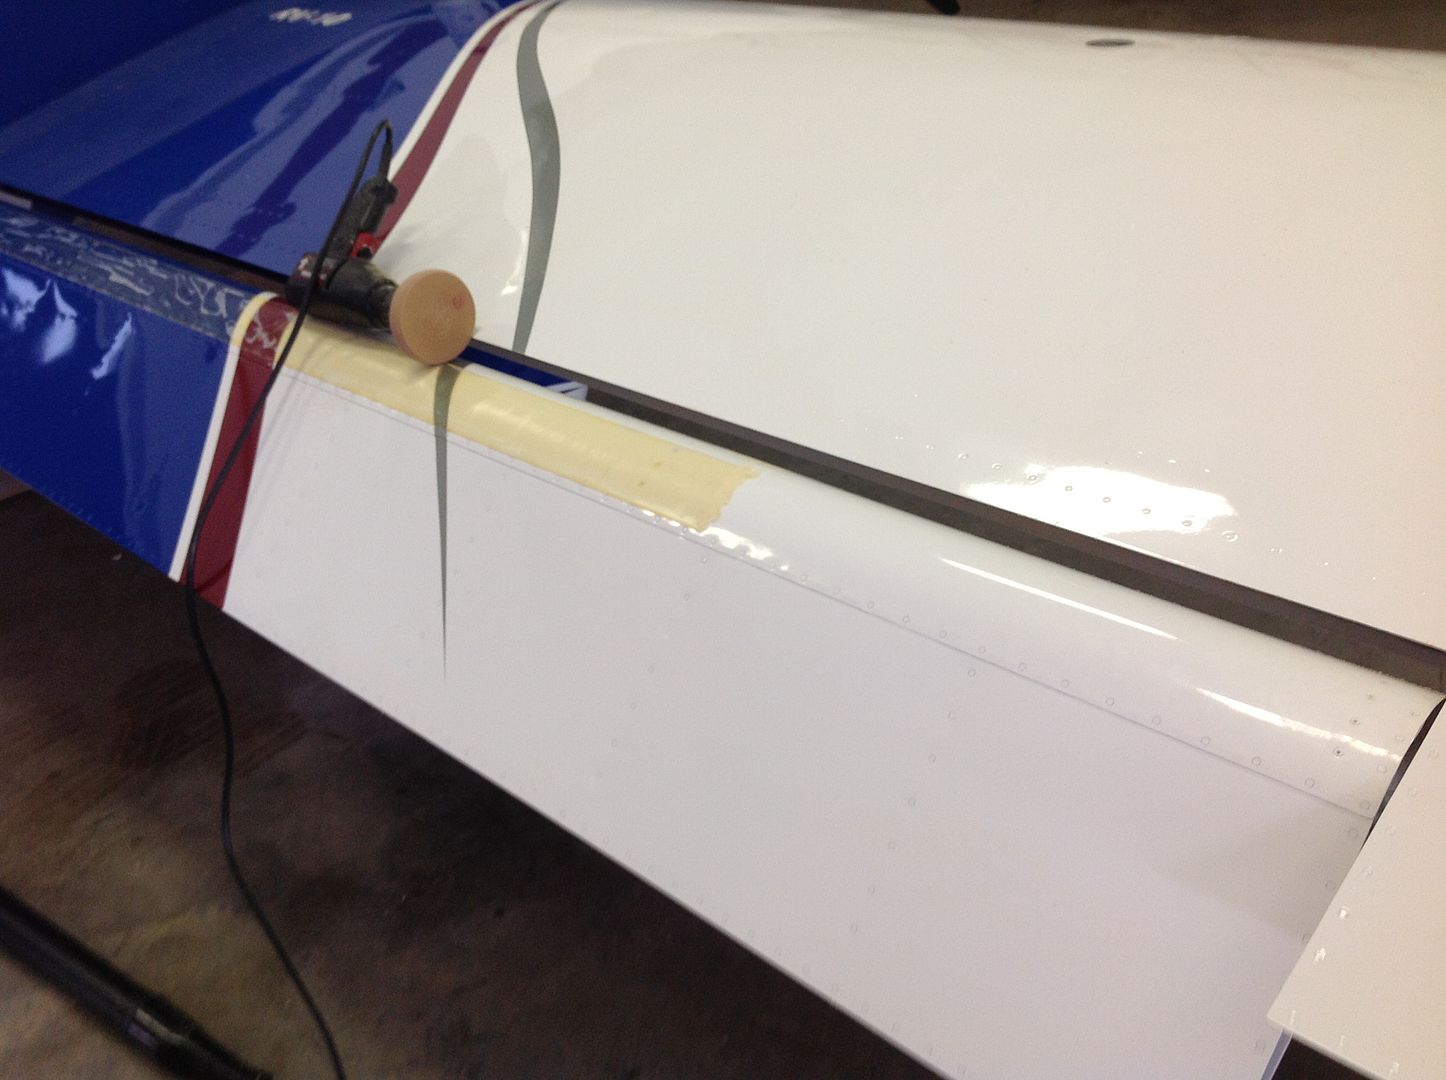
It is a 4" diameter rubber eraser for removing pin stripes, stickers, etc from cars. You chuck it in an electric drill and the heat and shearing action from the spinning disk take adhesive and tape residue right off. Works like a dream and doesn't hurt the paint. In 30 minutes I cleaned up one flap to a point that it is ready for new protective tape.

One hint - do the hard to reach ends of the (still mounted) flap first - before you wear down the sharp edges of the disk. Those sharp edges allow you to get into fairly tight corners. And then they abrade away...
 
Saw this at Oshkosh

Somebody was selling these at Oshkosh. I saw them but threw them into the category of the Miracle wire strippers, safety wire clamps and lots of window cleaners. Maybe this product deserves another look!!!
 
I'll second Kyle's recommendation. The eraser wheels work as claimed and do a great job. I am always amazed at just how well they work, not even harming the paint.
 
Thanks

Thanks for the post had old tape on my flaps pulled the tape off and all the glue stayed. Tried MEK no joy. The wheel worked great.
Chris
 
Flap tape removal

Today I removed the flap tape from my RV10 because it had yellowed badly. I bought 2 eraser pad wheels and for an RV10, it took both. This is a picture 20 min into the process. I did get both flaps done today and they look much better.

c4763027.jpg


Thanks to those who posted this info.
 
Great pic. Thanks for the motivation to do mine. I already bought the eraser wheel, so now I just need to do it.

Did you use any chemicals along with the eraser (to soften the left-behind adhesive) or did you attack it dry? Also, does the adhesive roll into little balls, stick to the wheel, or fling across the hangar? :D

Thanks for the tips.

It just flies off as dust. No chemicals required, but you should peel off the outer layer of the UHMW before you start with the eraser.
 
pirep

My prep is to do an inch or two at both ends of the flap, because as the wheel gets smaller it is harder to do the ends. And strip right to left because the clockwise rotation will peal the tape up better. It took about 3 hours to do an RV10. I did not use any chemicals.
 
BTW, when you get that nasty UHMW tape off, use this 3M paint protection film in its place. It won't yellow, and will likely last the life of the plane. And if you do need to remove it, it will come off easily for up to 8+ years in my experience. Good stuff.

paint protection film
 
Vince- YUP! I've had webpage for your 4" tape laying on my desk for a month to remind me to order some. I measured the old tape that's installed on my wings and it was 4". Is 4" the most popular for wings and/or is that what you recommend?
 
This may have been posted in the previous thread but just in case it wasnt. Apply the teflon tape to the inside of the upper trailing edge of the wing along the full length of the flap. Do not apply to your flaps.

Pat
 
This may have been posted in the previous thread but just in case it wasnt. Apply the teflon tape to the inside of the upper trailing edge of the wing along the full length of the flap. Do not apply to your flaps.

Pat

I know a lot of folks are doing that Pat, and it certainly solves the problem of visible, yellowing tape. My concern, however, is that the tape tends to pick up very fine grit, and the scraping action against the mating surface then creates scratches. With the tape on the flaps, the tape gets scratched (as does the underside of the wing skin). With the tape on the underside of the wing skin, the scratches are going to go into the paint on the leading edge of the flap. Personally, I would rather replace the tape than repaint the flap when it gets ratty - next time, I am going to try Vince's tape instead of the UHMW.

As usual, folks should make their own decisions - none of this will make your airplane fall out of the sky.

Paul
 
Paul is correct. It is far easier to simply replace the tape on the flap than to polish scratches out.

A typical RV uses the 4" tape, about 10' long since the flaps are 5' long on most RVs. RV-10's are longer.

I put this stuff on my Rocket flaps in 2003 and it still looks like new. I put it in various other spots, under fairings, etc. and can vouch that you really can remove it many years later with no problems.

And it's just not that expensive!!!! A $25 piece will cover the flaps. Compared to the $4000 (or more) that a typical paint job costs, it's chump change.
 
Kinda depends on how much grit is in your area and how many scratches/scuffs you can tolerate.

The PPF, properly installed, is virtually invisible and practically bulletproof.
 
Kinda depends on how much grit is in your area and how many scratches/scuffs you can tolerate.

The PPF, properly installed, is virtually invisible and practically bulletproof.

This is a thread SO WORTHY of bringing back to daylight.
 
Link ?

The link didn't work for me. Is the PPF a 3M product? I may do this as part of my inspection this year. Starting to look a bit yellow and peel at the ends.

Jim
 
Last edited:
Eraser

I'm getting ready to use the eraser to get the adhesive from my wing walk grip strips off. I'm replacing the the three strips with the Vans rectangular strip with the model number on it.

Fingers crossed.
 
Back
Top