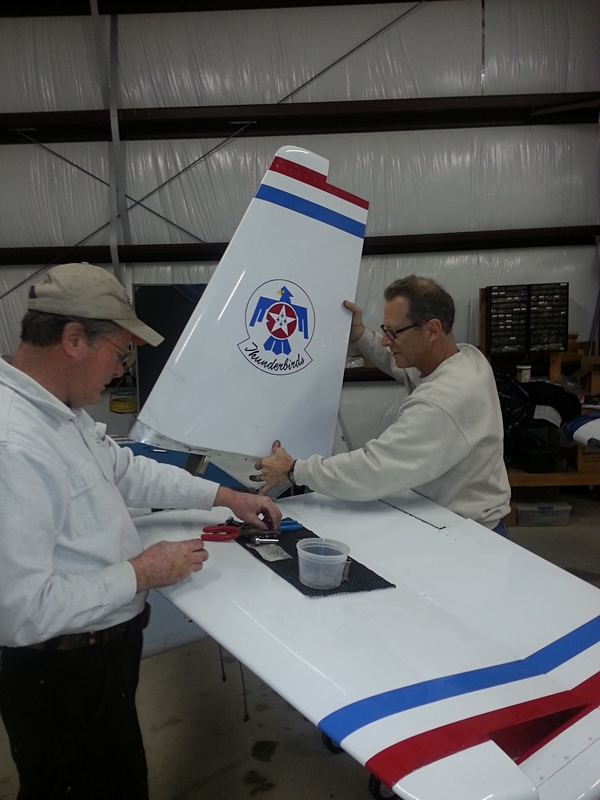
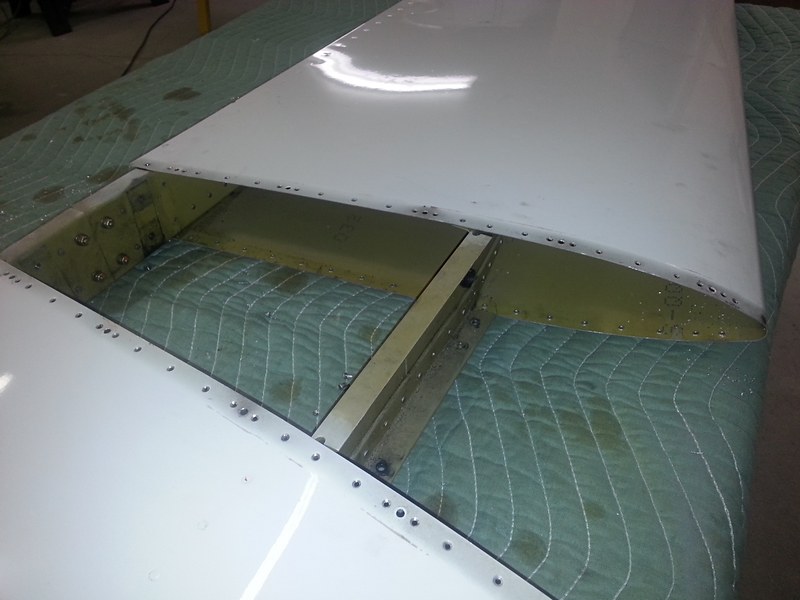
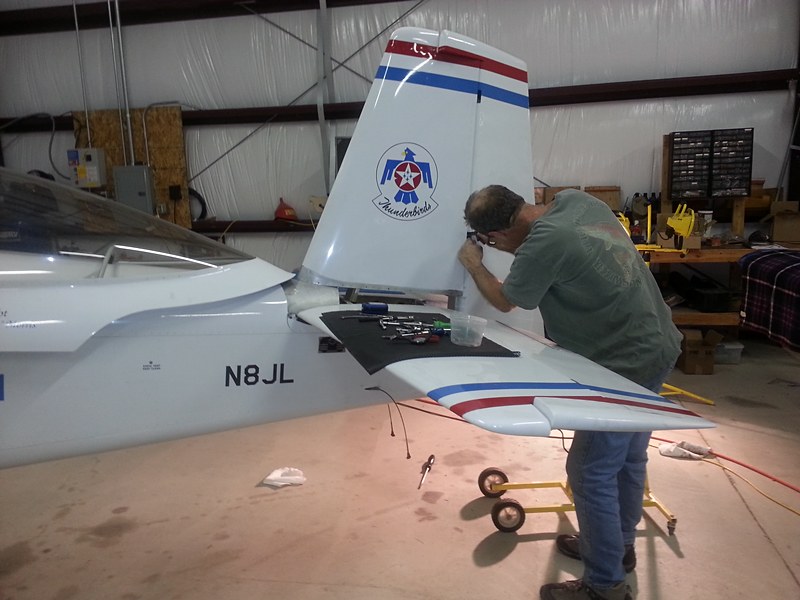
Well, it's done. Jon Thocker at Redlne cmpleted this SB today.
I didn't build my plane, but I've put two engines on it, swapped frm FP to CS prop, rewired the whole plane, upgraded from steam to glass, installed new radios, etc. I'm not afraid to jump in and do things.
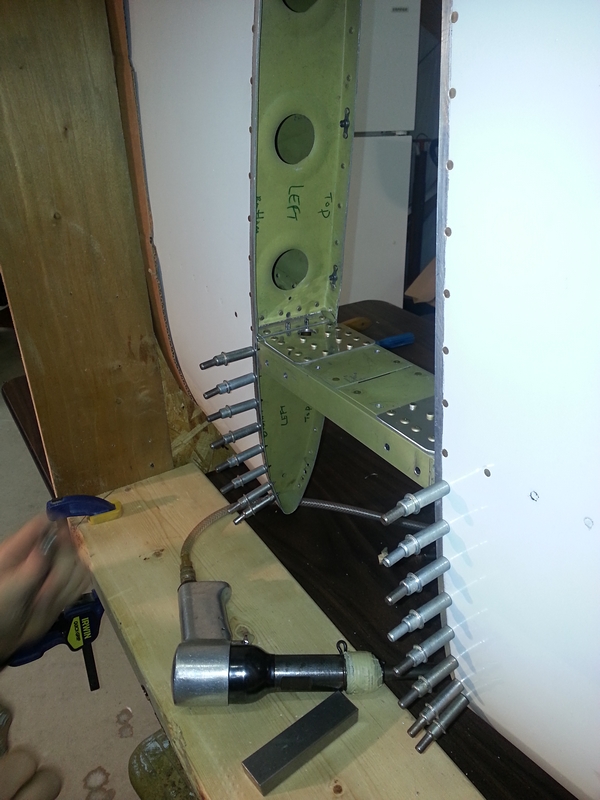
I WOULDNT TOUCH THIS PROJECT BY MYSELF WITH A TEN FOOT POLE!
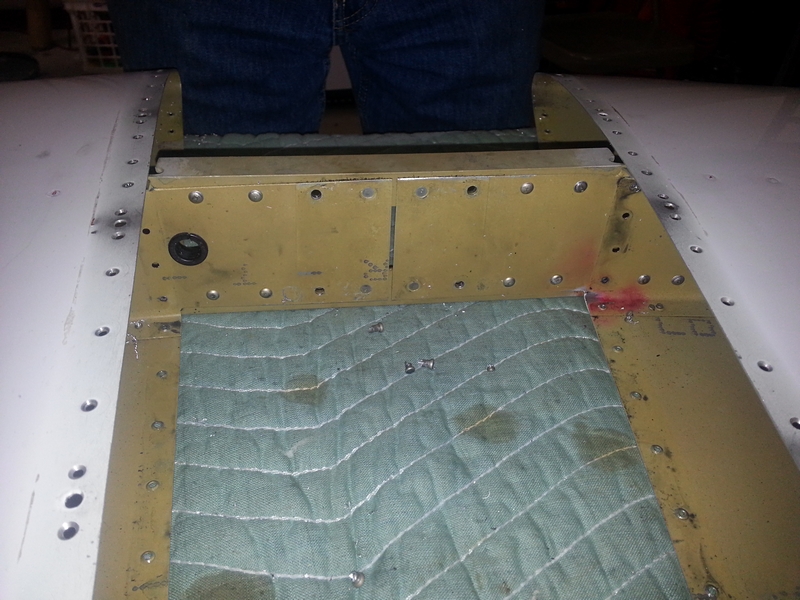
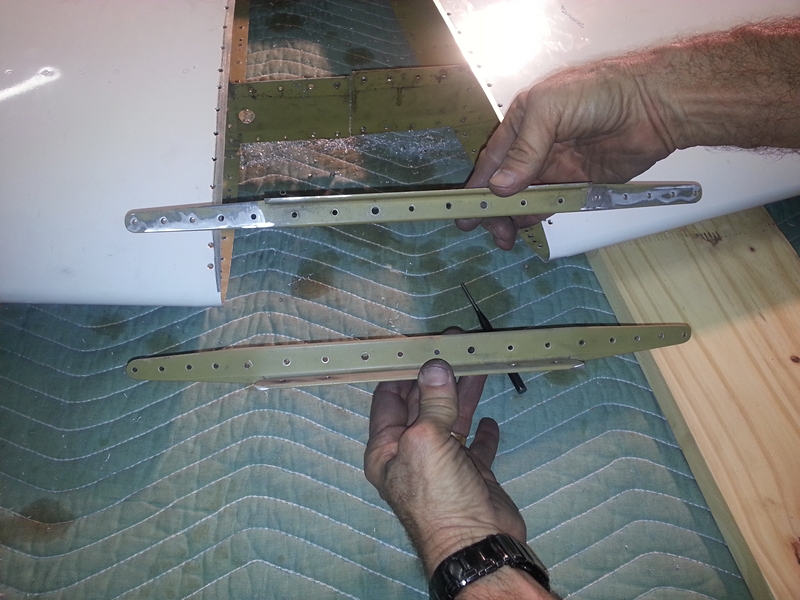
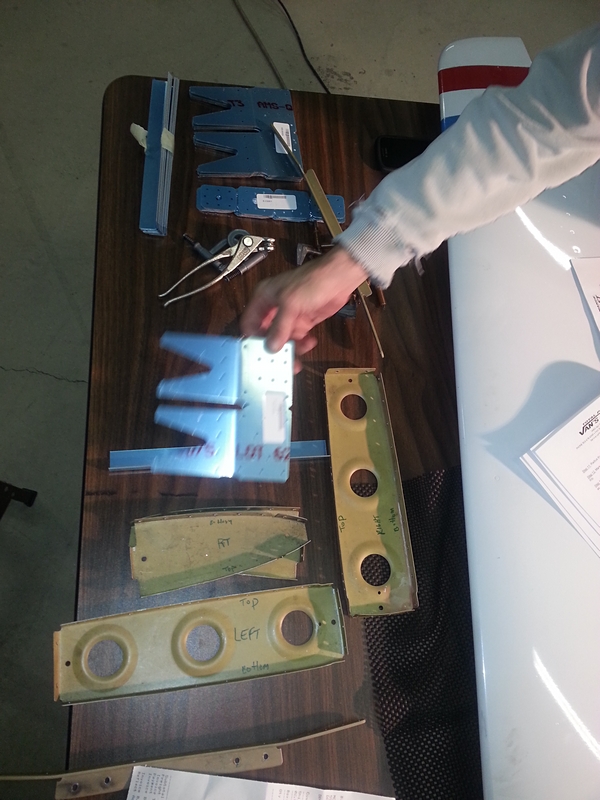
It's just a pretty big project and IF you have the tools and the metal skills you can do it. I don't.
My recommendation for what it's worth Is to let someone with the skill do it. Lots of ways to mess something up.
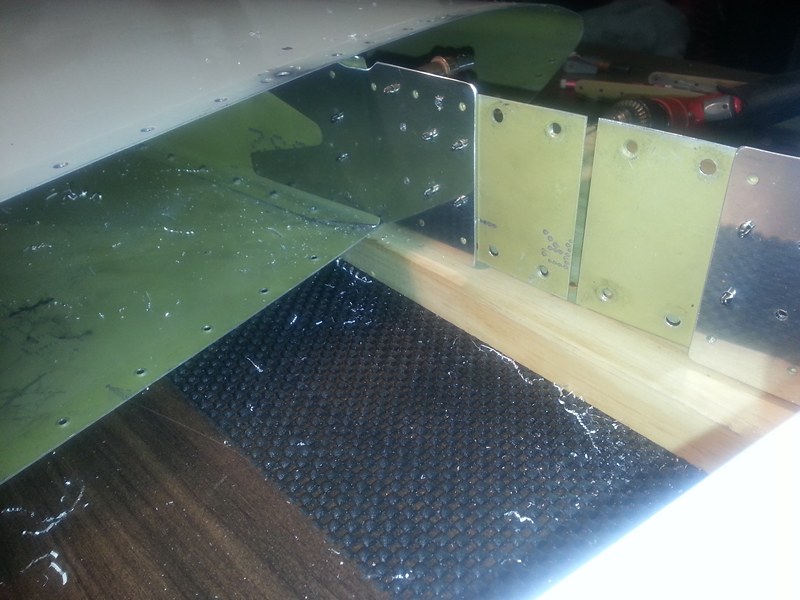
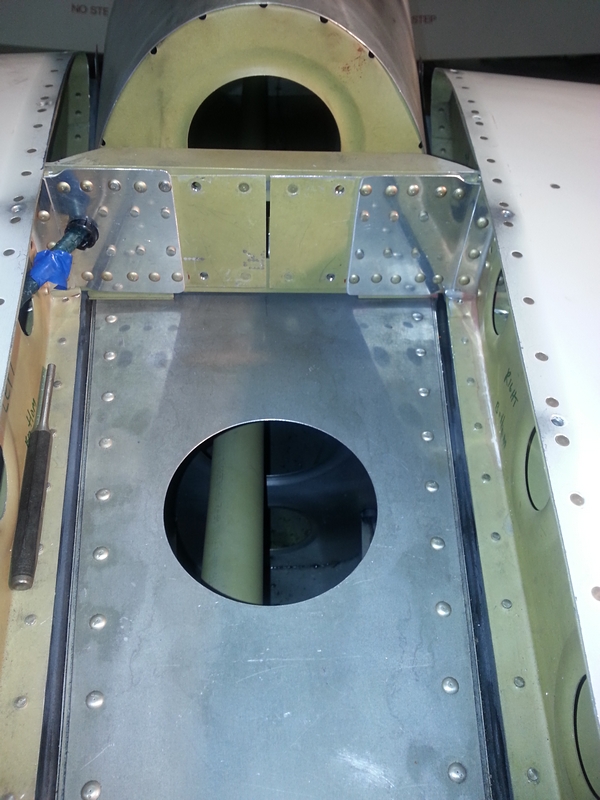
It looks extremely strong back there now. Like a Navion tail..
I didn't build my plane, but I've put two engines on it, swapped frm FP to CS prop, rewired the whole plane, upgraded from steam to glass, installed new radios, etc. I'm not afraid to jump in and do things.
I WOULDNT TOUCH THIS PROJECT BY MYSELF WITH A TEN FOOT POLE!
It's just a pretty big project and IF you have the tools and the metal skills you can do it. I don't.
My recommendation for what it's worth Is to let someone with the skill do it. Lots of ways to mess something up.
It looks extremely strong back there now. Like a Navion tail..
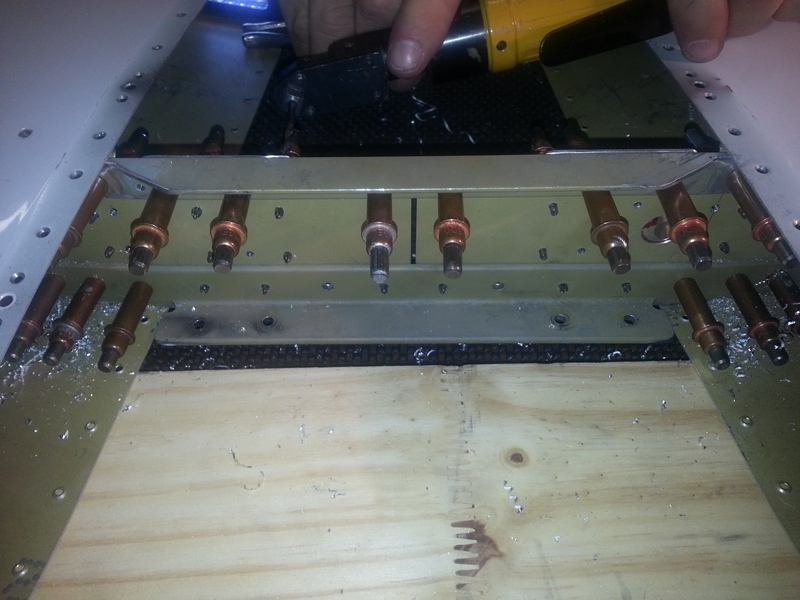
 and a couple other things. If you built one of these you you have probably drilled out a few rivets, or a lot more than a few like me, not that hard a job. Walt and Scott have a couple threads on drilling out rivets. Now quit scaring the nice folks out there