That is the stuff... I ordered the 18 yard roll though...
That is the stuff... I ordered the 18 yard roll though. Way more than needed but the 3 yard rolls are a bit short to do both flaps. Plan on using a small test piece at a minimum.
Here is a summary of how I did it:
You only have to drop the flap.
Carefull? it is thin stainless steel and will cut you.
A pair of scissors will cut the tape just fine.
Clean the flap thoroughly.
Use a small piece as a test first? this will be removed and tossed after.
Remove the backing from the tape? the tape and backing are VERY thin? to help get it started gently work the corner of the foil curling it towards itself about 90 degrees and pick at the backing with a fingernail.
With the backing removed? re-set the backing on the tape about an inch back so that you can handle the pice without touching the adhesive.
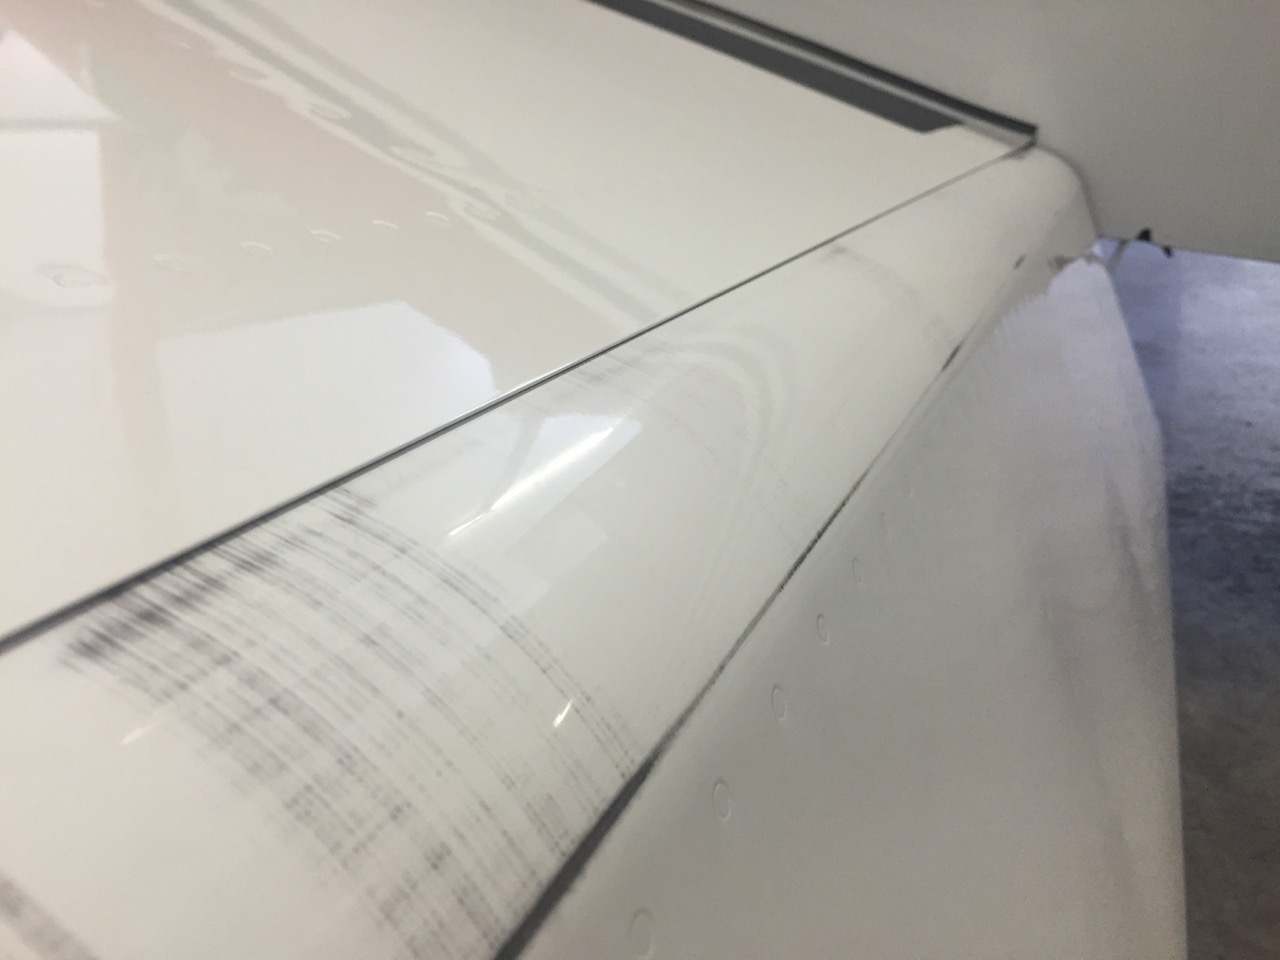
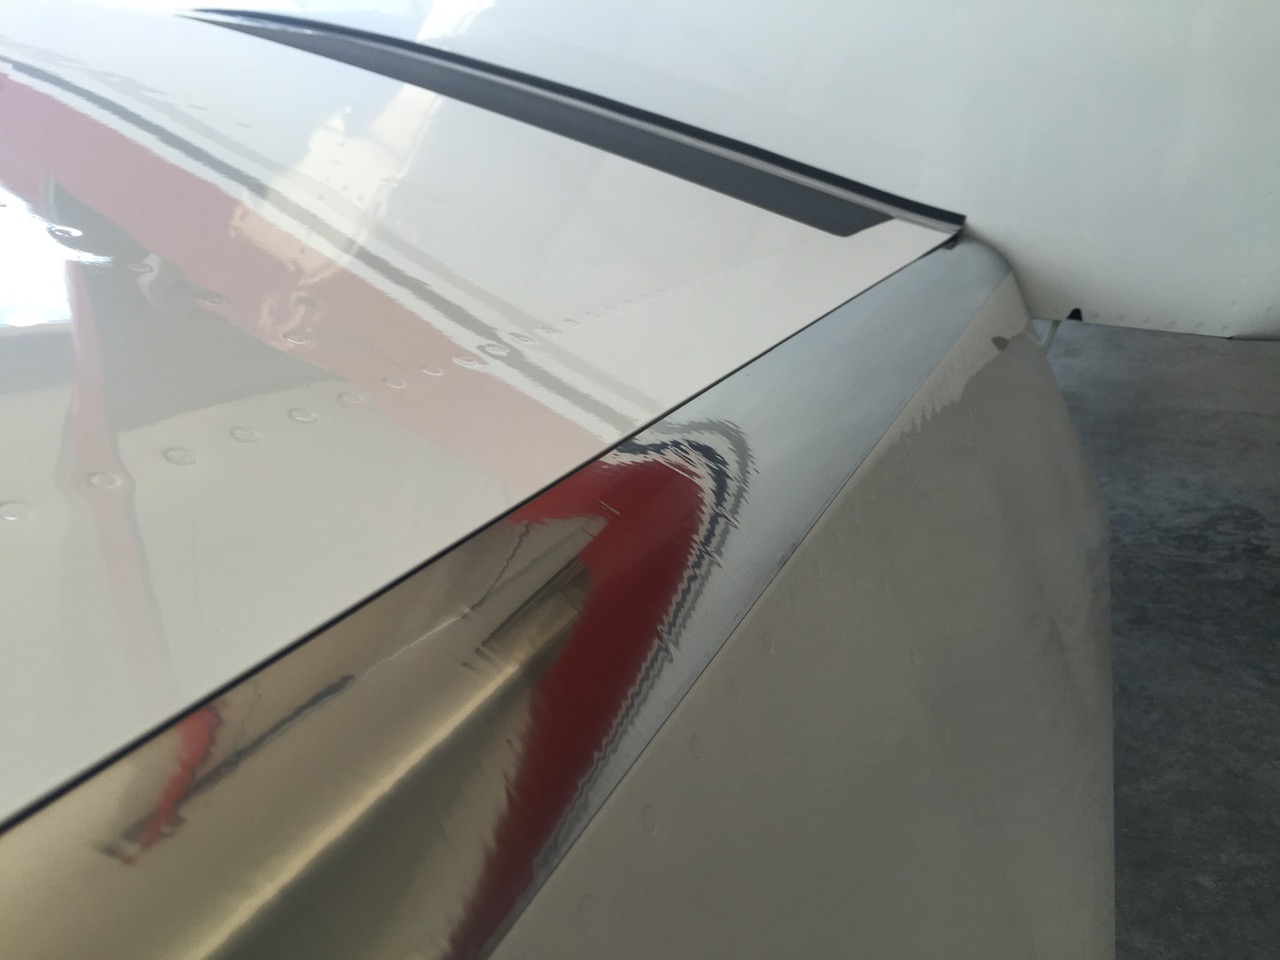
Start at the leading edge of the flap and position the tape just aft of the turndown? massage the tape and work it around the bend.
Remove the backing.
Reset the backing about two inches down.
Begin to slowly work the tape down with a massaging type motion and take special care if a crease develops? you can work it a bit but the tape is stainless steel and it will pretty much go dead nuts straight and has limited flow.
Remove the backing.
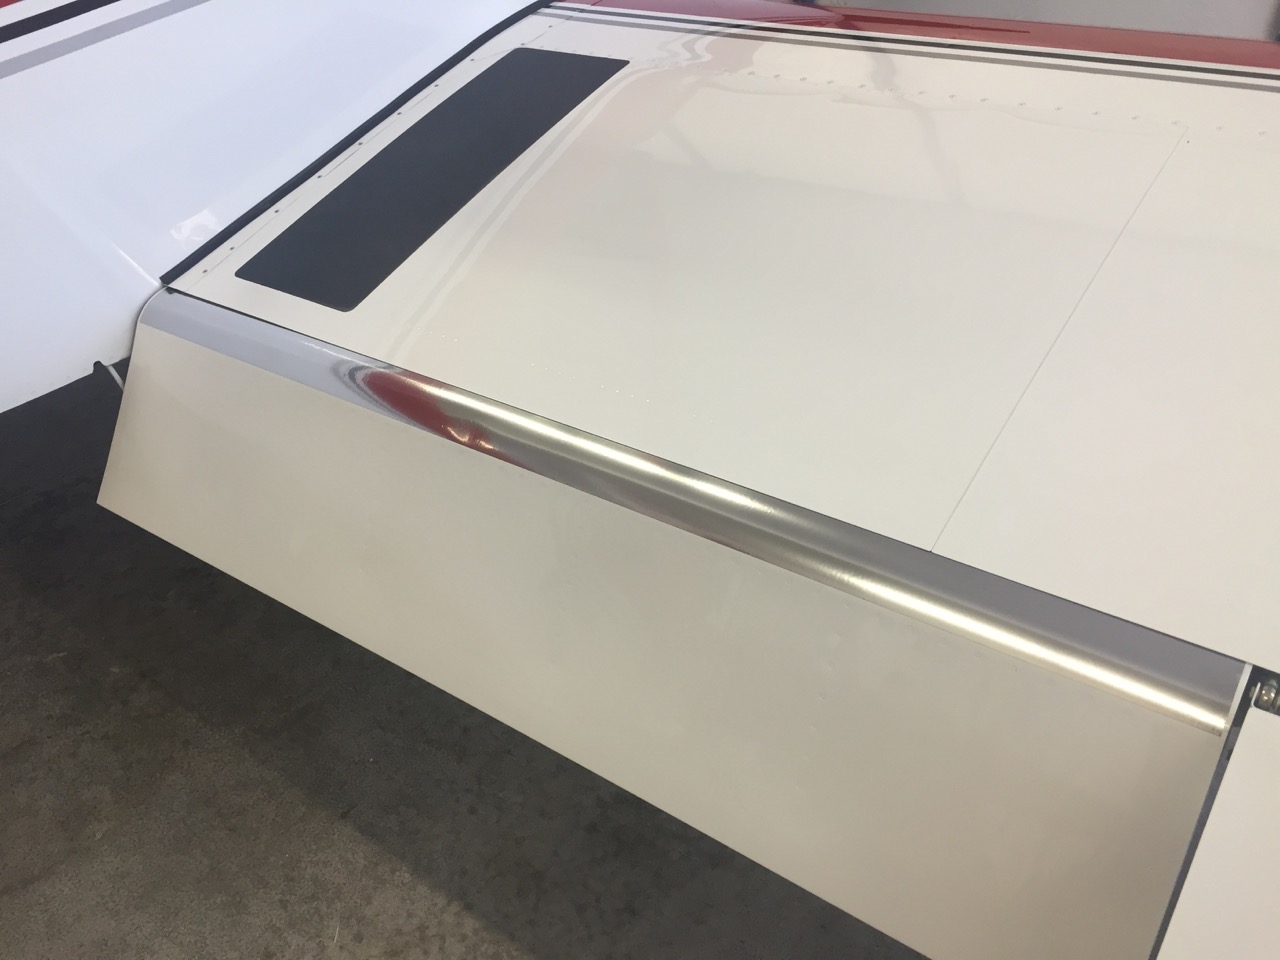
Finish.
Use a rag and work it on the edges to ensure that you have it fully attached.
Now, remove the test piece.
Clean the flap again.
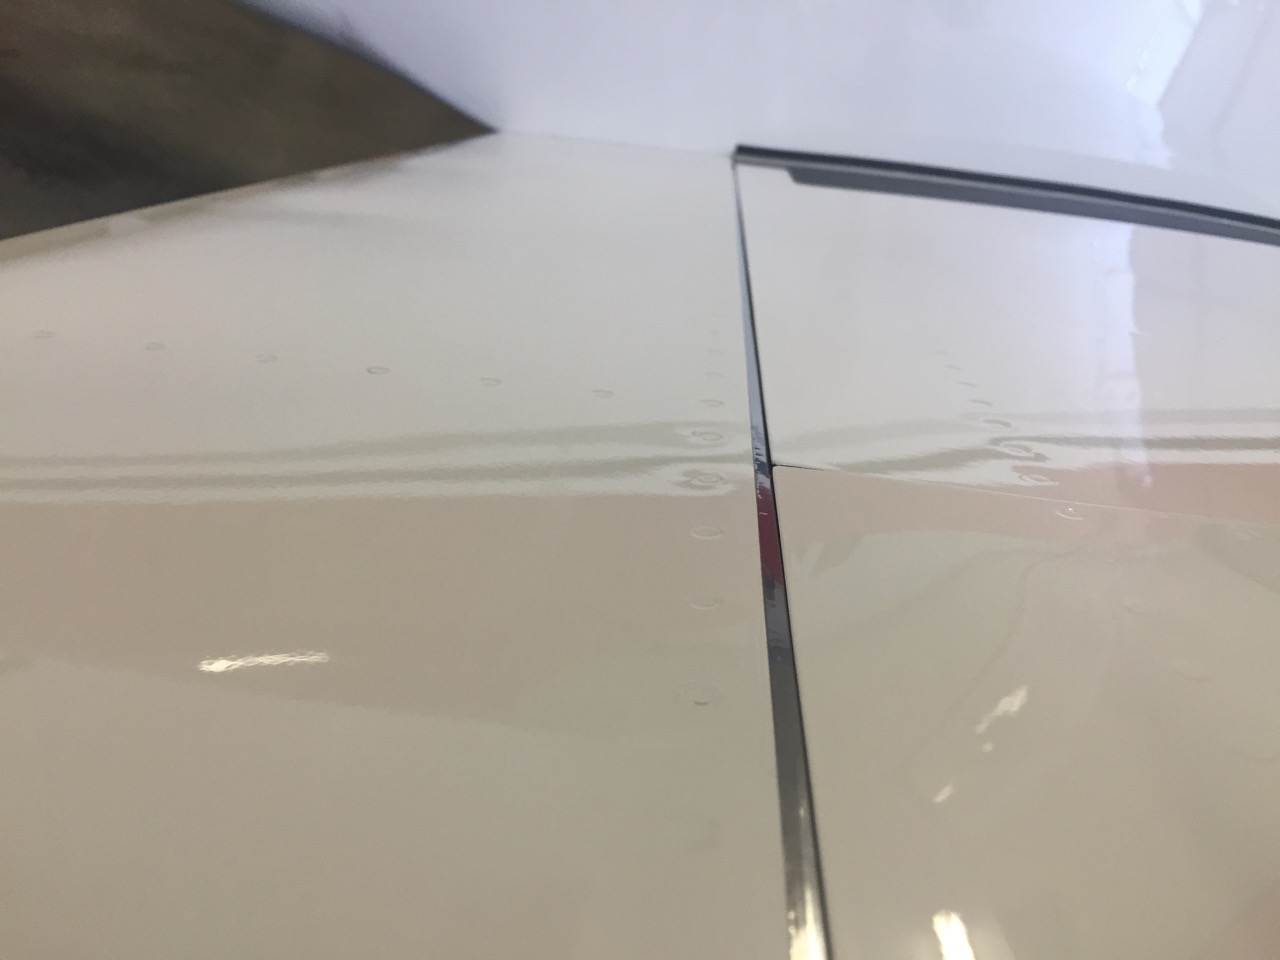
Measure your piece.
Cut the end to match (the fuselage side has a small back cut)
You will not be able to adjust the cut easily so make sure that it is the right length.
Remove the backing and use the test scrap backing to grab the top.
Cut the removed backing into several smaller pieces and reapply to the long strip.
With a helper holding the free end line up one end and apply to the leading edge turn as in the test strip.
Go slow? if you have to remove and reposition this is the only time that you can without compromising the tape or making a mess.
Good Luck!


")