What's new
Van's Air Force

Don't miss anything! Register now for full access to the definitive RV support community.

Lousy cowl fit

Veetail88

Well Known Member
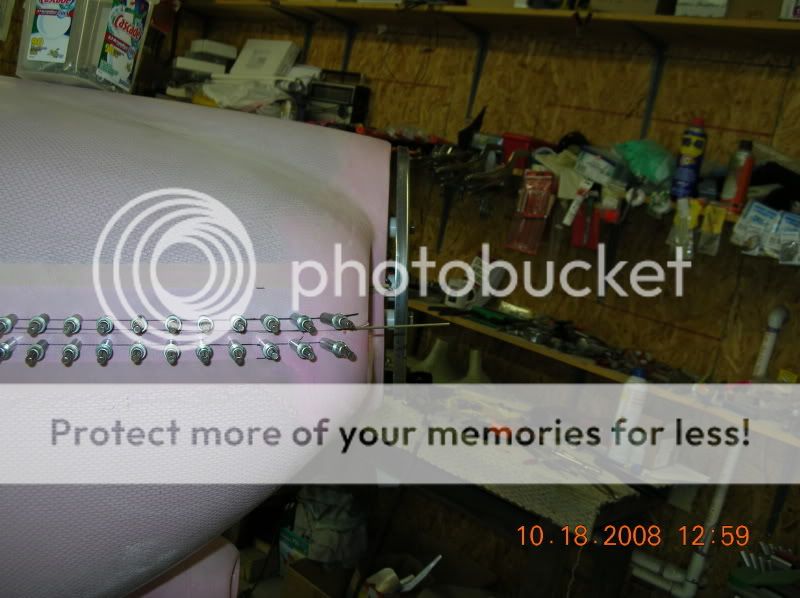
Hey folks, is this at all normal or common for a really lousy fitting cowl?

I have the back sides fitted to the firewall at the top and bottom.

From this side, it looks like the centerline of my motor is an inch or so too high, but I know that's not likely possible.


By veetail88

The other side isn't as bad, but still not good.


By veetail88

It seems to me like I'm going to have to build up 1/2" of fiberglass on the inside of the cowl face at the spinner and really grind the heck out of the thing to make the contour and fit correct.:(

Anyone seen this? Is there an easier fix? Am I missing something and really messing up my cowl?

Help!!
 
You should be fitting from the spinner back. Fit the lower cowl so that there is an even gap at the spinner and then trim the cowl to the firewall. Next, fit the upper cowl to match the lower at the spinner, trim as necessary to get the top/bottom interface to work (mine needed nothing but there can be some variation) and finally trim at the firewall. It's an iterative process; with the upper cowl resting on the forward deck, it may not be easy to get a perfect fit with the lower cowl until the firewall trimming is done but you can get pretty close.
 
Caution

I have only fitted one cowl in my life, but you are doing it backwards from the way I did it, which was:

First I fitted the two halves together in the front, letting the back portions go where they may overlapping the fuselage. Everything was based on aligning the front first, then trimming everything else to fit.

From your pictures and text it sounds like you fitted the cowl to the fuselage as is... Fit the front and then trim it so it fits the fuselage.

Hans
 
You should be fitting from the spinner back. Fit the lower cowl so that there is an even gap at the spinner and then trim the cowl to the firewall. Next, fit the upper cowl to match the lower at the spinner, trim as necessary to get the top/bottom interface to work (mine needed nothing but there can be some variation) and finally trim at the firewall. It's an iterative process; with the upper cowl resting on the forward deck, it may not be easy to get a perfect fit with the lower cowl until the firewall trimming is done but you can get pretty close.

I have only fitted one cowl in my life, but you are doing it backwards from the way I did it, which was:

First I fitted the two halves together in the front, letting the back portions go where they may overlapping the fuselage. Everything was based on aligning the front first, then trimming everything else to fit.

From your pictures and text it sounds like you fitted the cowl to the fuselage as is... Fit the front and then trim it so it fits the fuselage.

Hans

What they said....
You need to align the cowl at the front (each half with each other and with the spinner), then trim as needed at the back.
 
Details vary between builders, but here is the general idea:


13" disk, straight edge, two little sheet metal strip gauges. Keep working the nose until it is 13"D with equal halves, and has equal inlet openings.
 
Last edited:
when i put my two halfs together they did not fit well. i had to sand alot of filler out of the female half to get the male half to fit over it. then even after all of that on the two outside edges of the inlets on lines up good and the other one is almost a 1/4 inch diffrent i did do the method of fitting the front then triming the back.
 
Cowl Fit

The botton half of mine fit but the top half nose ring was tilted forward. It had a perfect 3/16" space where it mated to the bottom ring but was rubbing the spinner at the top. 1st thought was to build it up inside (top nose ring) w/ glass & filler and grind it to fit. Seemed like "too much sugar for a dime", so I cut the upper nose ring completly off and re-glassed it for a perfect fit.

After my experence, I take note of other RV's nosering/spinner fit and have seen a bunch with the same (uncorrected) problem I had.

To me, the cowl was the worst, most labor intensive, part of building the whole plane. I spent 50 hours on it after it was finished!!!

Tommy Walker
RV-6A, N 350 TW
475 hrs & "Climbing"!

Back in prehistoric days, we were told to install the top cowl first, then fit the bottom cowl to the top. That way, you get the top (most visible) surface properly aligned and work away from that. I've always thought the face of the cowl that fits against the spinner was intentionally built with a face that sloped away from the spinner so you have a larger gap at the bottom than the top. That makes it easier to remove the bottom cowl.
 
Yes, similar problem.....

I read all the posts and did my best yet had a very similar problem. I did work from the front but, I was never able to completely eliminate the alignment issues you have.

Your current photos look more exaggerated than what I ended up with. But, I did need to glass up in several areas to make it look pretty. I also thought the canopy was the hardest-until I worked the cowl.

If you follow my blog link below and look at all the picutres with pink in them.......you will notice that I was patching up those same spots you are fighting. First, I put in some tapes to build it up. Then, I think I inished with Rage or balloons. It will need a little more work at painting time but, its about 95% OK.
 
Last edited:
my $.02

Before even putting the cowl on the airframe:
I had to sand and scrape away excess material from the inside forward area of the top cowl to get a decent fit to the bottom cowl. I also had to work the overlap flanges on the lower cowl inlet area.
Modify/trim the cowl for hinges or camlocks.
Install the ring gear/prop/spacers/bulkheads/spinner.
Fit the top cowl to the aircraft.
Fit the bottom cowl.
 
What everyone else said... I think doing the cowl is where one really learns more about fiberglass. I had many of the same issues with too much material and poor fit on the cowl halves, ended up building up some places etc. I had lots of concerns then about whether I was doing right. Now that I'm painted and flying, it's not such a worry any more (kind of like those first poorly-driven rivets that only you know about).

Build on!

greg
 
Thanks for the response folks

I did indeed fit up the front of the cowl pretty good first.

Ground out the inside flange surfaces, trimed the flanges, cut and sanded the areas around the spinner and cowl inlets to make them even, it wasn't too bad. But when I tried to fit it on the airplane if I kept the front fitted together and paralell to the spinner plane, the rear top would have needed to be an inch higher than the fire wall and the bottom of the cowl an inch higher than the bottom of the fuselage as well.:(

It really seems like the cowl parts warped quite a bit after they came out of the mold, that I assume is more true.

Guess I'll be doing a lot of filling on the back and grinding on the front.

Thanks
 
I had similar problems but I kept on fitting until the issues were minimized.

I started with this:

DSCN6907.jpg


And ended up with this with no filler:

DSCN6948.jpg


Somehow once you get all the stars aligned, things start to fall into place.....
 
I'm not there yet, but is this a problem only with Van's cowls or do builders have the same problems with the SJ cowl?
 
Back
Top