claycookiemonster
Well Known Member
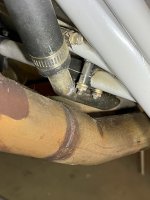
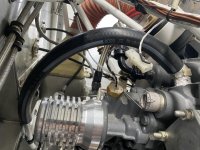
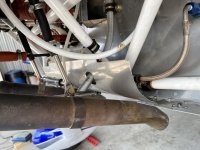
I understand that it's attached via a rubber connection at the top engine end. I'm curious about the forward curve at the bottom. It it intended to curve forward into the slipstream around the exhaust pipes? What is the reason for this curve, or can that be changed to place the end of the tube where I want it?