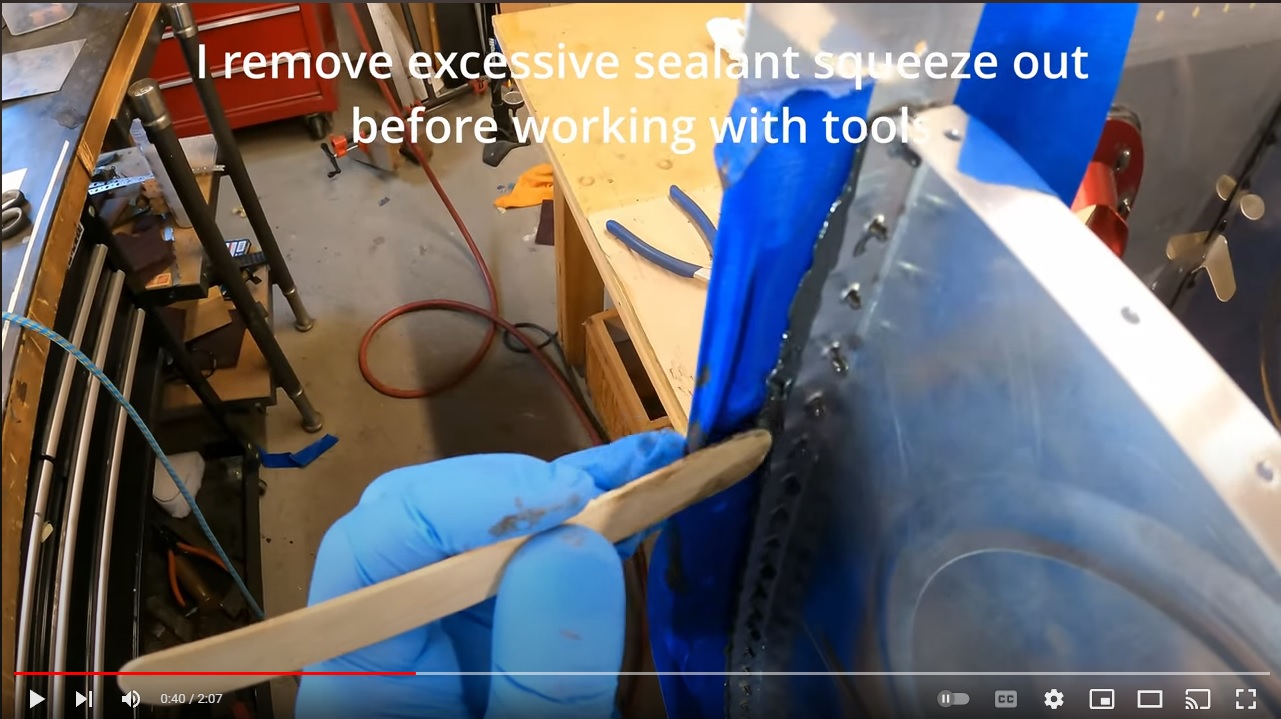
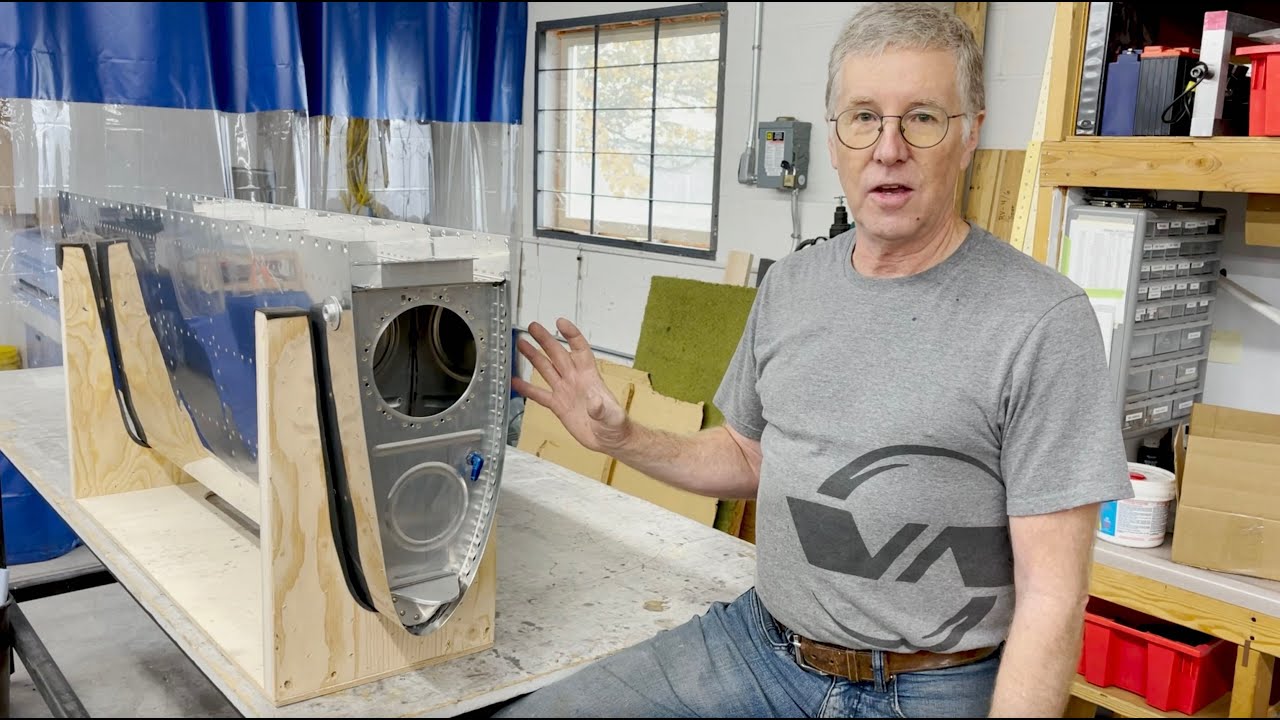
We've published a new YouTube video - Van's RV Fuel Tank Construction Tips. It includes information and tips that can't really be covered in the plans but which we can show in this format. The primary focus of this video is effective and proper sealing while assembling.
Scott McDaniels from our prototype shop and I spent a few days filming, and the resulting 2.5 hours contains a lot of good info in terms of the how's and why's that matter most to Scott when he's building a fuel tank. It's great contextual info for folks to have before they start their own tank builds.
It's a longer video, and we can't cover every tank topic in this one, but we broke it up into "chapters" that you can click to jump around if you like. The most useful nuggets of "pro" info are interspersed throughout the narration of the process as Scott completes the tank, so for people who are looking at starting the process, I'd suggest setting aside some time to watch it all the way through, then use the chapters to go back and review if needed. We hope this is useful!
Enjoy.")
Scott McDaniels from our prototype shop and I spent a few days filming, and the resulting 2.5 hours contains a lot of good info in terms of the how's and why's that matter most to Scott when he's building a fuel tank. It's great contextual info for folks to have before they start their own tank builds.
It's a longer video, and we can't cover every tank topic in this one, but we broke it up into "chapters" that you can click to jump around if you like. The most useful nuggets of "pro" info are interspersed throughout the narration of the process as Scott completes the tank, so for people who are looking at starting the process, I'd suggest setting aside some time to watch it all the way through, then use the chapters to go back and review if needed. We hope this is useful!
Enjoy.
Last edited: