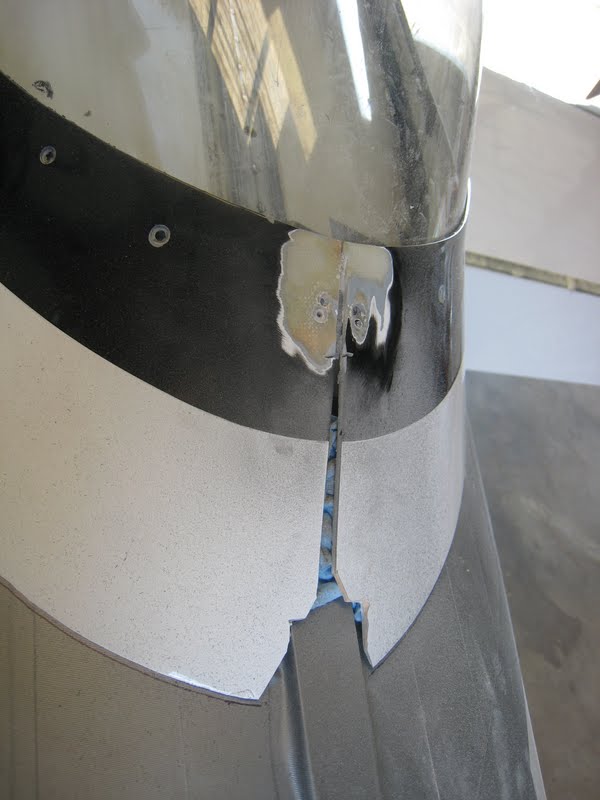
Almost a year and a half ago, I reported one of the saddest things that can happen to an -8 builder/pilot – a big crack had appeared in that big canopy. Not the first to experience it, I knew that the cause was very cold temps and sharp turbulence – and that long canopy that builds up significant thermal stress. Fortunately, the stop-drilling worked, we flew home fine….and proceeded to fly fine ever since. You see, we had this RV-3 project going, and I just never could find the time to take the Val out of service. Heck, we had the new canopy delivered two weeks after the crack – it’s been in the garage ever since!
Well this week, it was finally time. I didn’t want the Val to go to Oshkosh with that crack, and in order to fix it, I knew that the skirt was going to have to be repainted. I arranged some time with Grady at GLO Custom to do the pant work in between other jobs if I could get it to him with a couple of weeks for him to work with, so I needed to get hopping! Here are a few pictures of the job on “night 2” – I have about four hours total in the job since I started. Basically, once I bit the bullet and realized I had to mess up the skirt paint, it was easy:
1) Use a pop center punch on all the rivets to punch the rivet mandrels inward.
2) Drill al the rivets with a #30 drill.
3) Use a countersink cage and bit to drill off the rivet heads – the cage prevents you from going into the fiberglass.
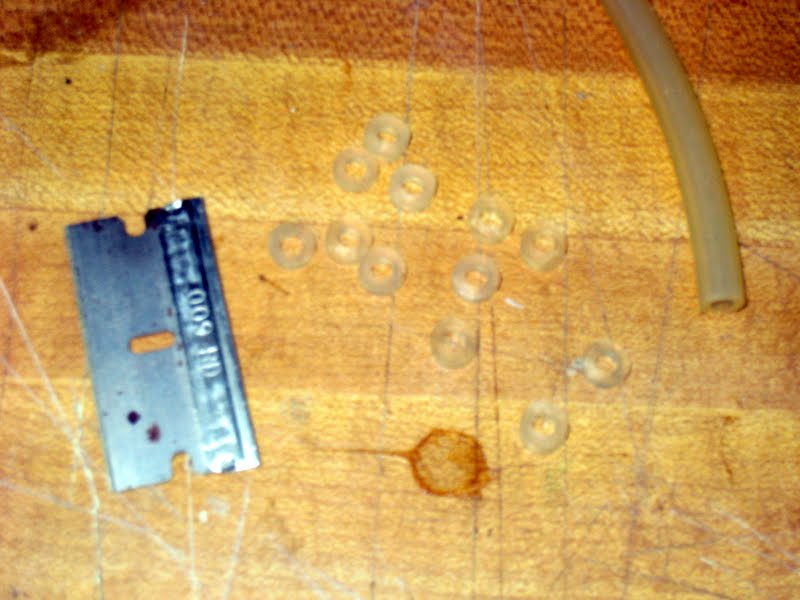
4) Since I had used some sealant between the canopy and skirt, I had to drill ALL the skirt rivets, then slowly peal it off, using a razor blade as I went to break the bond.
5) Take the old canopy and lay it upside-down inside the new canopy. Slide it around until it finds it’s natural spot.
6) Use a fat Sharpie to trace all around the old canopy onto the new one.
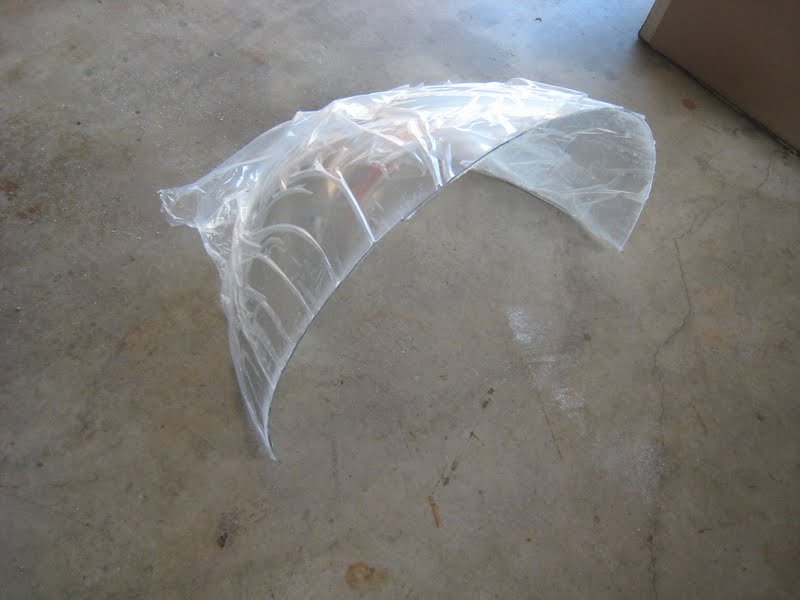
7) Use a cut-off wheel to make the “big cut” – it is nowhere near as traumatic as the first time – you just want to get rid of the windshield. Leave extra to trim off.
8) Strap/clamp the frame to a table. Place the canopy on the frame, and line up the front edge so it sits nicely on the bow. The edges are too long – just cut notches (for the vertical tubes) with a sanding drum on a Dremel to allow it to settle onto the frame. Check to make sure you have extra overlap on the back, and it stays centered.
9) Drill the canopy to the front bow, starting in the center and working down each side. Cleco. You drill into the old holes – super easy through the plex – use a plexi drill (1/8”).
10) Clamp the canopy to the frame about 2/3rds of the way back, where the frame necks down behind the cross-bar.
11) Drill down the sides into the old holes, alternating sides. Keep checking the rear alignment.
12) Once al the clecos are in, use the Sharpie on the inside to trace under the frame where you want to trim the plex. You’ll trim to this line.
That’s as far as I got in about four hours. Tomorrow I’ll trim, fit the skirt, then up-size the holes and use a new “soft grommet” trick that Danny King and I have been talking about. More when I get to it. Here are a few pictures:
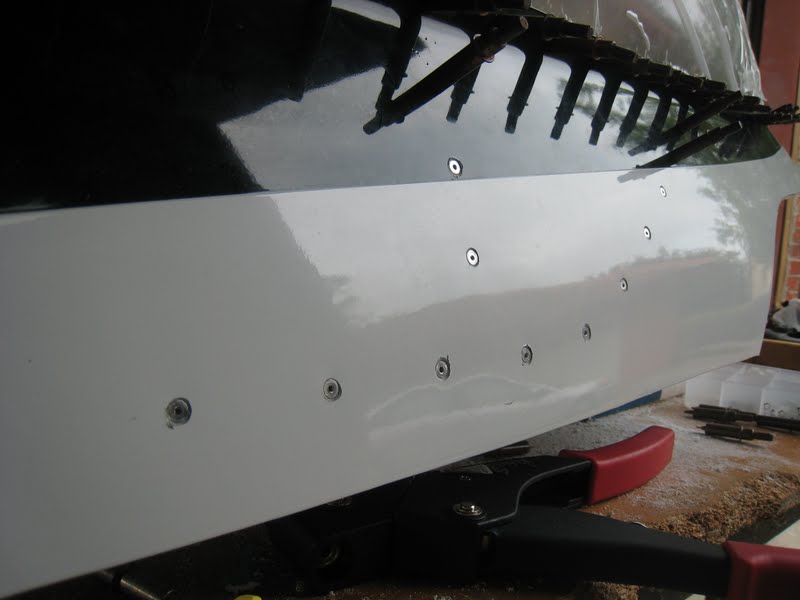
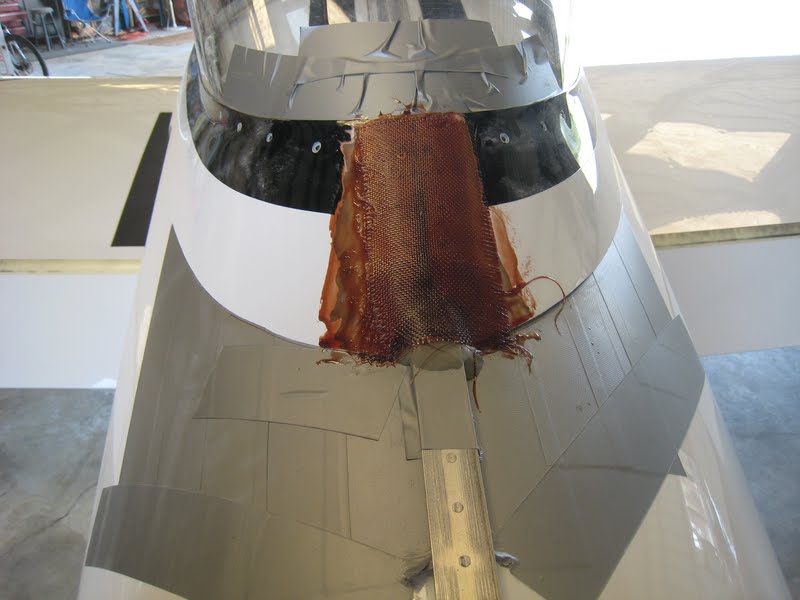
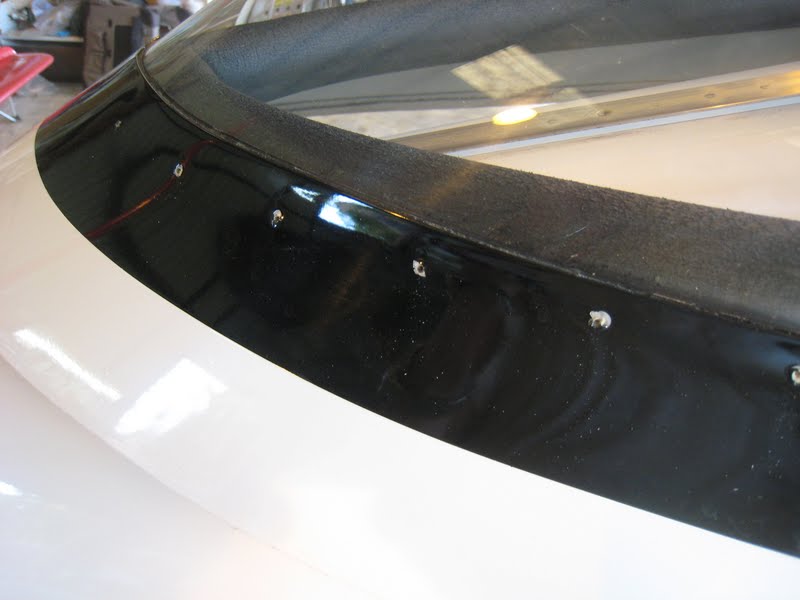
Rivets center-punched and drilled (painful to do that to a nice skirt!)
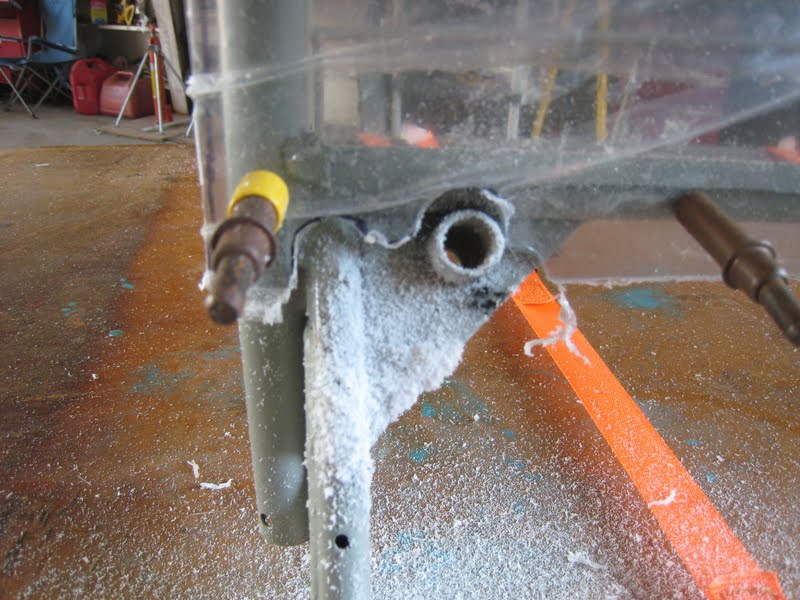
A Dremel sanding drum is the perfect radius for notching tube clearance
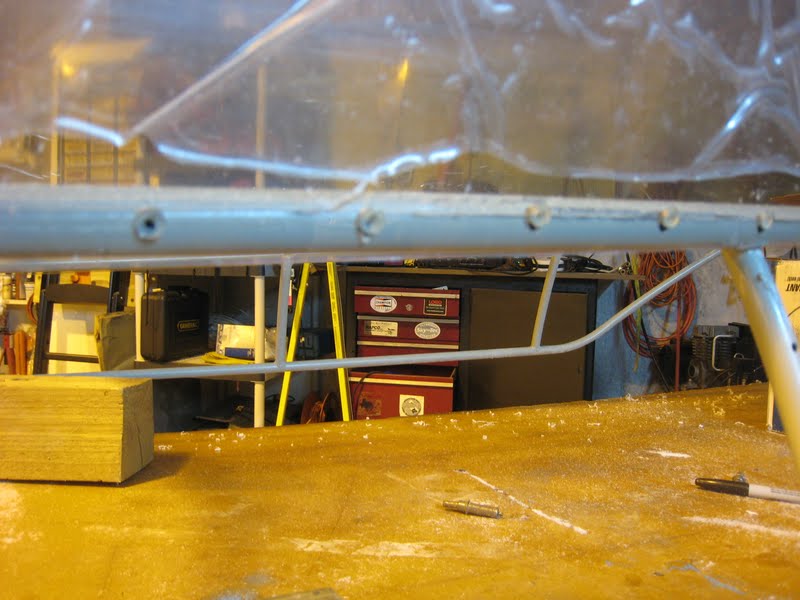
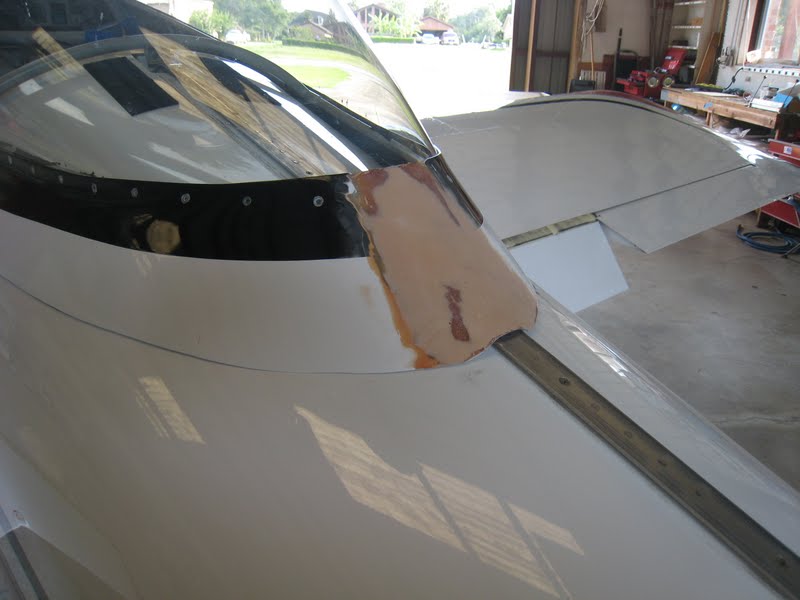
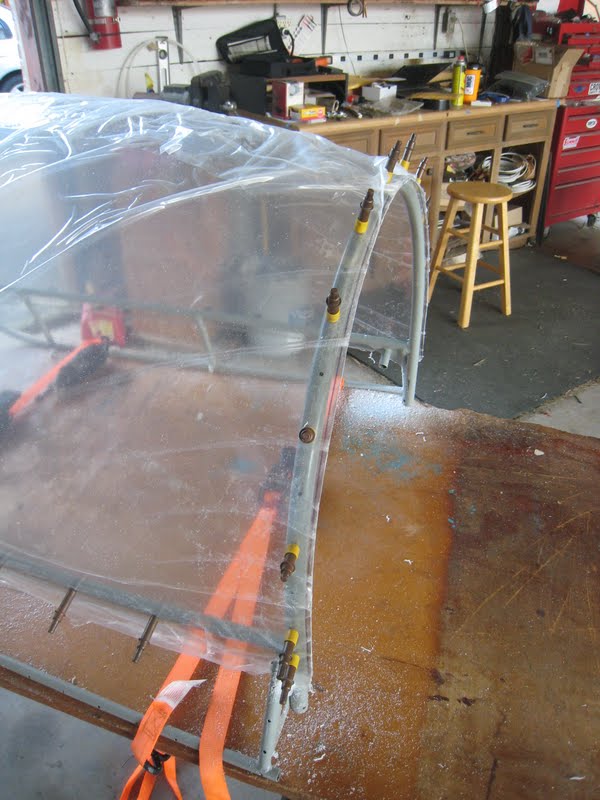
Cargo straps used to clamp the frame to the table so it doesn’t move. Leading edge is drilled to the canopy bow. Trimming comes later.
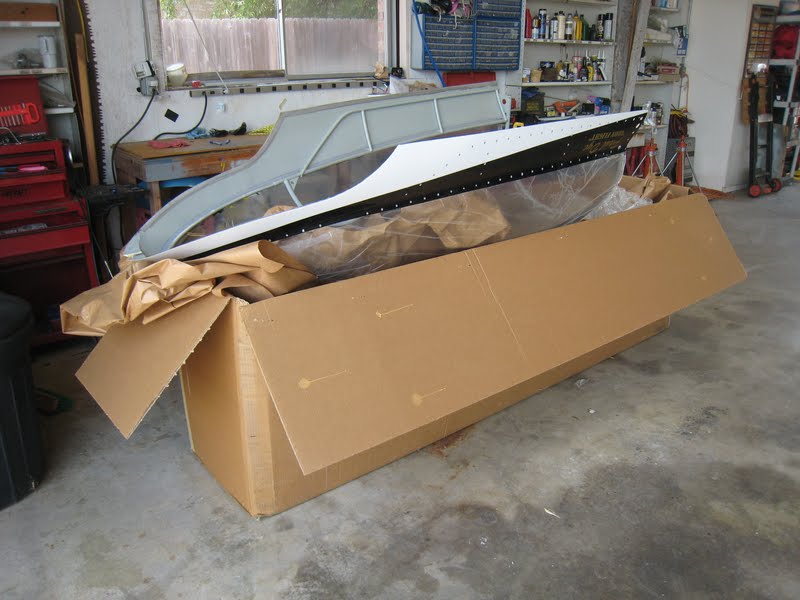
Anyone need a windshield?
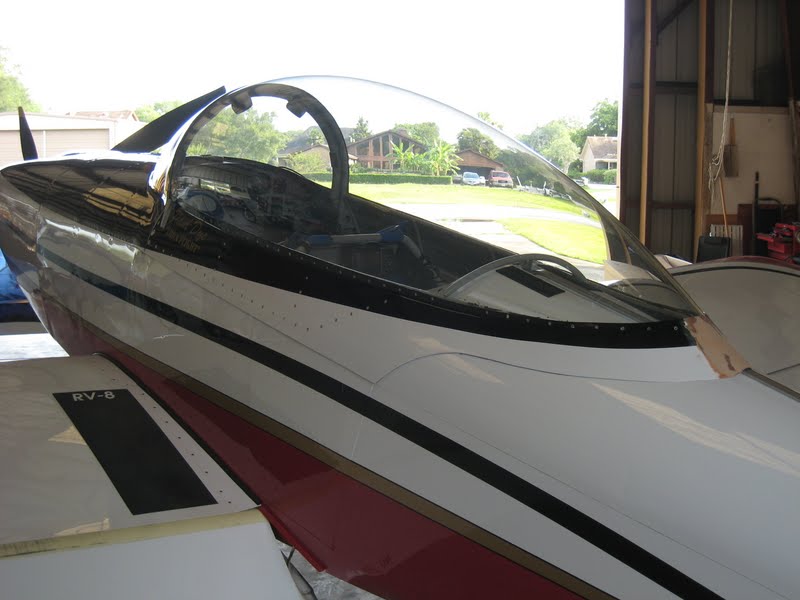
Ready for trimming, then comes a fit check with the skirt!

Speaking of the skirt….it looks a little empty, doesn’t it?
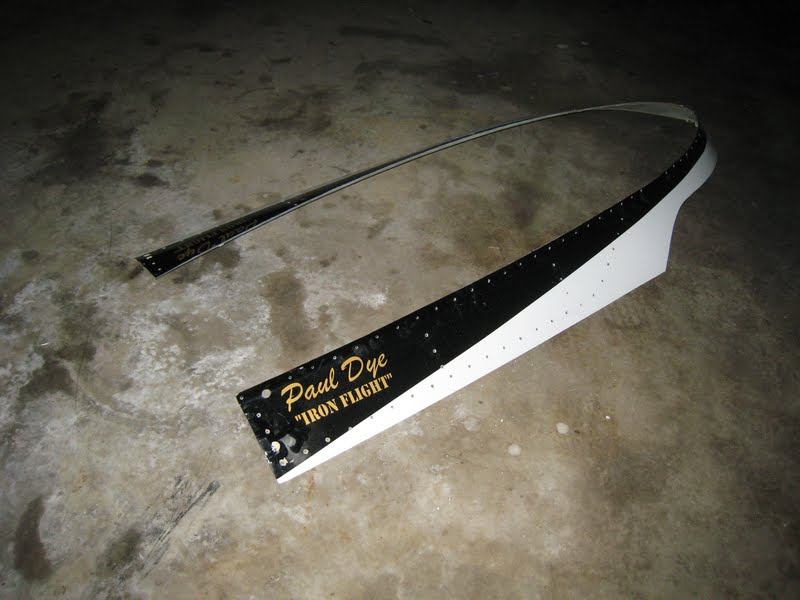
Paul
Well this week, it was finally time. I didn’t want the Val to go to Oshkosh with that crack, and in order to fix it, I knew that the skirt was going to have to be repainted. I arranged some time with Grady at GLO Custom to do the pant work in between other jobs if I could get it to him with a couple of weeks for him to work with, so I needed to get hopping! Here are a few pictures of the job on “night 2” – I have about four hours total in the job since I started. Basically, once I bit the bullet and realized I had to mess up the skirt paint, it was easy:
1) Use a pop center punch on all the rivets to punch the rivet mandrels inward.
2) Drill al the rivets with a #30 drill.
3) Use a countersink cage and bit to drill off the rivet heads – the cage prevents you from going into the fiberglass.
4) Since I had used some sealant between the canopy and skirt, I had to drill ALL the skirt rivets, then slowly peal it off, using a razor blade as I went to break the bond.
5) Take the old canopy and lay it upside-down inside the new canopy. Slide it around until it finds it’s natural spot.
6) Use a fat Sharpie to trace all around the old canopy onto the new one.
7) Use a cut-off wheel to make the “big cut” – it is nowhere near as traumatic as the first time – you just want to get rid of the windshield. Leave extra to trim off.
8) Strap/clamp the frame to a table. Place the canopy on the frame, and line up the front edge so it sits nicely on the bow. The edges are too long – just cut notches (for the vertical tubes) with a sanding drum on a Dremel to allow it to settle onto the frame. Check to make sure you have extra overlap on the back, and it stays centered.
9) Drill the canopy to the front bow, starting in the center and working down each side. Cleco. You drill into the old holes – super easy through the plex – use a plexi drill (1/8”).
10) Clamp the canopy to the frame about 2/3rds of the way back, where the frame necks down behind the cross-bar.
11) Drill down the sides into the old holes, alternating sides. Keep checking the rear alignment.
12) Once al the clecos are in, use the Sharpie on the inside to trace under the frame where you want to trim the plex. You’ll trim to this line.
That’s as far as I got in about four hours. Tomorrow I’ll trim, fit the skirt, then up-size the holes and use a new “soft grommet” trick that Danny King and I have been talking about. More when I get to it. Here are a few pictures:
Rivets center-punched and drilled (painful to do that to a nice skirt!)
A Dremel sanding drum is the perfect radius for notching tube clearance
Cargo straps used to clamp the frame to the table so it doesn’t move. Leading edge is drilled to the canopy bow. Trimming comes later.
Anyone need a windshield?
Ready for trimming, then comes a fit check with the skirt!
Speaking of the skirt….it looks a little empty, doesn’t it?
Paul
Last edited: