

HaveQuestions
Member
First real post. Mostly using this VAF as another way of documenting the progress and hopefully having other eyes help identify mistakes. Regardless, others posting here have helped give me ideas on how to tackle this project - many thanks!
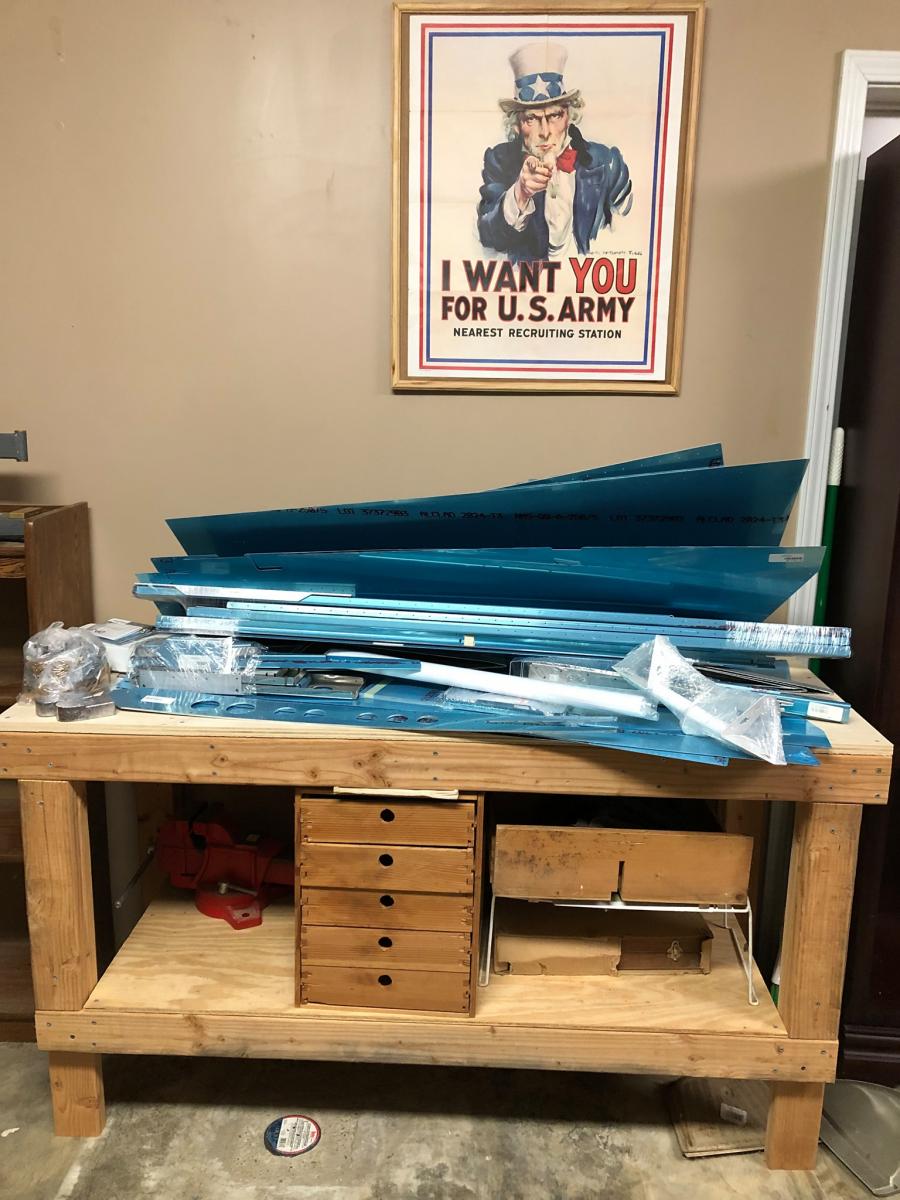
Step 1 of Kit 1 started - Empennage arrived, unpacked and inventoried.
- One rib missing VS-706
- One extra rib HS-706
- One bearing missing MD3616M
Also looks like the label are a little different in the BAG 616-PC sub-kit. looks like the correct parts, but the labels are different than what is on the documentation (e.g. HS-411BPP-PC is labeled as HS-411PPC)
More to come.
https://eaabuilderslog.org/?blproject&proj=7qvfxyU90
(Well, tried to add images from the EAA builders site - not sure if that is an option or not.)
Last edited:


") )
)

