Radioflyer
Well Known Member
So I wonder what the status is of this build? Success?


So I wonder what the status is of this build? Success?
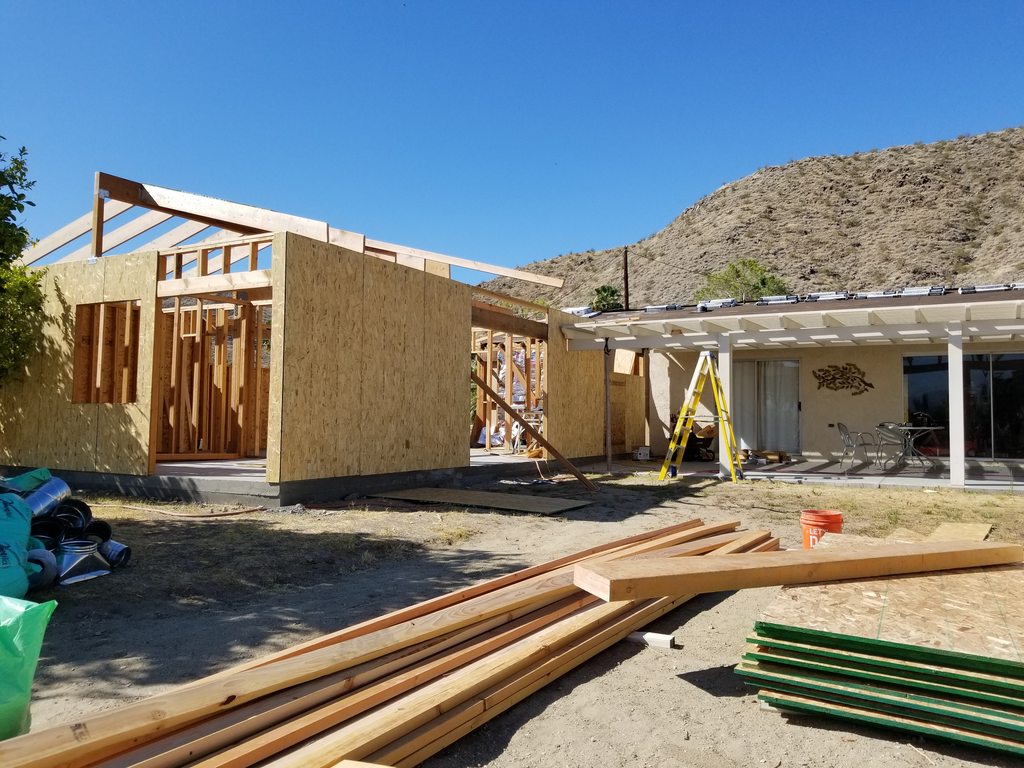
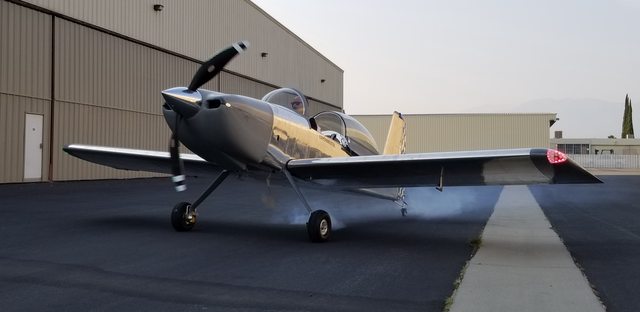
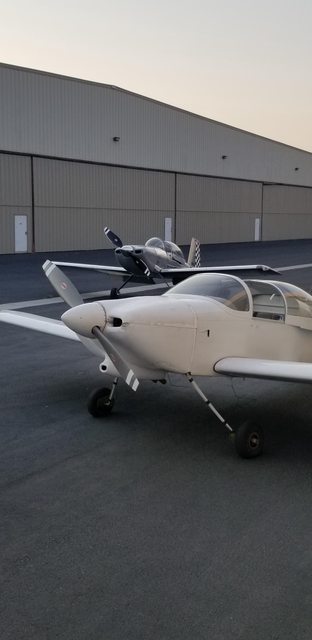
Latest update on this treacle-paced project...
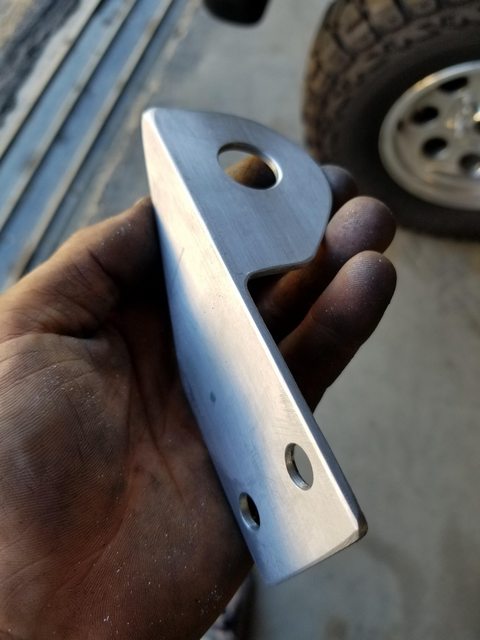
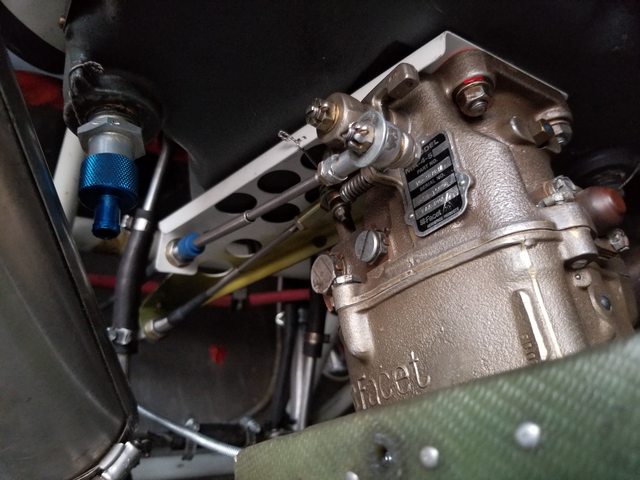
Made a manual trim bracket. I never liked the flimsy centre console setup in the RV-6, so I re-routed the cable and figured I'd mount it sideways, so the knob rolls forwards and back, like a mini version of the trim wheel in a spam can.

Emags can be too advanced, for sure. Though I'll bet that's only part of it.
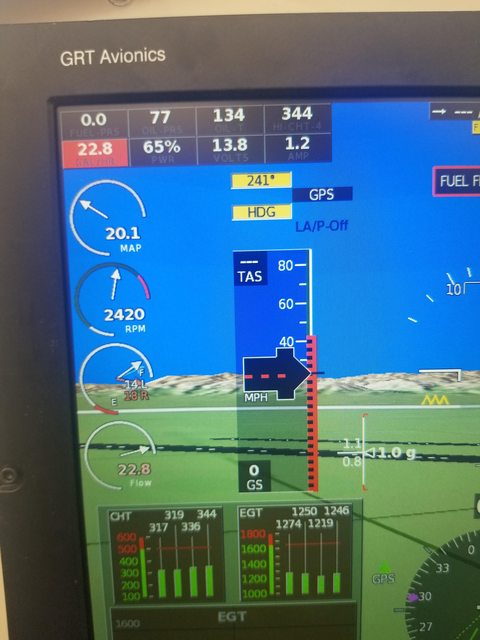
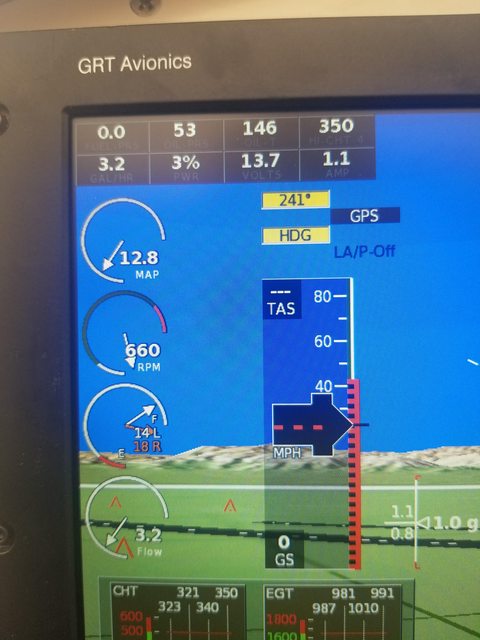
I've dialled the Emags back five degrees so I should now be running 29 degrees advance. Noticed the intake tube nuts were slightly loose, which made me wonder about a lean condition. That might a bit of a reach.
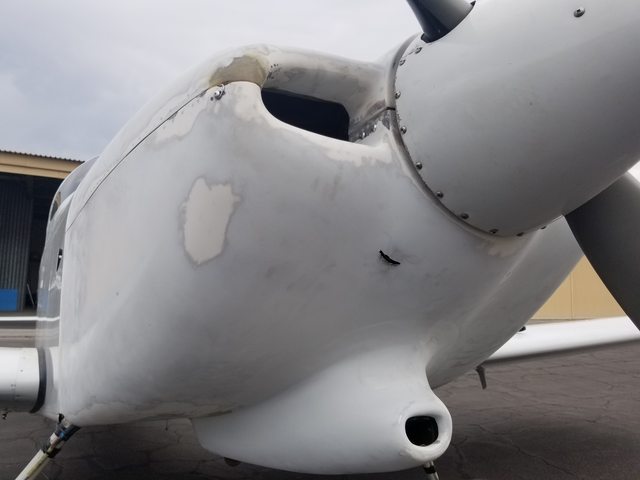
The baffling on the engine is actually pretty nice. I would like to do the mod to get air down the back of cylinder 3.
That's enough for now, off to bed. More shennanigans tomorrow night...
Hi Brian,
Interesting, I hadn't queried why they were able to run so much advance. So I just called Emag and asked the question. The answer was 'because we have the control to do it'.
I understand that they are experimental systems on an experimental aircraft, so if they work, they work, and if they don't, then its up to you to find a solution.
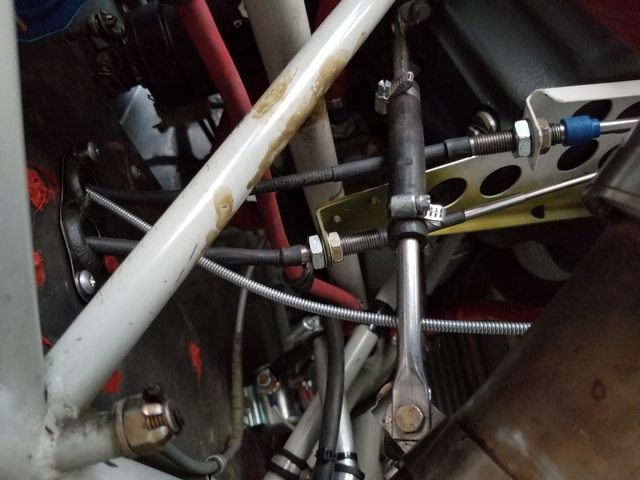
The Mags are timed to fire at 26 degrees advance, advancing up to 34 degrees with increasing RPM (controlled by vacuum). The mags are timedin reference to the TDC mark, and they didn't recommend going below -6 degrees. Instead they suggested pulling the vacuum pipe to keep the advance static (at 26 degrees), like a traditional mag would be.
I'm going to start with -5 degrees and vacuum advance attached, and then go from there. That'll obviously give a base setting of 20 degrees, and 31 degrees advance. If that doesn't work, I'll plug the vacuum as suggested.
Either way, I wish I hadn't just fitted these and trusted they'd work out of the box - I should have done my own checks. It is an experimental aircraft, regardless.
You live and learn (and sometimes the lesson is expensive).

Hi Lars.
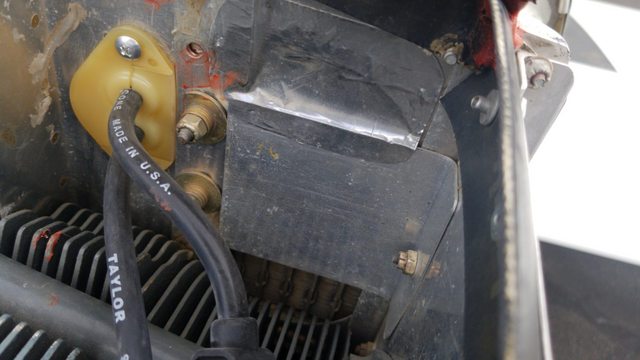
I don't have the resistor or the 4.8V set up on the RV-6. I think I stuck the wire on there and never went back to complete the task. I can't believe I did the same thing on the -4... Actually, I can.
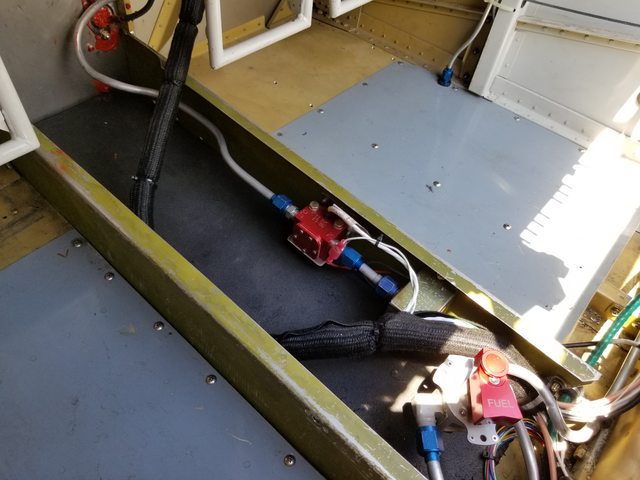
I can't remember where I put the pressure sender on the RV-4. Was it near the carb?
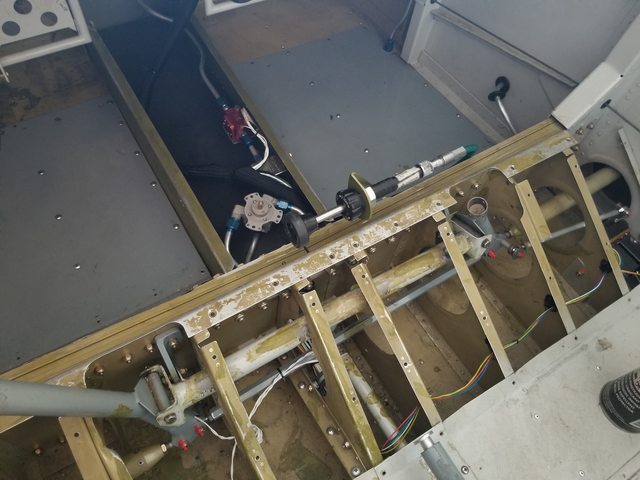
On the -6, I have fitted it to the gascolator. I was hoping I might be able to assign it to an analog input on the HXr as it has internal pull ups.
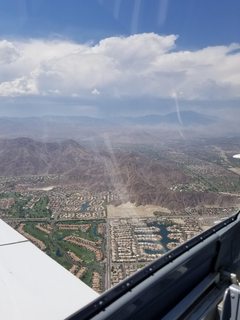
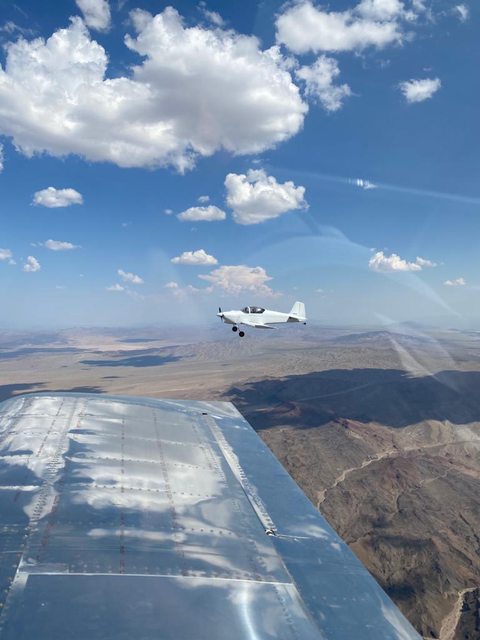
 I get asked occasionally how well my -7 slips. My answer is fine, but unnecessary. With the blue knob in and throttle out with full flaps, I'm going straight down. Having about 50 hours in a fixed pitch -9A I am well aware of how difficult it can be to get down and stopped (made a fool of myself the first few landings) but that's not the case in mine. Like it that way just fine...
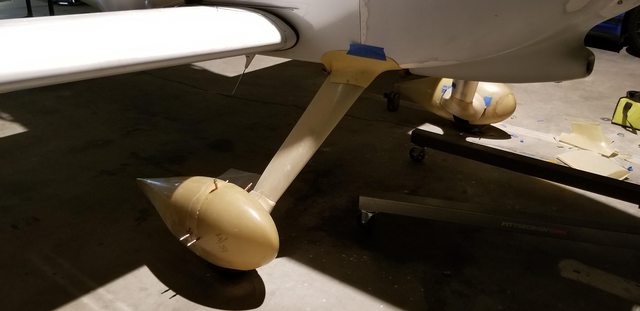
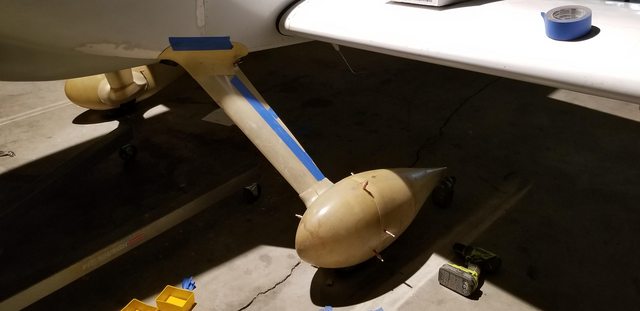
....The build manual says to use alu hinge on the trailing edge of the leg fairings in a method similar to that used on the engine cowl. That would keep the fairings removeable, but I'm not sure how one would do that once the intersection fairings are closed up anyway, so I wonder if I may just epoxy the trailing edges.