What's new
Van's Air Force

Don't miss anything! Register now for full access to the definitive RV support community.

RV-8 N657AR Updates

goatflieg

Well Known Member
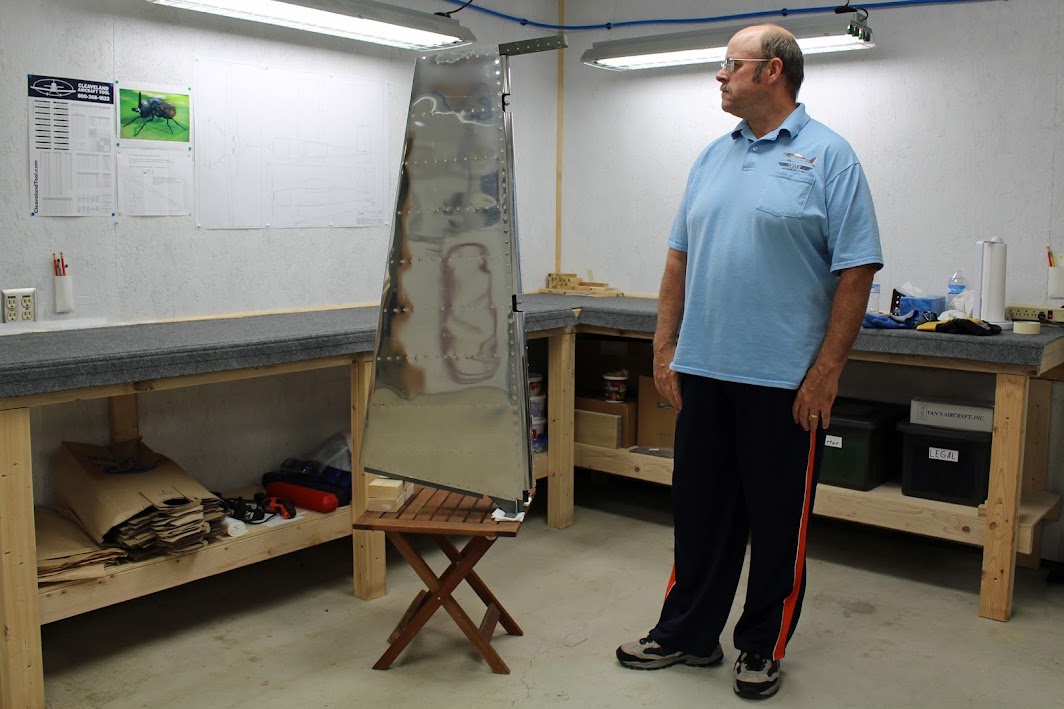
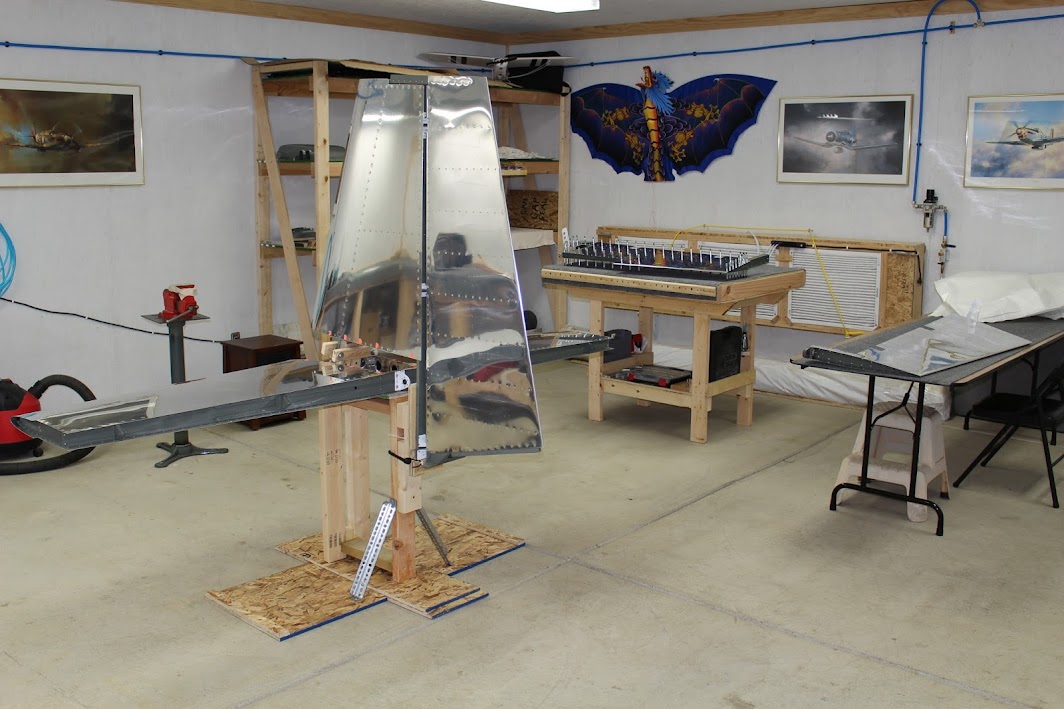
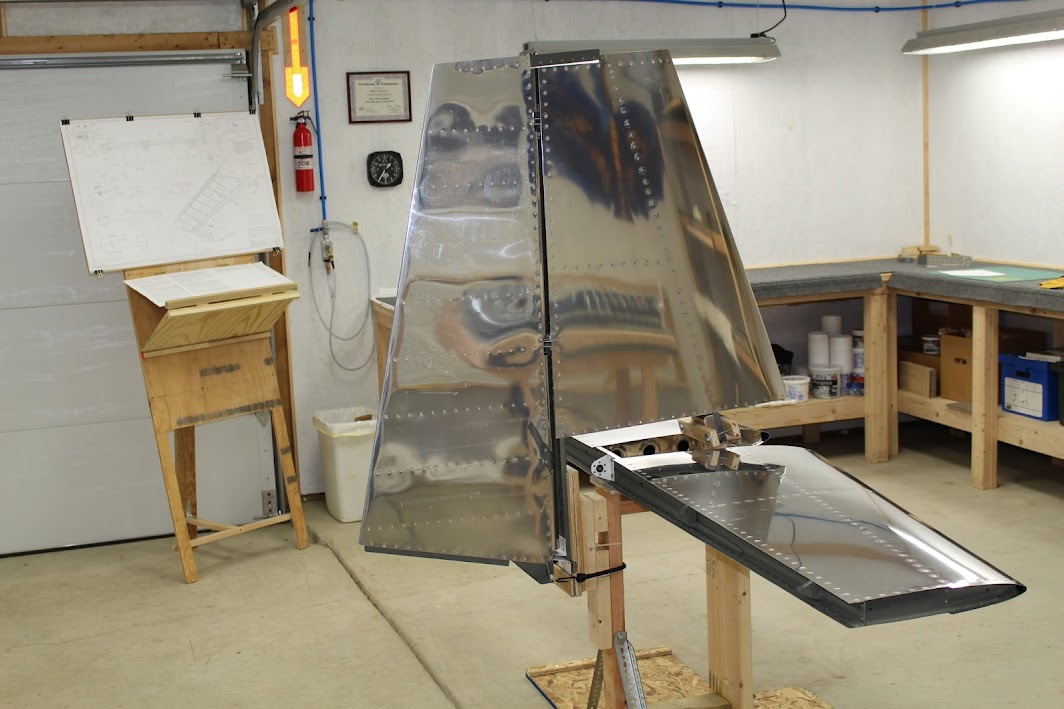
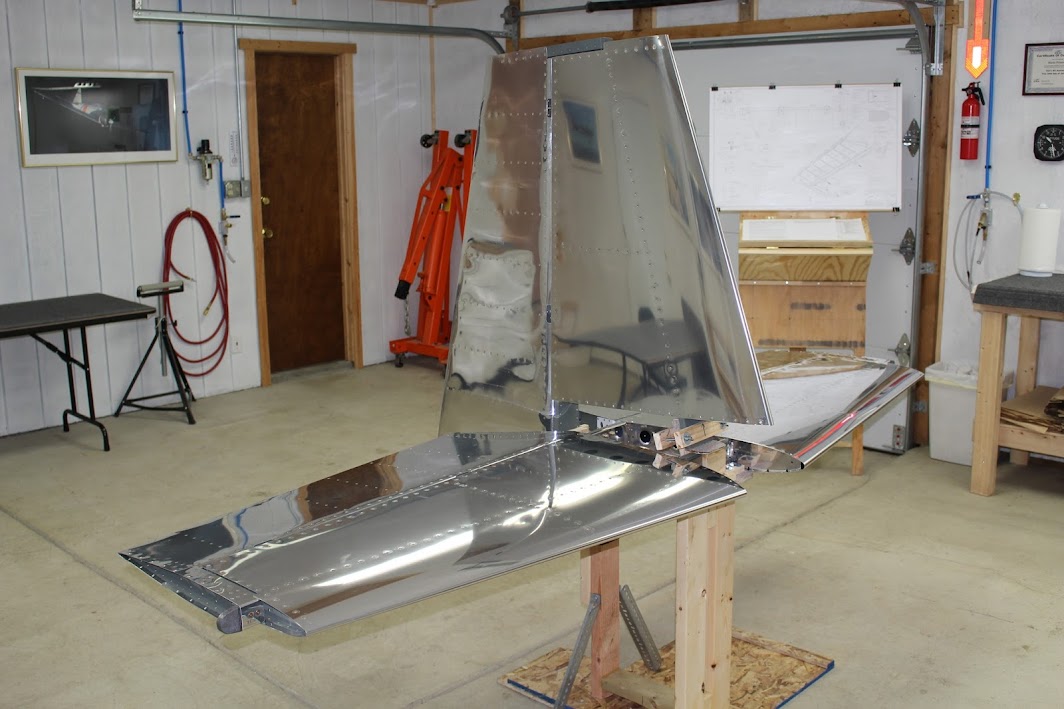
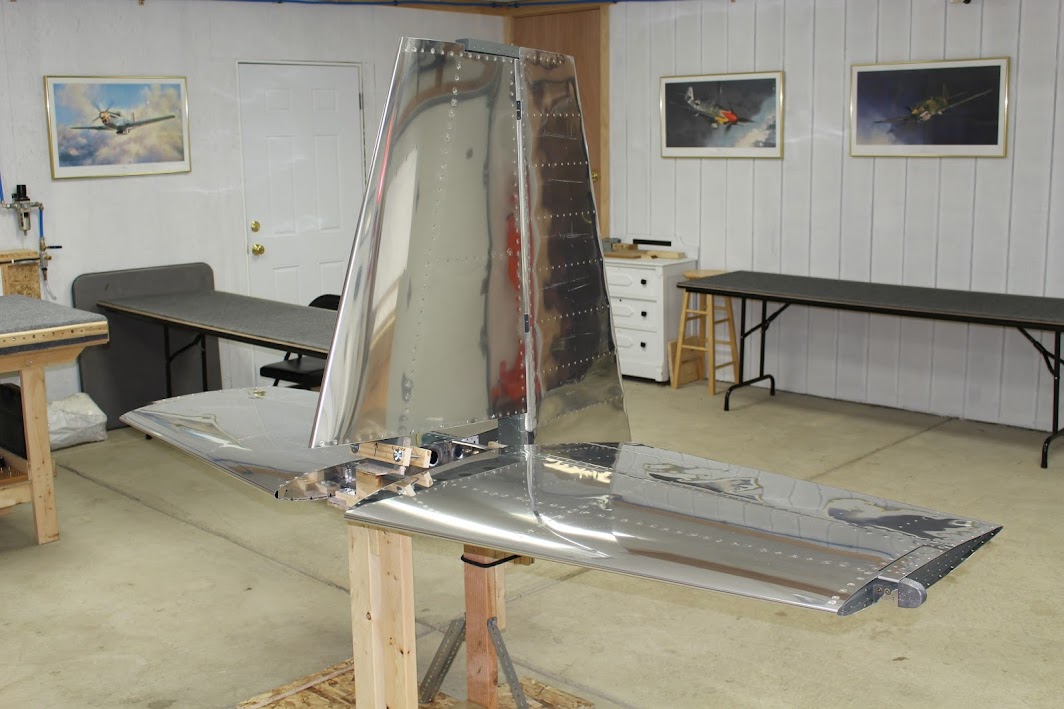
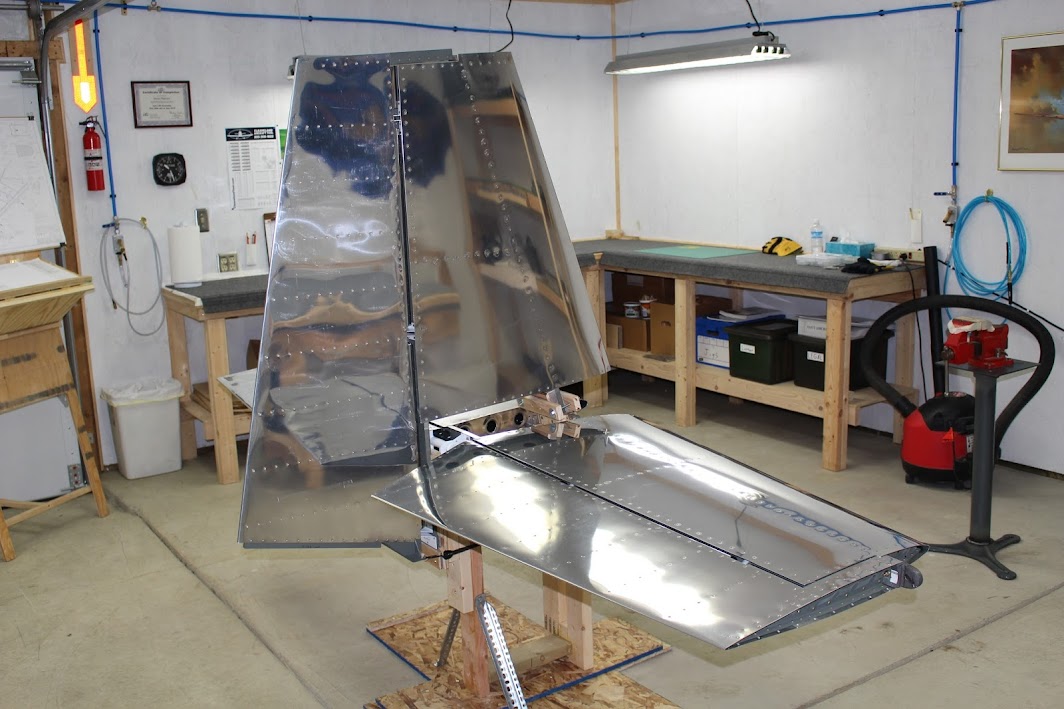
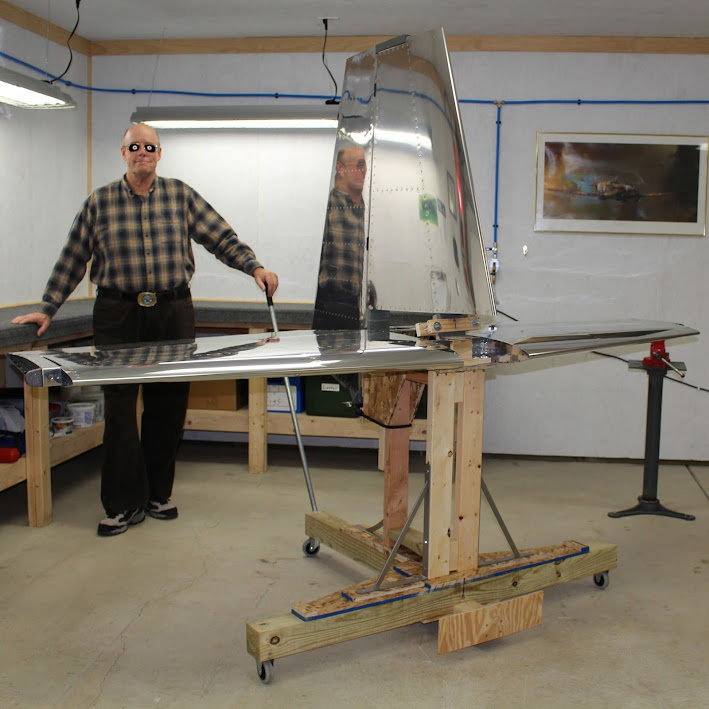
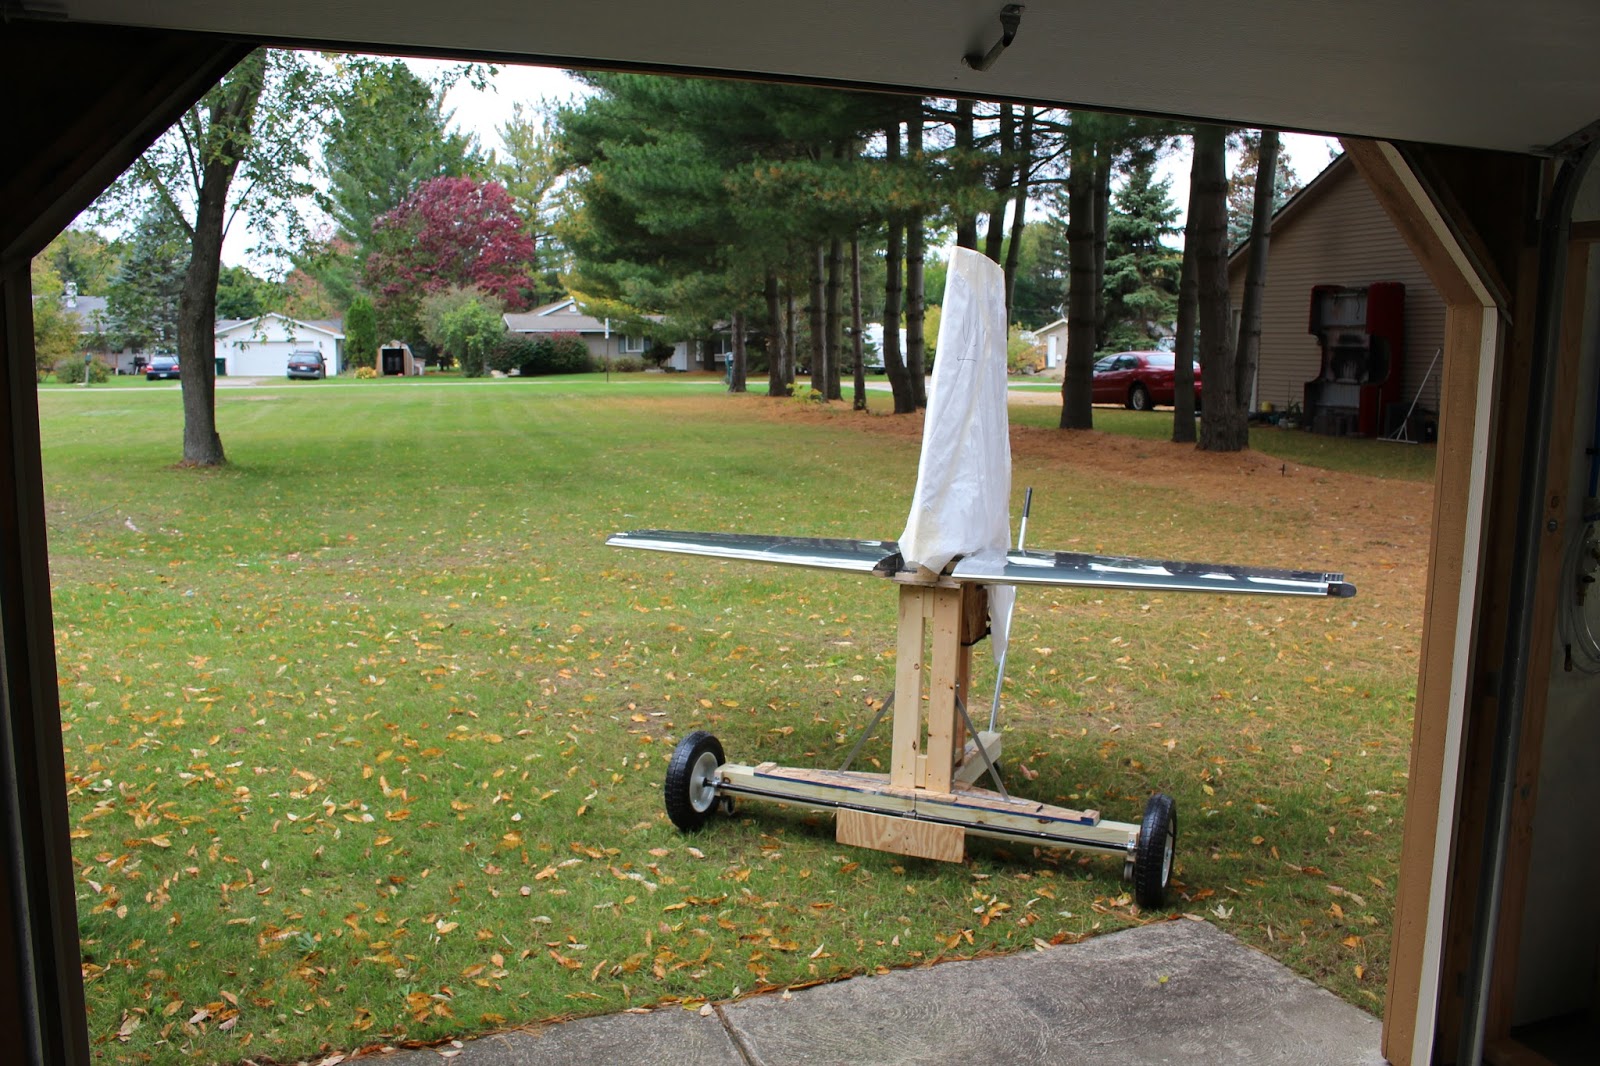
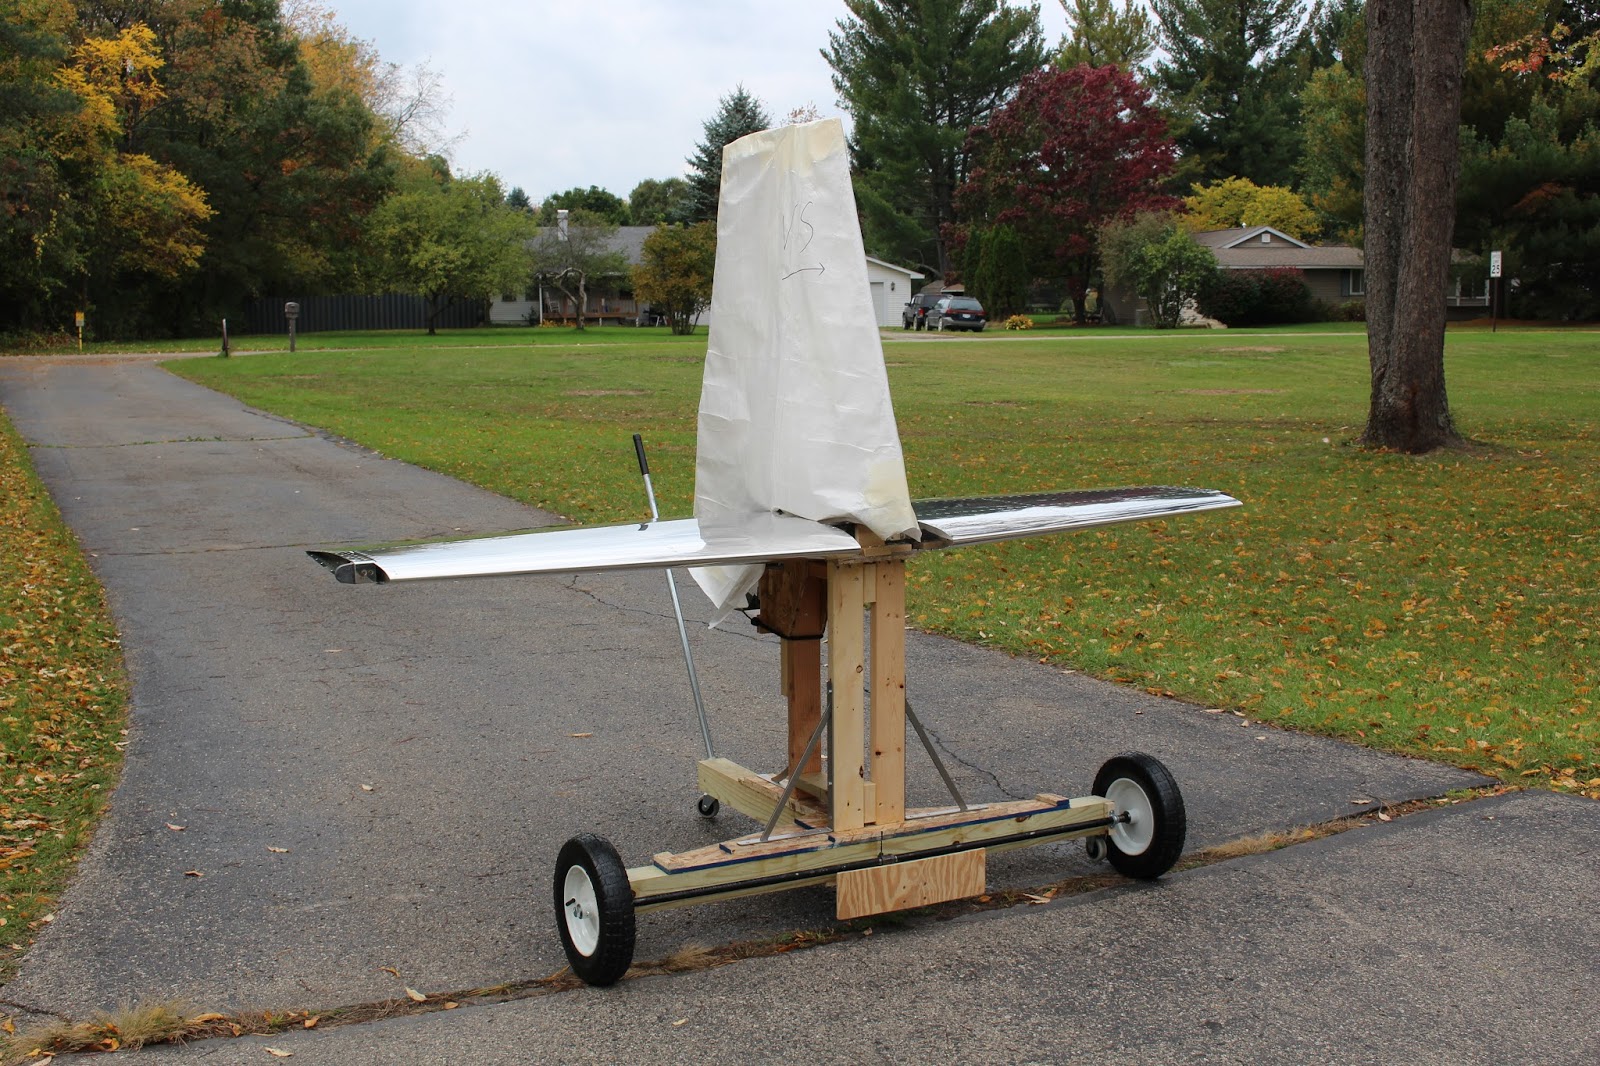
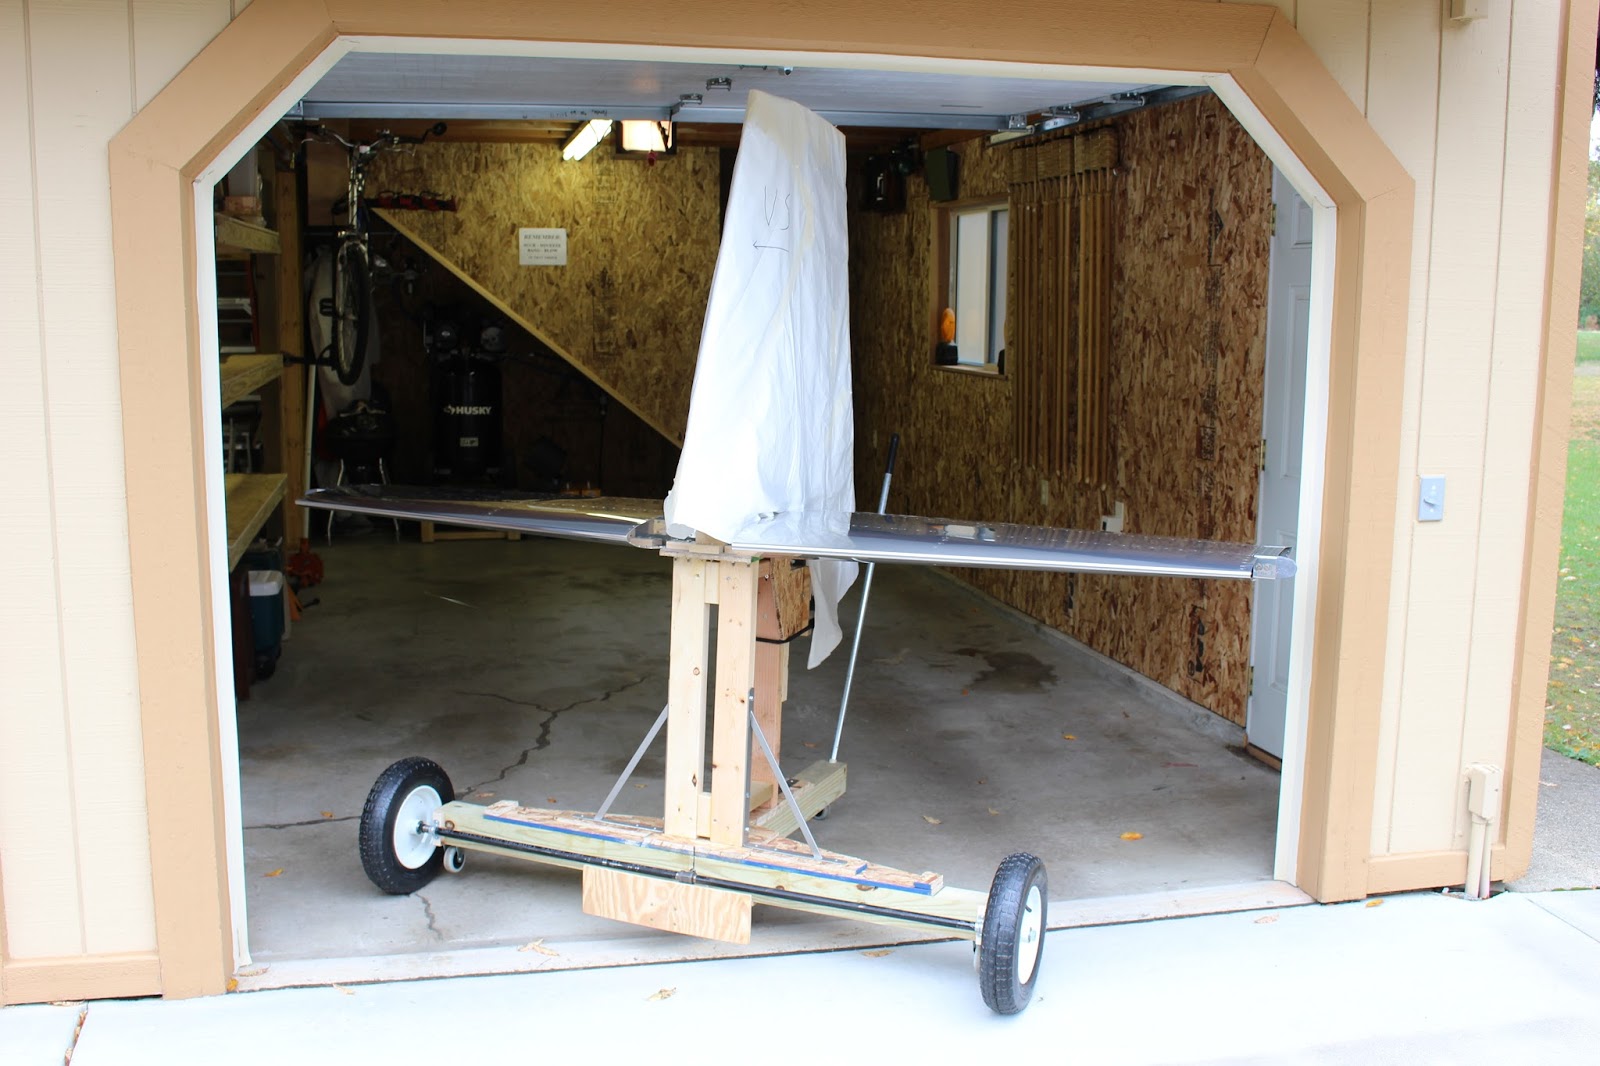
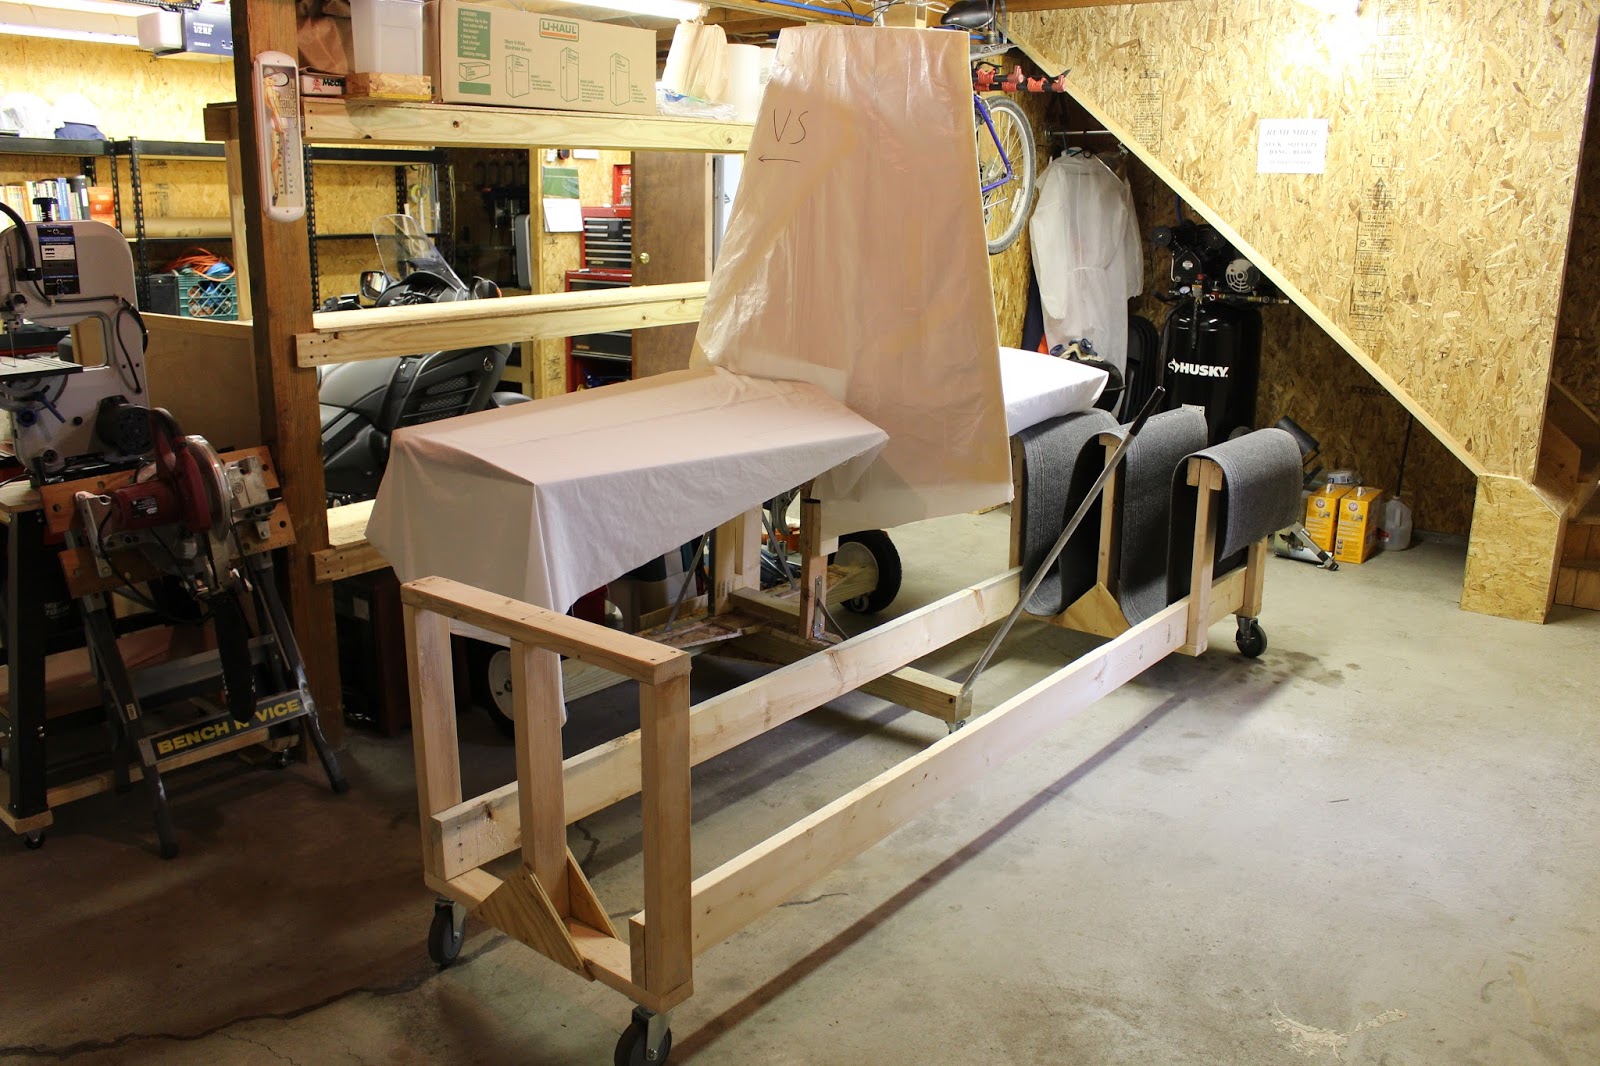
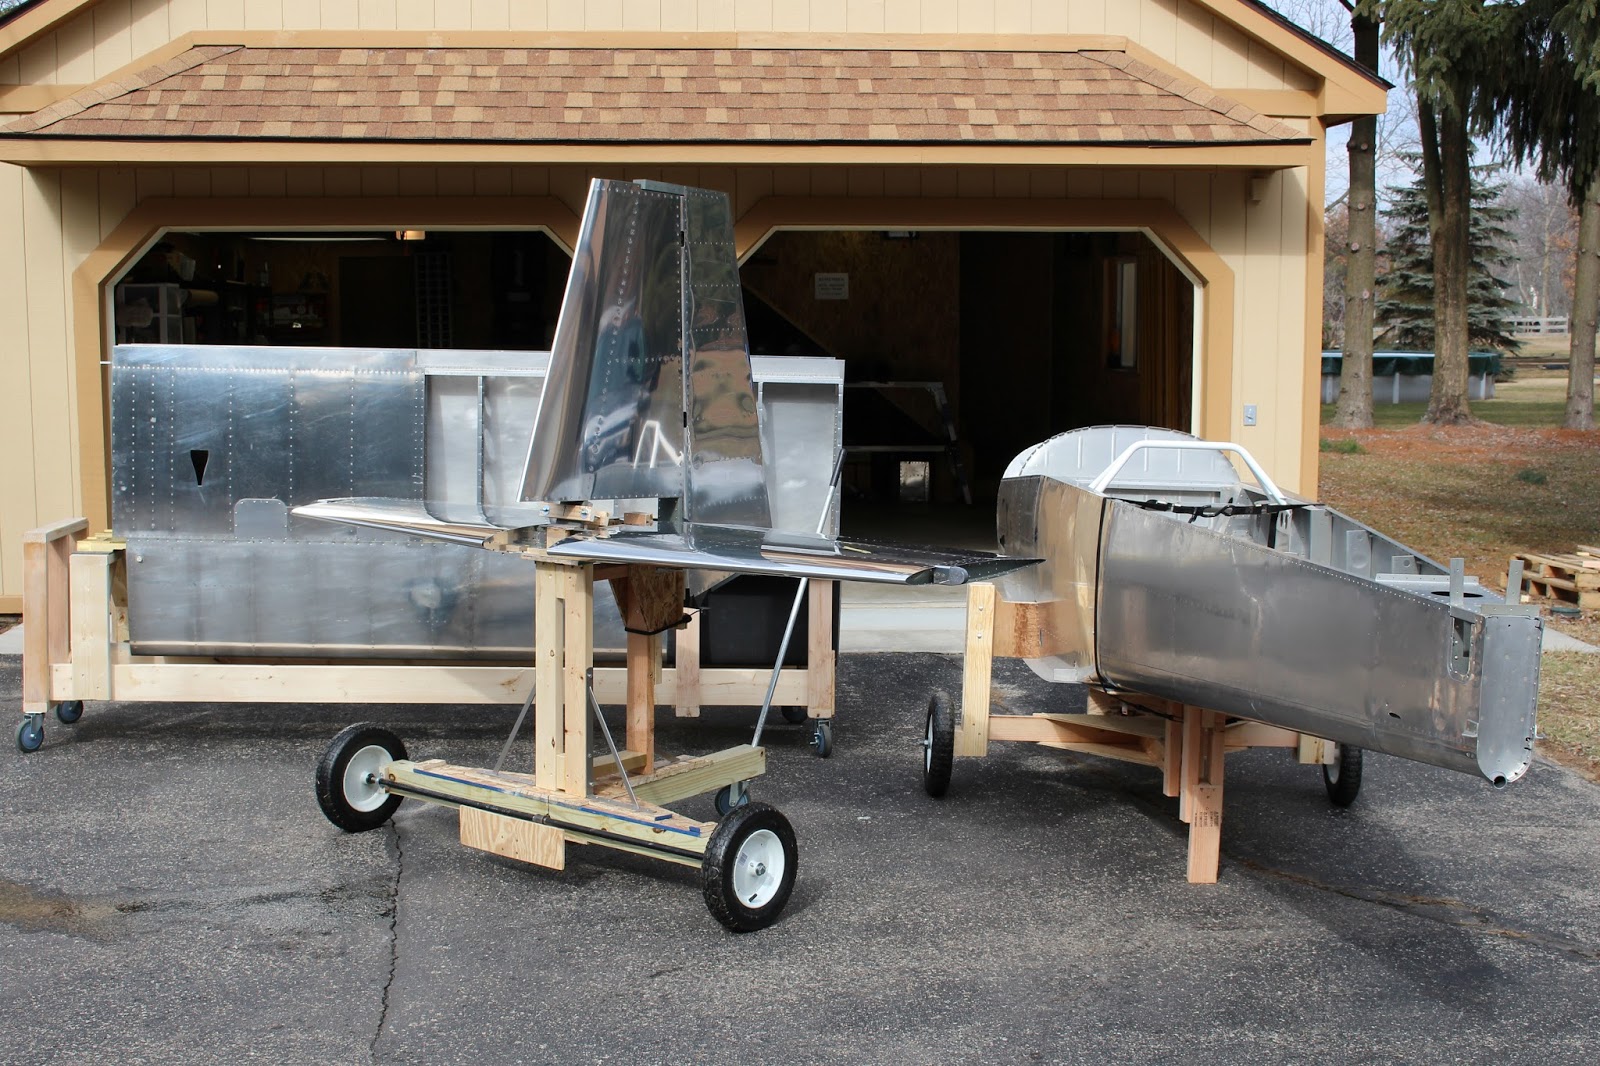
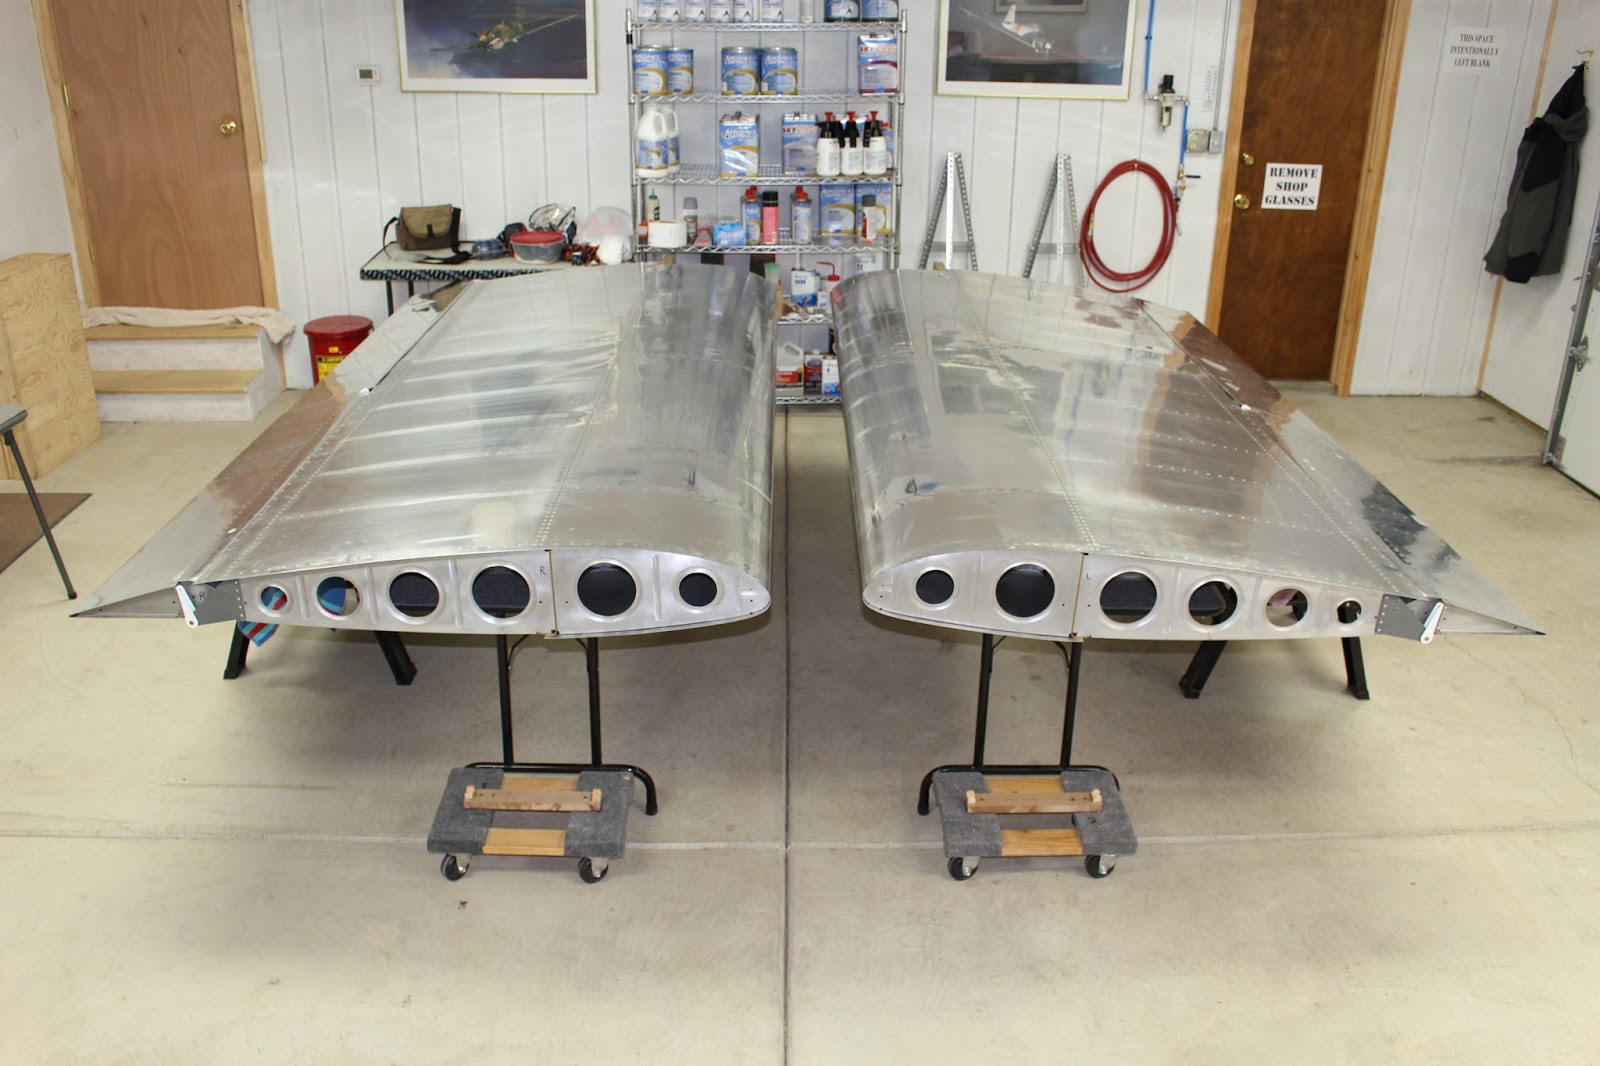
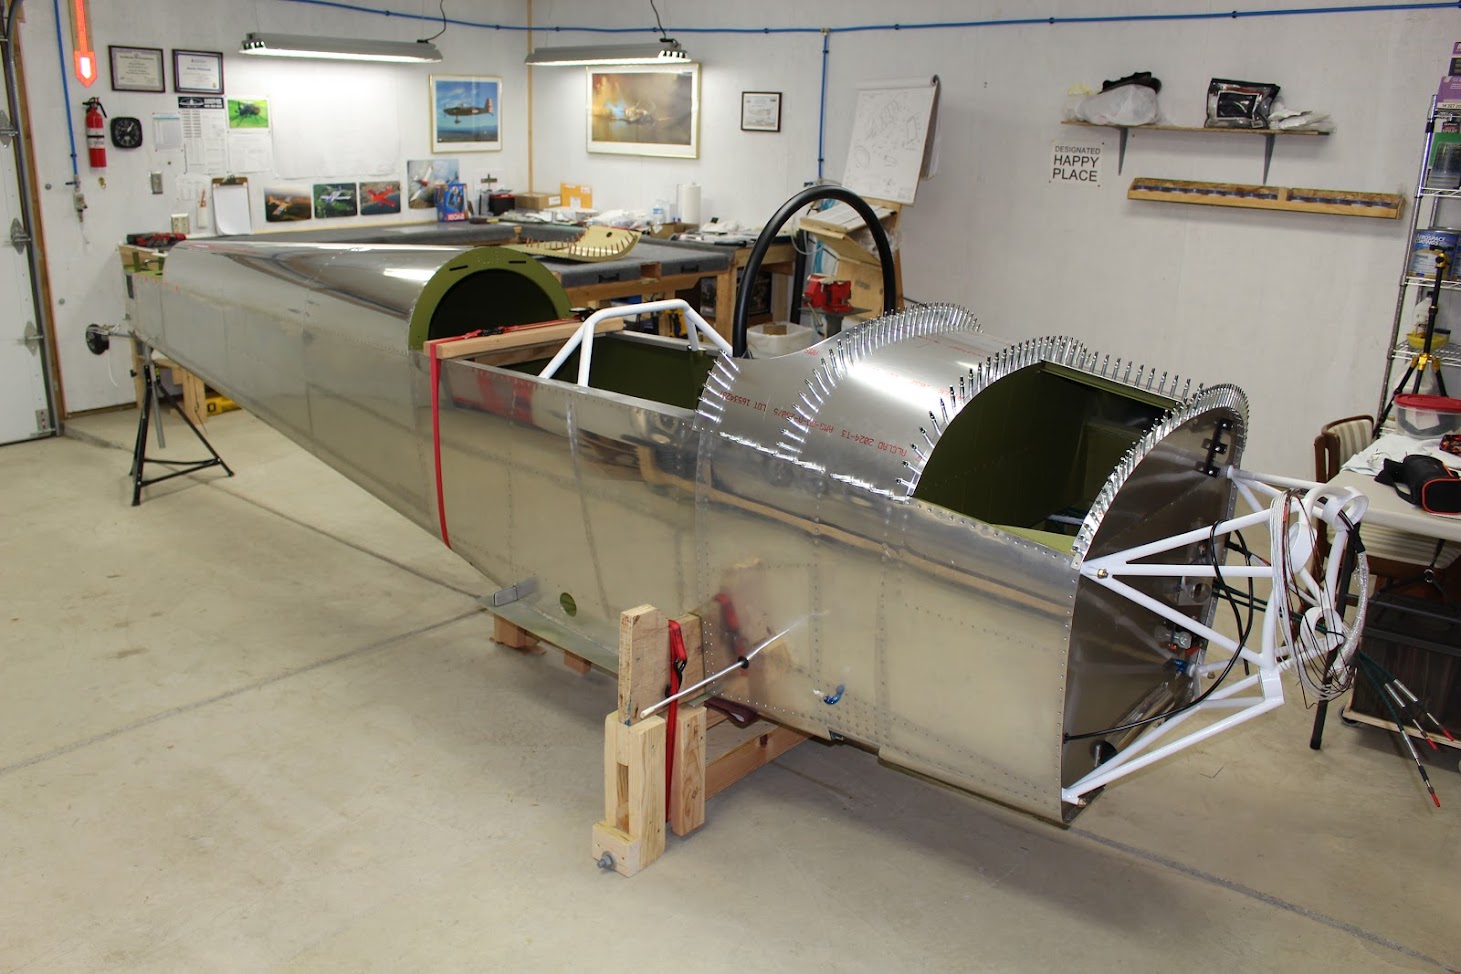
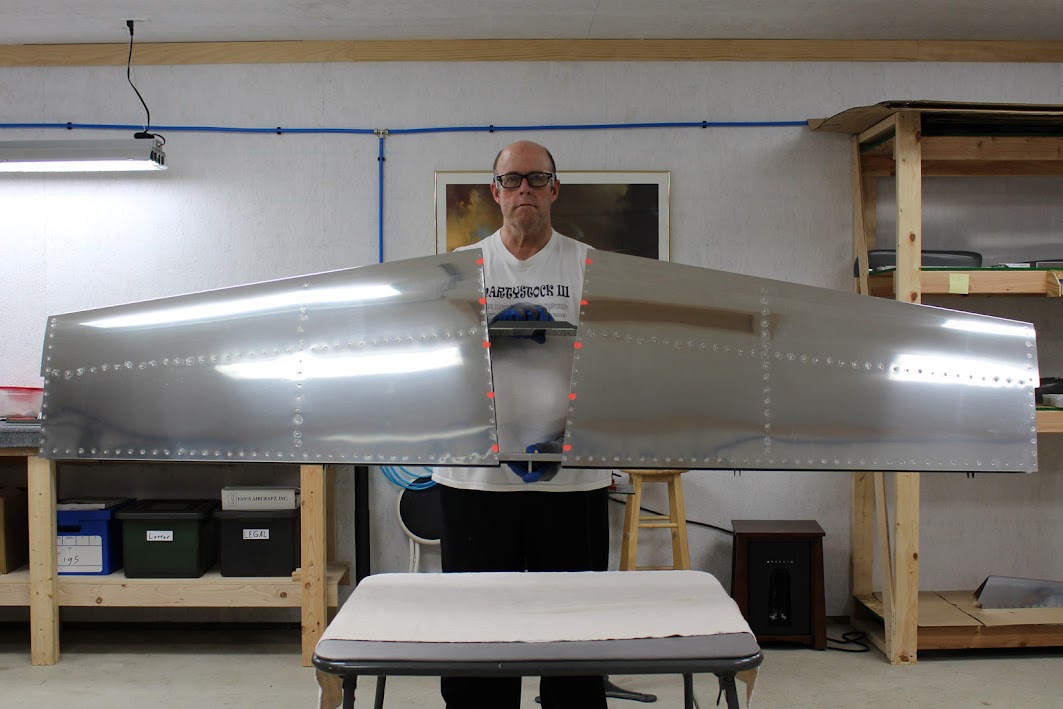
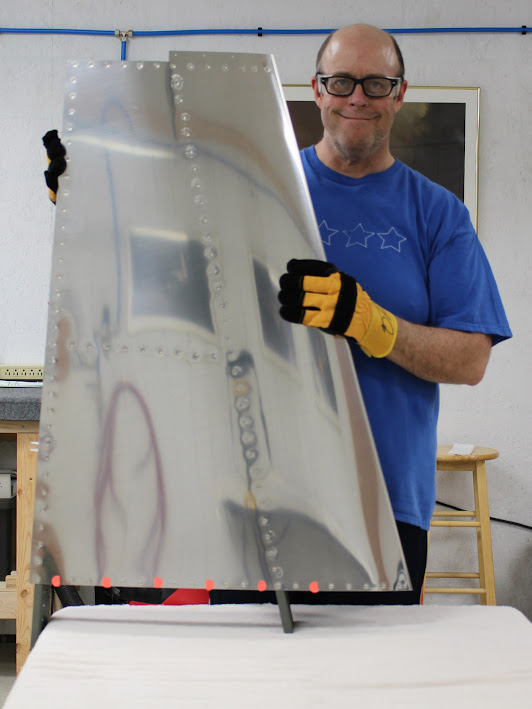
The first of many milestones: My horizontal stabilizer is essentially completed. The vertical stabilizer will be assembled in a few days. My thanks to Dan Jones for my first Tech Counselor visit that preceded the closing of this sub-assembly. I will note the milestones here; for more details, visit my build log at www.mykitlog.com/goatflieg
RV8%2B0149s.jpg
 
Surprised myself by reaching my second milestone in as many days: the vertical stabilizer is complete. An easy piece, as it were... but I did have to replace a couple sloppy AN470AD4 rivets. A little tricky, but caused no damage and the replacements set well. I deserve a break tomorrow. I'll probably feel a bit broken... but it's a good kind of pain.
VS%2Bcomplete.jpg

I see a smiley :)
 
And a new RV-8 HS and VS is born - happy birthday!

Nice job Martin! Now get out that bending brake for the elevators and rudder! When you finally put the rod end bearings in the control surfaces and temporarily attach them to the HS and VS you'll have an even bigger smile!

KPR!
 
I completed the rudder (excluding fiberglass) on 9/16/15, and have started work on the elevator stiffeners. The kitlog is up to date, and I got the blogspot blog caught up as of yesterday. The blogspot blog always gets finished last... because of the detail I add to it, it's the equivalent of finishing a term paper... not fun, but well done.
Kitlog: www.mykitlog.com/goatflieg
Blog: goatflieg.blogspot.com
RV8%2B0292.JPG
 
Good job Martin! While you are still on it figure out how to secure those two locknuts holding the lead counterweight. There was a writeup in the archives somewhere on glassing the nuts. During my recent condition inspection with rudder removed I put a driver on the screws and one turned. It somehow lost the torque.
 
Vlad, thanks for the tip. I was wondering about that... kinda hard to get an accurate torque reading when you're squeezing lead. I'll look for that thread. I've got to get a torque marking paint, too...
 
The beating of the rudder

Vlad, thanks for the tip. I was wondering about that... kinda hard to get an accurate torque reading when you're squeezing lead. I'll look for that thread. I've got to get a torque marking paint, too...

Remember it will be under riveted fairing painted and practically unserviceable. There is no way to inspect the torque marks.
 
Getting closer to a completed empennage; working on finishing the elevators. With the stabilizers mounted on my empennage stand, I hung the rudder for the first time... just to see it.
RV8%2B0380.JPG

RV8%2B0381.JPG

RV8%2B0382.JPG
 
... and yes, it does occur to me that I'll have to modify my empennage stand to make room for the elevator horns. Still need to trim the bottom of the HS rear spar, too... and the HS skins to make room for the elevator counterweights. Always more work...
 
So is the screaming dragon in the background the pattern for you paint job? Metal works looks very pristine, as does the workspace. Nice job!
 
WOW!

Martin, your work is too nice to cover up with paint, start polishing to a mirror finish! But do it outside to keep your perfect shop clean.
Cheers!
 
Martin, your work is too nice to cover up with paint, start polishing to a mirror finish! But do it outside to keep your perfect shop clean.
Cheers!
I may be crazy... but I'm not THAT crazy! As for the clean shop, well... it's not always that way... but I find if I'm working in a very cluttered space, it tends to amplify any confusion I may be keeping at bay in my cluttered mind. When I clean up between stages, I enjoy it... it's a good time to relax, have a beer and admire my work. When I start the next stage, I find I'm less likely to make mistakes when things are organized.
 
Well, the empennage is (mostly) complete, and I did my first test-fit of all control surfaces this morning. Still lots more work to do... install six missing blind rivets and nutplate enroute from Vans; drill bolt holes in elevator horns: trim bottom of HS rear spar flange; trim HS skin for counterweight clearance; balancing... and the fiberglass work. But the main structure is essentially done, and the dropped left elevator lives on. Phew... break time.
z2XUggLjam8J9sKPX3h-itxzktJYamMxn0-NwNbf6BVdqH8rzIE=w1064-h709-no

RV8%2B0447.JPG

RV8%2B0448.JPG

RV8%2B0449.JPG
 
I'll be updating my blogspot blog soon... but in the meantime, I thought I'd post this and say Happy Halloween...
IMG_6718b.jpg
 
My empennage metalwork is done, and my blogspot blog is current. Here's a link:
http://goatflieg.blogspot.com/
The kitlog is also caught up... but I'm waiting for Matt to delete the obsolete posts. He'll get to it sometime, I'm sure.
Now for a long winter's nap. Yeah, right... like that's gonna happen. I'll probably be fiddling with fiberglass before too long. Still can't afford the big parts until next summer.
 
Test-fitting my elevators revealed that I wasn't as accurate drilling the center bearing bolt holes in the elevator horns as I had hoped. I had to get the holes welded closed, improve my bushing and jigging, and re-drill the holes. That was a nightmare. I found out just how hard it can be to drill through a TIG weld... but I got it done. I cleaned the parts up and primed over the butchered powdercoat. It was worth the effort. The holes are now accurate, and the travel is smooth.
RV8%2B0472.JPG

RV8%2B0475.JPG

RV8%2B0484.JPG

RV8%2B0485.JPG
 
A quick status update:
During this building hiatus I attended the Synergy Air Quickbuilding Class in Oregon... see my blogspot blog for details, as well as comments in the VAF reviews section.
Yesterday was a big step. After a phone call to Van's to sort out some details, I placed my order for my RV-8 quickbuild wings and fuselage. My hands were almost trembling as I hit "send" to place the order. I also got on the build list for a set of Grove airfoil landing gear legs... and I'm told I was just in time to get in on the next batch. So things are on the move again. While waiting for the kits to arrive, I'll be talking with engine, prop and avionics guys at AirVenture, attending the Sherwin-Williams training program in September (the April class was cancelled), visiting the Barrett shop in Tulsa, building wing stands, getting heat installed in the main shop and starting the fiberglass work on the empennage. As Oat Willie would say, "Onward, into the fog..."
 
A few weeks ago I got my wing stand built. It was based on the design shown, with some modifications. Purchased materials include two 10' 2x6s, six 8' 2x4s, 12' length of rug runner and large casters. The carpet strip section is wider to accomodate the common rug runner width of 26". It seemed easier to get the rug runner material while I was buying the wood rather than having to hunt down carpet remnants. It was all assembled with wood glue and screws... a very quick & easy build.
wingstand%2B00.jpg

wingstand%2B01.JPG

wingstand%2B02.JPG

wingstand%2B03.JPG

wingstand%2B04.JPG
 
There have been a few more updates on my Blogspot RV-8 Blog; click on the blogspot link by my signature to check it out. Topics include attending the Sherwin-Williams Aerospace Coatings Training Program and further progress on the shop heater and paint booth. I'll have to share this highlight: Today I took my tail feathers for a walk. For the very first time, the empennage has left the nest. I'm making room for the big crates, which should arrive in a couple months.
RV8%2B0496.JPG

RV8%2B0497.JPG

RV8%2B0498.JPG

RV8%2B0500.JPG

RV8%2B0501.JPG
 
Last edited:
Your airfoils and main gear look solid and plenty strong, but I'd be a tad concerned about that tailwheel. Also, cabin accommodations seem small for cross countries. :D
 
The cover is made by Clownbreath Industries... also known as me. And as for the tailwheel endorsement, I got that long before I thought of building this beast. Those were the days when I dreamed of owning a warbird. Sigh...
 
I just posted my year-end wrap up in my blogspot blog; see links in my signature section for details. Got my first paint order in; started a plexiglass/aluminum/wood/fiberglass practice piece, and got to work on the fiberglass tips for the empennage pieces. Still no quickbuild kits... but I managed to make arrangements with Tony Partain for shipment from Oregon to Michigan. We're hoping to get them in with one of his January deliveries... but at this point, who knows. We were hoping they'd be in Oregon by now, but the latest word is that the fuselage is shipping separately from the wings. Maybe next month, I'm told. For those of you keeping score (like I AM), that takes me into the eighth month of waiting. Sigh...
 
Many of the readers here may already know this from my facebook posts and other threads... but my QB wings and fuselage finally arrived last Tuesday. I've updated my blogspot blog with all the details - see the link in my signature page - but I will share one photo here. Inventory has begun, and so has the rest of my life, which will be busy and filled with wonders for the rest of my days. Some days I'll wonder why I'm doing it... and somedays doing it will be wonderful.
RV8%2B0556.jpg
 
Another blogspot blog done (see link in signature). The wing stand has been modified, the fuselage stand has been built, and I'm ready to get back to work on the wings. It was a beautiful day for rearranging components, so I couldn't resist taking this group photo outside.
RV8%2B0583.JPG
 
I really like the fixtures you made for holding all the components. I didn't have the patience to do that! Nice job!:D
 
I really like the fixtures you made for holding all the components. I didn't have the patience to do that! Nice job!:D

Thank you, Mark! When I feel like I might be getting burned out working on the aircraft parts, making something that's eyeball-engineered out of wood can be a beneficial change of pace for me. I have a few others... a low jig for the vertical stabilizer, a horizontal jig for the rudder, etc. Nothing pretty... but fairly functional.
 
This month's blogspot blog entry is finally complete. It's a long one... very long, actually. I guess I got a lot done on the wings. I get the feeling they're all going to be very long entries from now on, he said with a heavy sigh. But like the plane, I started this thing... I must see it through. Click on the blogspot link in my signature to see it. Here's a teaser photo...
RV8%2B0761.JPG
 
I haven't posted in this thread for quite a while. I've made 5 more blogspot blog entries since the last post and a LOT of KitLog entries, documenting a lot more progress. The most recent blog entry was last week; as always, see the links in my signature. Most recent event was the arrival of my finish kit. I'm a big step closer to have everything I need in my inventory. Everything had been purchased, and I only have to take delivery of my engine and prop... and I'll have them both by January.
skC3Y6u-l3mC1JD2zIER05oQNA-eWOsf_lGLf5kD8Bz_pYP5KNHIwBi72Kn_M1FO2vVSu4xm4L1AmS1kXFoEcXOeR458MifPTHveRgIyUchRA1m6N5wNWWfFQ7_OgL14LbeWdBYxbsdlgeObQjqUDh6iGYvH73l95j9B97QdzsyndbI45ynWz6oFyhn7SZCbog1y1vXjWigKncvrspMCxtsKCvGgzxKLZbQVLLFlYMIh0Je2lAd_0pYyJQaD5gLcvlexlxLVZ3Lpppx1NreK2-iPWjSnkjNll4GITCIudXMkNJKrfOPaRnfZeSTiN_7a9y9Q5WuXMUaEoI8vBGbCInDAv3nP0ZFUt_K0KlBBKWrsa6aIH_tSATq8YZlQzsAnB6GbGlQ1r8SEjxEekzzo419GEbGRX3tBv7b3cKEzWZVctuiq3kFWZVm6H3hcIQdbj-pz-wu7qMc66seP5xqzoCKFihA3p3U8KGyYAwcmr2nMRrcSQBkQFrNBpFmFhQ-OZACQ7zK2loFqA48Iz0QfRF7VvLw9_HmIEA6aacPQ6jqm69JW_-SW0Sh52Qr8SmLh-5_Dc0yn1NX8yverMZ9NFgNyju7deYjxr3wssB-S5g=w1461-h974-no
 
Canopy Skirt

What happened to the rear of your canopy skirt? That doesn't look normal to me at all.

I'm jealous of all the space you have. I'm building out of single car garage.
 
Another blogspot blog done (see link in signature). The wing stand has been modified, the fuselage stand has been built, and I'm ready to get back to work on the wings. It was a beautiful day for rearranging components, so I couldn't resist taking this group photo outside.
RV8%2B0583.JPG

What's the NACA vent on the underside of the wing? I thought the cabin air was in the nose. Is it just the heat in the nose, with fresh air in the wing?
 
The NACA vent in the fuselage is for the front seat; the underwing vent is for the back seat... at least that's the plans callout.
 
What happened to the rear of your canopy skirt? That doesn't look normal to me at all.

I'm jealous of all the space you have. I'm building out of single car garage.

The skirt is now apparently a two-piece item. It looks like it will take a LOT of fabrication and fiddling. I'll keep you posted.

You can never have enough space. The photo of the finish kit inventory is in the garage section of the building;the main shop is 25x25, but the two spaces are only connected with two narrow interior doors. Big pieces have to transfer outside via the garage doors. Before I started building, I did some matching scale drawings of both the shop and the airplane and played with cutouts to make sure I would be able to fit the aircraft with the wings inserted for setting the incidence. Done some double-checking, and it is possible... but it's going to be really tight in all directions. Same with the painting in my collapsible interior booth; the fuselage is gonna be a bear.
 
New blogspot entry posted; Little Steps and Big Steps; see link in my signature below. Get comfortable because it's a long read, but there's some good stuff in there. Here are two teaser photos:
Xjt1OZpYuQdCX9pCqHDzUIURsyBVfHog-PEF_GTVUZmZodkR1PWGu87Q5PIdJ4M4wngyWYxWb9nce-syxAxGzICXHHVB-kjP9zfBpQJfO7S2hxoNRmQUQ08lS9gm8ZL3hNasQbP39sCVTEfkZNdmH5CbNDbfgOe2_emtG7OqOm-bDoYaXIV9Hj3JLTlYM2lkTdQ5A7eZ8bs9VV9zCgvpCRFoUT83x1SOHY5wZ6HjsGQJeo4ZdrVvKOna6iFHt6M72loABUPm43B5HkDANXxwek_a5czgBAC3UtFv3GXfnuWQY7fLCmi6e8Fm3covuKZaQykj1gnUtNsdKaKy2m7UF2-G2ua7_h2rj8gpwEwSI5XEUVz4Y2CzH4C22QcJ8h6Bf0bYnm6r0hj3EoXEfsHLtEFpaz8Ok7EVWV5bq0lytsC3XAm9gzWPx7_4D-VsUQxy_mUfbPfaYGQPaFcbnXr9f_RkNBDM1OfuasXUyfQ96nUc7eKHcDoVqqyp3_hpC5cm8ggcnvQ_1rTpcXo6Igs_-eLmE2PJsYwTxDEssz3KYFAFe_GpLUFuVgYgIkR-ZyEGbPBo2rFsbZaR3iqPlX633ES09h_O1mlR8MJ1sWM=w1461-h974-no

mJR5XW8AkavexhBd-cVvxOkRHuqHGWJG0KpqNl73sceugUSN2BP-umYBY_1KiHahC_I81d6c61U-XnGJ4LawYVHLt-JvmjnmLHKLGxZxxYG8QFqVb8SfKoTYU86Rw5cfh4ZyRpiSVUYxr4fR8g9fRK_ZKzbWZhlaOkiWTt_GykUyvVFWz6mLIAv_PZDe_XoR69kmNNaQjgGId2e6b9LdTSEhkAdIH2Mma6c_gPQY9-r9l3Fd4Doq_9NXnPPwDVxBkH9QepZYWuaI2xLTiucpWKfNZMTfrxoq0TpnjFEIcZM0SHpJ2ANBCI6gbZwV7sjxFuvNhY0jNpynpz8lVjNndpvDO1N22BPpPrF5nEevEcT9ELQHWLpegbu4vbivV2nB7irxeetqtdfF_tgHEavUfPyL3EW7FcyiYkl--9_Rh6R0e03fDei05ZRR9okVmDwu--4mDAeGDshAMCitZ0TG6Px9eprtDpkcjanxqur8MfvkMv2xGKWvaGGNzgfEmZgyCt1ITcJPMTQLqj7smU3HY0KFkIq3_G6y3ZlPFAVGGmVQmDoDXSOfr1we22iJ_fMyELDHHOfkHx8rZZ7RNHMvd0f3dXVgqBRsS6UKkjY=w1461-h974-no
 
Back
Top