What's new
Van's Air Force

Don't miss anything! Register now for full access to the definitive RV support community.

Shelf for electronics?

Jasonm

Well Known Member
I'm looking for examples of what others have done to mount a few components in the area behind the baggage bulk head. The main battery will be back there but I will also mount the GDL39R (ADS-b box) there along with a backup battery so the mount/shelf will need to be stout. Does anyone have a picture you can post?

Thanks
 
I used the ADHRS shelf that Van's sells. My GTX23ES transponder (not shown) is mounted on it.

FP19052012A0002K.jpg
 
Last edited:
shelf

Yes. Go to tcwtech.com and look at the rv-10 products. They have the bend measurements and all the info you need to make the shelf. Mine turned out just fine using 040 aluminum, and it allows room for just about anything you would like to mount...
 
I too used the design from Bob Newman at TCWTech.
Here is the finished product...

 
I did something similar... kind of a hybrid of the Van's shelf and TCW Bob's design. I left the port side open for those greatly enjoyable times when I have to crawl back into the tailcone

IMG_4390.JPG
 
I did something similar... kind of a hybrid of the Van's shelf and TCW Bob's design. I left the port side open for those greatly enjoyable times when I have to crawl back into the tailcone


That was my thinking as well. For those building, it's not if you have climb in the tail, it's when. Make sure you have an accessible route to get back to anything installed behind the bulkhead.

I've had a static port leak, ahars failure, and an antenna replacement. Seeing me climb into the tail isn't a pretty sight. :eek:
 
Last edited:
I modified the TCW design a little too:


2nh19na.jpg


Originally planned to hold all of the aft avionics;

28t8gn9.jpg


I ended up using Van's side mount panels for the GDL 39 and ELT, and sometimes wish I had done that with everything. It's sturdy enough to crawl on, but there's a few things that have to get removed first.

icvio7.jpg


An extra shelf on one side is probably enough; take into account the extra time involved and plan where the wires are going to run.

==dave==
N102FM
 
All on sub-panel

I managed to get al the Garmin related stuff on the sub-panel. I have nothing behind the sub-panel. I really did not want to crawl under the panel at all to get to anything. As is now, that will be required for access to parking brake only. I made a shelf between the front and sub panels, mounted the remote 23ES transponder on left and VPX on right on those shelves. Back-up battery, ADAHRS x 2, Shower of sparks vibrator and back-up alternator (B+C) voltage regulator on sub-panel left of center. On the right I have GDL39R and EIS. Made shelf over EIS (same mounting screws) to which I mounted the airspeed switch I use to activate one of the HOBBS. Made a shelf over the backup voltage regulator to which fuses are mounted. I can get to everything by removing the two main screens. Used SS allen head screws to prevent damage to Philips head screw heads.
Radios, backup EFIS and autopilot all in upper and lower center consoles.
Johan
 
RV-10 L/R "whelen power supply"

Just an option I found useful on the RV-7 and plan to use on the 10 is the side mount panels Vans sells, left or right. They are intended for the whelen power strobe power supply but I mounted a Dynon 262 txpder nicely on the side with a short antenna cable (always a good thing) and away from com and traffic antennas. I am mounting the ELT on the stab platform, so my plan is only have one side panel for txpder and call it done. As mentioned above, never a pretty site or an easy effort when having to go to deep in the "cave!"

Cheers, Mike
 
Hadn't seen this thread before, so let me add what I did - I wanted to be able to later replace the shelves if I did any upgrades/replacements/etc. so I added attachment points for the shelves to be screwed onto.

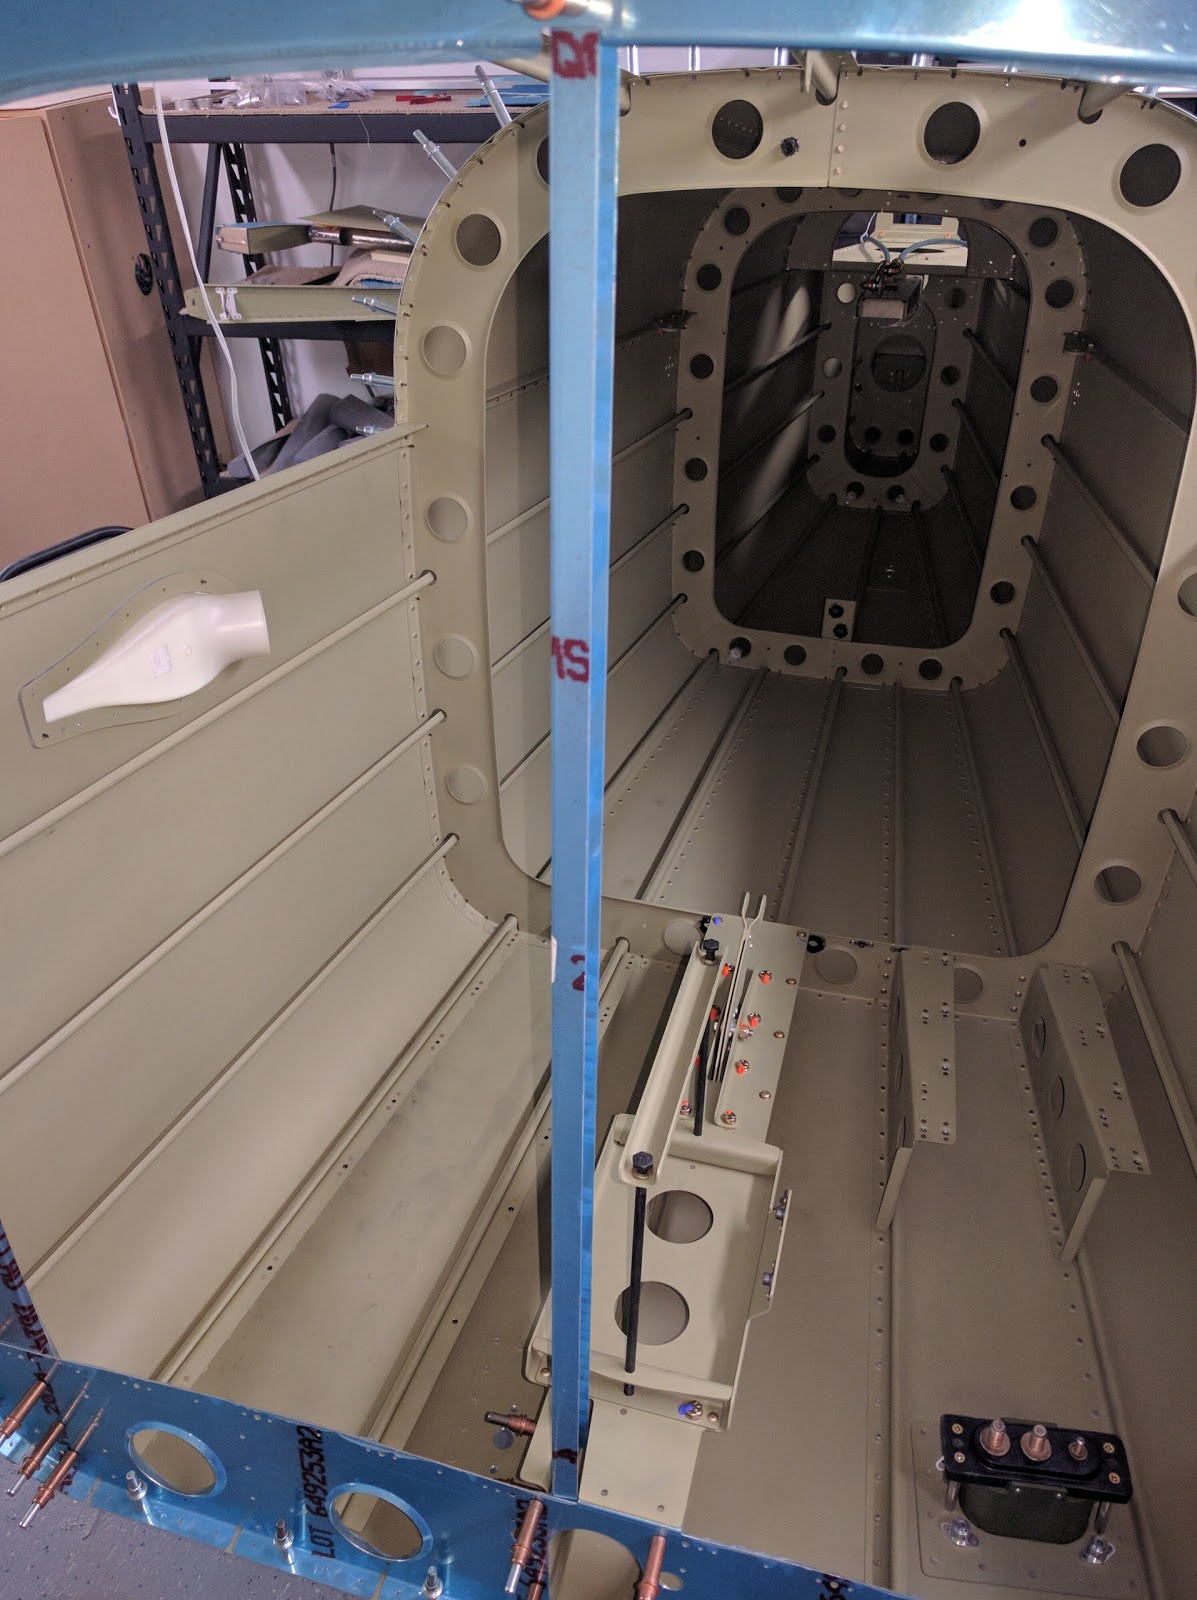
On the left side, where I may (or may not) want to later mount a rudder trim servo, I based it off of Vans' AHRS kit, except I "doubled" it for a wider shelf with a second VA-260B:

IMG_20160318_020905.jpg


IMG_20160612_231516.jpg


The pre-drilled holes on the bottom flange of that part don't line up with the existing rivet holes properly, but they happened to have just the right spacing that I added another hole inbetween each pair of pre-drilled holes, and now it's securely mounted.

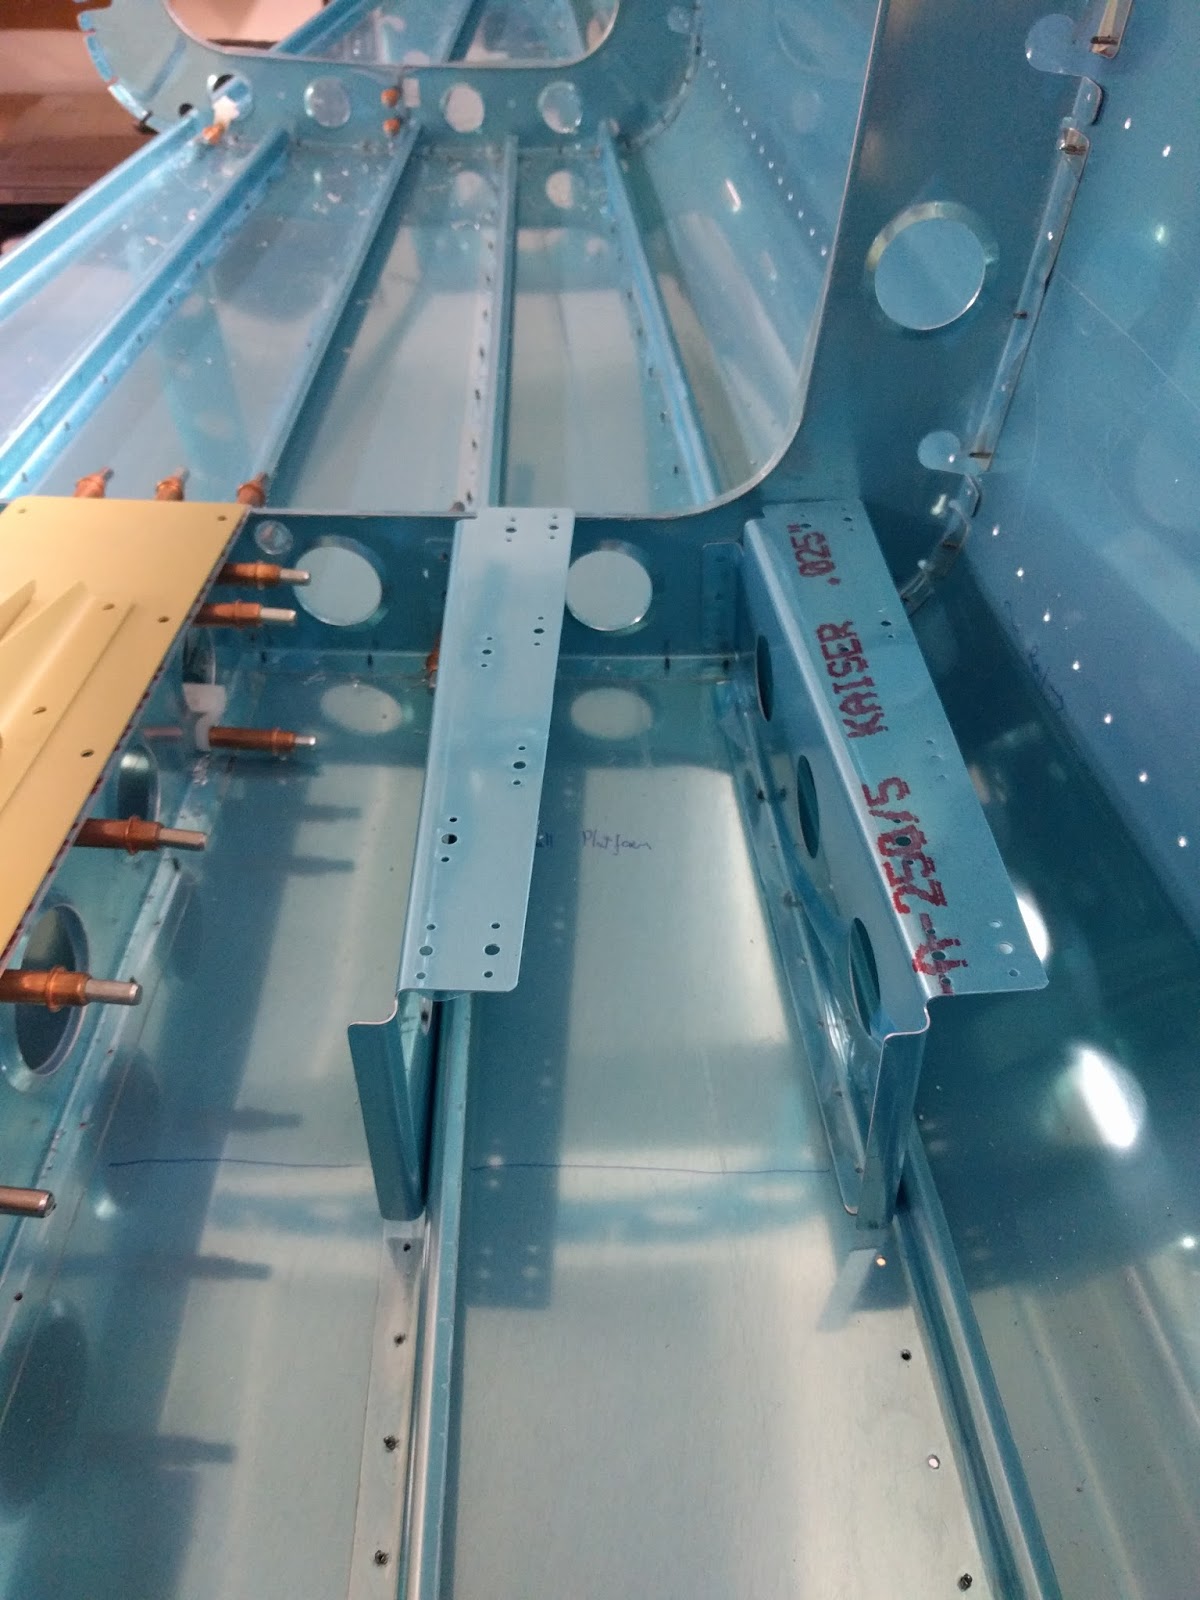
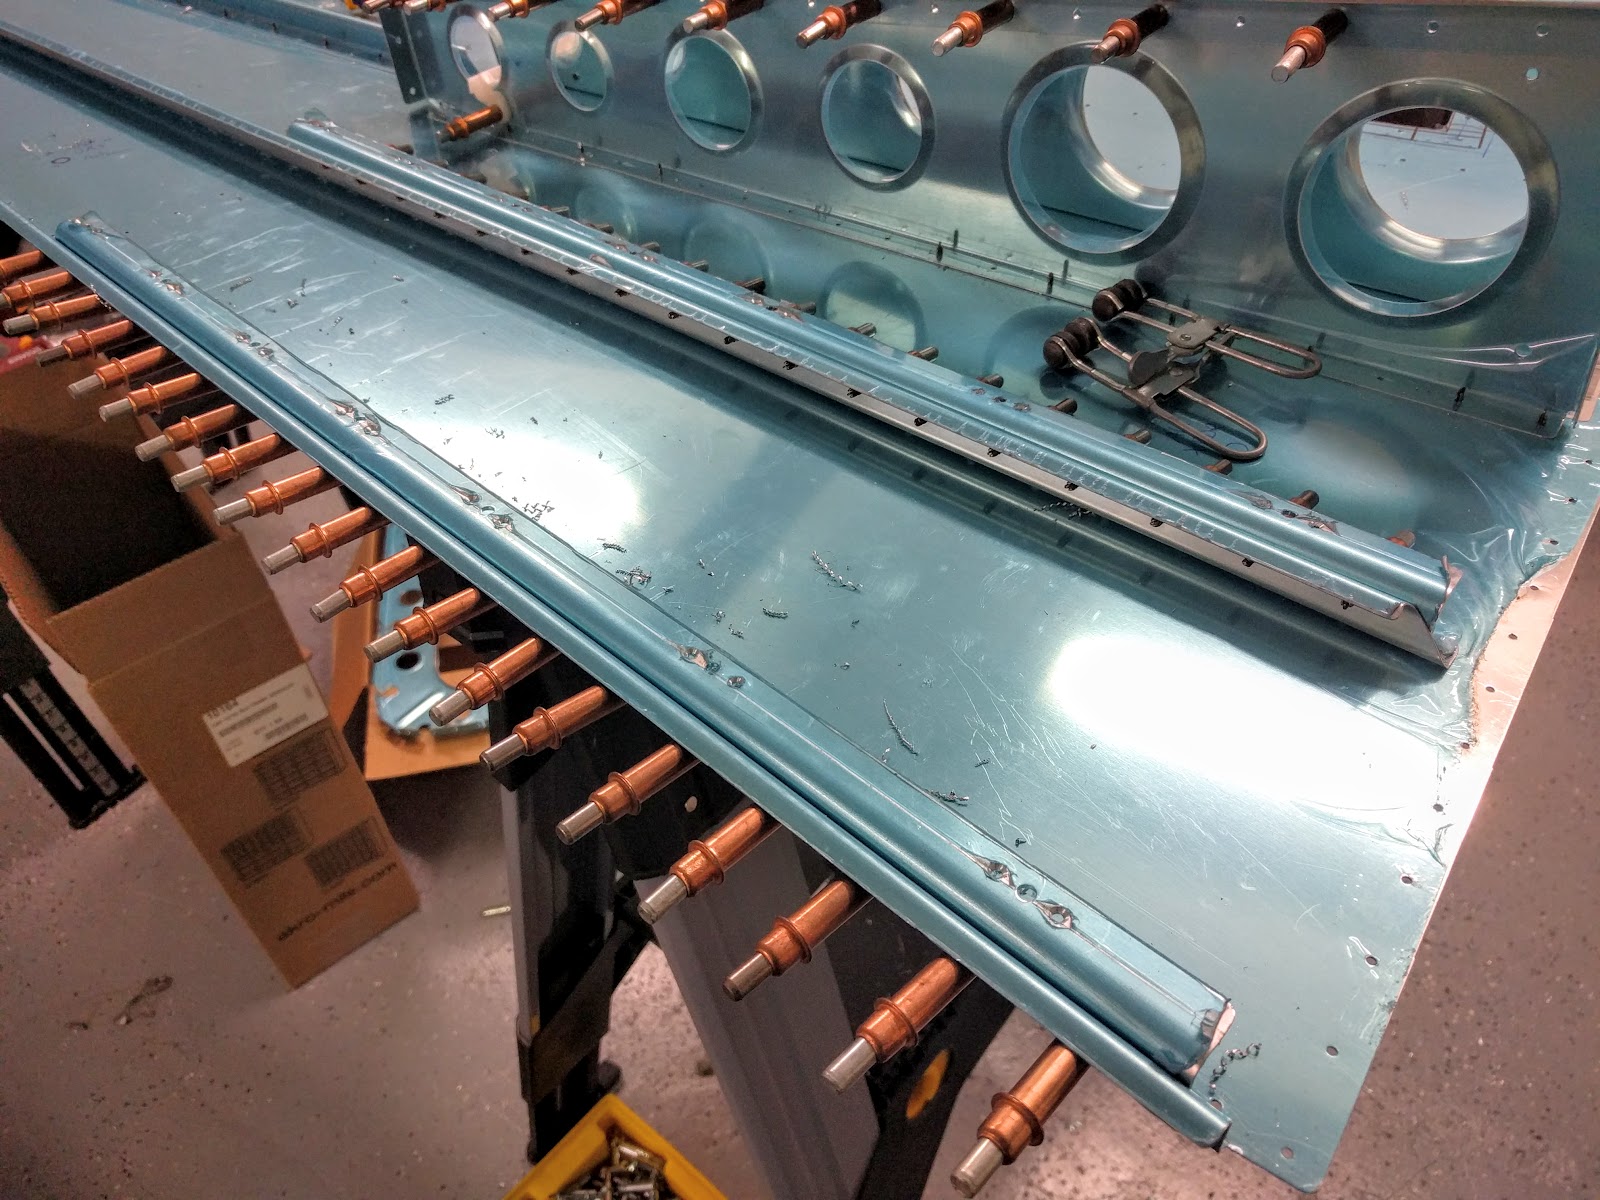
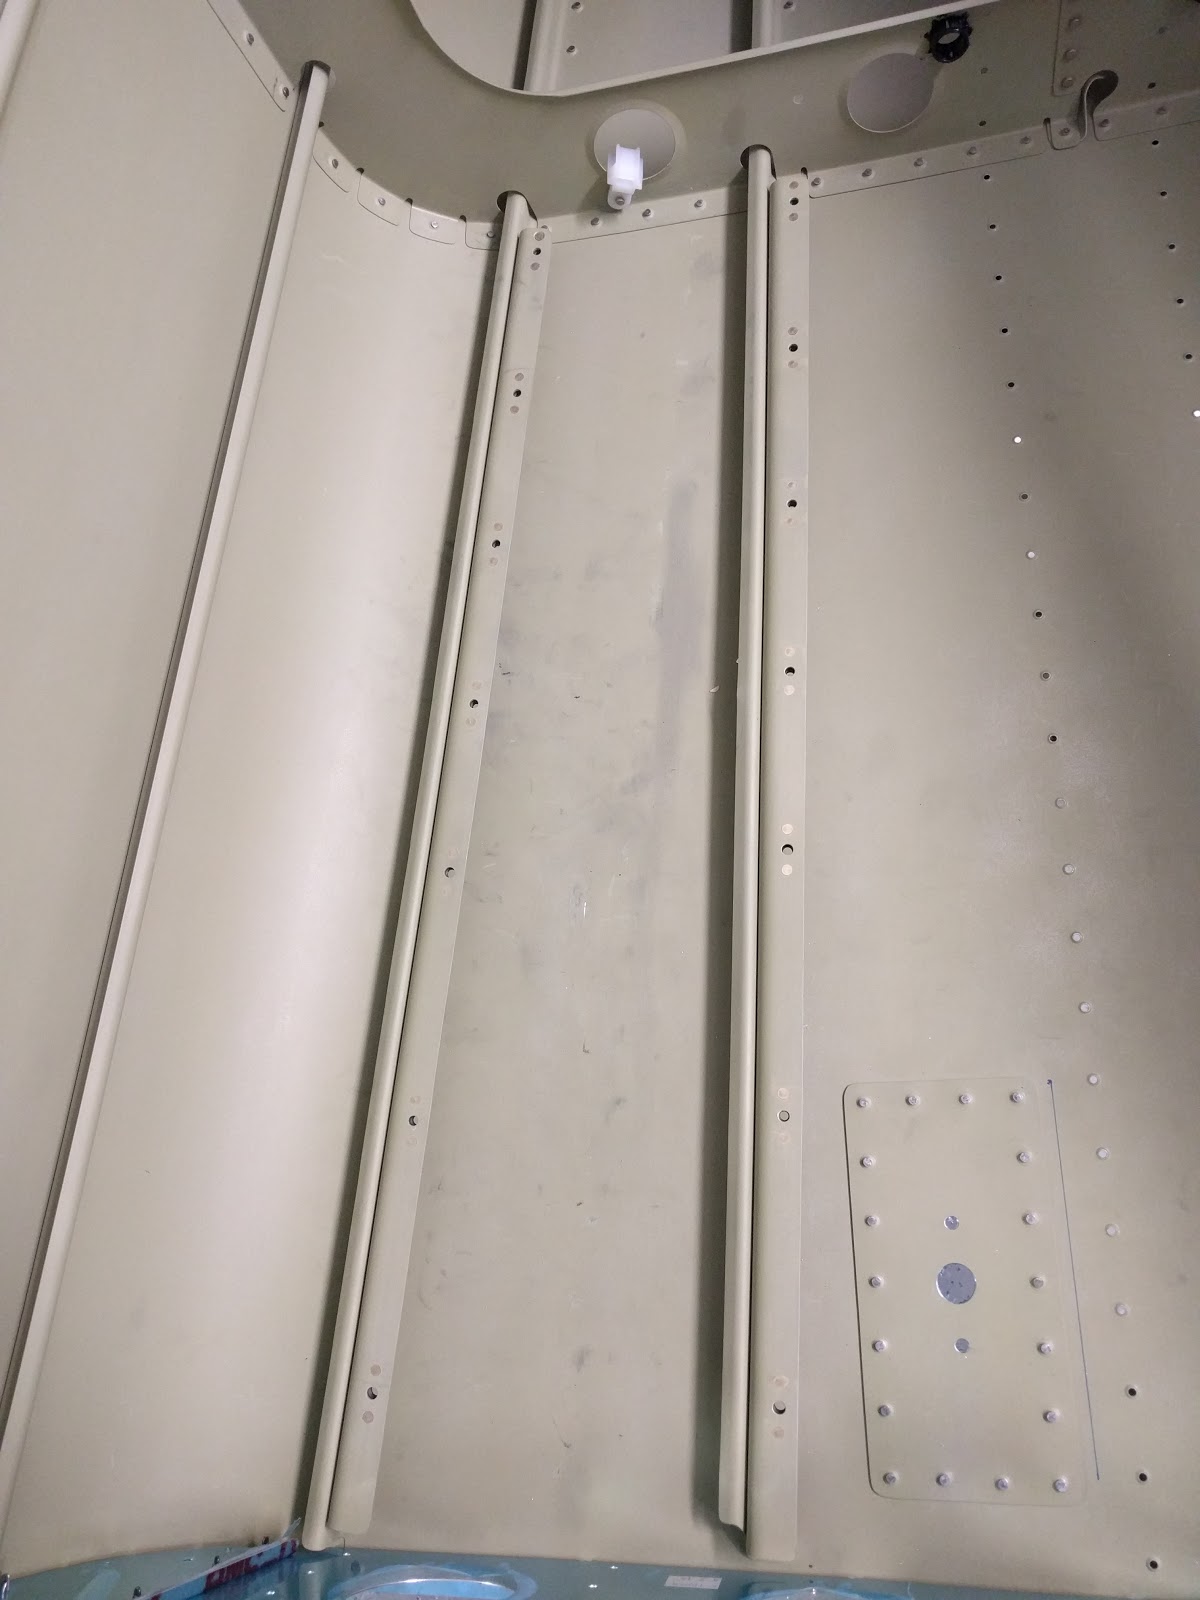
For the right side, I added two lower "rails" that I can attach the shelf to using another F-1037 (with added holes):

IMG_20160324_210450.jpg


IMG_20160529_205125.jpg


If anyone does this one, be careful with the order in which you rivet it - it's hard or impossible to buck the bottom skin rivets after the F-1037s are riveted on. I riveted the skin first, then used cherry rivets for these (and yet I needed a 1/4" spacer to squeeze some of them 'cause the cherry squeezer's head was too large to reach them).

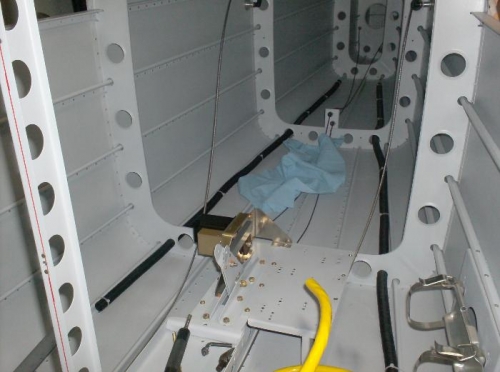
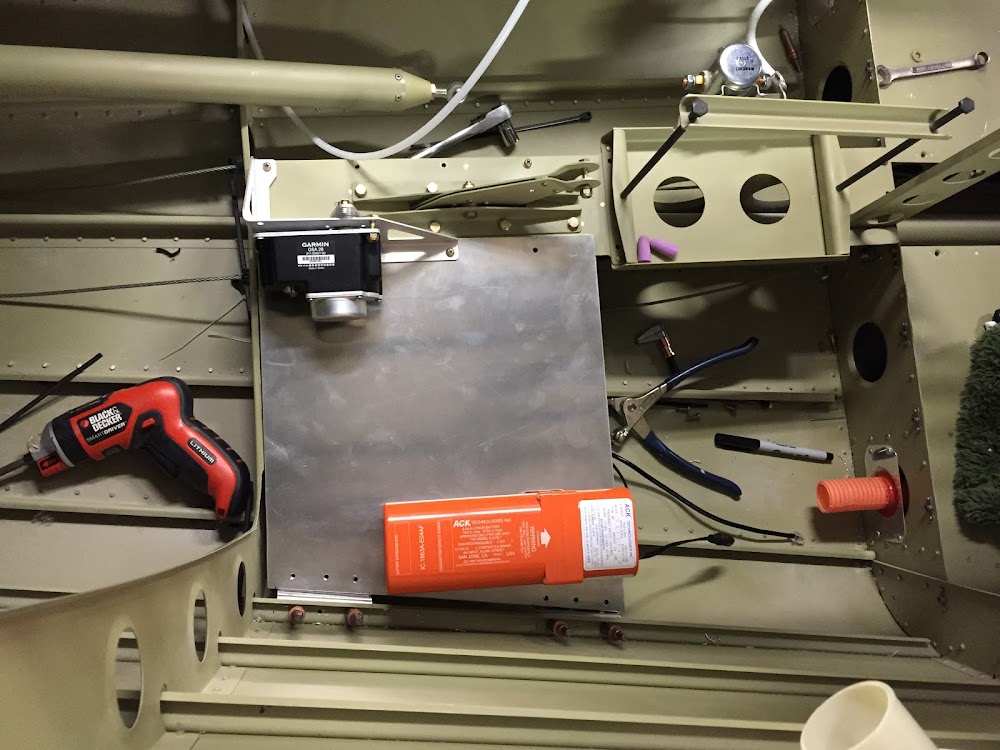
The plan is to put avionics on the lower (right) shelf and put any higher-power electronics (servo, shunt, APU port contactor, etc.) on the taller left-side shelf.
 
Shelf/battery tray

I too added a tray on the right side, hopefully leaving the left side accessible for an ocassional crawl. At the same time modified the battery box to hold two of the larger Earthx batteries.

2b6vso.jpg


These are just empty shells provided by Earthx so that I could assure fitment. Tray and bellcrank mount are both either bolted or screwed.
 
Why not shelves on the sides or suspended from the top? Not that it would help me, because I've got the A/C installation to work around. But without that, I'd consider a shelf similar to what they use for the exchanger/evaporator units. Plus some flat shelving/flooring so I could shimmy into the back without those bottom ribs/stringers digging into me.
 
Back
Top