Van's Air Force
You are using an out of date browser. It may not display this or other websites correctly.
You should upgrade or use an alternative browser.
You should upgrade or use an alternative browser.
Show us the status of your 14/14A project
- Thread starter Mike S
- Start date


Hello,
This is my status. Wings went on last week. Should be flying in a few months, hopefully!
Hey Marvin, that's one beautiful paint job! Can't wait to see it up close.
MikeMikeWhiskey
Member
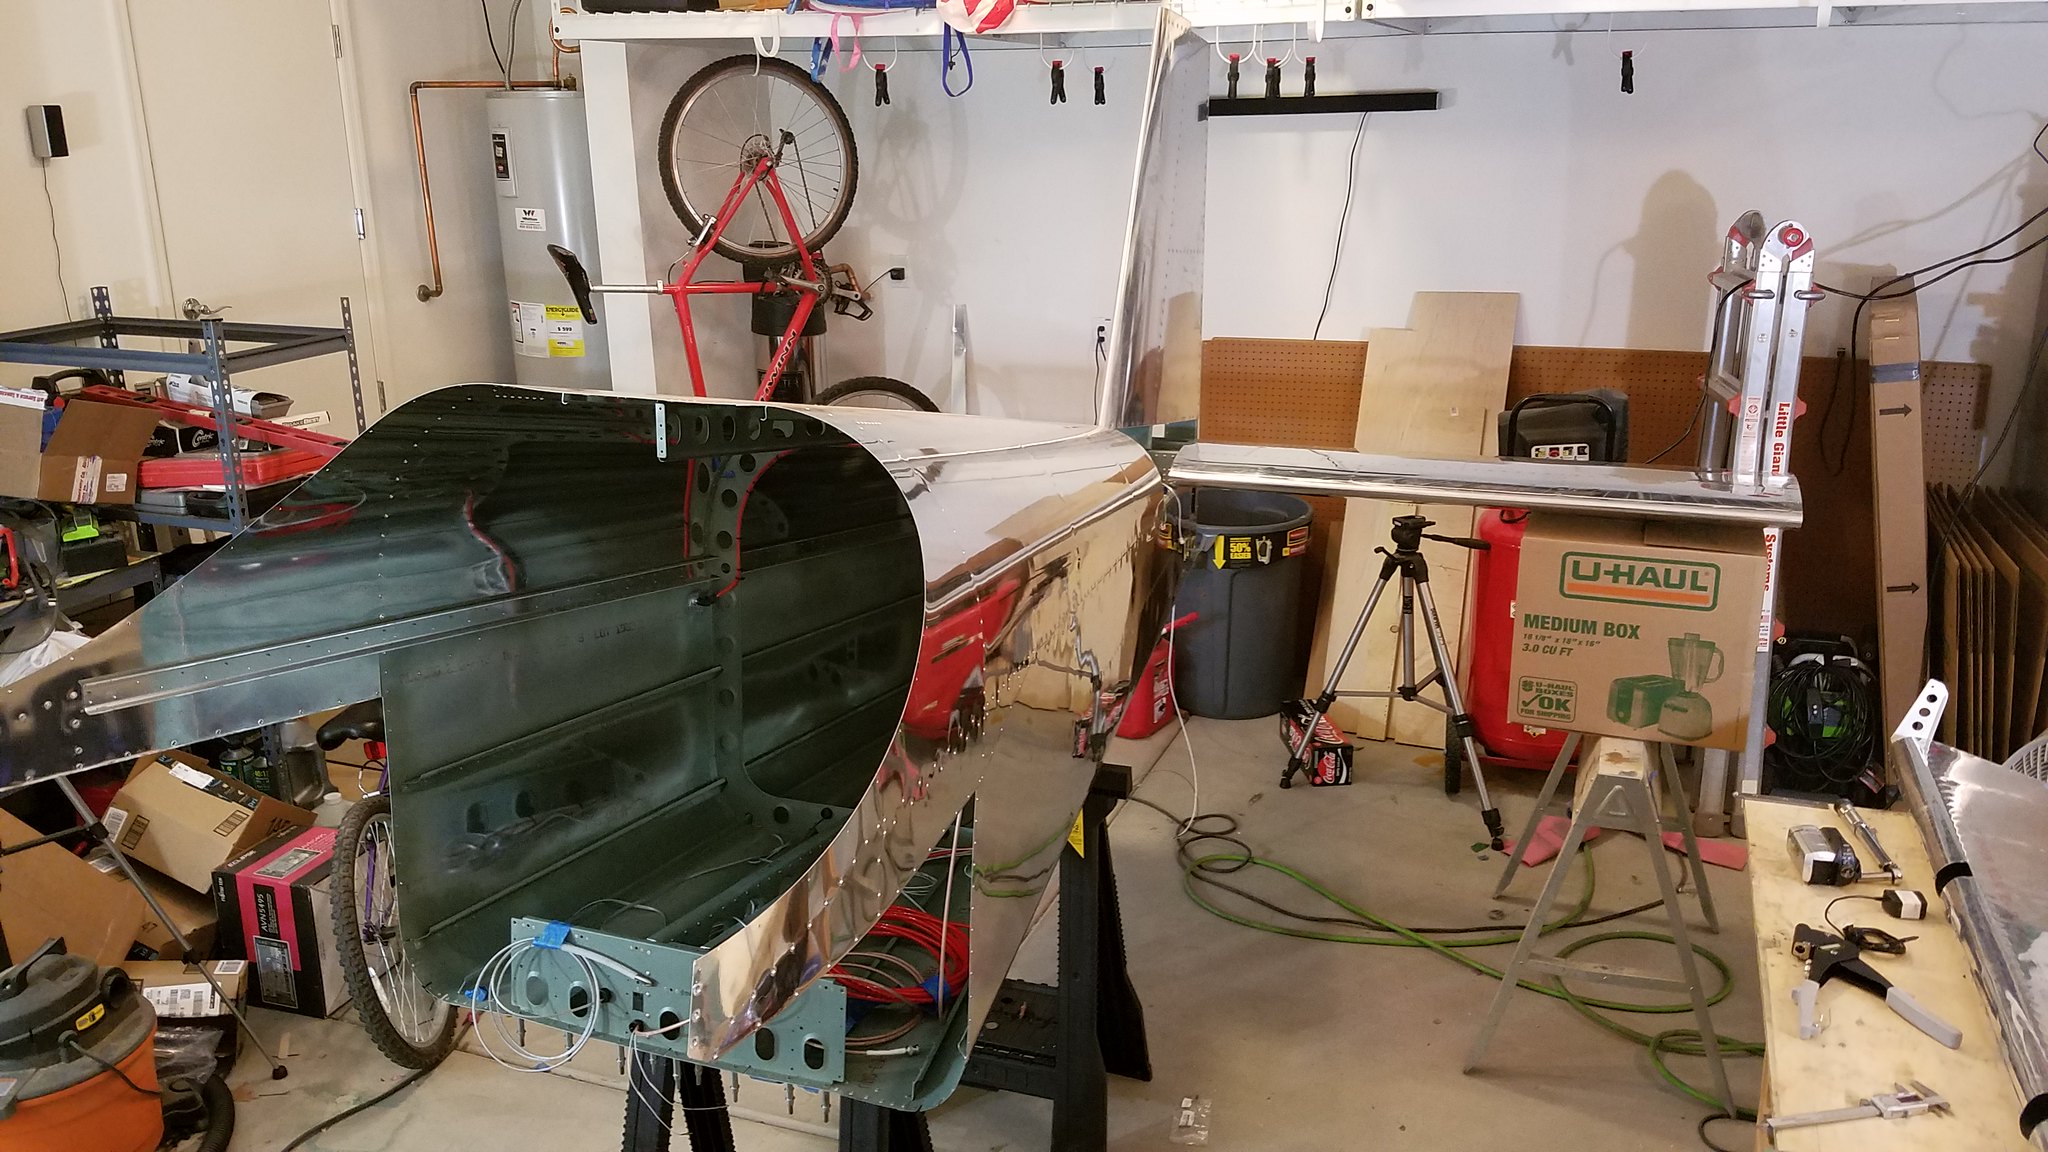
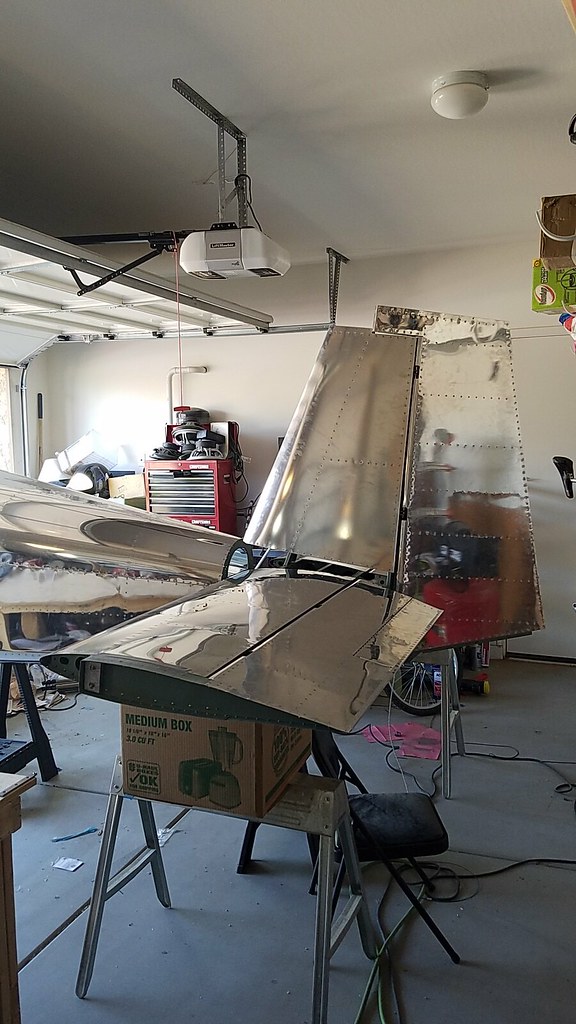
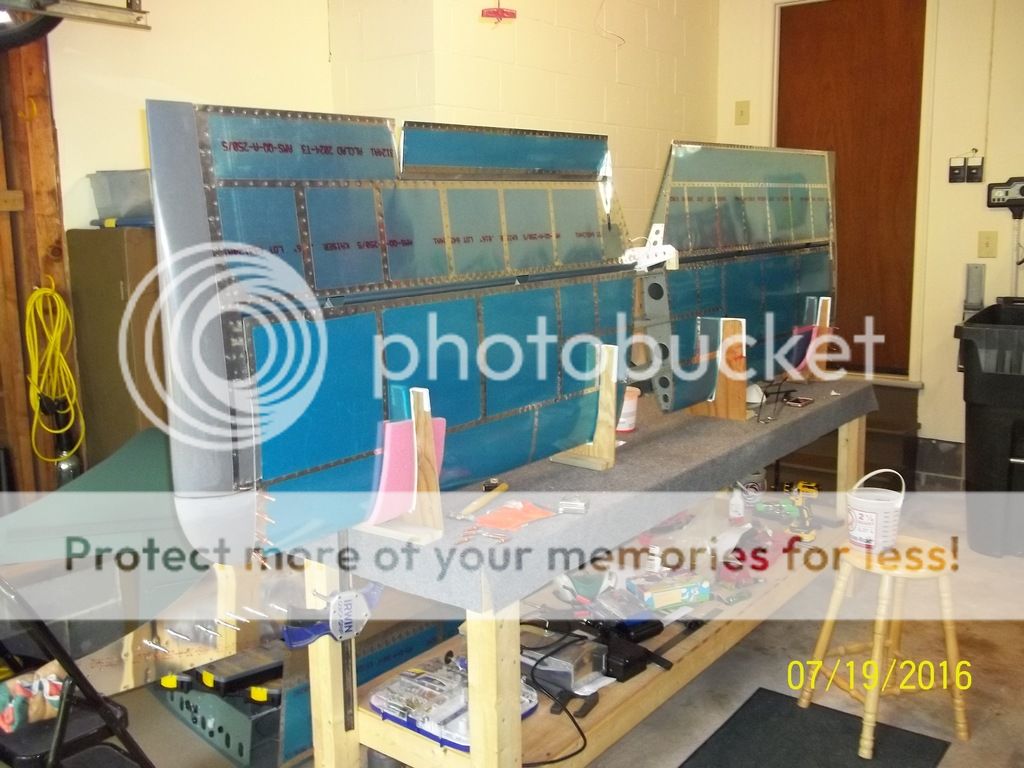
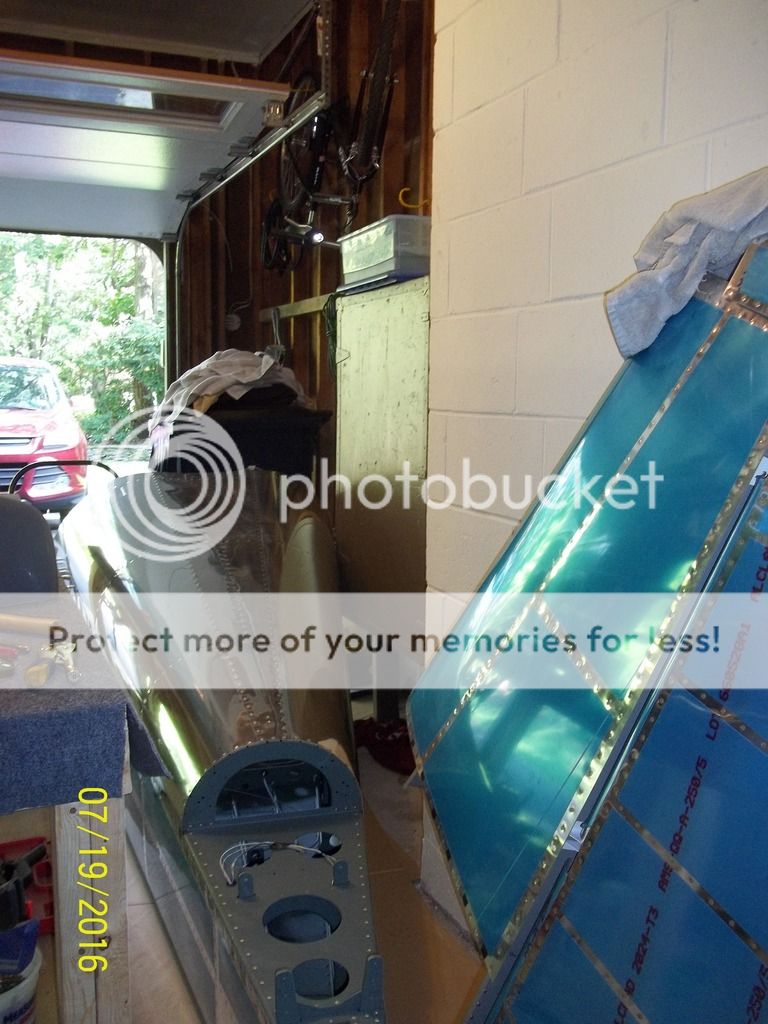
Hello All, I thought I would post a few pictures of my baby. It's still in utero but coming along. Wings on order, due to arrive in August.
 [/URL]
 [/URL]
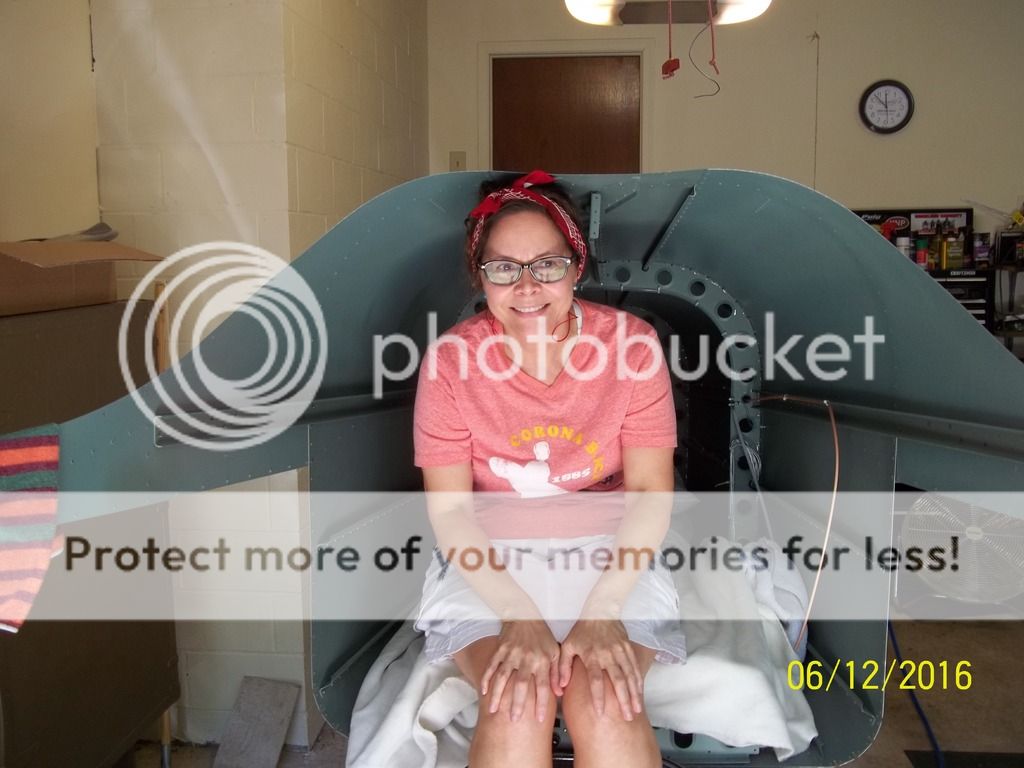
With special thanks to my very understanding wife and sometimes helper Olga (Olgy the Riveter)")
 [/URL]
Head Crazy Man
 [/URL]
Mark Wilchacky
RV14A Kit #140210
Empennage almost done
Wings on order
With special thanks to my very understanding wife and sometimes helper Olga (Olgy the Riveter)
Head Crazy Man
Mark Wilchacky
RV14A Kit #140210
Empennage almost done
Wings on order
Pink slip for RV-14A
 I just received my airworthiness certificate today. 3 years and 2 months from start.
Yeaaah! Just buttoning back up. Hope to fly in a couple of days.
Have a photo but do not know how to post. I know I know, who can possibly build an airplane, and not figure out the clear instructions on this site of how to post one photo.
All the best,
Rich

#140061
N2261
Yeaaah! Just buttoning back up. Hope to fly in a couple of days.
Have a photo but do not know how to post. I know I know, who can possibly build an airplane, and not figure out the clear instructions on this site of how to post one photo.
All the best,
Rich
#140061
N2261
Last edited:
Absence of photos forgiven if you will provide some specs
Rich,
Congratulations on getting completed!! Have you been looking at your normal flight profiles and comparing RV-14 versus Maule speeds? (See my signature line)
If you have time, could you post your power plant and avionics choices? I'm interested in seeing what the majority of folks are doing.
Cheers, James
New Seats
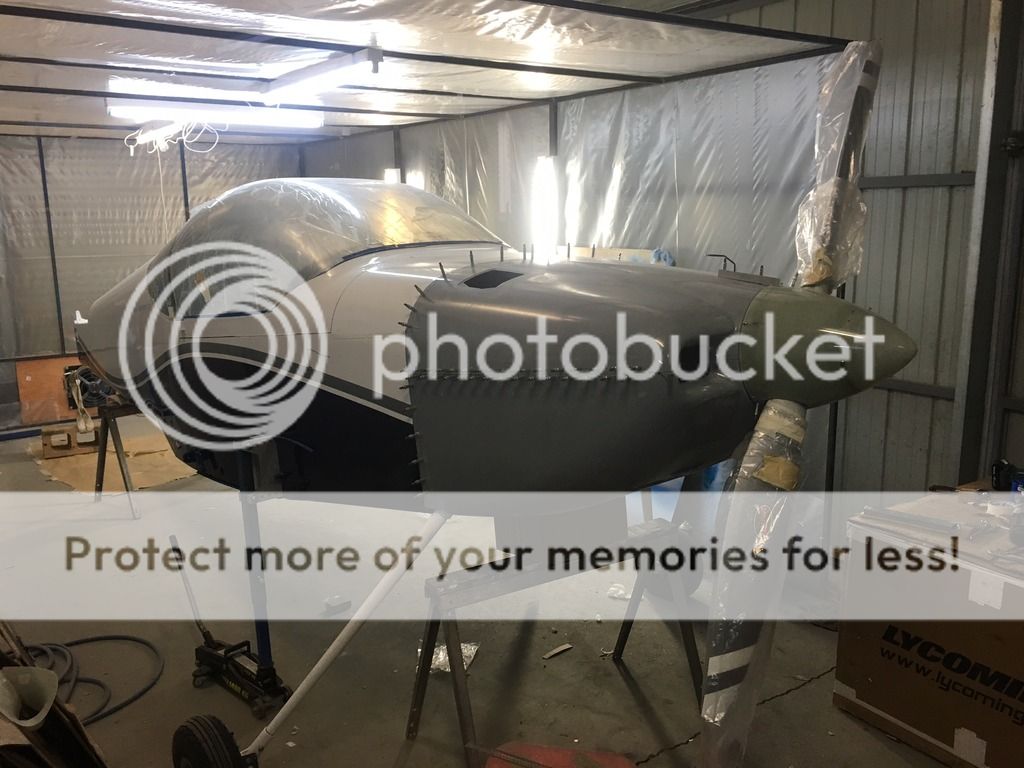
While the plane is being painted, hopefully done next week, my permanent seats are shipping tomorrow. Classic Aero totally redesigned the seats and it comes complete with the back installed into the cushion, instead of using Van's seat back and has a more wrapped around type of feel like a race car. They also have the hinges built in, so I will just need to take the pin, pull out the temporary seats provided by Classic Aero while waiting on these and insert the new ones. The color scheme flows with the interior, Hooker Harness belts and the exterior. Hopefully by mid August I will have some pictures of the final with all the paint done.

While the plane is being painted, hopefully done next week, my permanent seats are shipping tomorrow. Classic Aero totally redesigned the seats and it comes complete with the back installed into the cushion, instead of using Van's seat back and has a more wrapped around type of feel like a race car. They also have the hinges built in, so I will just need to take the pin, pull out the temporary seats provided by Classic Aero while waiting on these and insert the new ones. The color scheme flows with the interior, Hooker Harness belts and the exterior. Hopefully by mid August I will have some pictures of the final with all the paint done.
Last edited:

Jared_Solomon
Well Known Member
RV-14 near Atlanta
Aft Fuselage almost done. Wings due to ship the week of Oct 24th
Aft Fuselage almost done. Wings due to ship the week of Oct 24th


Coming along Nicely!!
I had my demo ride with Mitch back in July. I'm looking to start next Feb. Currently we're renovating the kitchen.
Regards
Bruce Kaplan
Bruce, you are welcome anytime for another visit and look.


I received my RV-14A QB fuselage & wings on 23 July using P&M Express via Partain. I checked the big parts over upon delivery and found them to be damage free and a high quality build. Mike, the delivery driver was professional and a pleasure to meet along with his dog Bear who loves to steal gloves and play with them. It took Mike and I a little over an hour to unload the parts with no difficulty for the two of us. It was very evident to me that Mike loaded and secured everything meticulously.
Work and travel prevented me from completing the inventory until a few days later and every single part & piece of hardware was accounted for. As others have commented before, Van's does an amazing job packing items for shipment.
I ordered the QB parts on 23 Dec so it was exactly 7 months from the day I placed the order to when they arrived at my hangar. Of note, I got the email that it was in stock at Van's on 7 July. It took Van's a few days to QA the parts and release them for shipping. With the empennage and tailcone completed in late March, I'm now able to dive back into building again!
Last edited:
Date Corrections
Correction... The QB parts arrived at Van's 7 July and I got them 23 July. I wrote the original post after a flight through the night across the Atlantic covering 5 time zones and I was a little groggy when I posted the original. I edited my post to correct it, but it still shows the incorrect months on the VAF front page.
Correction... The QB parts arrived at Van's 7 July and I got them 23 July. I wrote the original post after a flight through the night across the Atlantic covering 5 time zones and I was a little groggy when I posted the original. I edited my post to correct it, but it still shows the incorrect months on the VAF front page.

Capt_Riney
Member
I am about to the same stage as you with my QB RV-7. I would be interested in more detail on your interior painting. What paint did you use and how did you prep & mask the structure before painting? Are there areas in the cockpit you want to make sure you don't paint?
Mark Rinehart
QB RV-7 0218
Mark Rinehart
QB RV-7 0218
MED
Well Known Member
I used Sherwin Williams JetFlex WR (water reducible). The color is gray beige, which looks a little like a file cabinet in person. I used the 3M Accuspray spray gun, which I highly recommend - easy to use and simple to clean. The paint is very forgiving for a beginner like me. It turned out better than I even hoped.
I masked the firewall stainless steel and closed all of the openings around he controls and the floor tunnel with poster board. I wrapped the entire fuselage outside with cling plastic I found at Walmart, making sure I taped it well to the fuselage around the cockpit opening. I painted the interior before installing rudder pedals, sticks, and the rollbar, per the plans, then painted the rollbar separately before installing it. The painting was easier and less stressful than I expected.
One other thing: I installed disposable screws in all of the nutplates to keep paint out of the threads. Might be overkill, but it made me feel better.
Last edited:
Capt_Riney
Member
Thanks. From the picture the color looks almost tan or beige, but it's really a gray?
Capt_Riney
RV7 QB
Capt_Riney
RV7 QB
MED
Well Known Member
It is listed as gray/beige. I wanted something close to taupe instead of the "normal" gray everyone uses, since the outside of the plane will be green. Gray/beige was a standard color, which did not require a one gallon minimum order. I bought 2 quarts ($96/qt) and it looks like I will only use a little more than one.
bk1bennett
Well Known Member
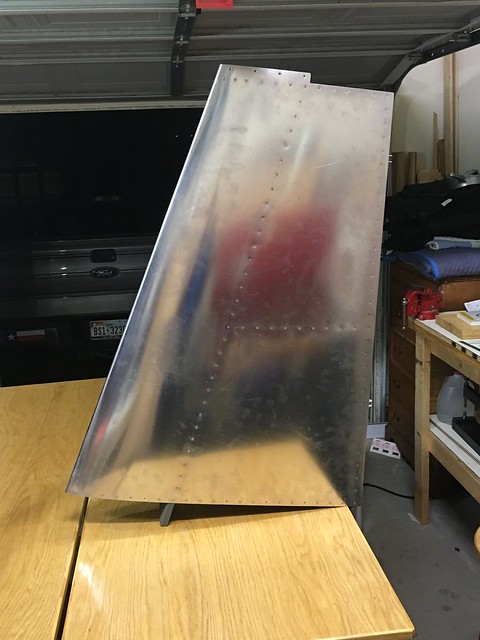
Vertical stabilizer is complete as of 8/24/17. Took about 26 hours. My Efficiency and quality are improving. This is a great kit. I have benefitted immensely from this community. Hopefully I will be able to offer help to others the way I have been helped. On to the rudder--Saturday. Friday We are going flying.
Last edited:
bk1bennett
Well Known Member
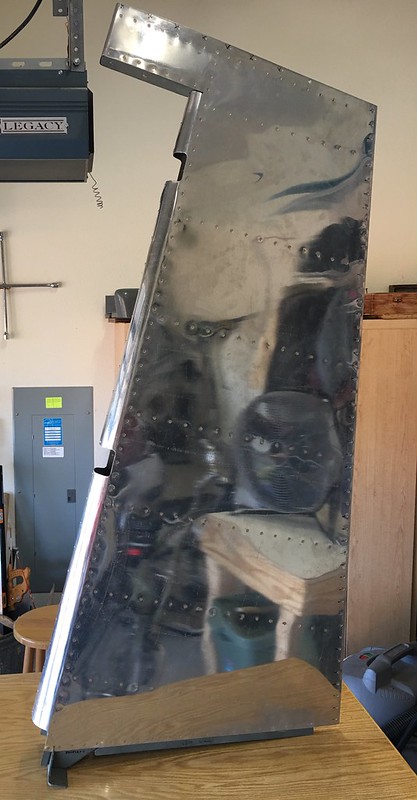
RV-14A Rudder (Section 7) Complete
On Friday night, 9/22/17, I finished the Rudder (Section 7). It took me over 40 hours.I had to patch an area on the right skin because I creased it during back riveting (ran off the end of the plate as I merrily riveted away without thinking). I have a couple of minor flaws, but I think it is airworthy. Hopefully, someday the FAA will agree.
After two months of building, and I have two assemblies.
What I have learned so far:
1. Keep thinking during every step. The instructions are good. The kit is excellent. The process isn't that difficult, but if you let your mind wander while working (especially riveting), you will make a mistake that will cost you lost time. Stay focused. You can recover from mistakes, but it's much more effective to go at the pace at which you can maintain good focus and avoid mistakes.
2. Keep the rivet gun pressure low to start. It' easier to adjust upward than to make a big mistake because you had too much pressure.
3. Follow the directions. Look at the whole page. Look at each step. Look at each word.
4. This forum is great, but .... Van's instructions are the authority. I was so concerned about the trailing edge and double-flush rivets because of posts on VAF that I was concerned that by following the instructions I was headed for trouble. You can find of lots of over-the-top processes adopted using pro-seal or epoxy or specially made squeezers. In the end, I chose to follow the latest Van's directions using adhesive tape and a back-rivet process, and my trailing edge came out great.
5. I am all in. After two assemblies, I have too much enjoyment and satisfaction to quit.
And so the journey begins!
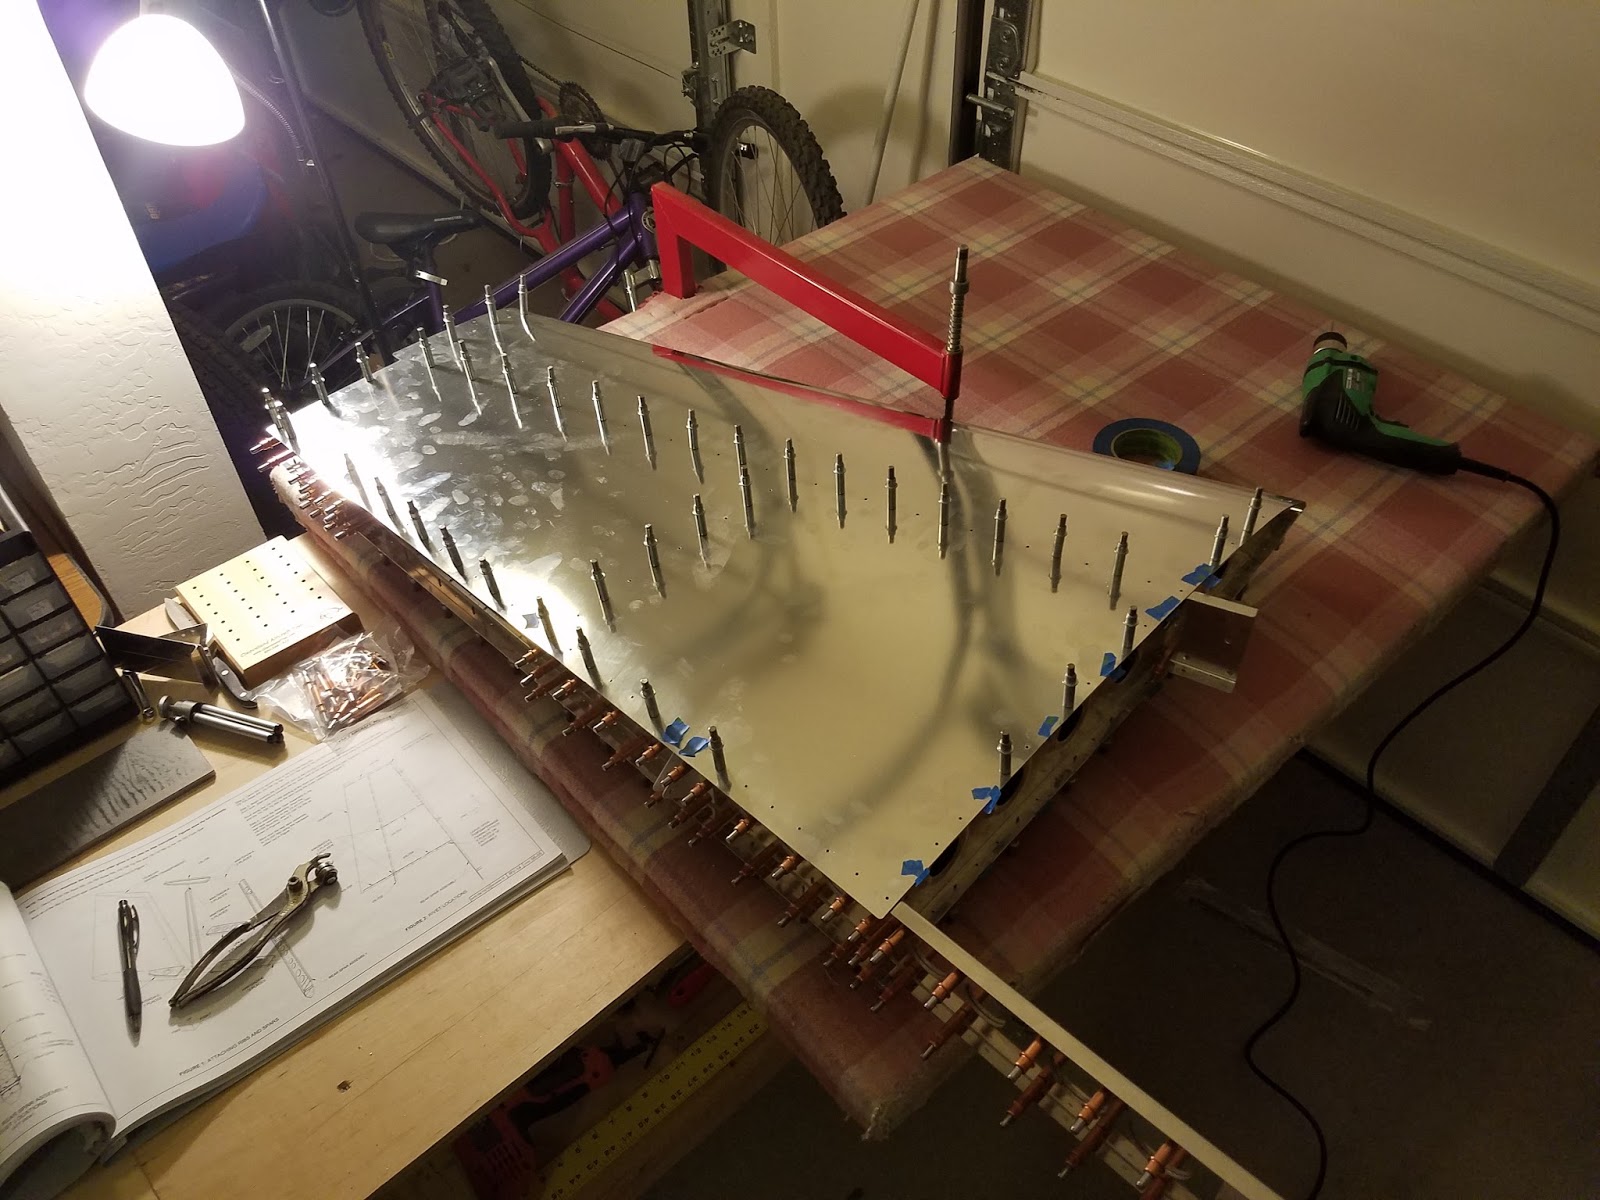
Received the empennage kit Oct 30th and just yesterday was finally able to put some quality time toward it! That honey do list will be the death of me!
Looking forward to putting this RV-14a together over the next several years with the slave labor...... I mean loving help of my children and wife!
Here's to the journey!
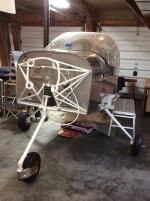
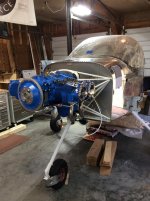
I would have liked to keep the wings at home longer, but the engine will ship soon and I need the space.
https://youtu.be/ytpmhx58wtw
You look like a proud dad in the delivery room
Probably just as stressful too!You are moving along nicely. Looking good man.
bk1bennett
Well Known Member
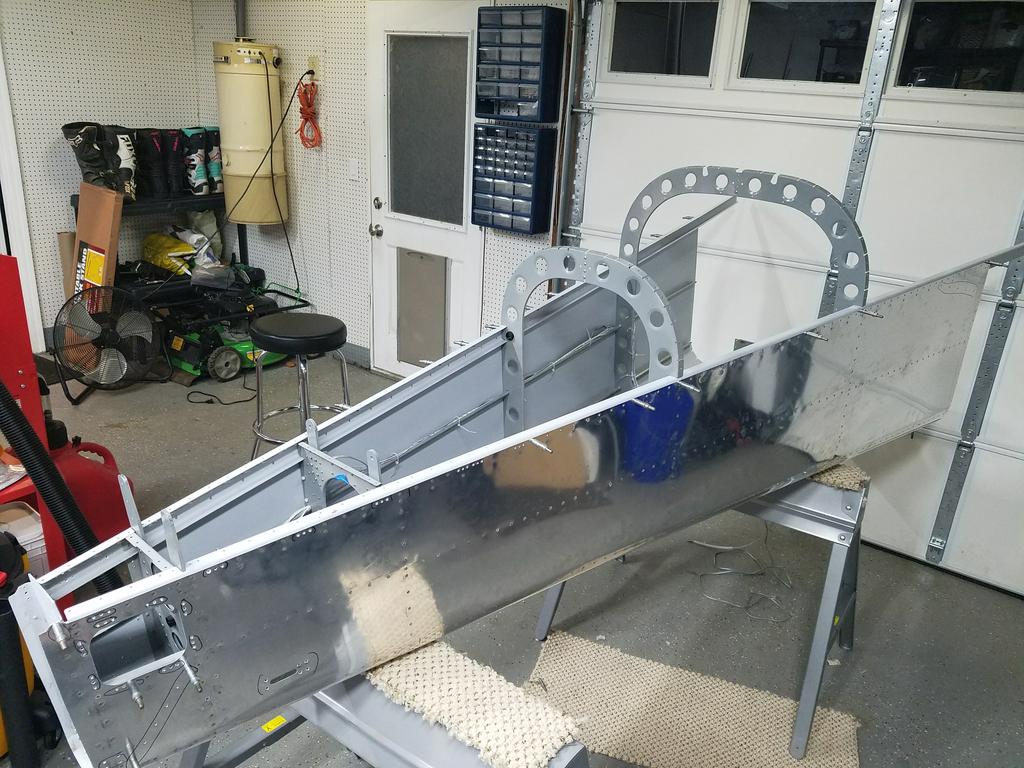
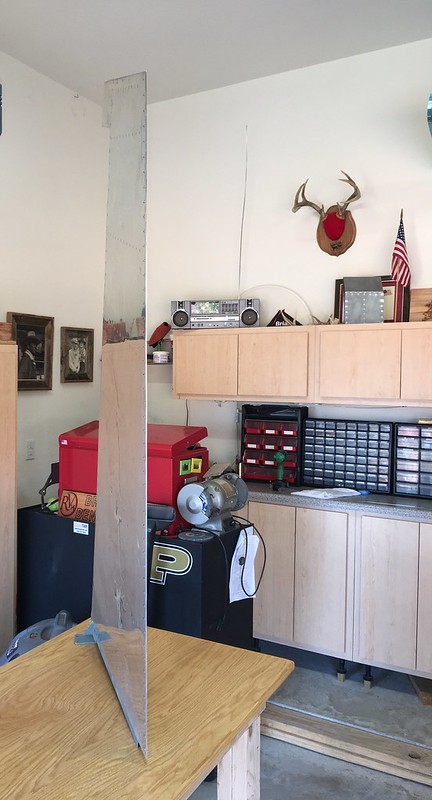
Horizontal Stabilizer Complete
Hi all. I am a little late with this post on VAF: We finished the Horizontal Stabilizer on 9 January 2018. I am growing increasingly pleased with the Van's RV-14A kit. Documentation is fantastic. Parts quality is impeccable. Design for Manufacturing and Assembly is outstanding -- everything fits nicely when we are done. Honestly, when people react as if building this airplane puts me in the class of a rocket scientist, I have to confess that the kit makes it so much easier than one would think by looking at the final product. I am proud to be the builder, but I know that much of the credit has to go to the Van's team. I am so grateful to be a part of the reality that started with a dream.
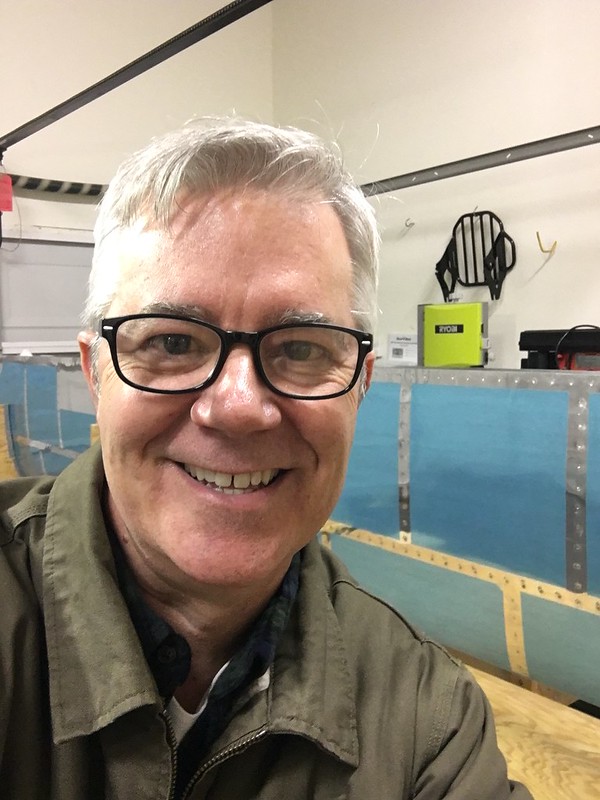
I have to wear reading glasses to take a decent selfie these days.
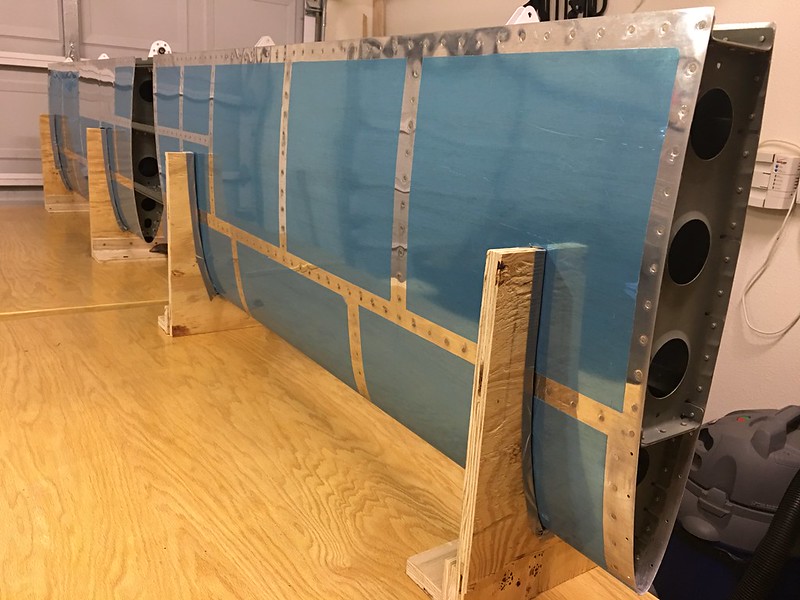
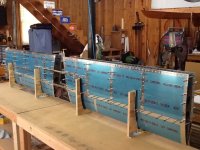
Horizontal Stabilizer sheet metal work is done.
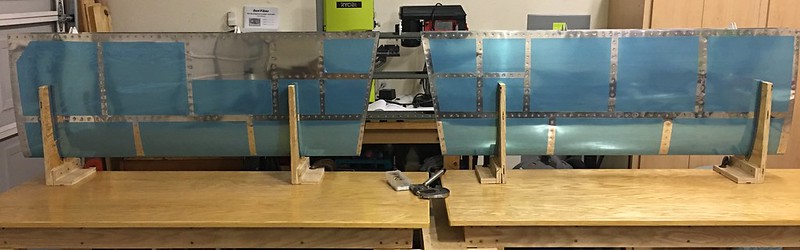
With a ten-foot span, the h-stab looks like a genuine aircraft assembly! I love the sense of appreciation finishing this.
Hi all. I am a little late with this post on VAF: We finished the Horizontal Stabilizer on 9 January 2018. I am growing increasingly pleased with the Van's RV-14A kit. Documentation is fantastic. Parts quality is impeccable. Design for Manufacturing and Assembly is outstanding -- everything fits nicely when we are done. Honestly, when people react as if building this airplane puts me in the class of a rocket scientist, I have to confess that the kit makes it so much easier than one would think by looking at the final product. I am proud to be the builder, but I know that much of the credit has to go to the Van's team. I am so grateful to be a part of the reality that started with a dream.
I have to wear reading glasses to take a decent selfie these days.
Horizontal Stabilizer sheet metal work is done.
With a ten-foot span, the h-stab looks like a genuine aircraft assembly! I love the sense of appreciation finishing this.
Mid and forward fuselage just joined:
http://www.womenonthewing.com/2018/02/04/rv-14-build-making-it-bigger/
http://www.womenonthewing.com/2018/02/04/rv-14-build-making-it-bigger/
Erimo
Well Known Member
RV 14A Beringer
Hi Mark,
May be you know, but you have to change the brake fluid bleed screw to position it down.

Trying to keep up with Control!
Hi Mark,
May be you know, but you have to change the brake fluid bleed screw to position it down.

Erimo
Well Known Member
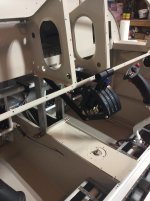
Thanks, Eric, I know. To get the axle mounting holes for the wheel pants horizontal, I had to swap sides from the way the factory had the caliper set up. Fortunately, as you point out, the bleed screws can be reversed.
I know, I had the same situation
Otherwise, what fitting did you install on the bottom of the fuselage to connect to upper end of brake hose ?
The AN816-2D don't match with the fairings. So I'll order AN823-2D. They'll fit better the gear legs.
MED
Well Known Member
I know, I had the same situation
Otherwise, what fitting did you install on the bottom of the fuselage to connect to upper end of brake hose ?
The AN816-2D don't match with the fairings. So I'll order AN823-2D. They'll fit better the gear legs.
I had planned to use AN816-3D, but I haven't installed them, yet. Thanks for the tip about the AN823-2D. I'll see what fits best.
Erimo
Well Known Member
I had planned to use AN816-3D, but I haven't installed them, yet. Thanks for the tip about the AN823-2D. I'll see what fits best.
You are right, it seems to be 3D.
The straight fitting and hose interfere with fairings. i think an angle fitting is better.
MED
Well Known Member
still trying to figure out how to post pics so that its not a link! Computer genius, or even literate, I am not! lol!
Try tinypic.
czechsix
Well Known Member
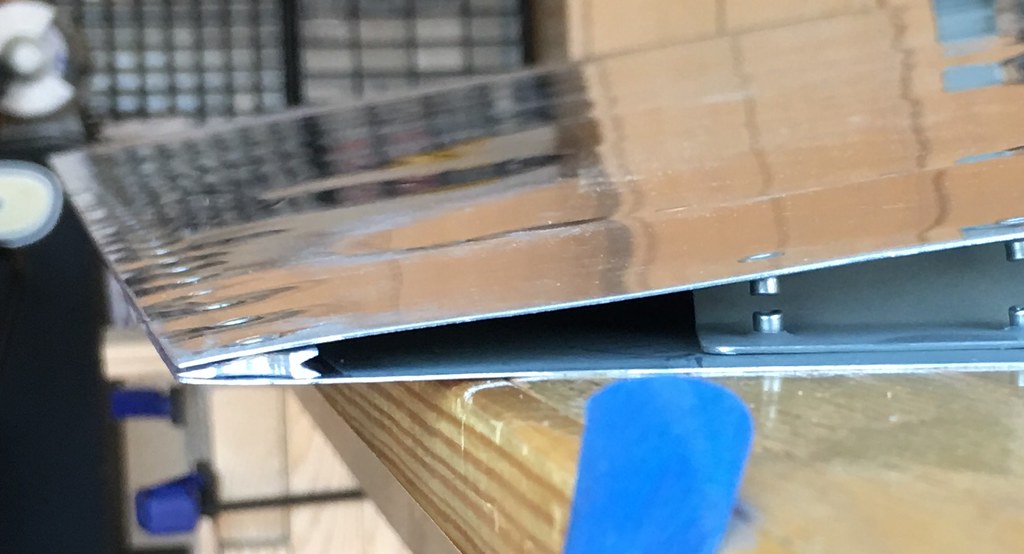
Hope it stays this good when the hinges are in place
Looks nice, did you have to do a lot of work to get that fit, or were the trim lines pretty close to perfect? One thing to keep in mind is that a small gap is a good thing to avoid chipping the paint when installing and removing the cowl...