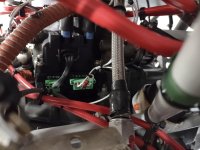
Adding second Emag and modifying the panel labels
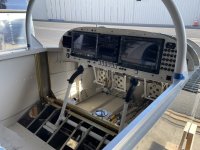
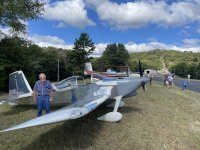
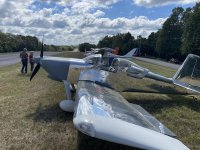
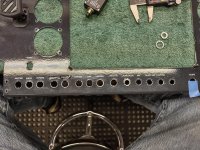
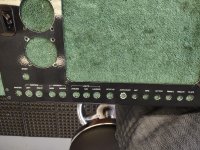
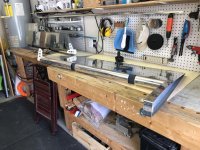
I've been running a Pmag on the right side with the old magneto remaining on the left for many years now, and I finally decided to dump the left mag and put a Pmag on that side as well. So that was this weekend's project. It probably would have been a half day project except for having to add another CB which meant taking the panel off, drilling a new hole, and redoing the labeling -- so, pretty much all weekend.
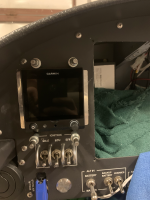
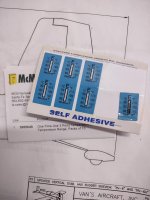
I labeled my panel using using the PulsarPro FX process which basically uses a laser printer and laminator to create custom decals that go on with silkscreen-like results. The thing I like about this process is that I can do it all in the shop and it gives me the flexibility being able to modify after the fact. The downside is, it's a fairly tedious process that takes some practice to get just right. But the results are worth it.
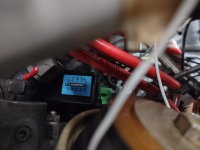
A couple of these photos show the 3-point temperature strips that I use instead of the single-shot one that comes with the Emags. I prefer these because they let me know how close I might be getting (or how much over), to get an idea whether more blast cooling is needed or something before it's too late.
Anyway that's pretty much all done but not flown yet, tomorrow I'll button things up and see how it goes.
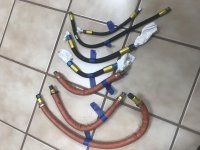
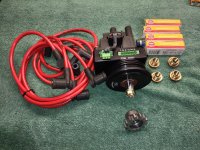
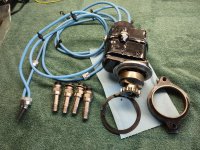
PS. Anyone looking for a used Slick impulse magneto off a Lyc. O360 with 1600 hrs on it, + spacer + new-ish ACS harness + plugs that have less than 100 hrs on 'em? PM me!
")