AX-O
Well Known Member
This thread is to document a project that I have been making and maybe show other folks what they can also do. I wanted to challenge myself and learn new skills.
Please lets not go into the there is no alternate air source or not enough media to filter on the air or world is going to end because there is a carbon fiber parts in the vicinity of an aluminum aircraft. This is a project to learn new skills, fail and build.
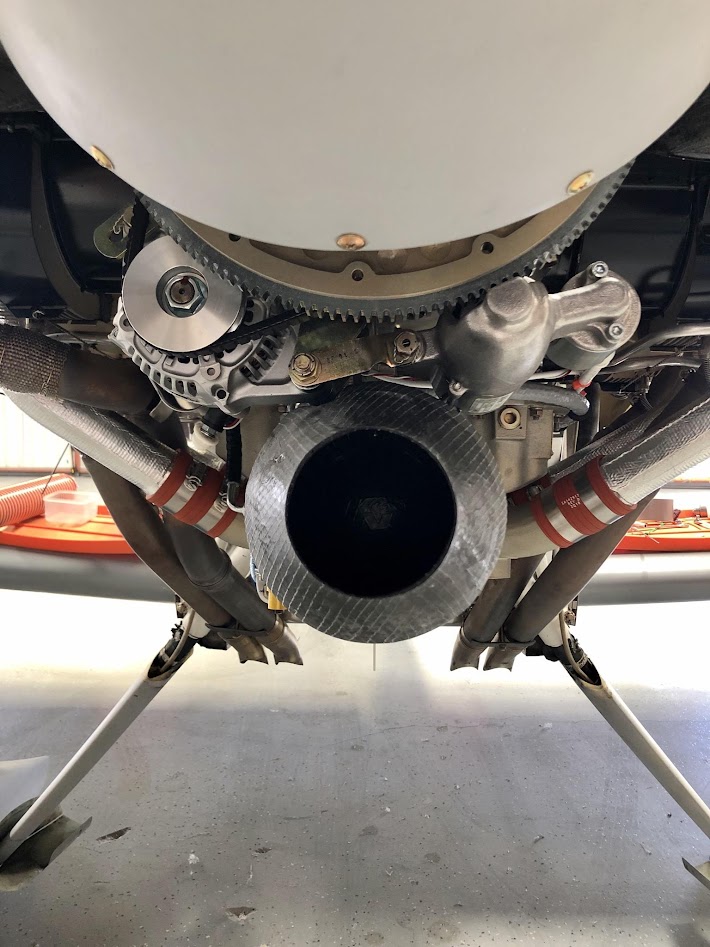
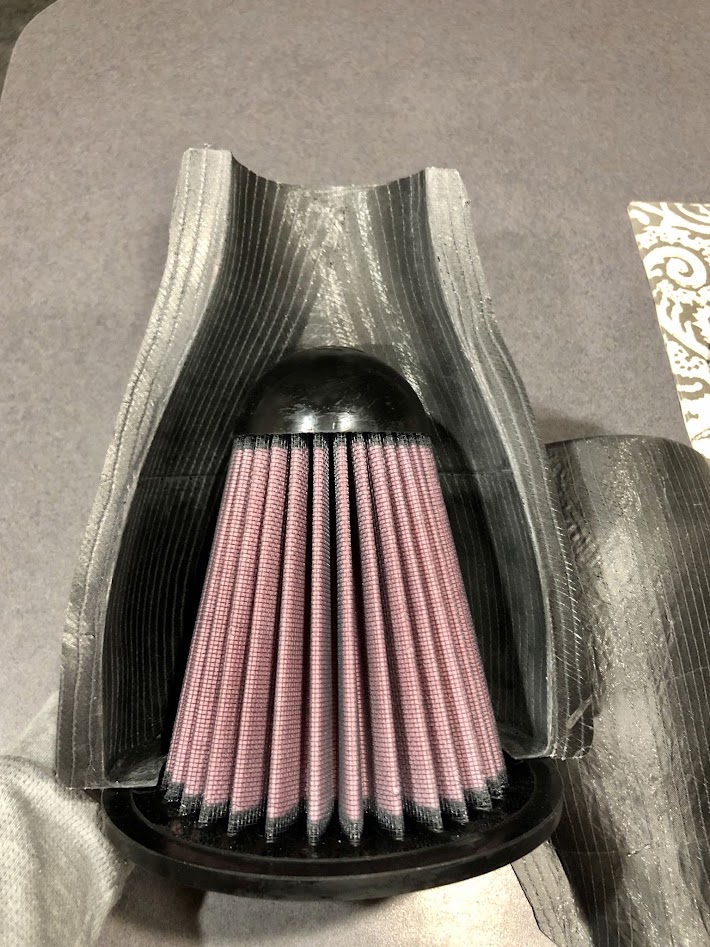
I chose to make an air filter enclosure. The reason was because the room in the cowl is restricted to the mold line, the shape would require contours, it would force me to find a way to mount the enclosure and nicely bring that air into the fuel servo. It would also force me to learn how to use technology that i don't use.
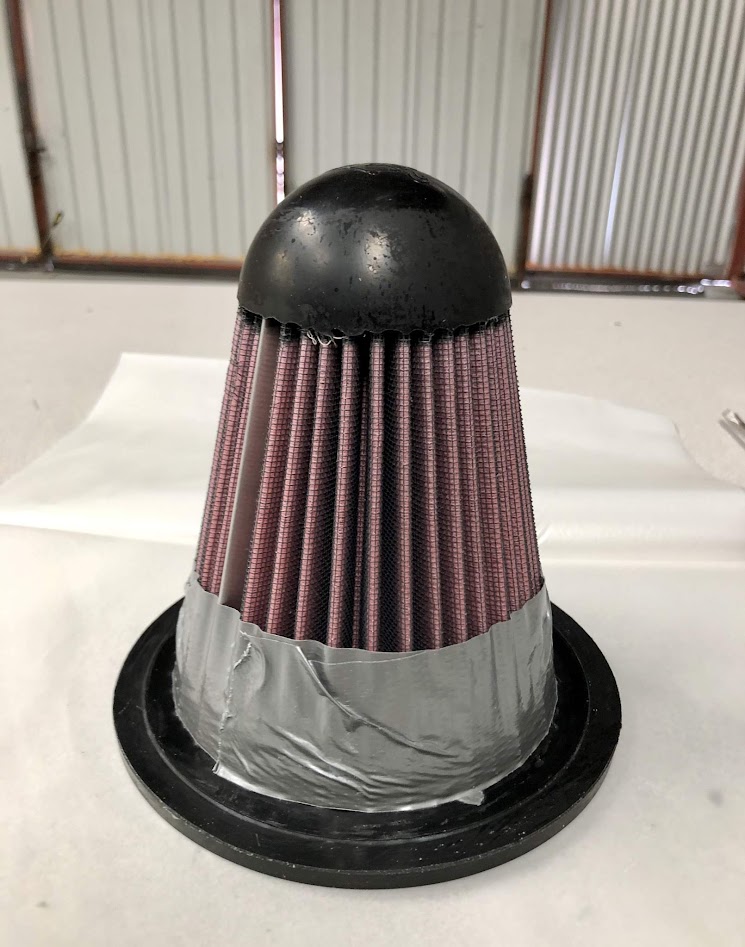
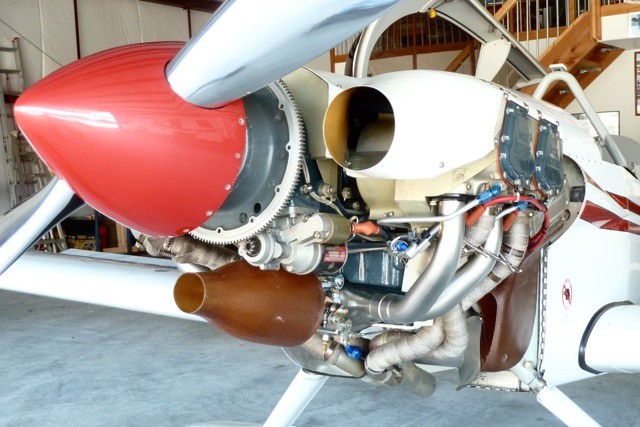
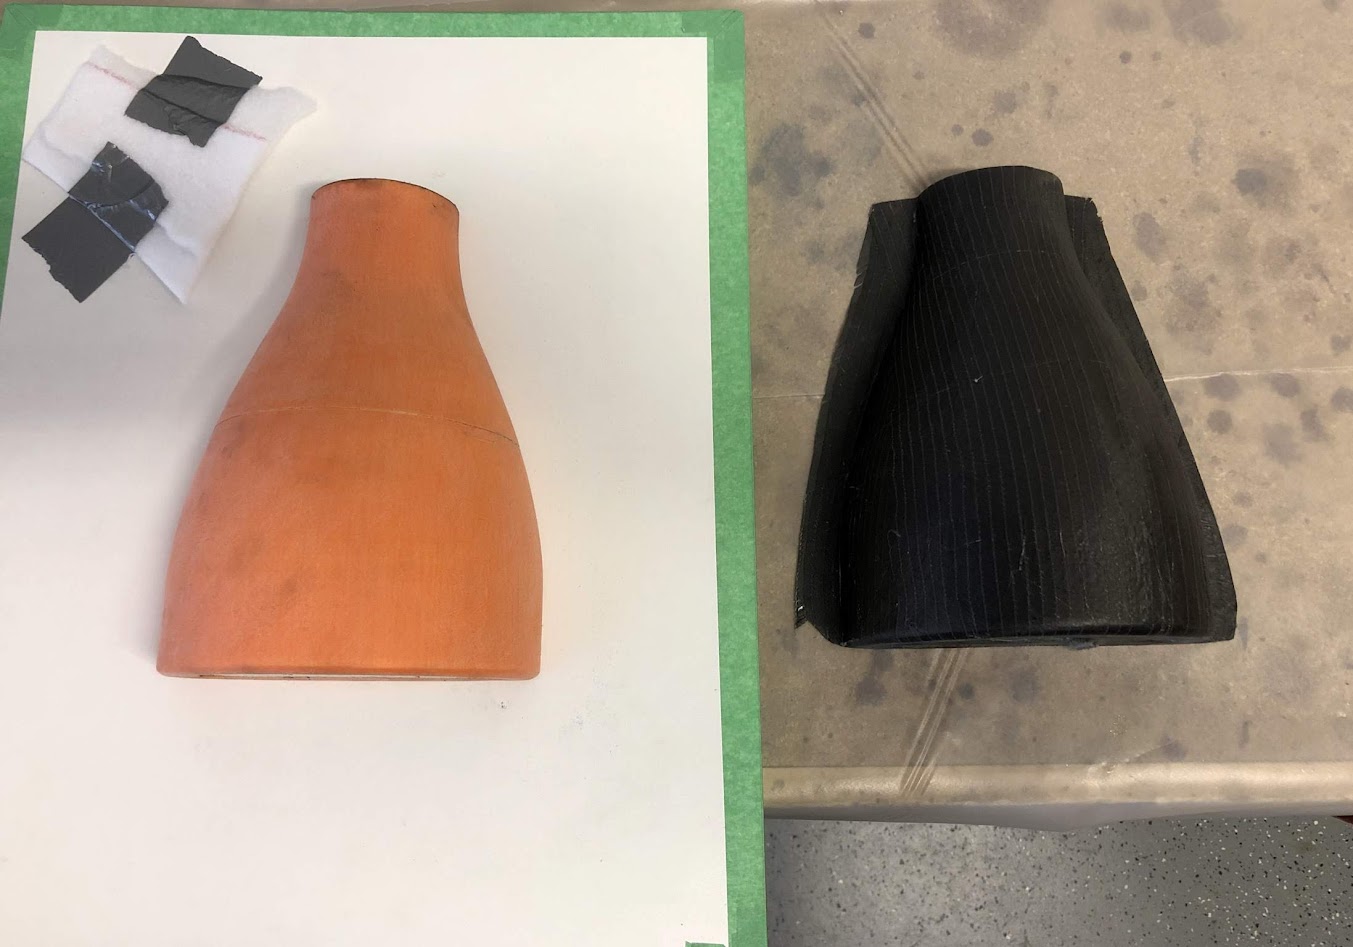
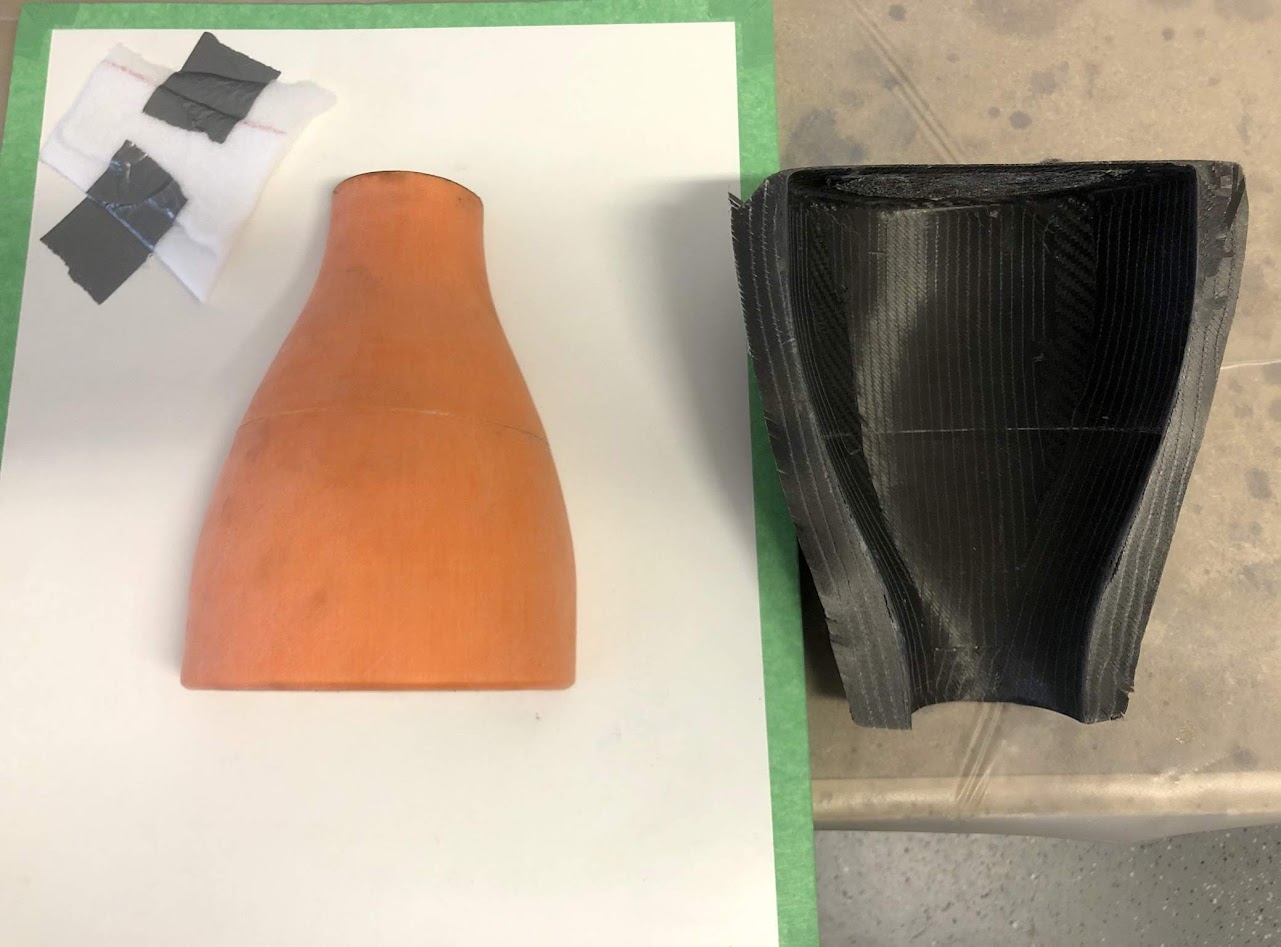
My previous version was made out of fiber glass and was made off a wooden mold that belongs to Dave Anders. Looks like this.
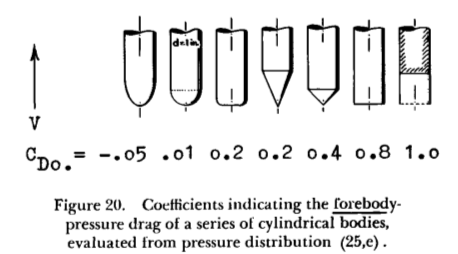
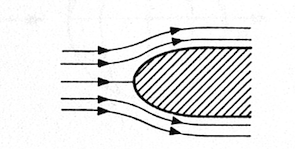
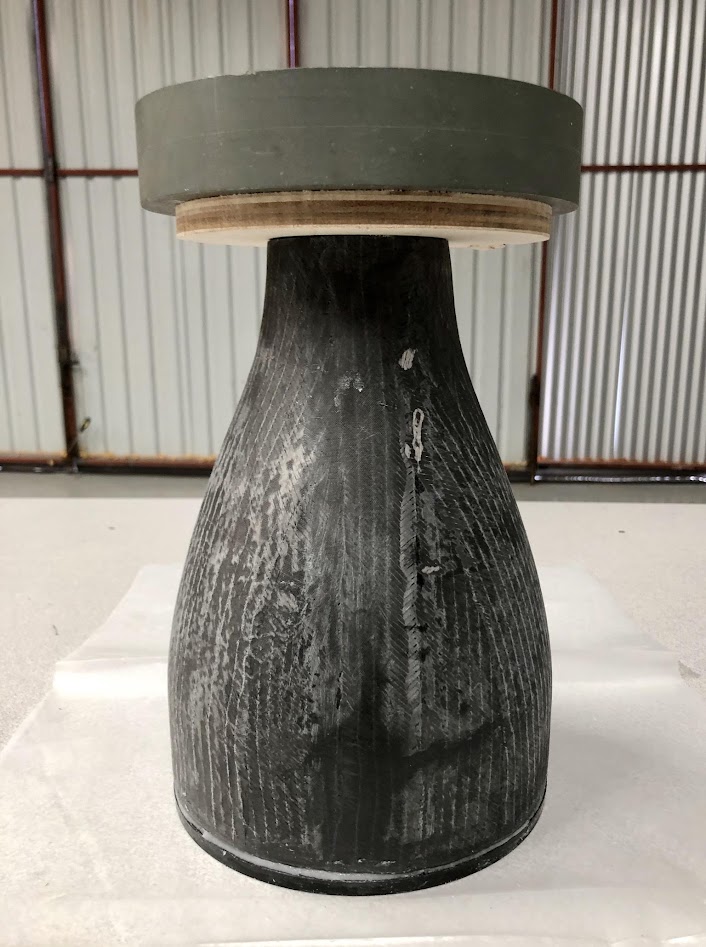
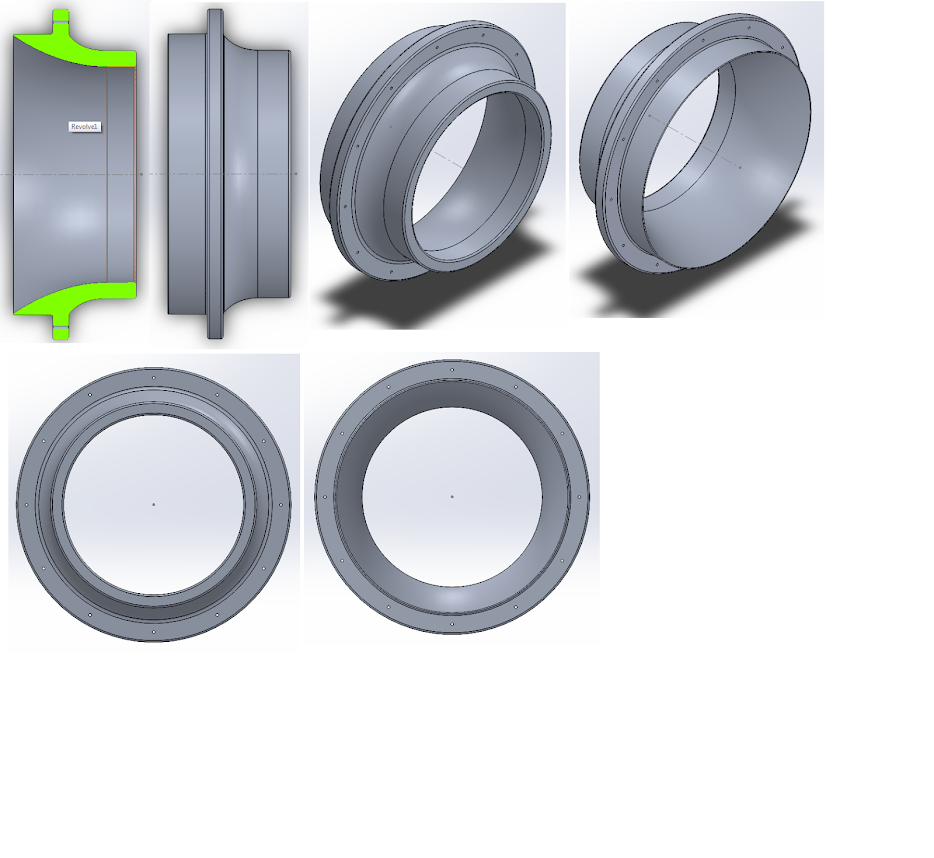
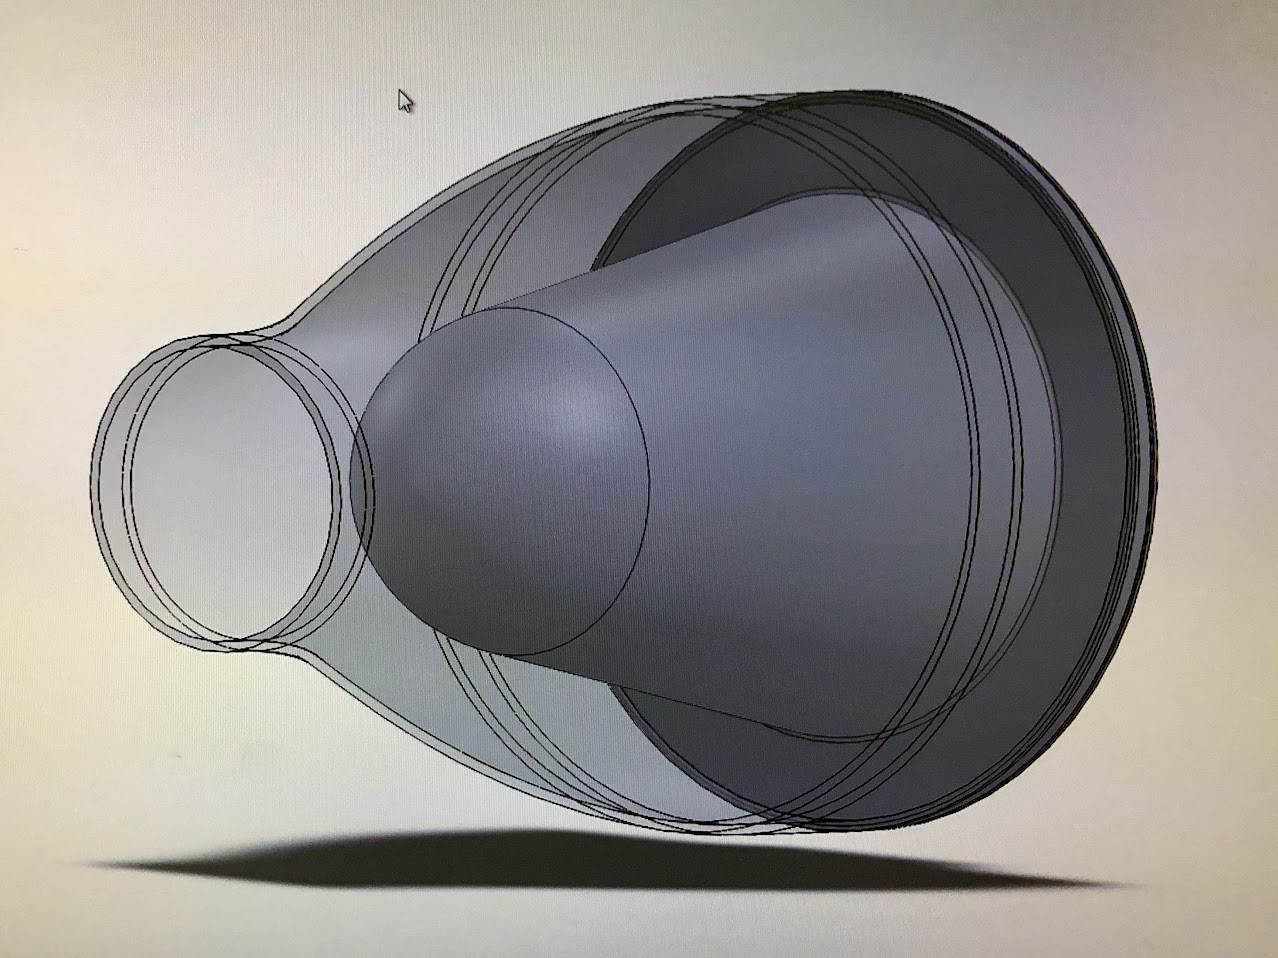
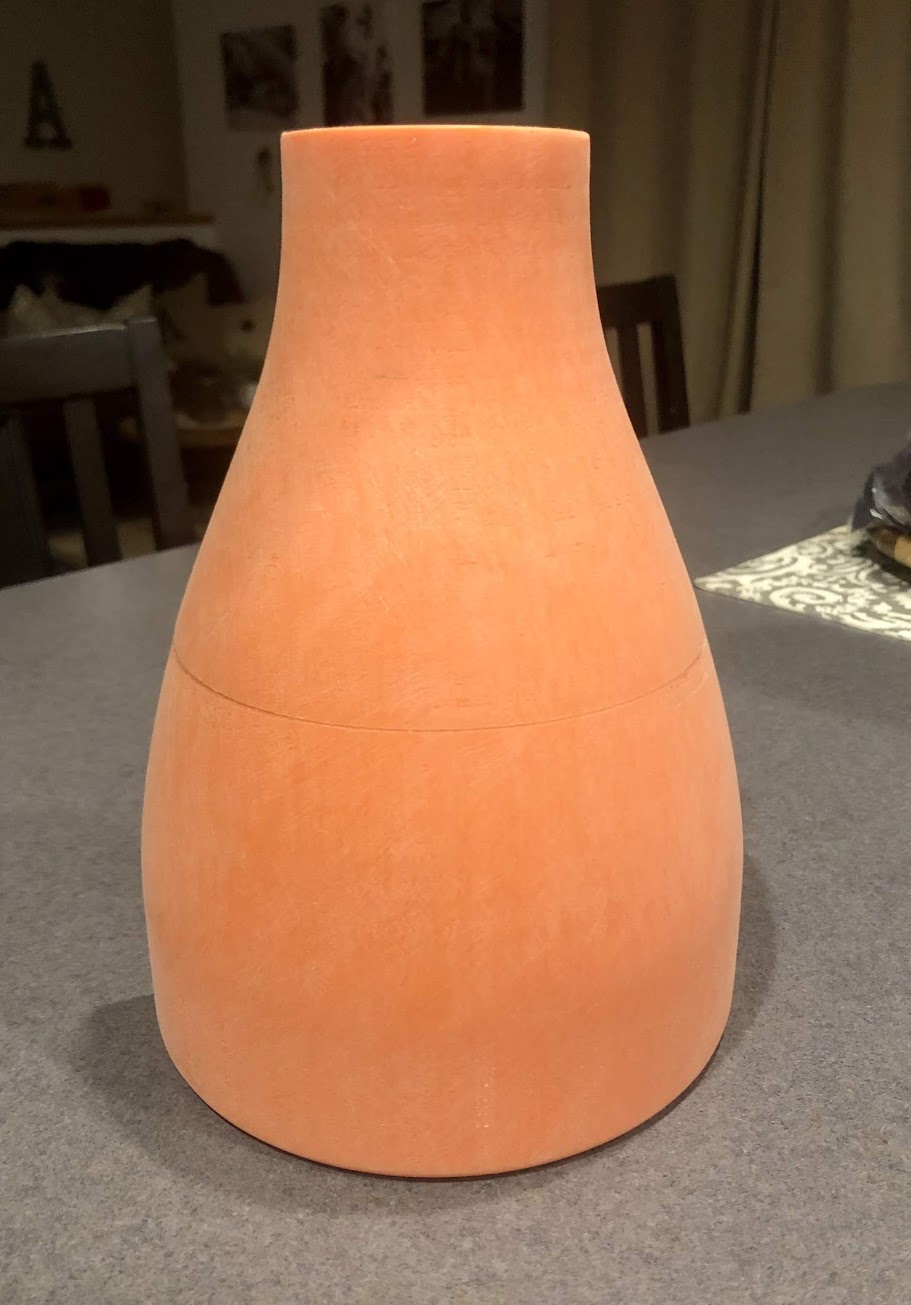
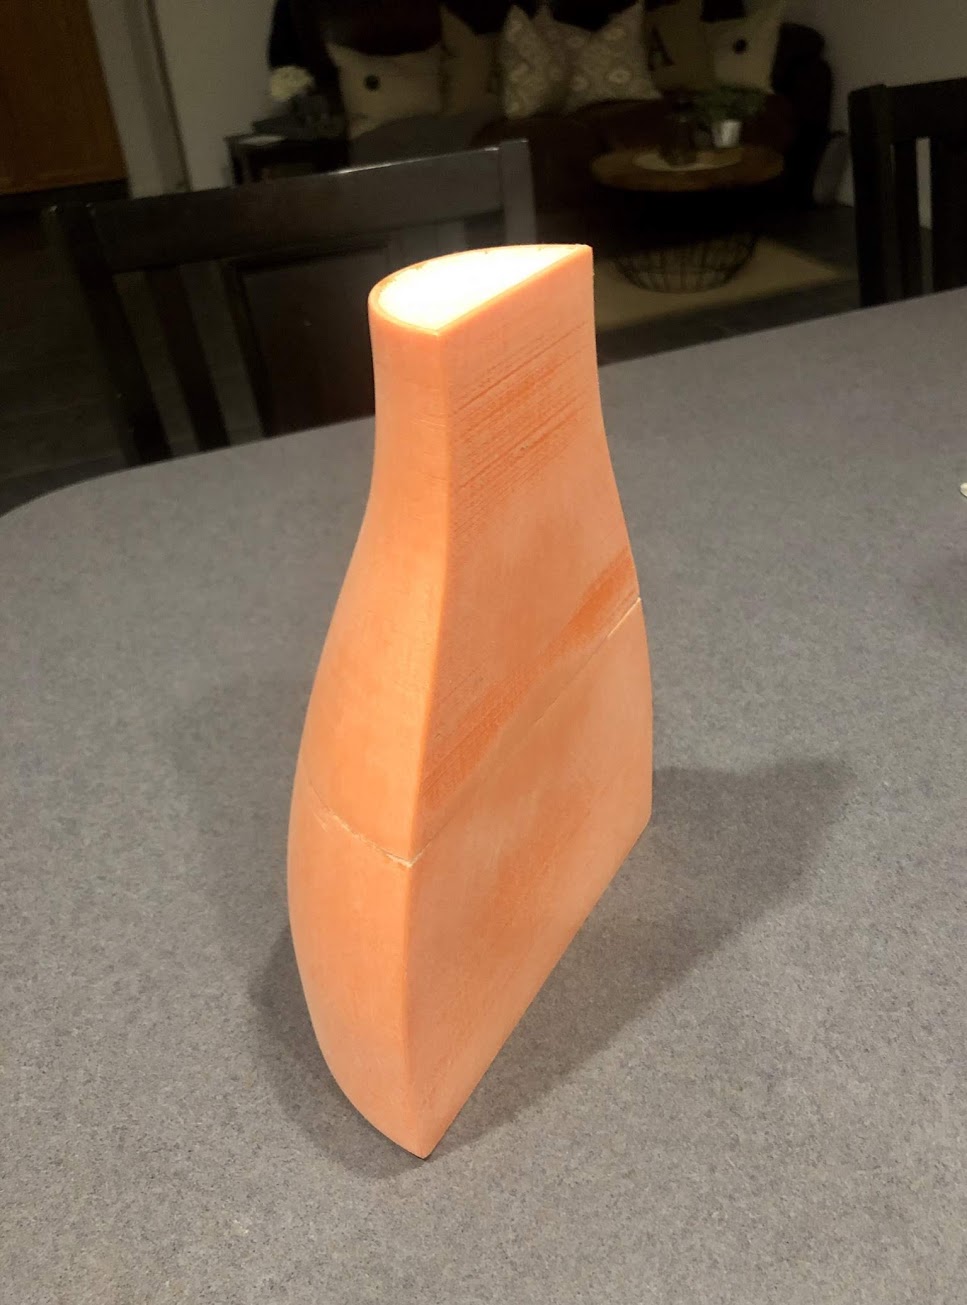
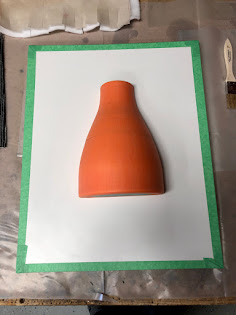
After lots of research, gouge aero rules from college and some personal experience.. I came up with this. Not completely optimal but within the constraints mentioned above.

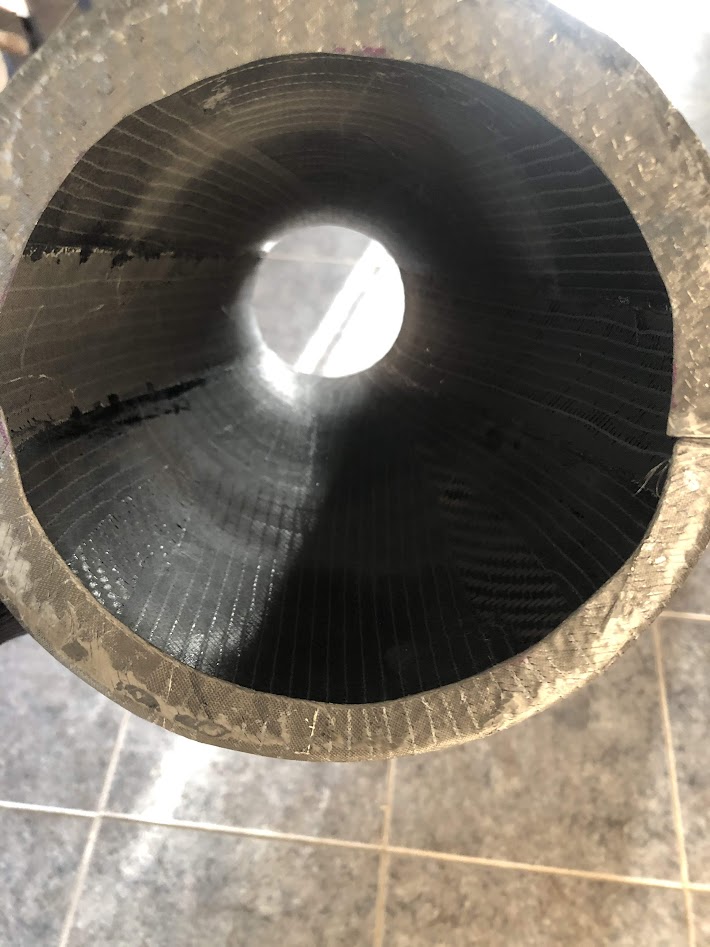
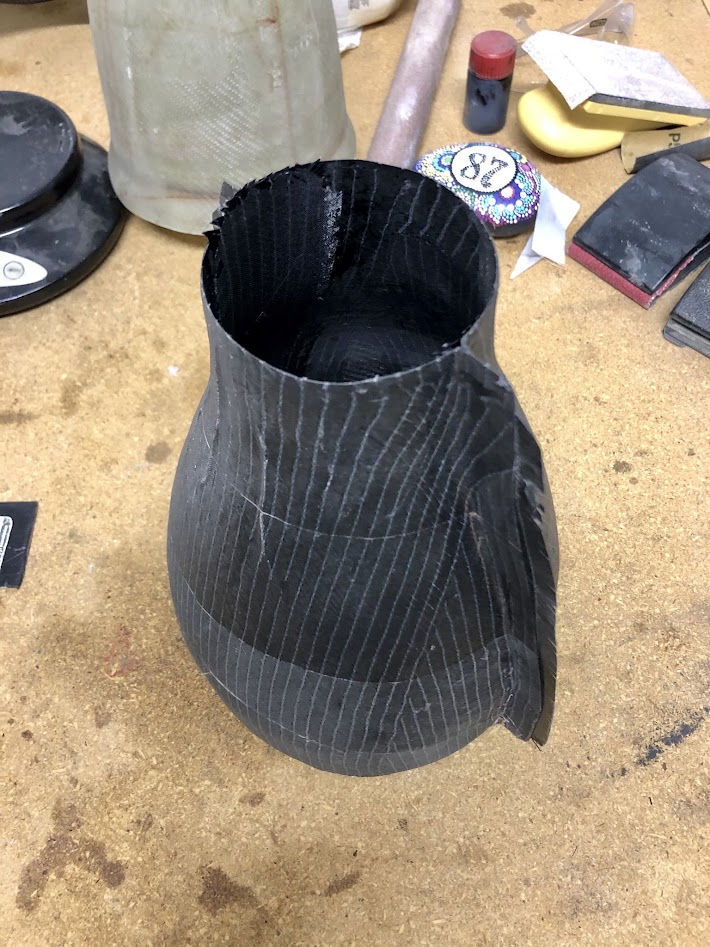
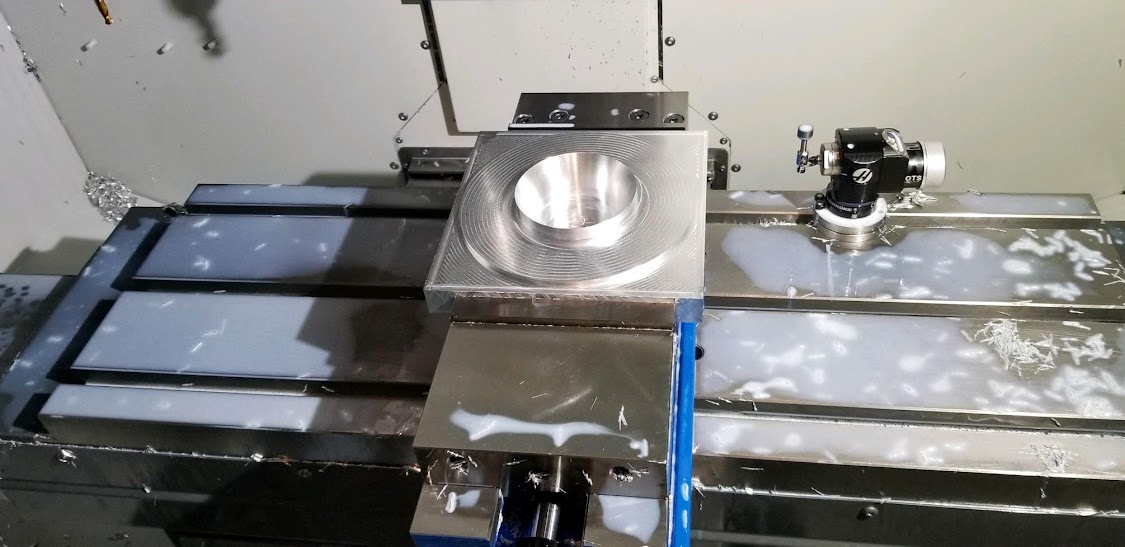
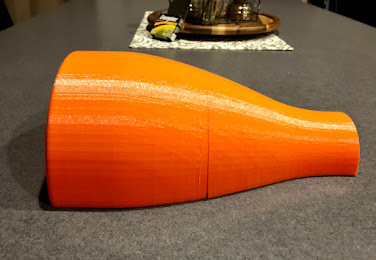
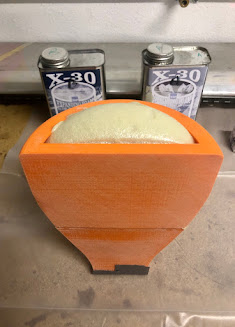
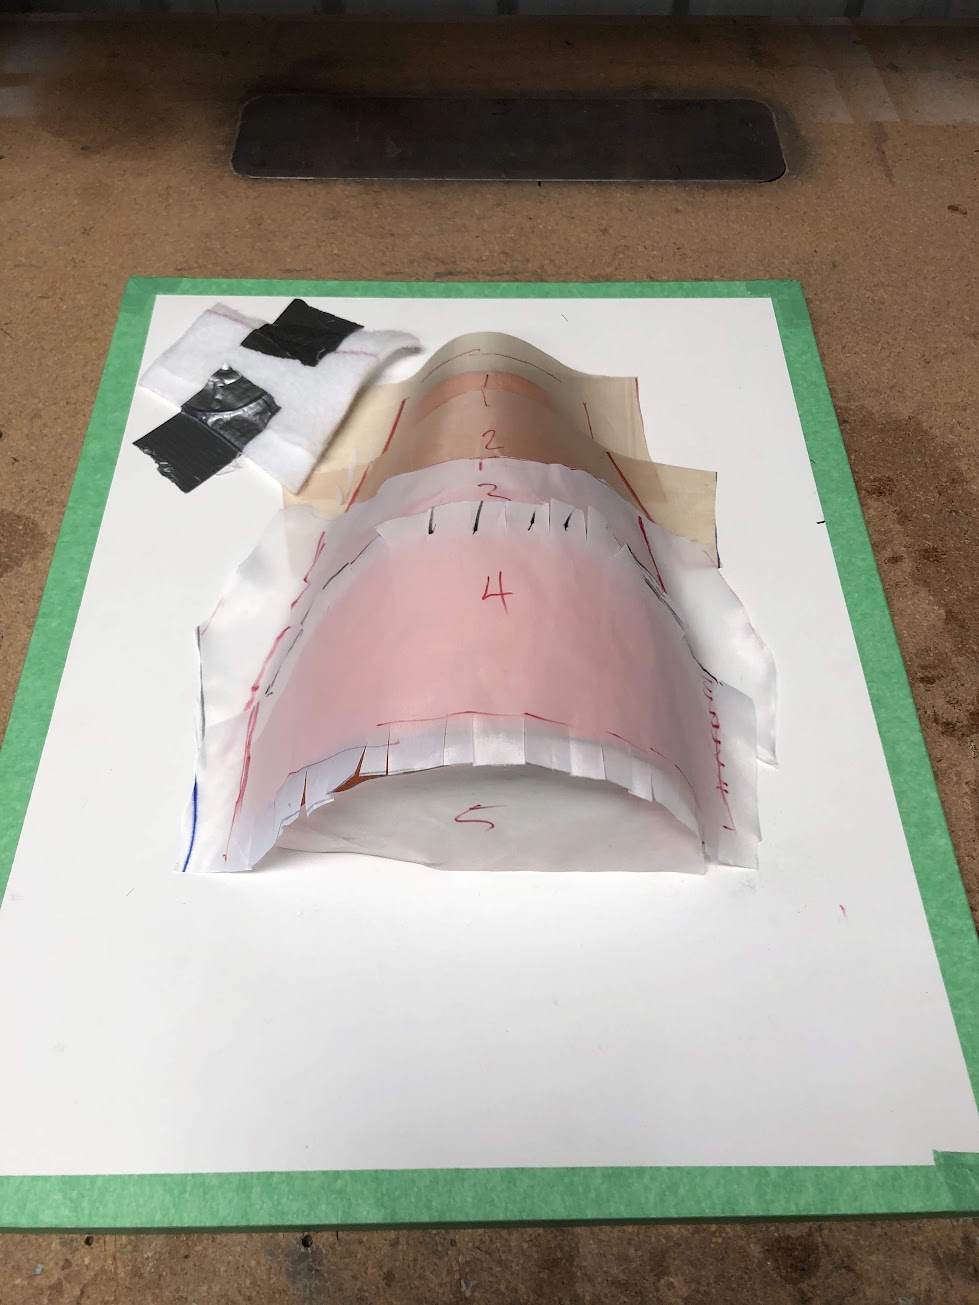
I then used a 3D printer using PLA to print a mold. The printer bed was not big enough so I had to print it in 2 pieces then join them together. I used 5 minute epoxy for that job. Each piece took approx 11 hours to print. Raw printed parts below.
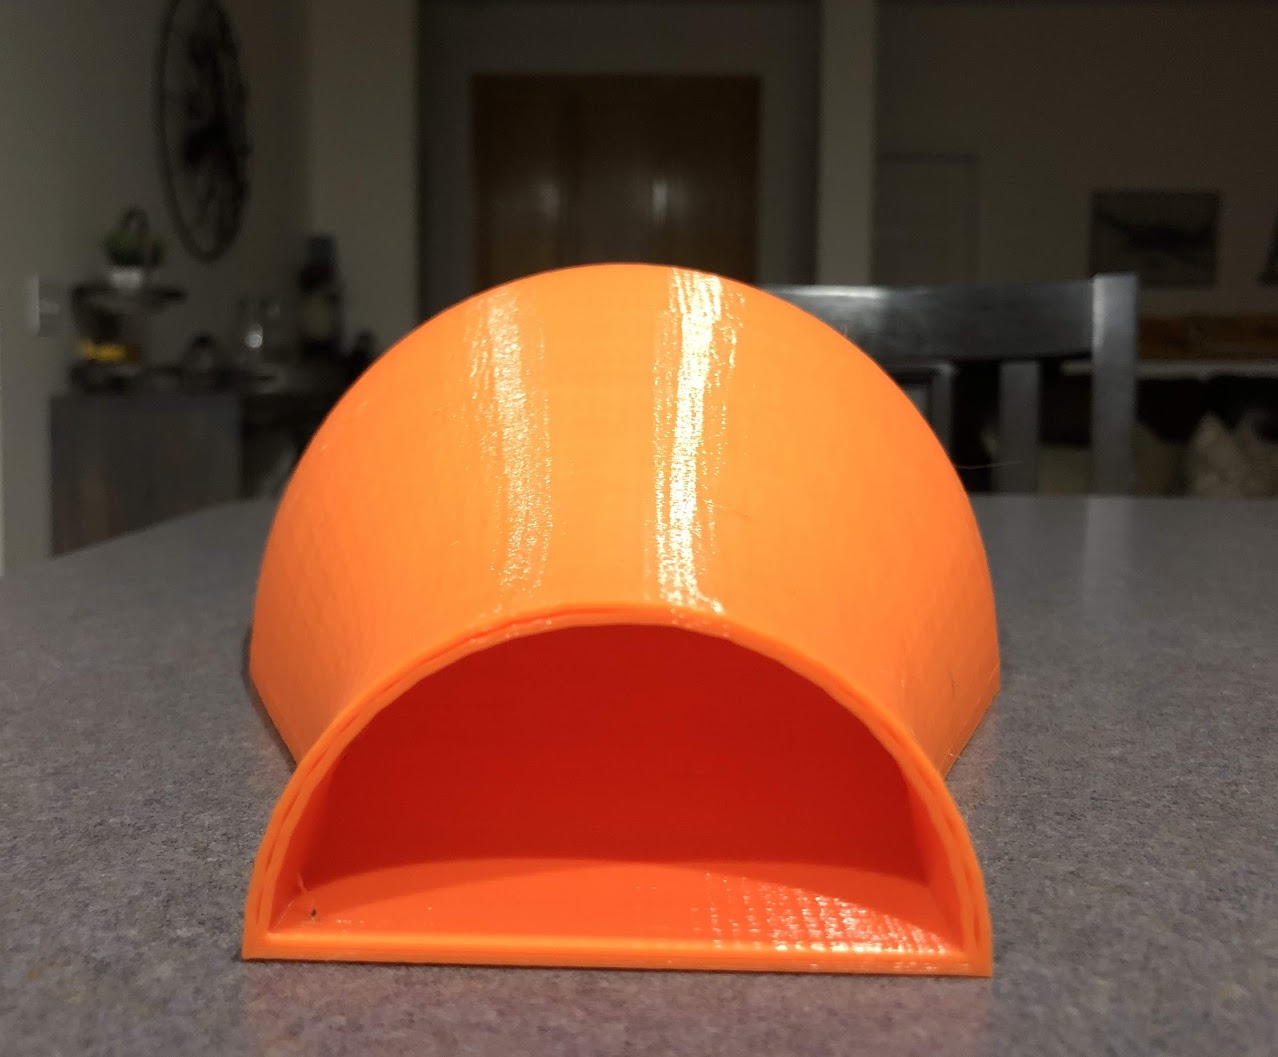
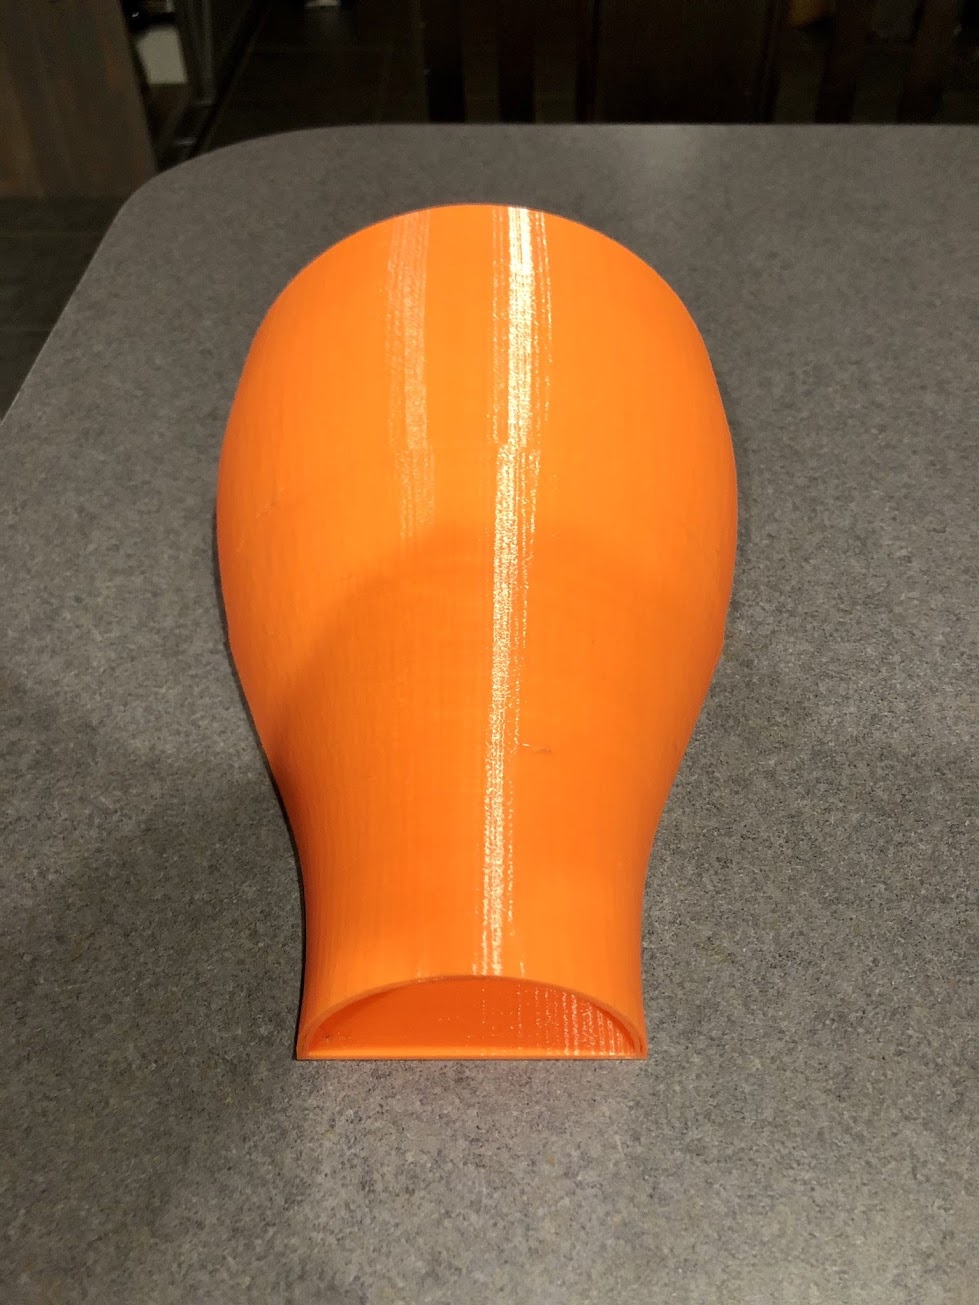
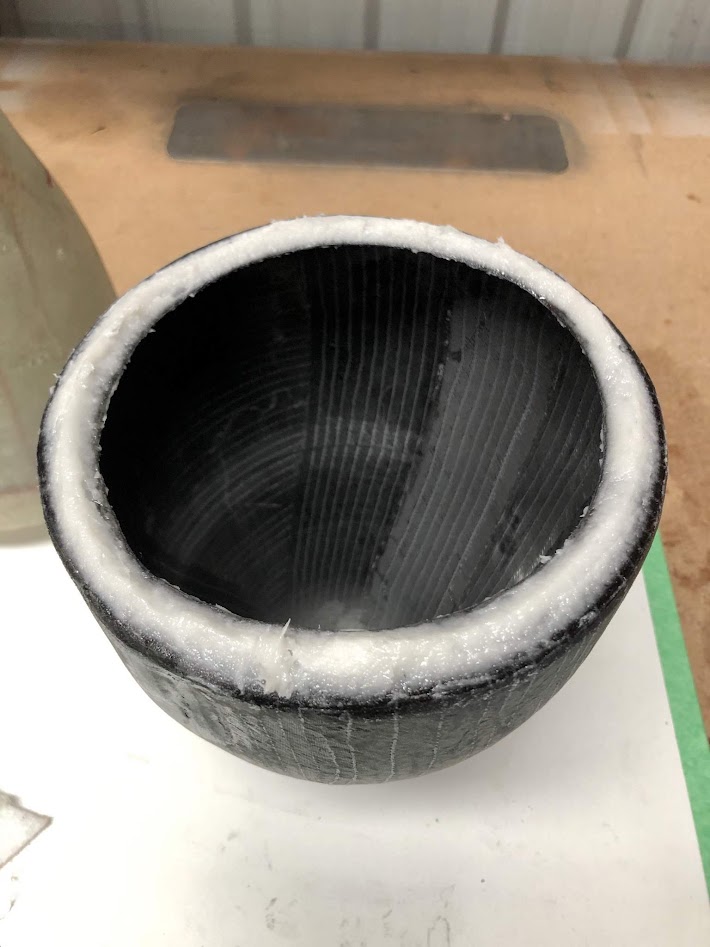
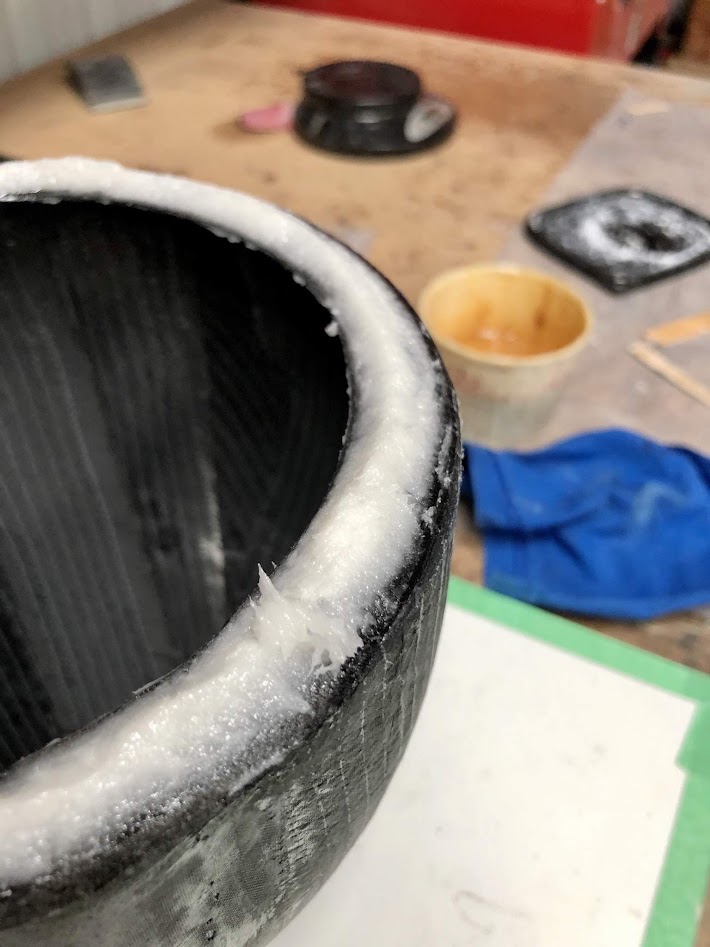
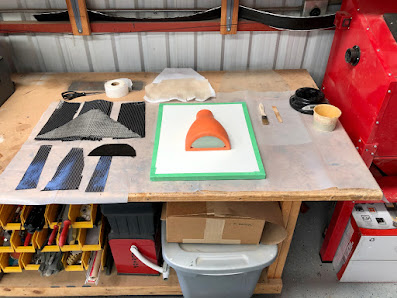
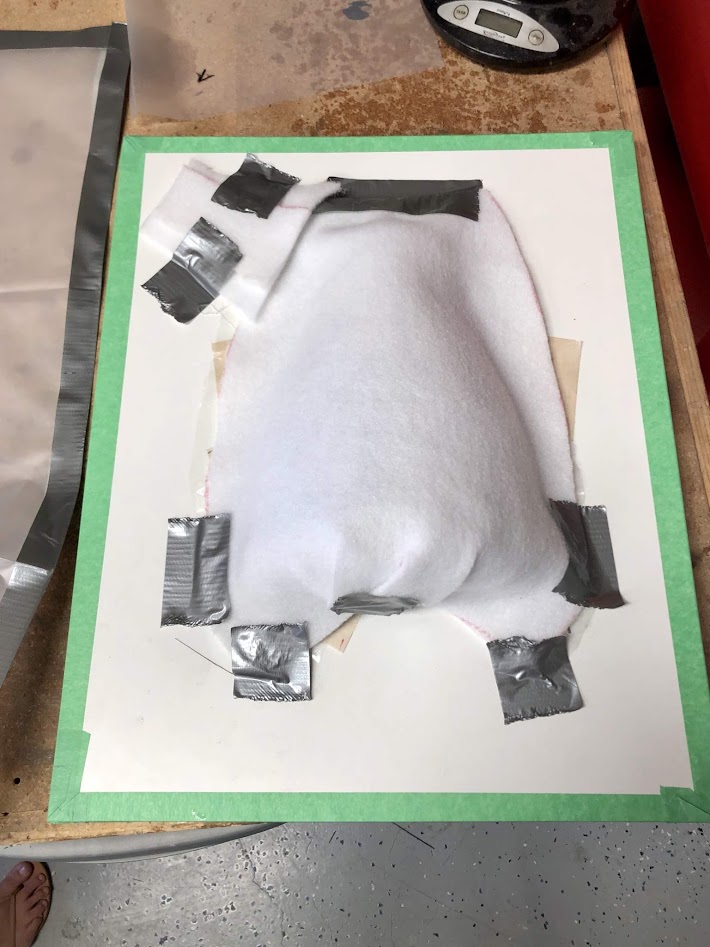
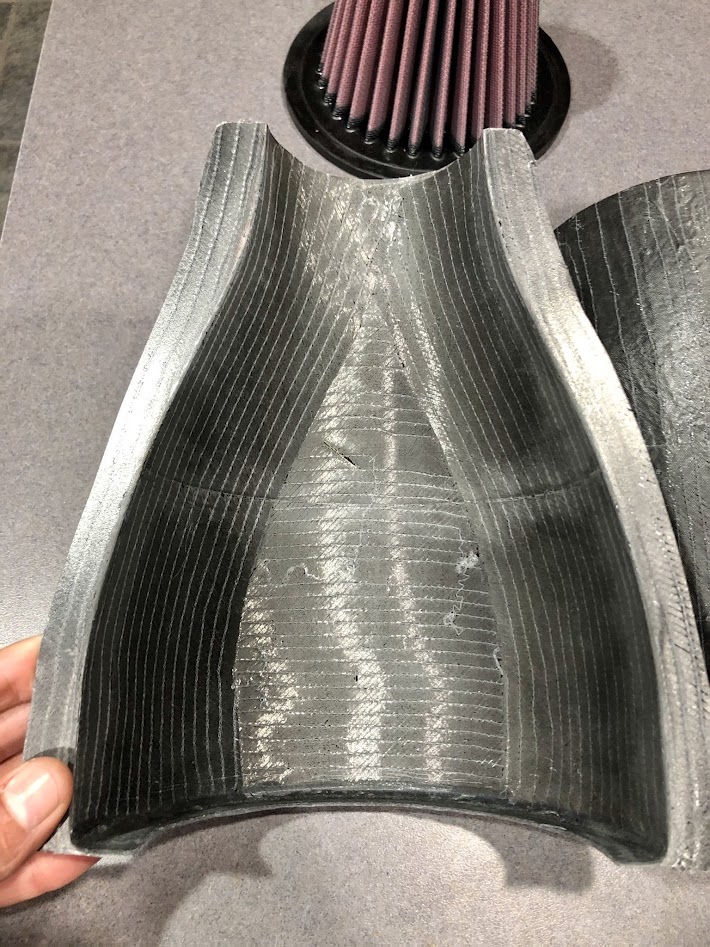
I then sanded the mold with different grids of sanding paper to get rid off the ridges left by the 3D printer. And since I am vacuuming the parts, I filled the inside of the mold with pour foam.
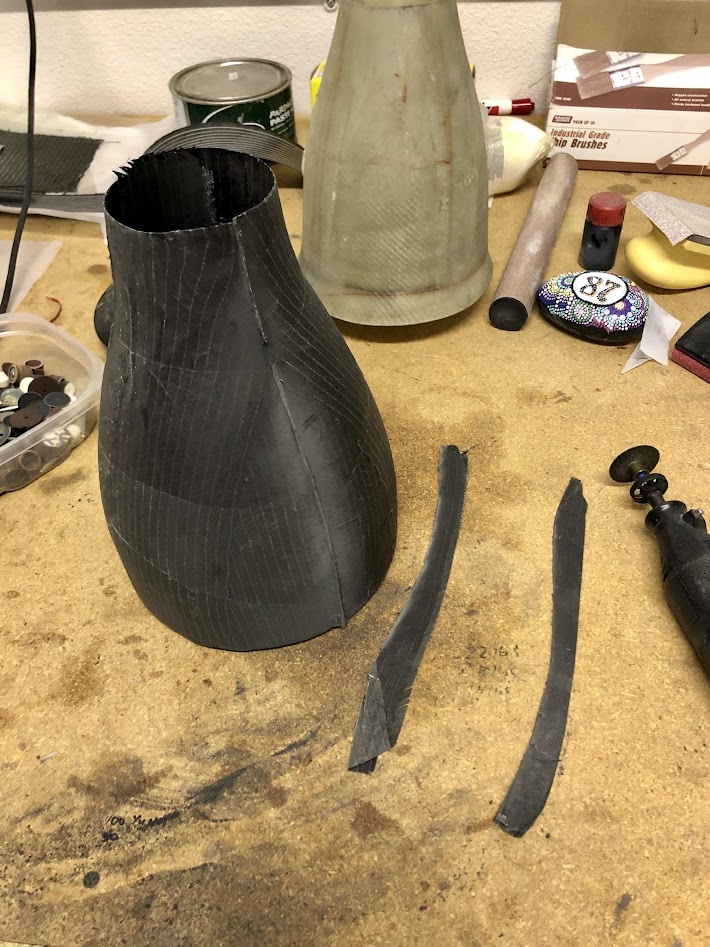
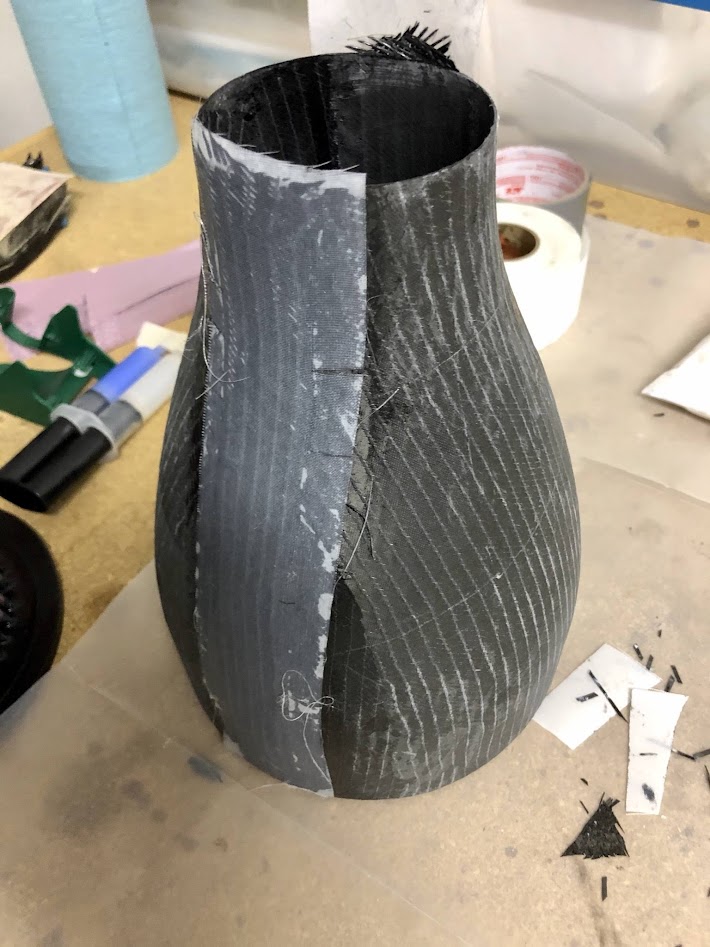
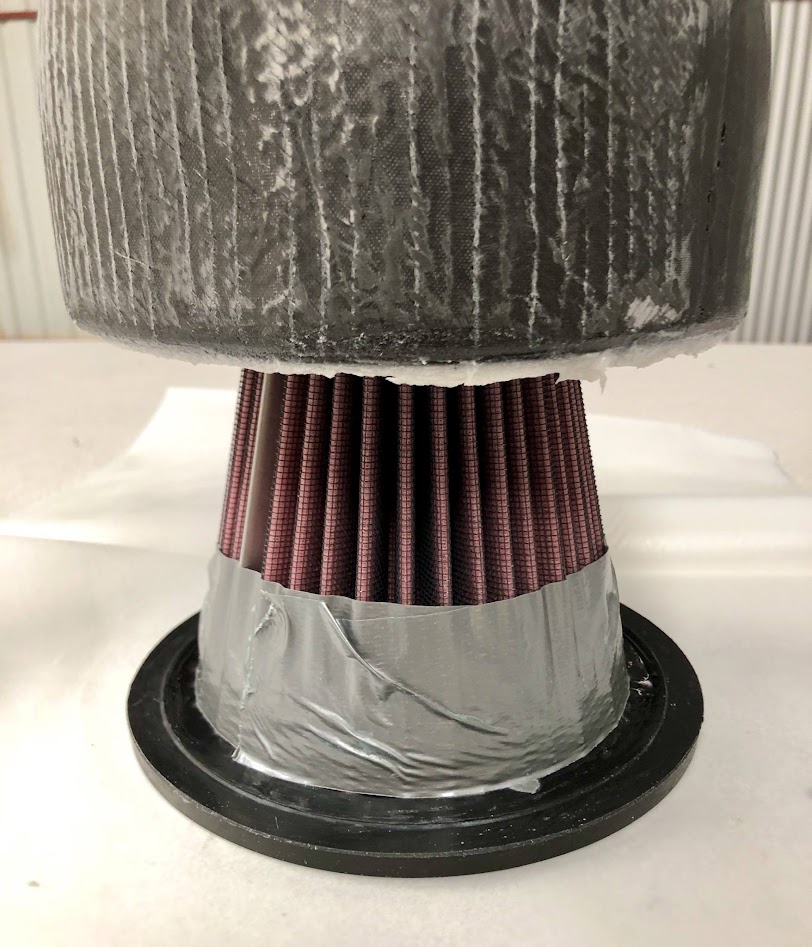
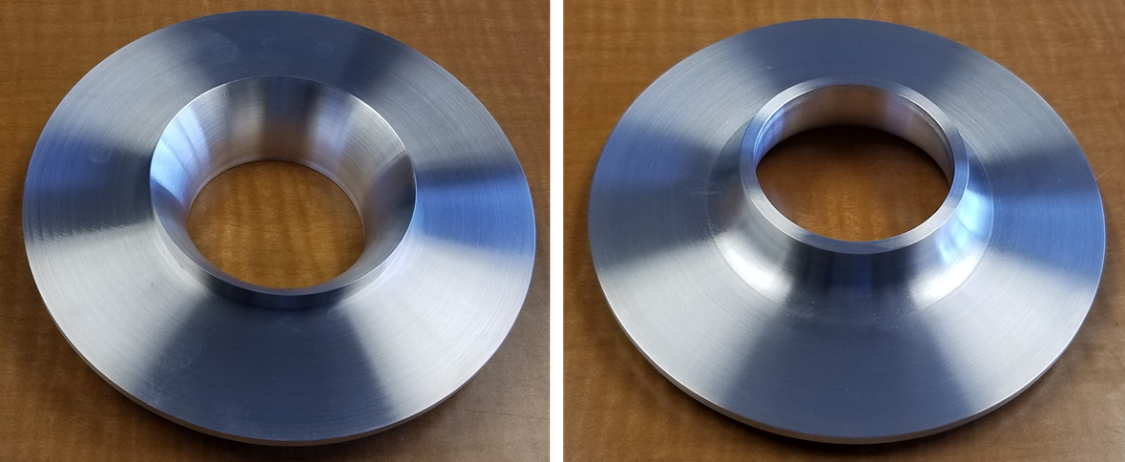
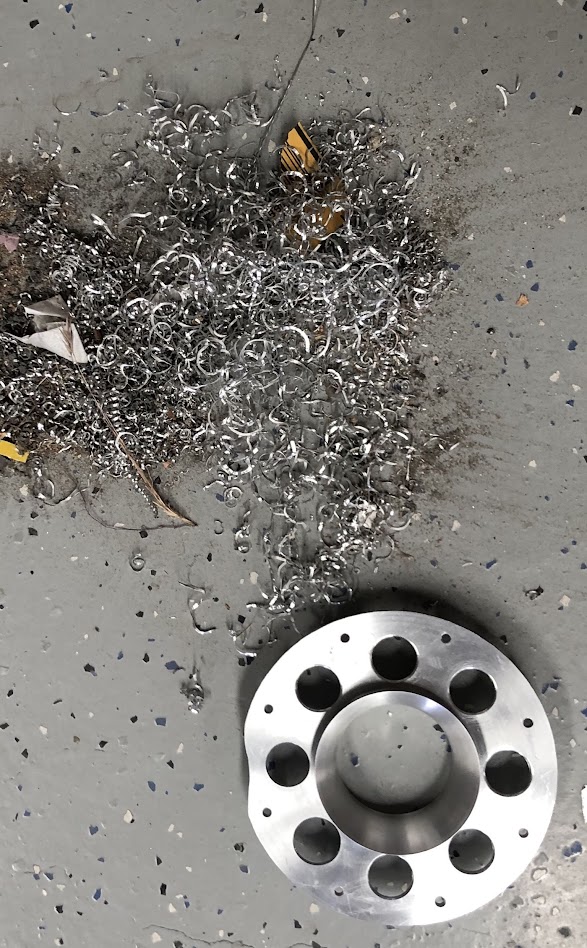
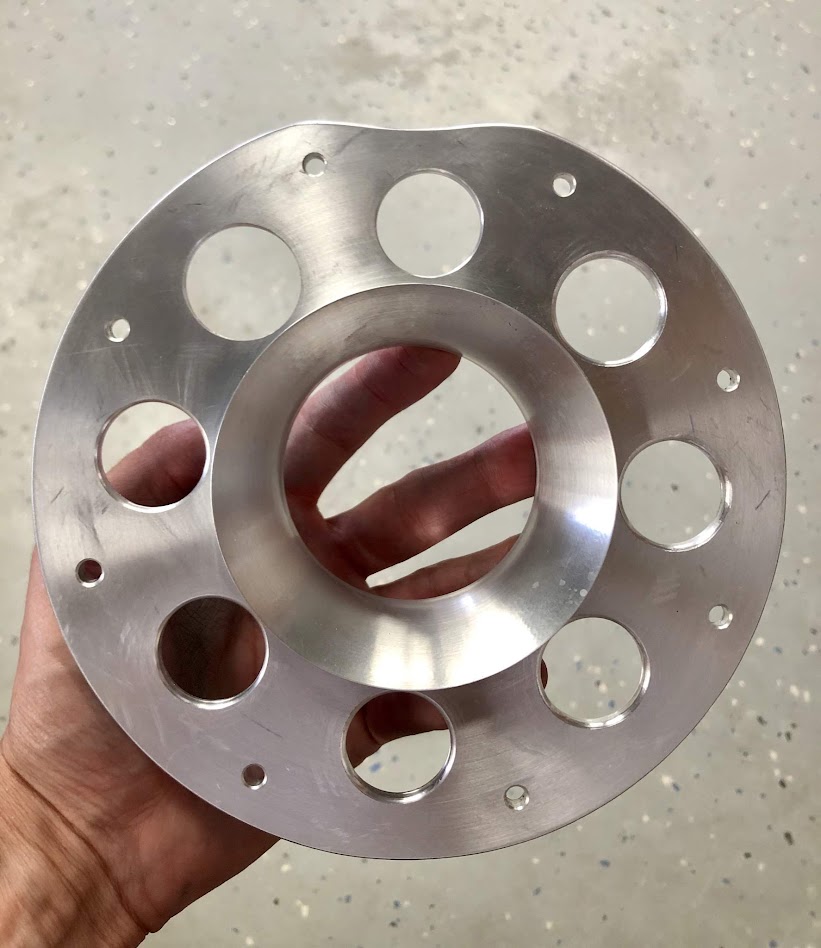
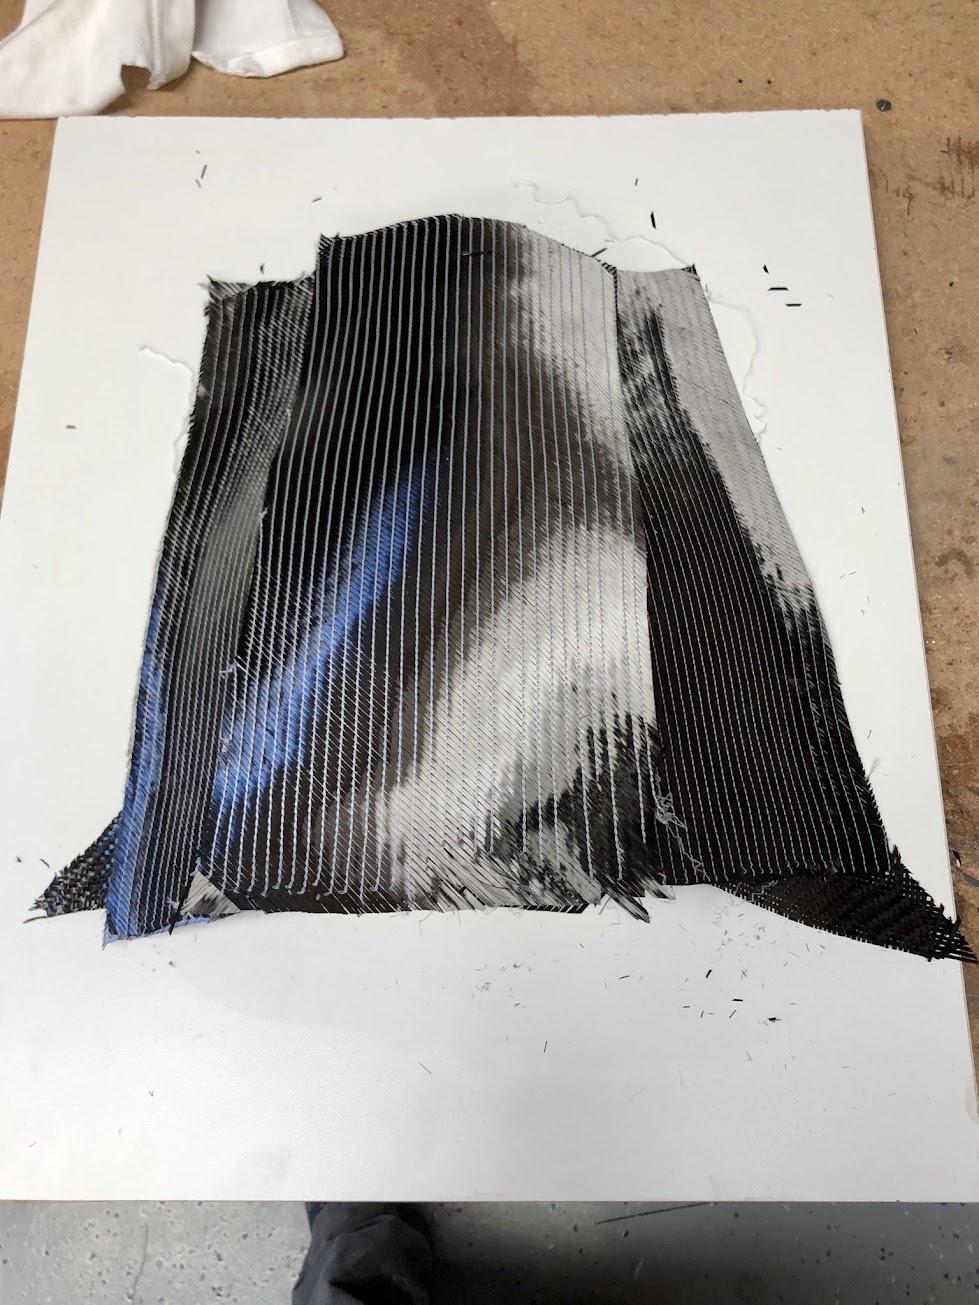
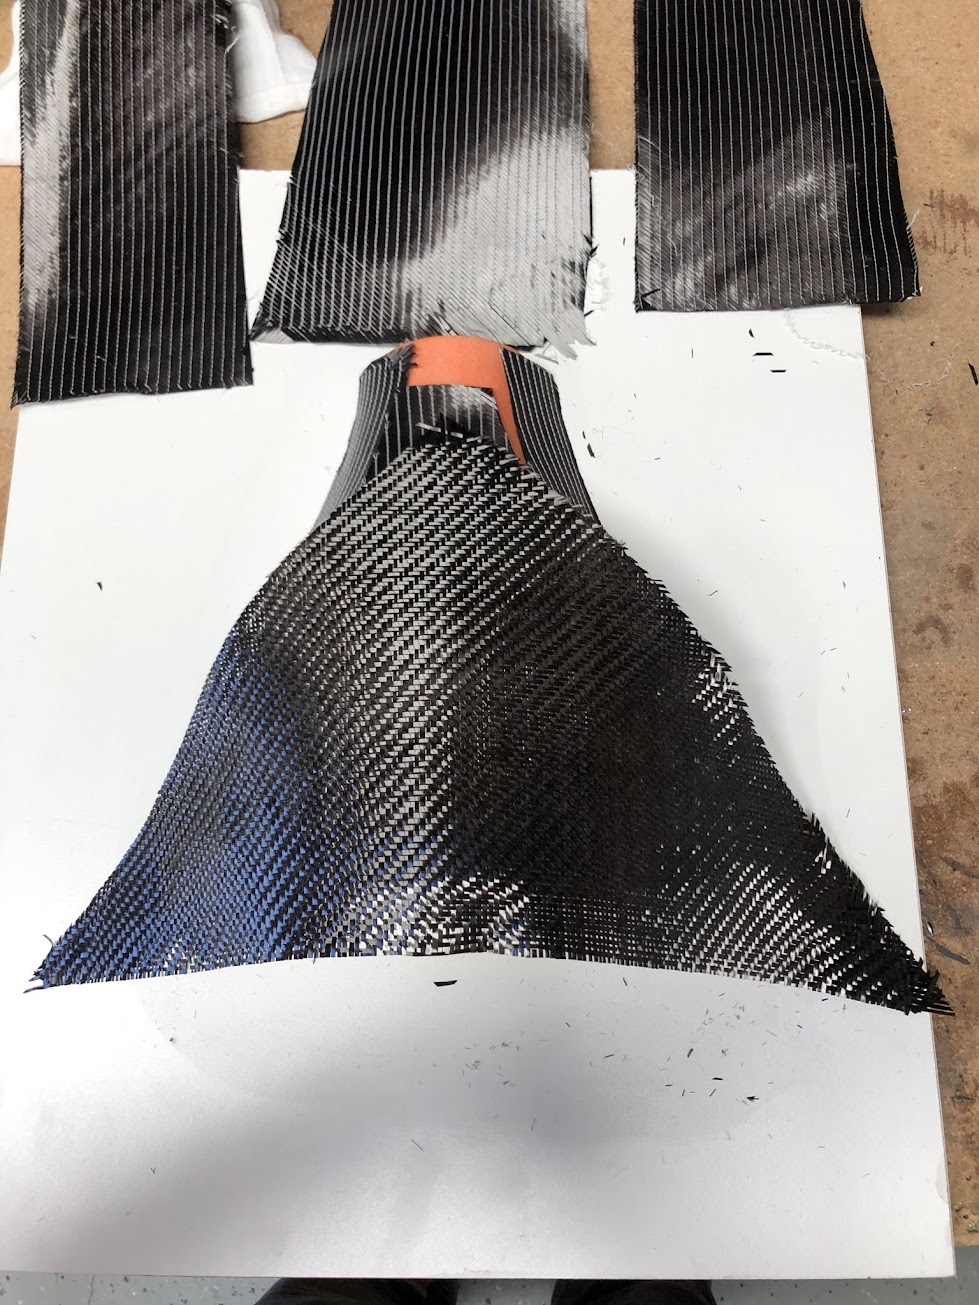
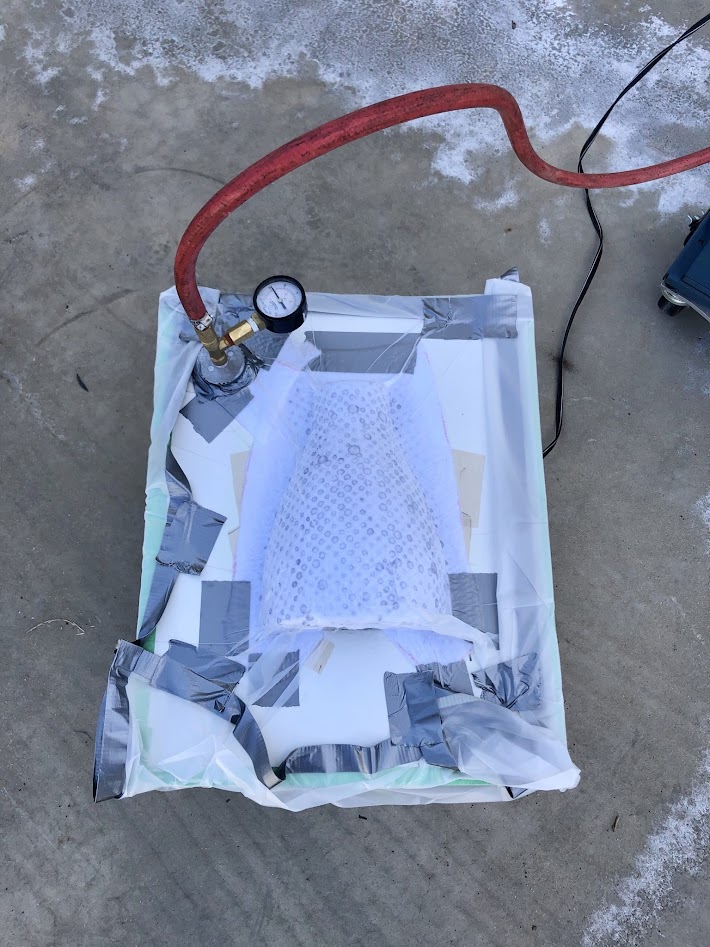
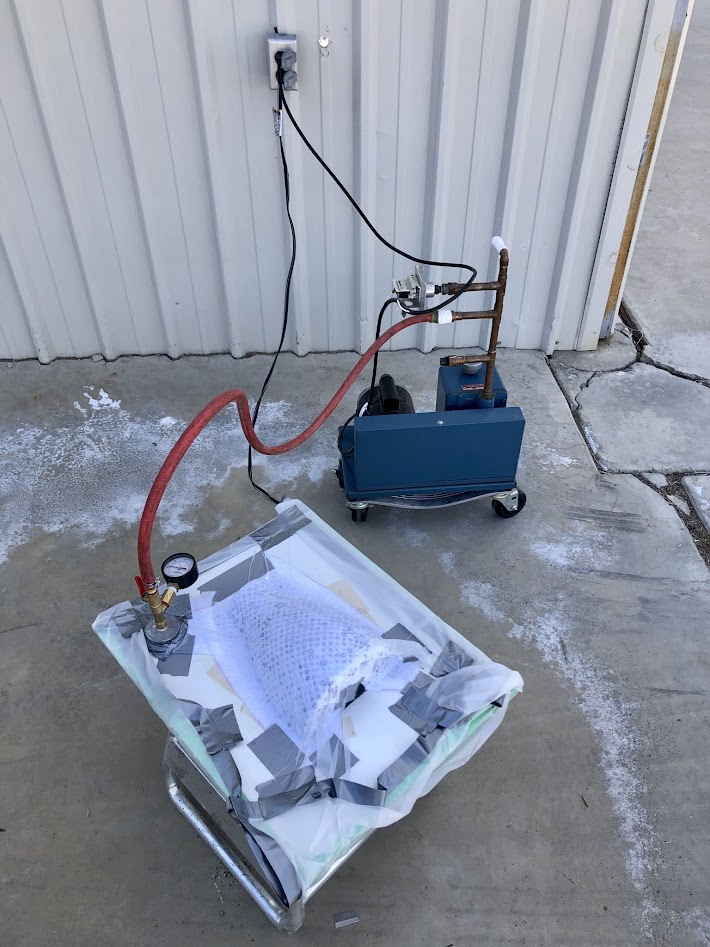
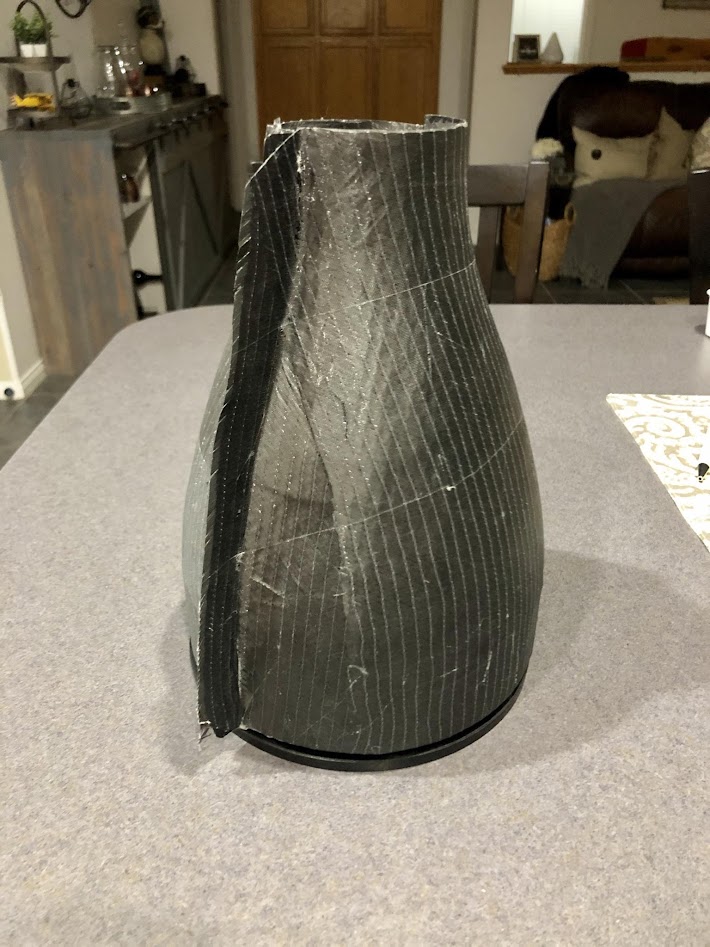
And mounted it on a piece of wood so I could get a nice edge for joining parts later and also facilitate the vacuuming process. The plan was to pull 2 halves off the same mold then joining them using the flange. Then a strip of carbon fiber inside the part, cut the flange off, and 2 layers of carbon outside the seam.
Please lets not go into the there is no alternate air source or not enough media to filter on the air or world is going to end because there is a carbon fiber parts in the vicinity of an aluminum aircraft. This is a project to learn new skills, fail and build.
I chose to make an air filter enclosure. The reason was because the room in the cowl is restricted to the mold line, the shape would require contours, it would force me to find a way to mount the enclosure and nicely bring that air into the fuel servo. It would also force me to learn how to use technology that i don't use.
My previous version was made out of fiber glass and was made off a wooden mold that belongs to Dave Anders. Looks like this.
After lots of research, gouge aero rules from college and some personal experience.. I came up with this. Not completely optimal but within the constraints mentioned above.
I then used a 3D printer using PLA to print a mold. The printer bed was not big enough so I had to print it in 2 pieces then join them together. I used 5 minute epoxy for that job. Each piece took approx 11 hours to print. Raw printed parts below.
I then sanded the mold with different grids of sanding paper to get rid off the ridges left by the 3D printer. And since I am vacuuming the parts, I filled the inside of the mold with pour foam.
And mounted it on a piece of wood so I could get a nice edge for joining parts later and also facilitate the vacuuming process. The plan was to pull 2 halves off the same mold then joining them using the flange. Then a strip of carbon fiber inside the part, cut the flange off, and 2 layers of carbon outside the seam.
Last edited:


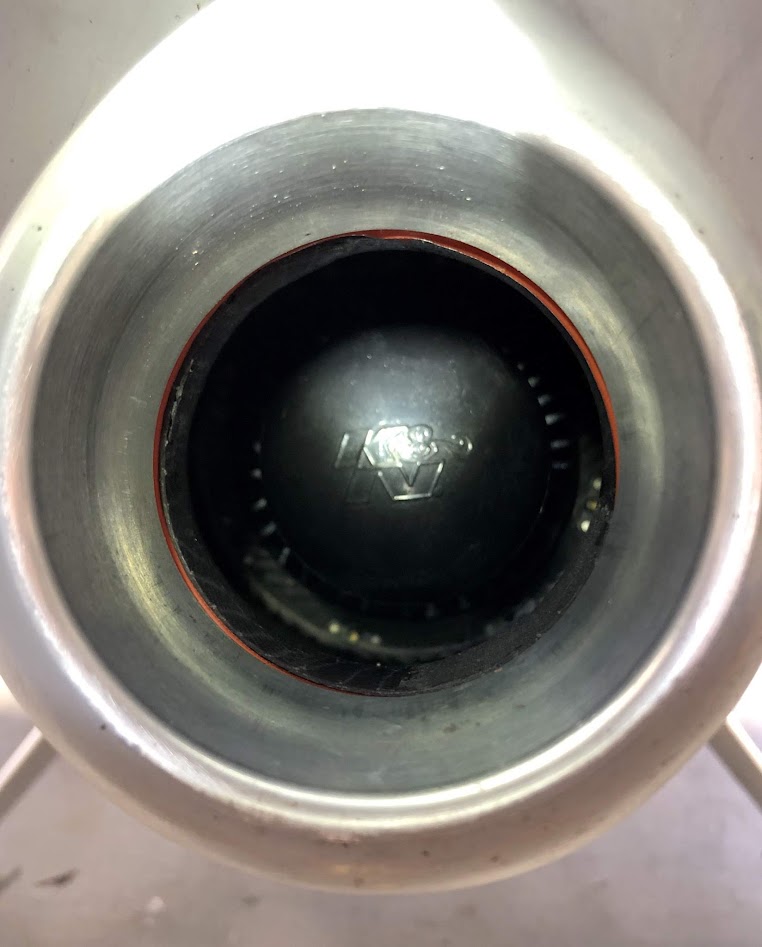
 Reminds me of the SR-71 shock cone.