romanov
Well Known Member
.
Hello to all of you - mighty airplane builders,
Today we are happy to add our progress thread
to the community forum.
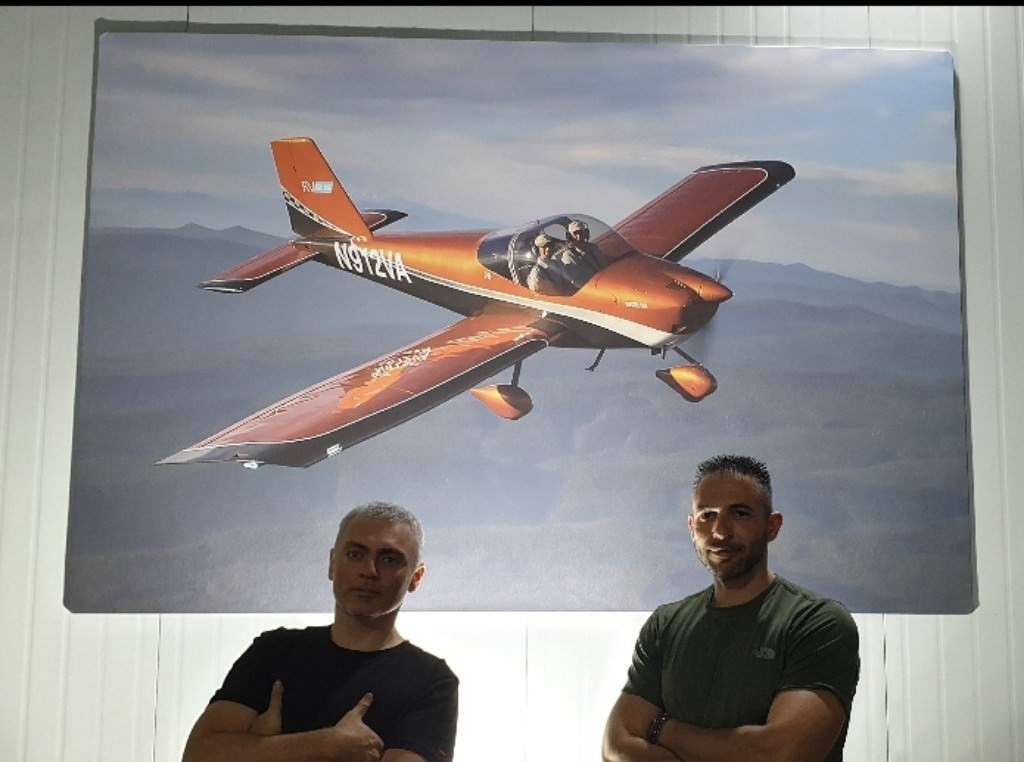
So who are we?
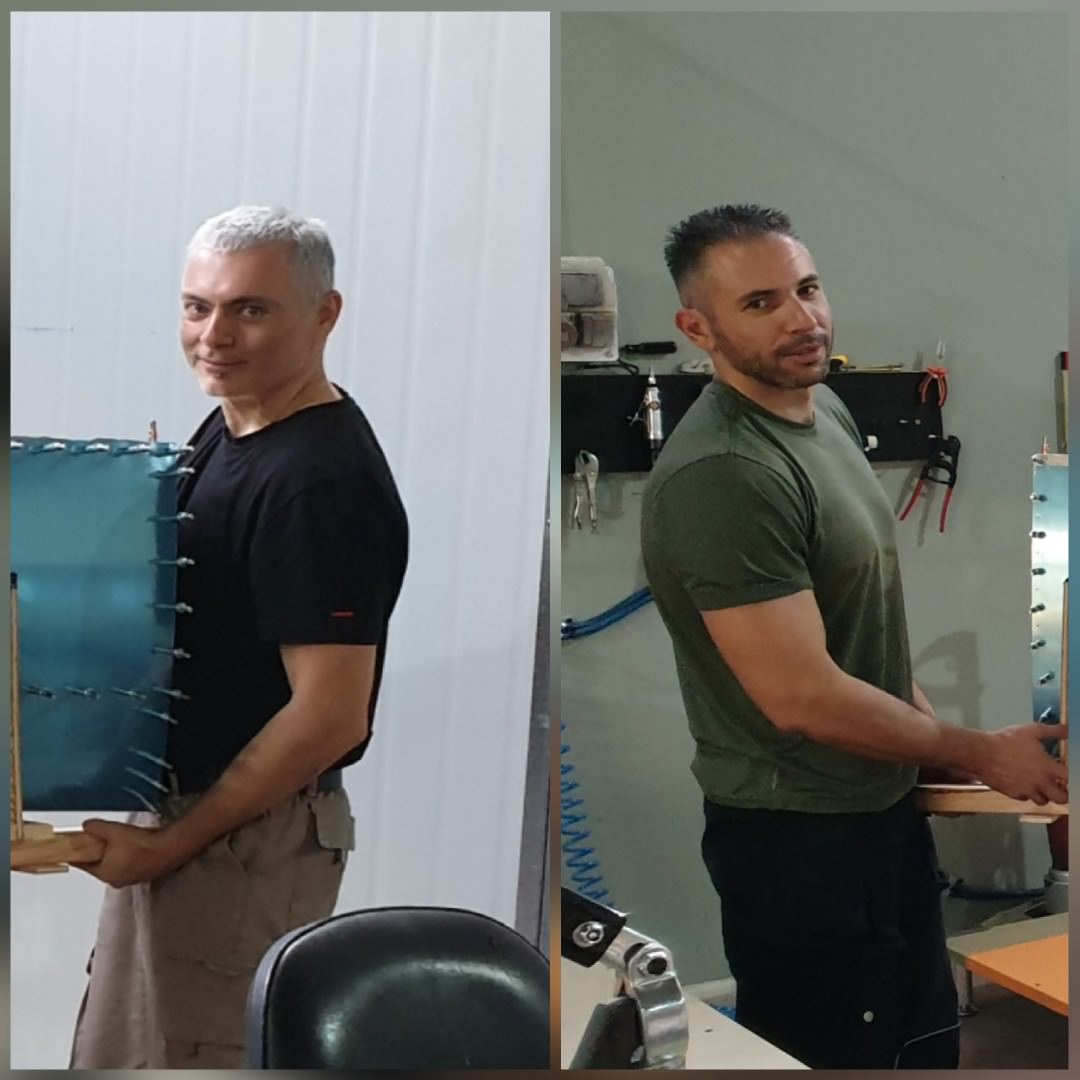
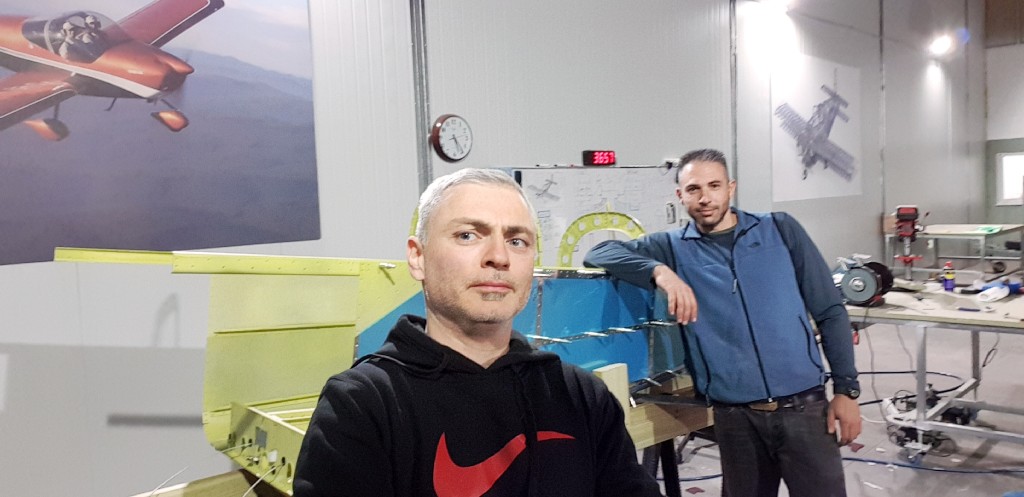
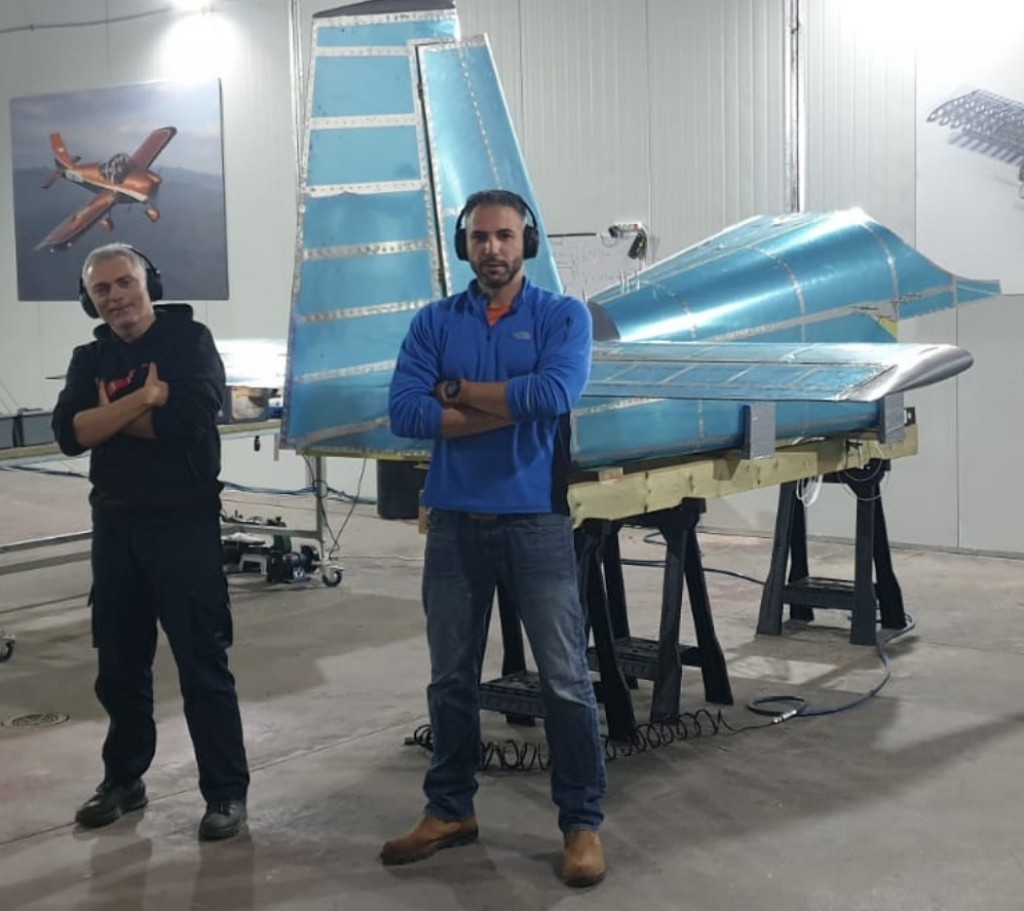
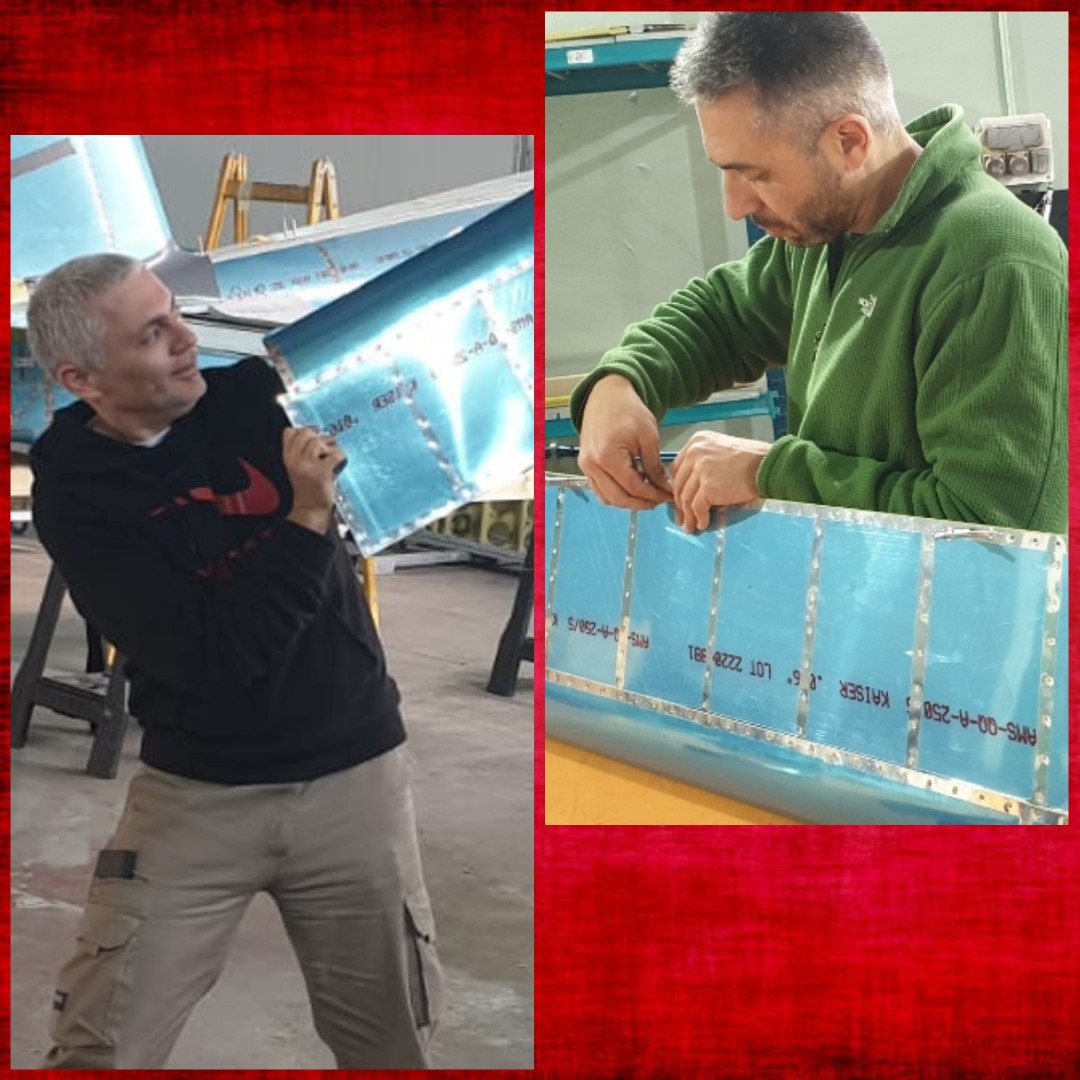
We are two best friends since 8th grade which
makes it 25 years already (...daaa***mn we
are old!!!) and we decided to make this awesome
dream to come true.
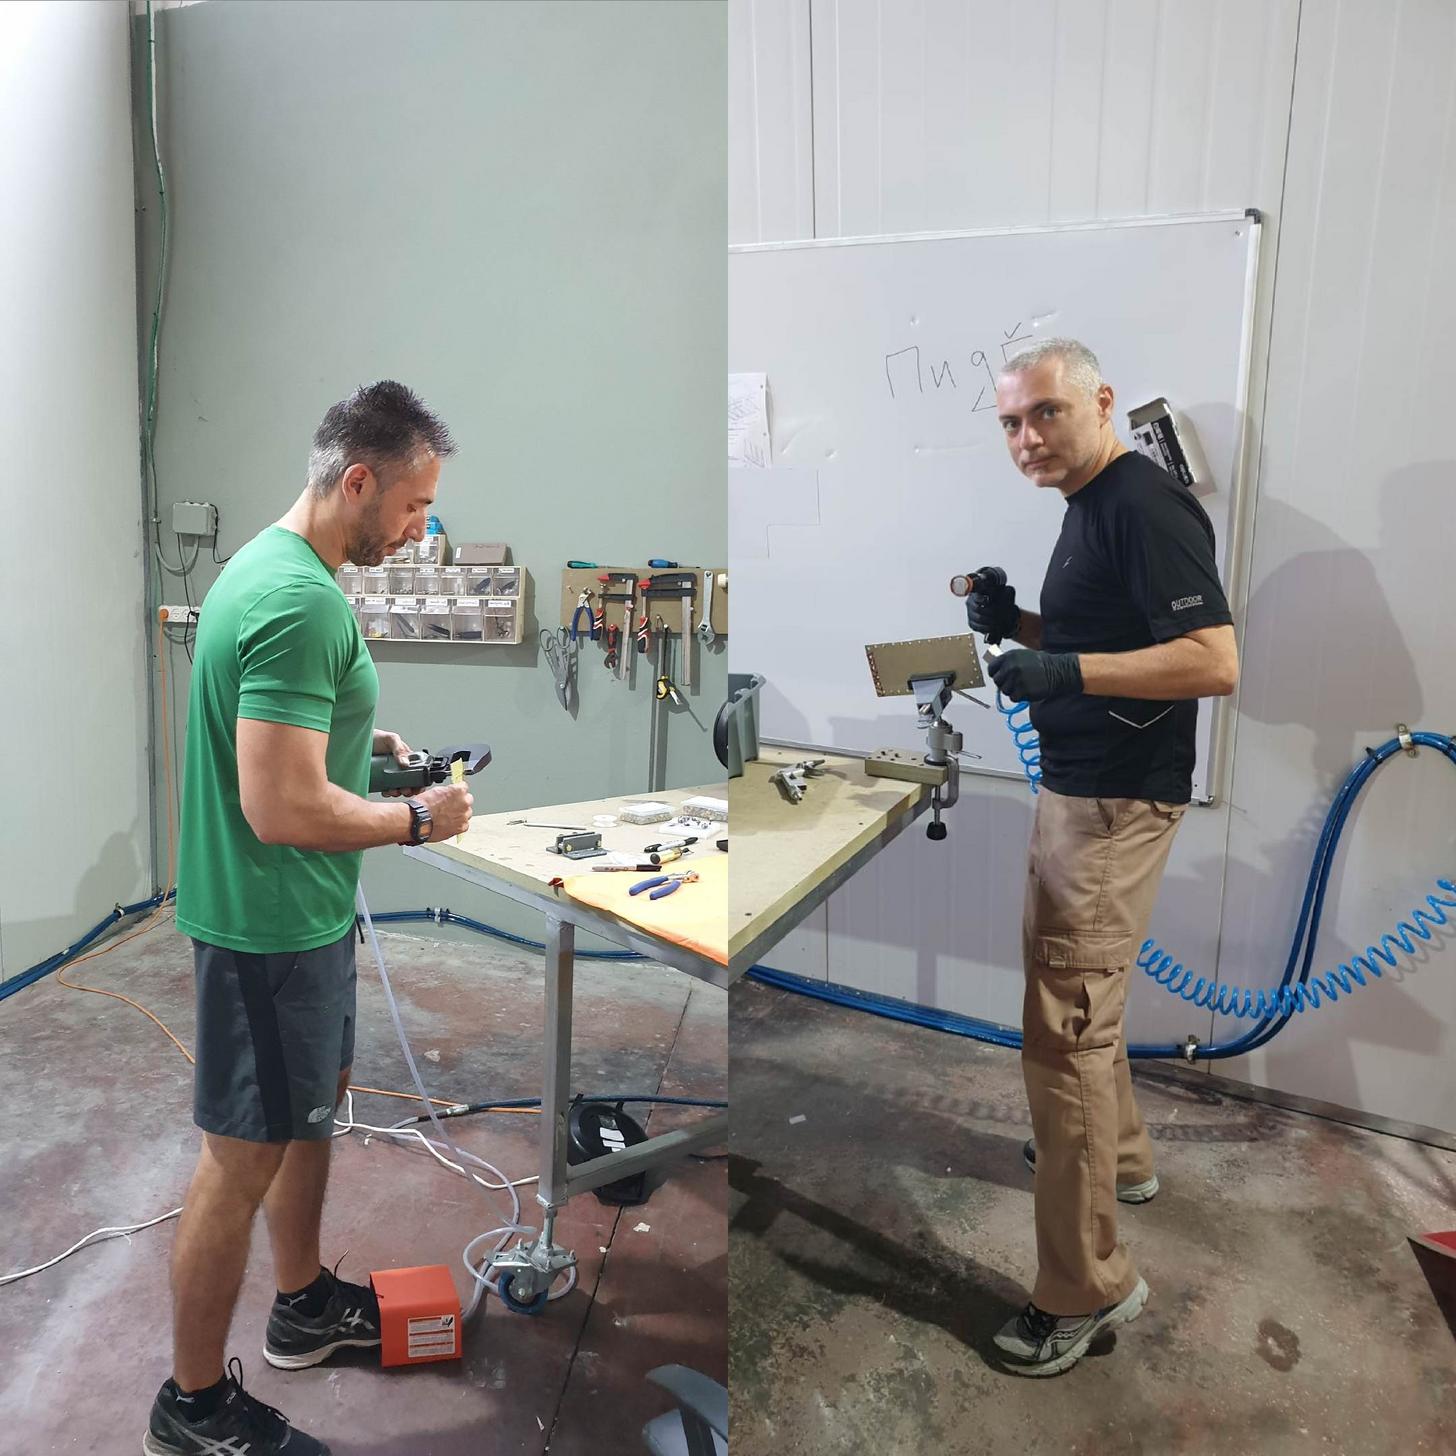
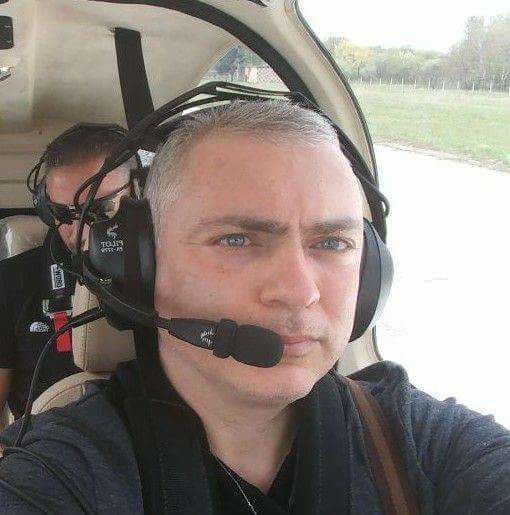
Roman - I am a retired soft developer
and studying pilot, for that moment I have only 13
hours of Cessna 152. I hope to have my license
before the construction is done. I am huge fan of
Vans and avionics enthusiast.
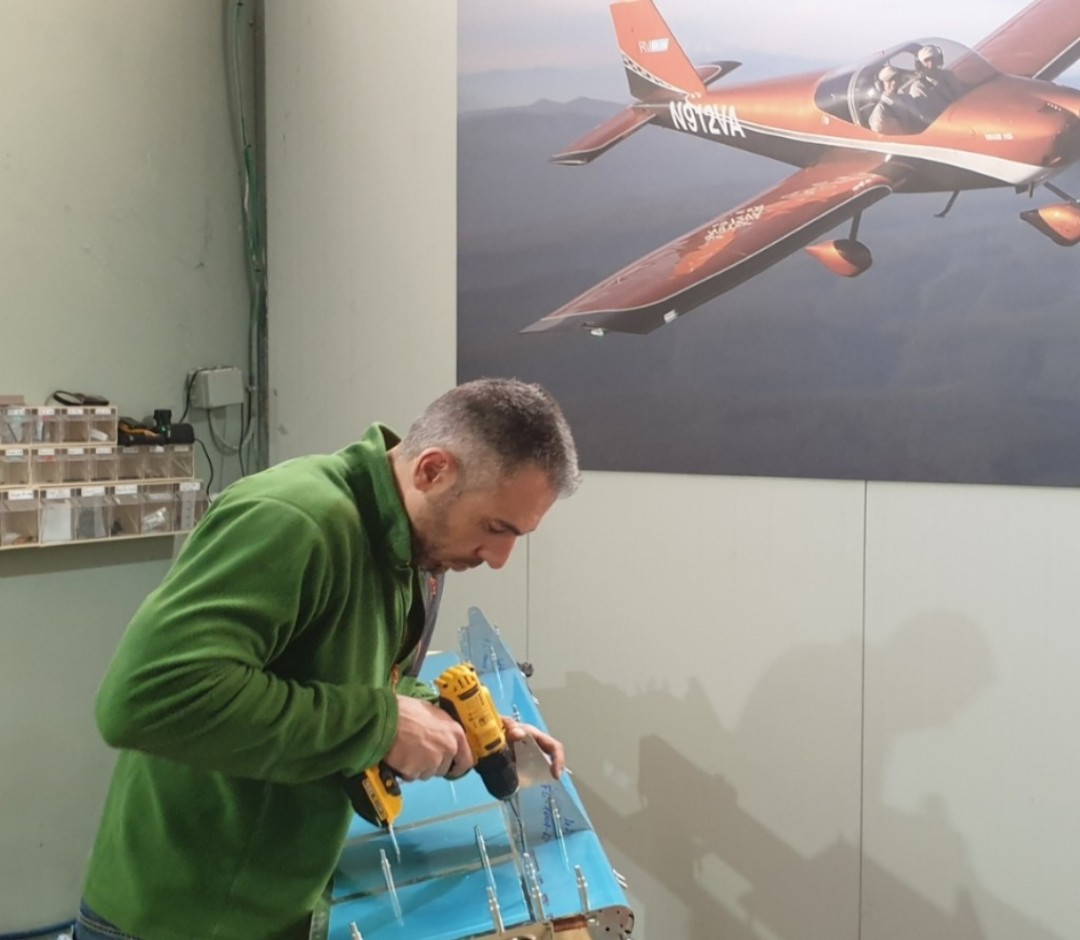
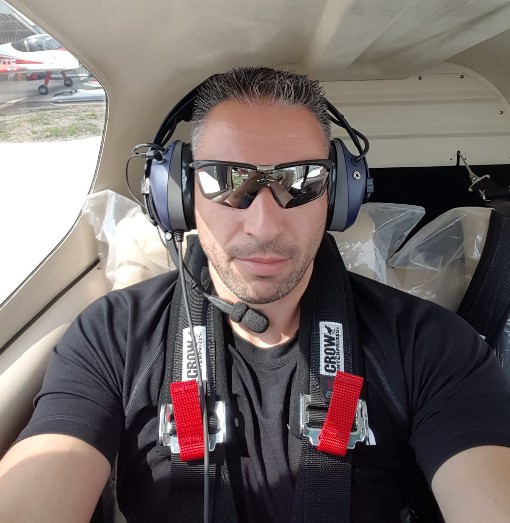
Dima - A guy who is super excited
about constructing things. A GE ex-engineer (yes,
we have a local branch). Dima decided to put his
day job on hold for some months and dedicate
next months exclusively to the project.
.
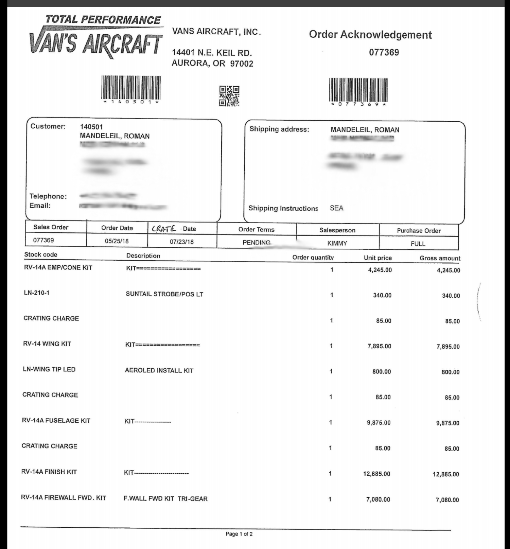
18 months is the timeframe we are planning to have
the plane flying. Some will say it is optimistics for
first time builders. But we are super determined to
prove it's doable.
I think it is the first project to give a full progress
report from Israel (maybe not the only builder here,
but the only one to report here) and even though
we feel very distant from the community we are
virtually very attached. We are reading dozens of
blogs and studying from all of you so much so
sometimes it feels like we know all and each of you
personally.
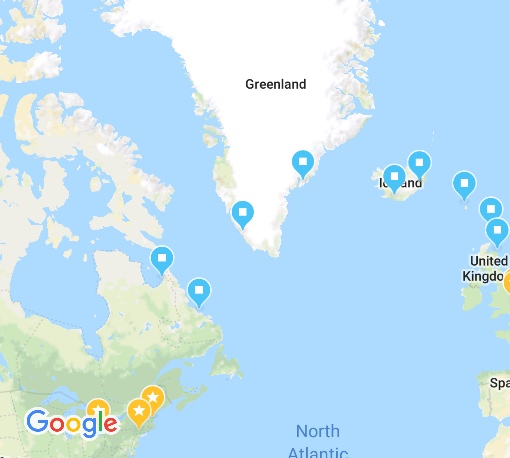
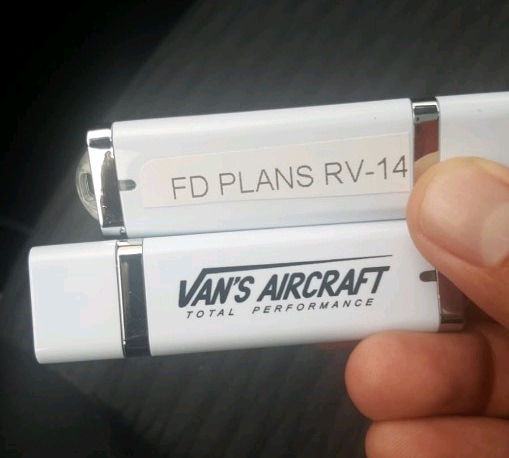
The big dream for us is one day to take off from
Israel on our self-constructed RV14a to cross the
ocean and land on one of the events you guys are
organizing in U.S. Yes it is possible, the navigation
path was already planned, and what left is just to
build the plane.
Guys, please give us some spiritual support. I hope
to shake hands with all of you very soon!
P.S: Will post our first actual status update in a day or two.
Cheers.
Roman & Dima
Introduction:
Hello to all of you - mighty airplane builders,
Today we are happy to add our progress thread
to the community forum.
So who are we?
We are two best friends since 8th grade which
makes it 25 years already (...daaa***mn we
are old!!!) and we decided to make this awesome
dream to come true.
Roman - I am a retired soft developer
and studying pilot, for that moment I have only 13
hours of Cessna 152. I hope to have my license
before the construction is done. I am huge fan of
Vans and avionics enthusiast.
Dima - A guy who is super excited
about constructing things. A GE ex-engineer (yes,
we have a local branch). Dima decided to put his
day job on hold for some months and dedicate
next months exclusively to the project.
.
18 months is the timeframe we are planning to have
the plane flying. Some will say it is optimistics for
first time builders. But we are super determined to
prove it's doable.
I think it is the first project to give a full progress
report from Israel (maybe not the only builder here,
but the only one to report here) and even though
we feel very distant from the community we are
virtually very attached. We are reading dozens of
blogs and studying from all of you so much so
sometimes it feels like we know all and each of you
personally.
The big dream for us is one day to take off from
Israel on our self-constructed RV14a to cross the
ocean and land on one of the events you guys are
organizing in U.S. Yes it is possible, the navigation
path was already planned, and what left is just to
build the plane.
Guys, please give us some spiritual support. I hope
to shake hands with all of you very soon!
P.S: Will post our first actual status update in a day or two.
Cheers.
Roman & Dima
Last edited:
")