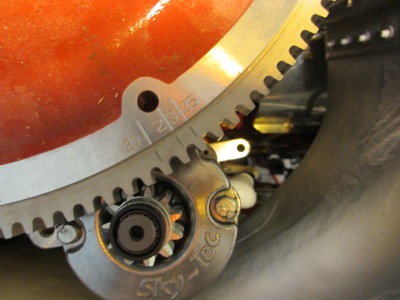
Like many, I enjoy the odd toy tool now and again, so I recently picked up one of those little lasers that clamp to the ring gear and give you a very accurate timing mark on the crankcase split. It's been sitting in the drawer for a couple weeks, so when I changed oil yesterday, I was all excited to clamp it in place and see how it worked!
Of course, as soon as I took the cowl off, I went "Doh!!", and slapped my forhead...I had forgotten about the forward baffles being in the way between the ring gear and the case - I guess I was just visualizing my old Grumman setup. I had also checked the timing on the engine before final baffle installation....
Anyway, this appears to be a small obstacle either with or without the laser - what techniques do people use to make sure the timing mark on the flywheel is lined up with the case split line with the baffle in between? carefully measure and transfer a line? Drill a small hole in the baffle? Surely you don't remove the baffle every time you want to check timing.....
Paul