Wesael
Well Known Member
I have been making small fiberglass parts for a while now and I find that often the wet glass does not want to lay down properly around the curves of my moulds.
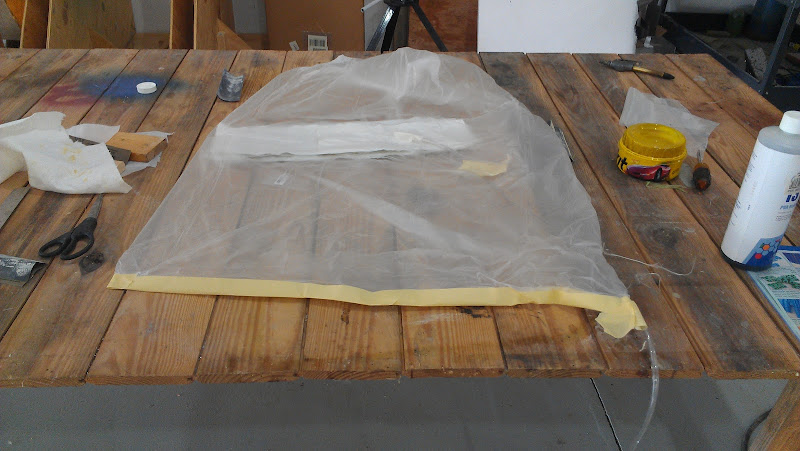
I was shying away from vacuum bagging due to the complexity of all the supplies needed if using parts from Aircraft Spruce or other fiberglass supply places.
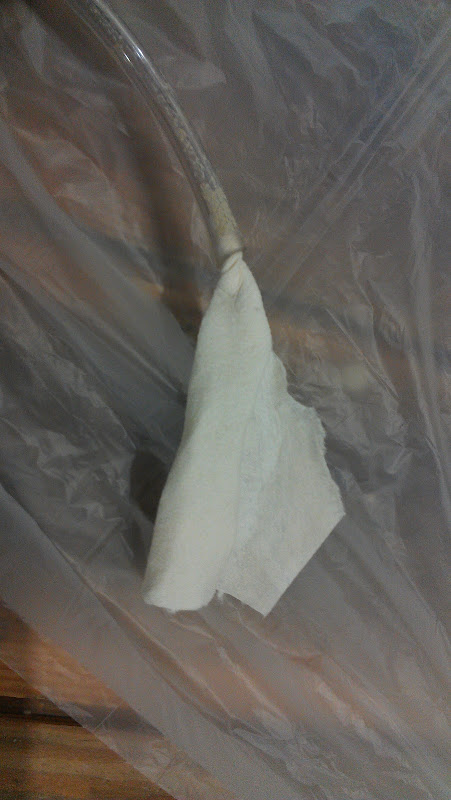
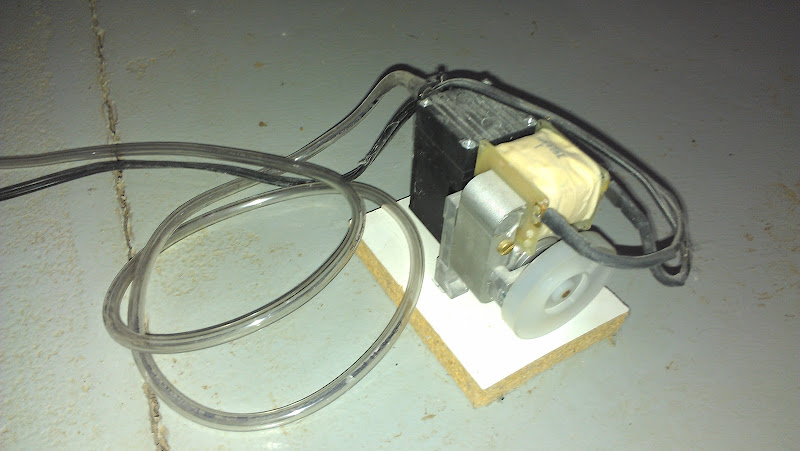
Eventualy I decided that I need to make this work one way or another so I just ordered a small vacuum pump from Surplus Center and a large box of thin garbage bags. (thin bags contour and stretch better)
In this example project I am building fairing covers to close off the air conditioner condenser air inlet and outlet on the bottom of the airplane for use in the winter time and also to use as a speed test to see how much speed I am loosing due to inlet/outlet drag.
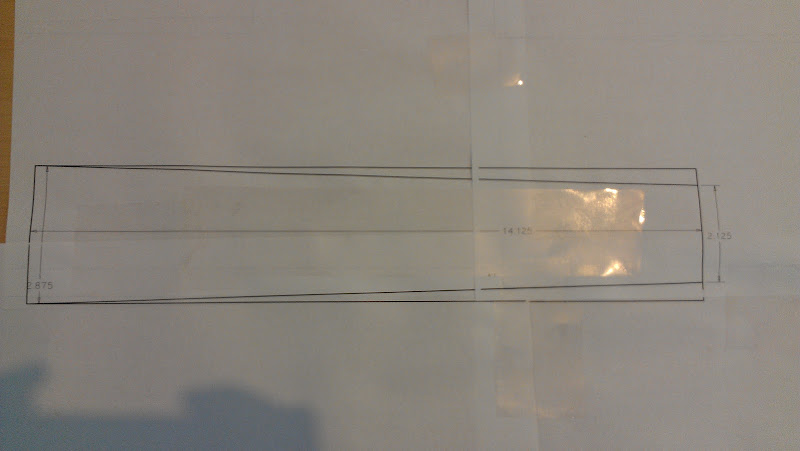
Here is the drawing of the external shape that I need.
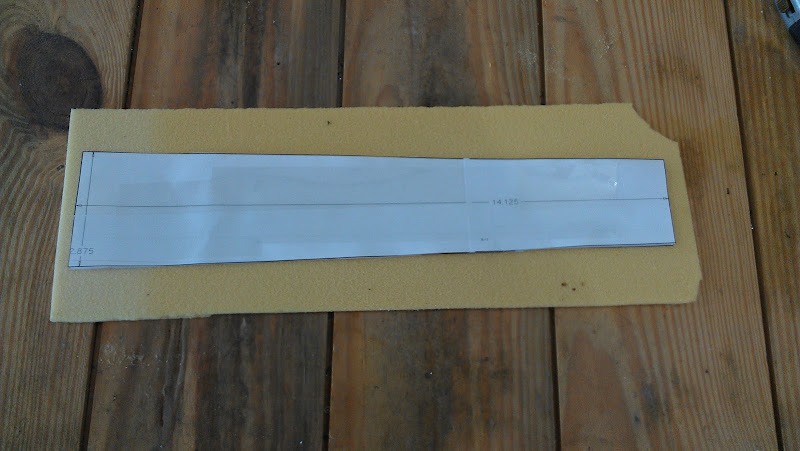
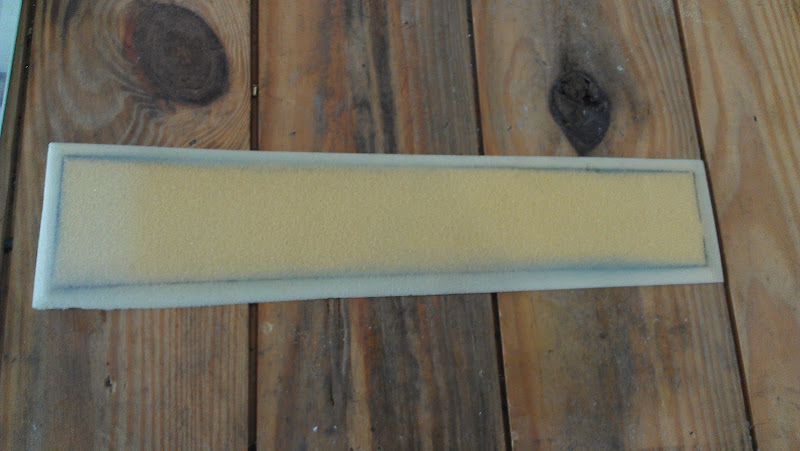
Tracing it onto 1/4" Foam. This is the thickness that I need to clear the fins on the skin transition louvers.
Tapered the ends by sandding to make the shape I need.
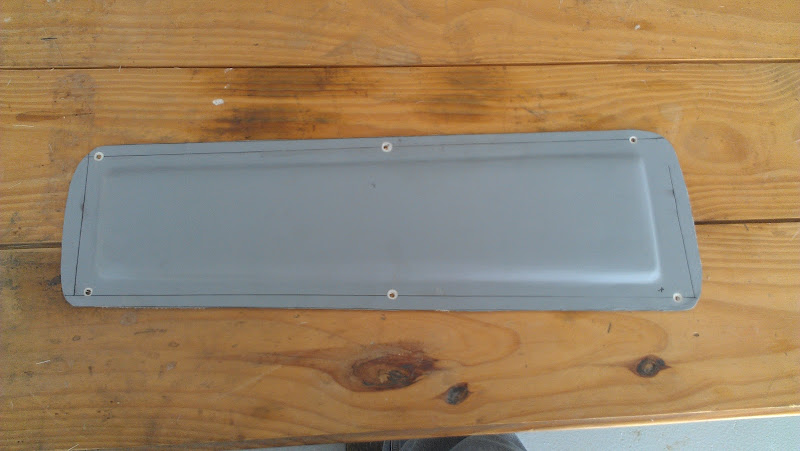
Glued to a piece of smooth wood to make the plug. I am making the plug and will then make a mould to use to make the final 2 parts.
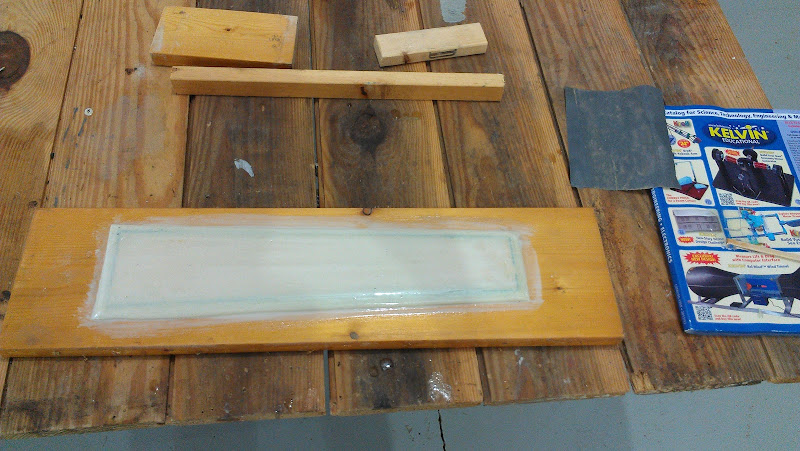
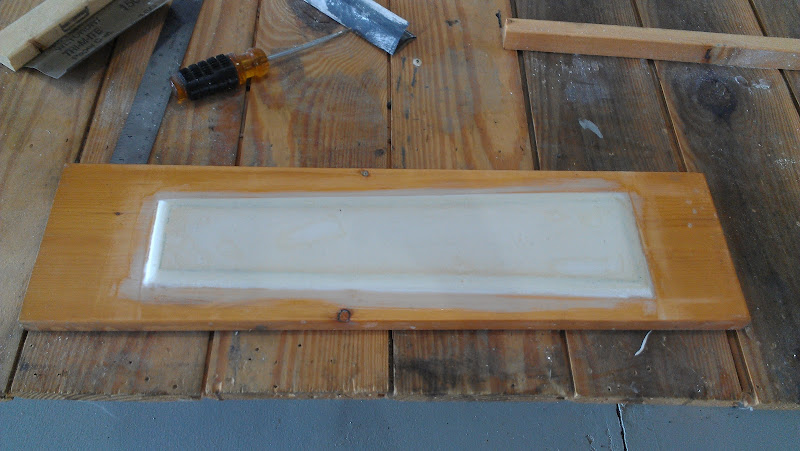
Mould smoothed up by smearing with micro and sanding. sanding. sanding...
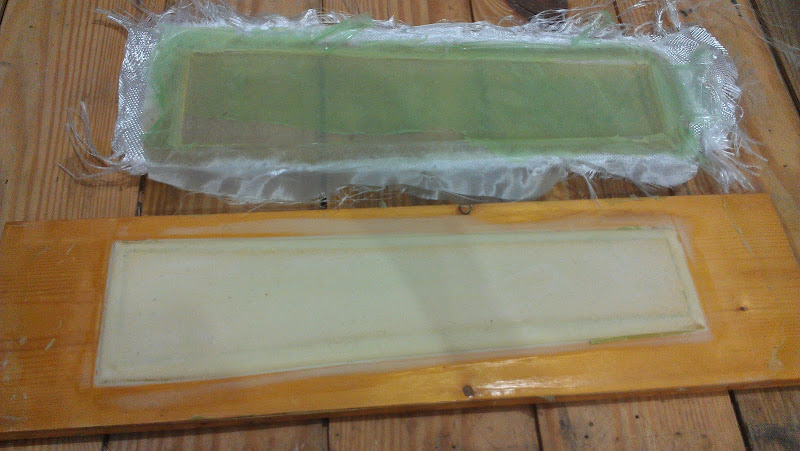
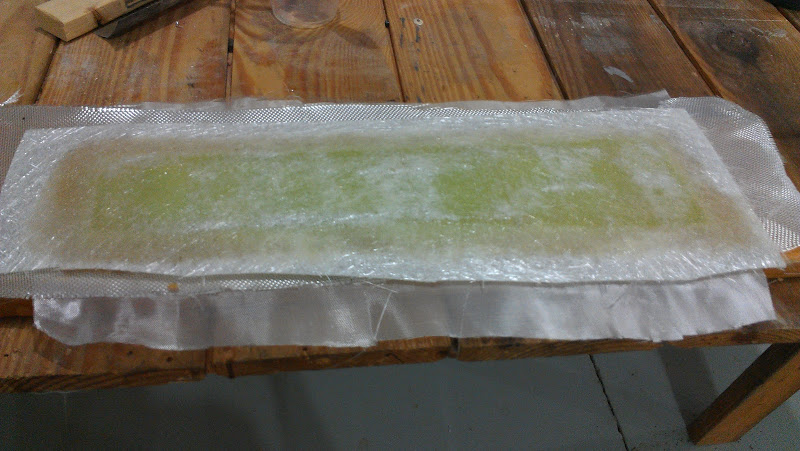
First layer of glass. I used a very thin layer of glass here to help make a smooth surface on the mould
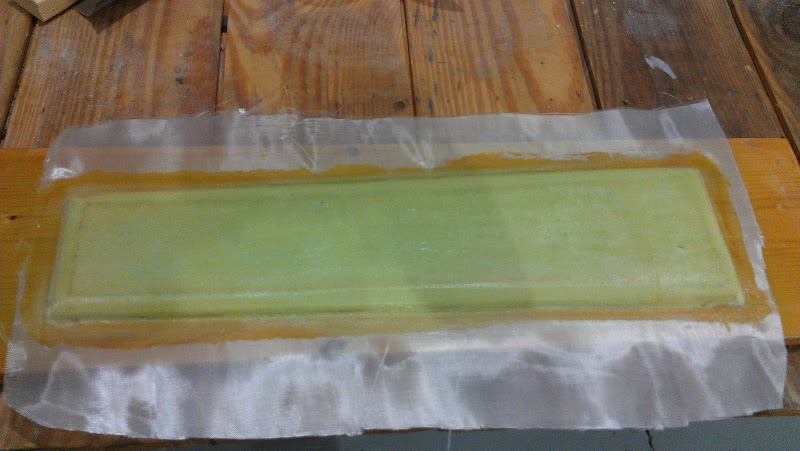
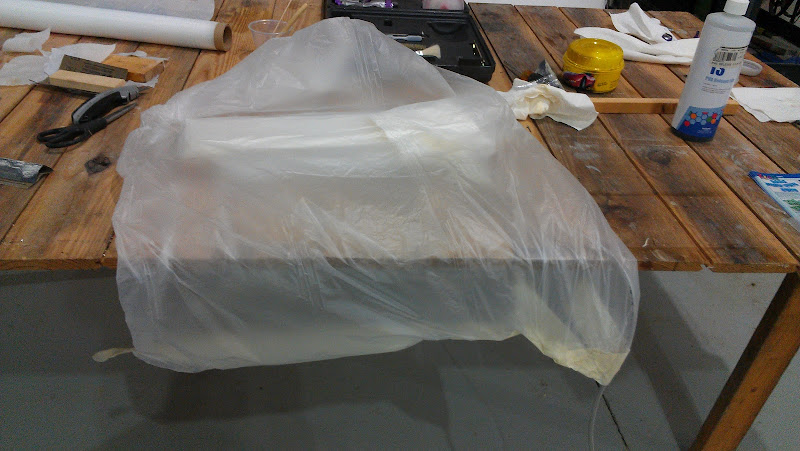
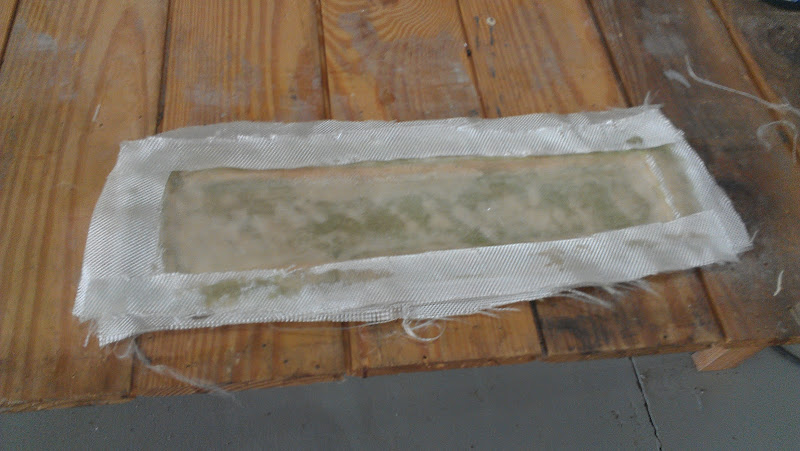
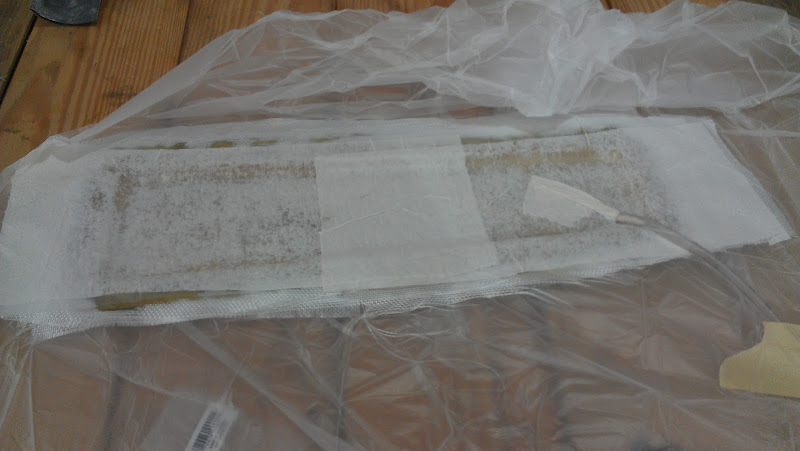
You can see in valleys of the plug that the glass does not want to lay down very well. This is the reason for vacuum bagging.
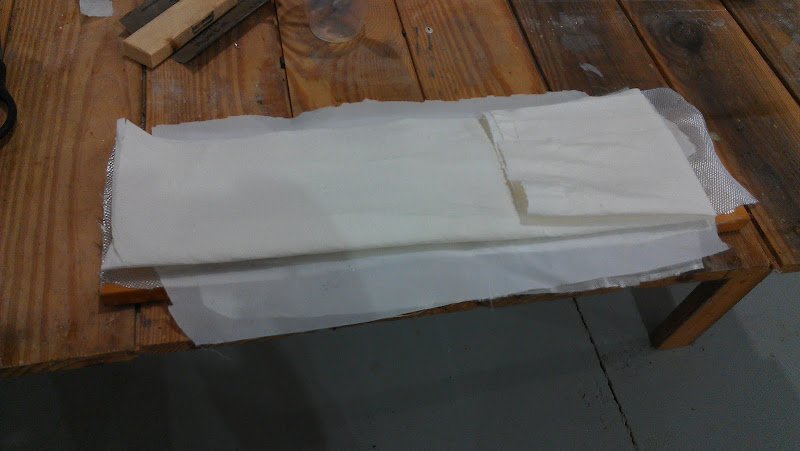
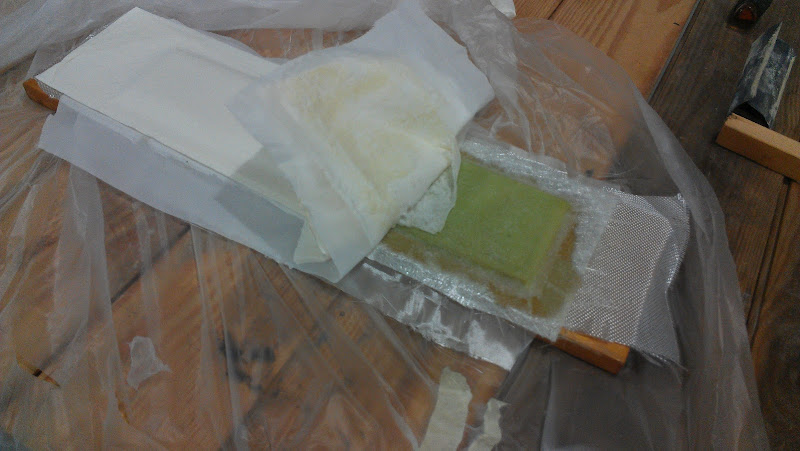
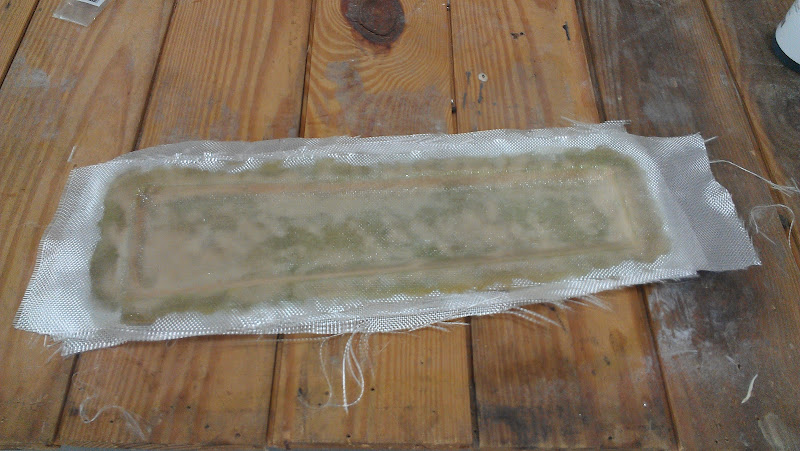
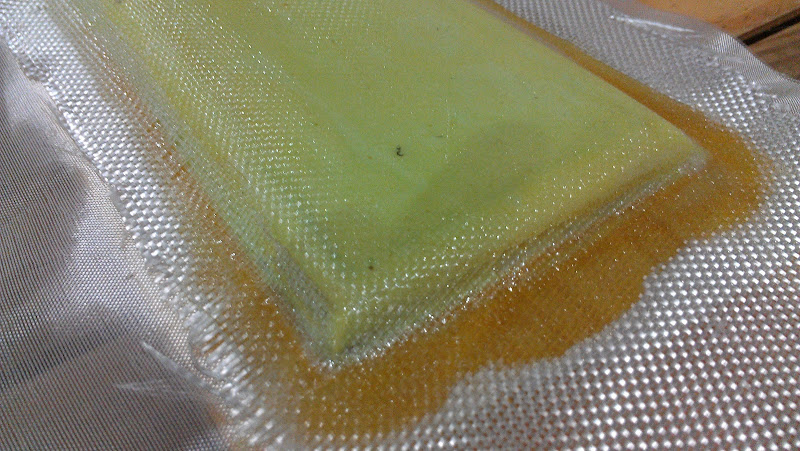
Another layer of glass
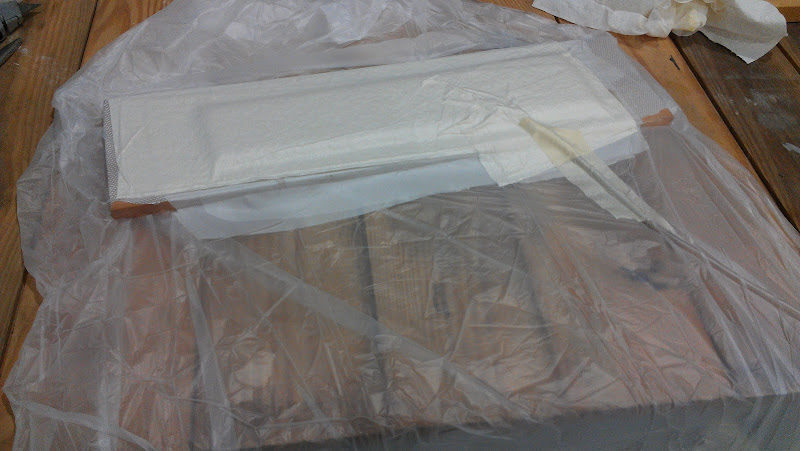
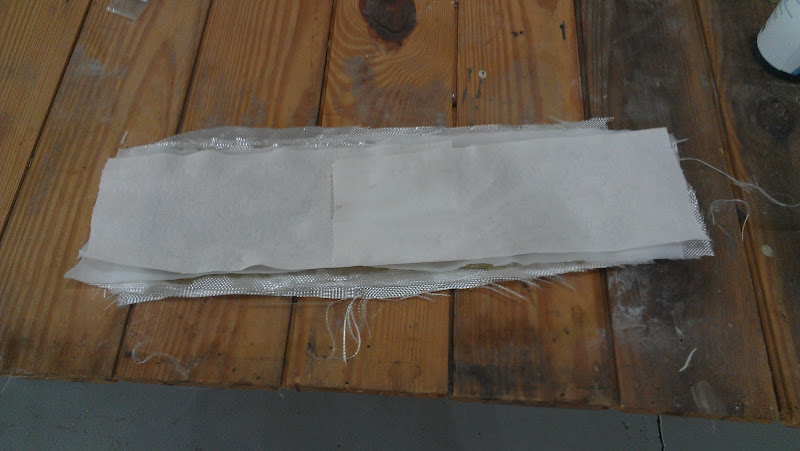
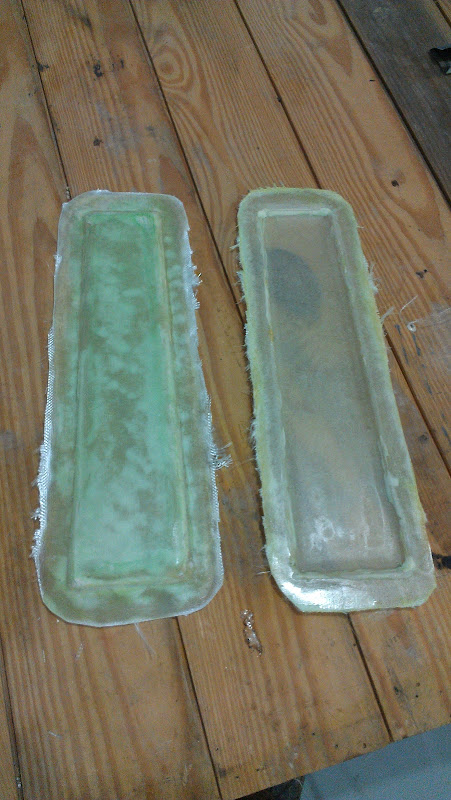
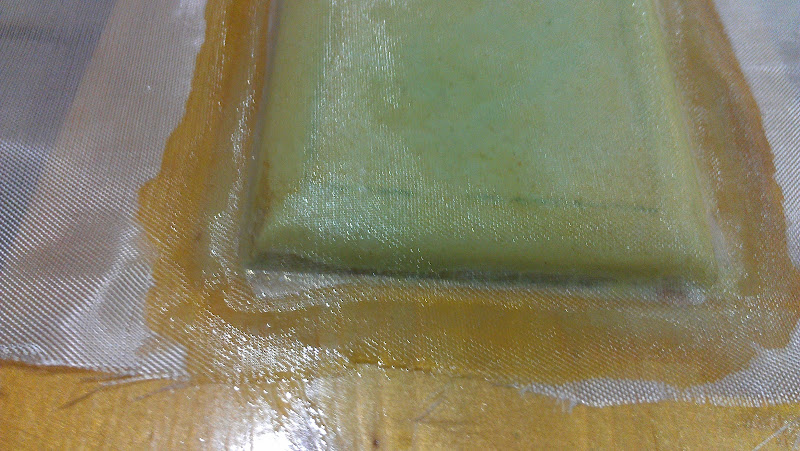
This is a thick layer of glass strand mat that I am using only on the mould for rigidity. The final parts will not have this layer.
I was shying away from vacuum bagging due to the complexity of all the supplies needed if using parts from Aircraft Spruce or other fiberglass supply places.
Eventualy I decided that I need to make this work one way or another so I just ordered a small vacuum pump from Surplus Center and a large box of thin garbage bags. (thin bags contour and stretch better)
In this example project I am building fairing covers to close off the air conditioner condenser air inlet and outlet on the bottom of the airplane for use in the winter time and also to use as a speed test to see how much speed I am loosing due to inlet/outlet drag.
Here is the drawing of the external shape that I need.
Tracing it onto 1/4" Foam. This is the thickness that I need to clear the fins on the skin transition louvers.
Tapered the ends by sandding to make the shape I need.
Glued to a piece of smooth wood to make the plug. I am making the plug and will then make a mould to use to make the final 2 parts.
Mould smoothed up by smearing with micro and sanding. sanding. sanding...
First layer of glass. I used a very thin layer of glass here to help make a smooth surface on the mould
You can see in valleys of the plug that the glass does not want to lay down very well. This is the reason for vacuum bagging.
Another layer of glass
This is a thick layer of glass strand mat that I am using only on the mould for rigidity. The final parts will not have this layer.
Last edited: