Nice plug Chris.
Pierre describes what dressmakers call a "bias cut", and yes, it can help. Be aware of the key physical property; pulling in one axis results in an equal narrowing along the perpendicular axis.

Realize there is no actual need to cut at 45 to the weave. The bias is always there.

In the above examples notice how the threads have not been required to slide in relation to each other. Put another way, the points where the warp and fill threads cross did not shift...only the crossing angle changed.
Here's where the choice of fabric weave can be useful. "Plain weave" is a uniform over-under-over-under. For compound curve work you'll find an 8-harness satin weave more useful. 8-harness satin is one over, under seven, one over, under seven. With many fewer over-under intersections, individual threads can slide in relation to each other, and that allows the fabric to conform.
Tight plain weaves don't work over compound curves as well. Big coarse plain weaves will allow threads to slide, but then you're working with a big coarse weave. The low number of intersections in 8-harness satin also means the weave is tight, flat, and smooth. That's why they call it "satin".
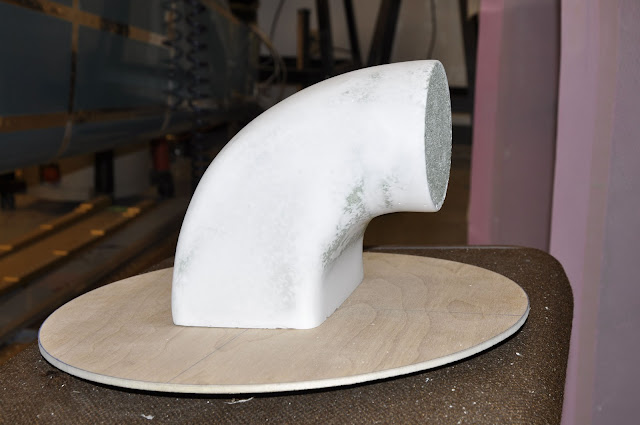
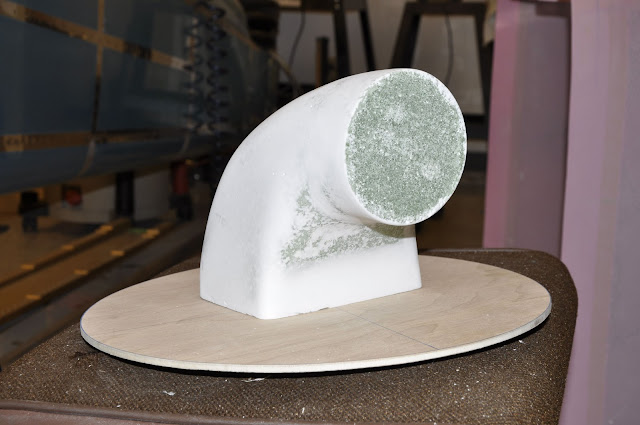
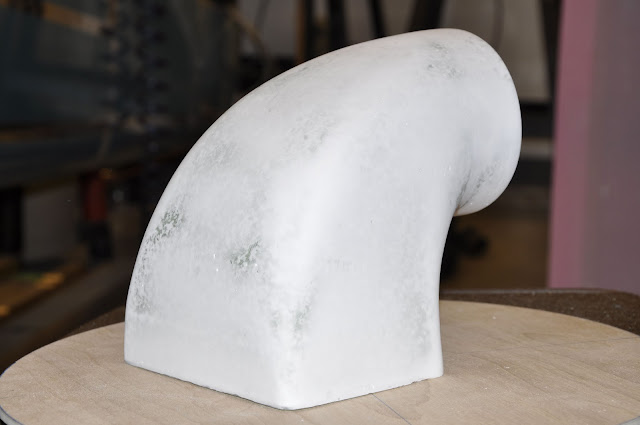
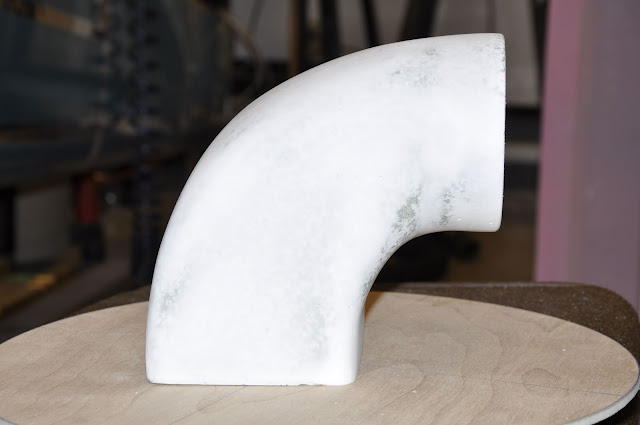
Specifics: Chris, start by cutting your wrap plies for the majority of the shape. I usually experiment a few moments with dry fabric to see how far I can smooth around the shape with a single piece. Just keeping smoothing it around the form with your hands, making the necessary edge trims so the threads can slide (they can't while part of the roll). Keep trimming and smoothing unitl you have one nicely fitted ply. Then lay it out on the table and pull threads so it will return to the original 90 degree warp and fill orientation....and use it to pattern the cuts for the rest of the plies. Your plug will easily cover with two pieces per ply (think symmetrical left and right sides) and you may even do it with one. The fabric weave orientation does not matter in this application. Any way you can wrap it is fine; just work for neat, uniform coverage.
Prep the plug with plenty of wax, then spray it with PVA.
Do the flanges first. Lay some 4-mil plastic sheet on the bench, stack 4 plies of fabric, dump epoxy on it, spread it around, and let it soak a few minutes. Add another plastic sheet and roll or squeegee to get full saturation. Layout four flange strips by drawing on the plastic cover sheet. Do it so you are cutting the fabric on the bias. Use a rotary knife (the "pizza cutter") and a straight edge to to cut the shapes through the plastic.
Peel and stick to make the flange layups. In this application the reason you cut the fabric on the bias has nothing to do with compound curves. You are actually only crossing one 2-dimensional 90 degree curve, from the duct body to the flange. However, consider the individual threads. By crossing the curve at a 45 degree angle, each thread is required to bend half as much as they would if they crossed perpendicular to the bend. This is how you get the fabric to lay down and stay down in those inside curves.
Allow the flange layups to cure an hour or so until the epoxy is getting rubbery and the plies won't shift. Now do your big layups.