tutorial
Check out our web site, there is a tutorial on the RV-9 and RV-10 trailing edges. The next flap I do I will take some high def. vidio and make some dvd's.
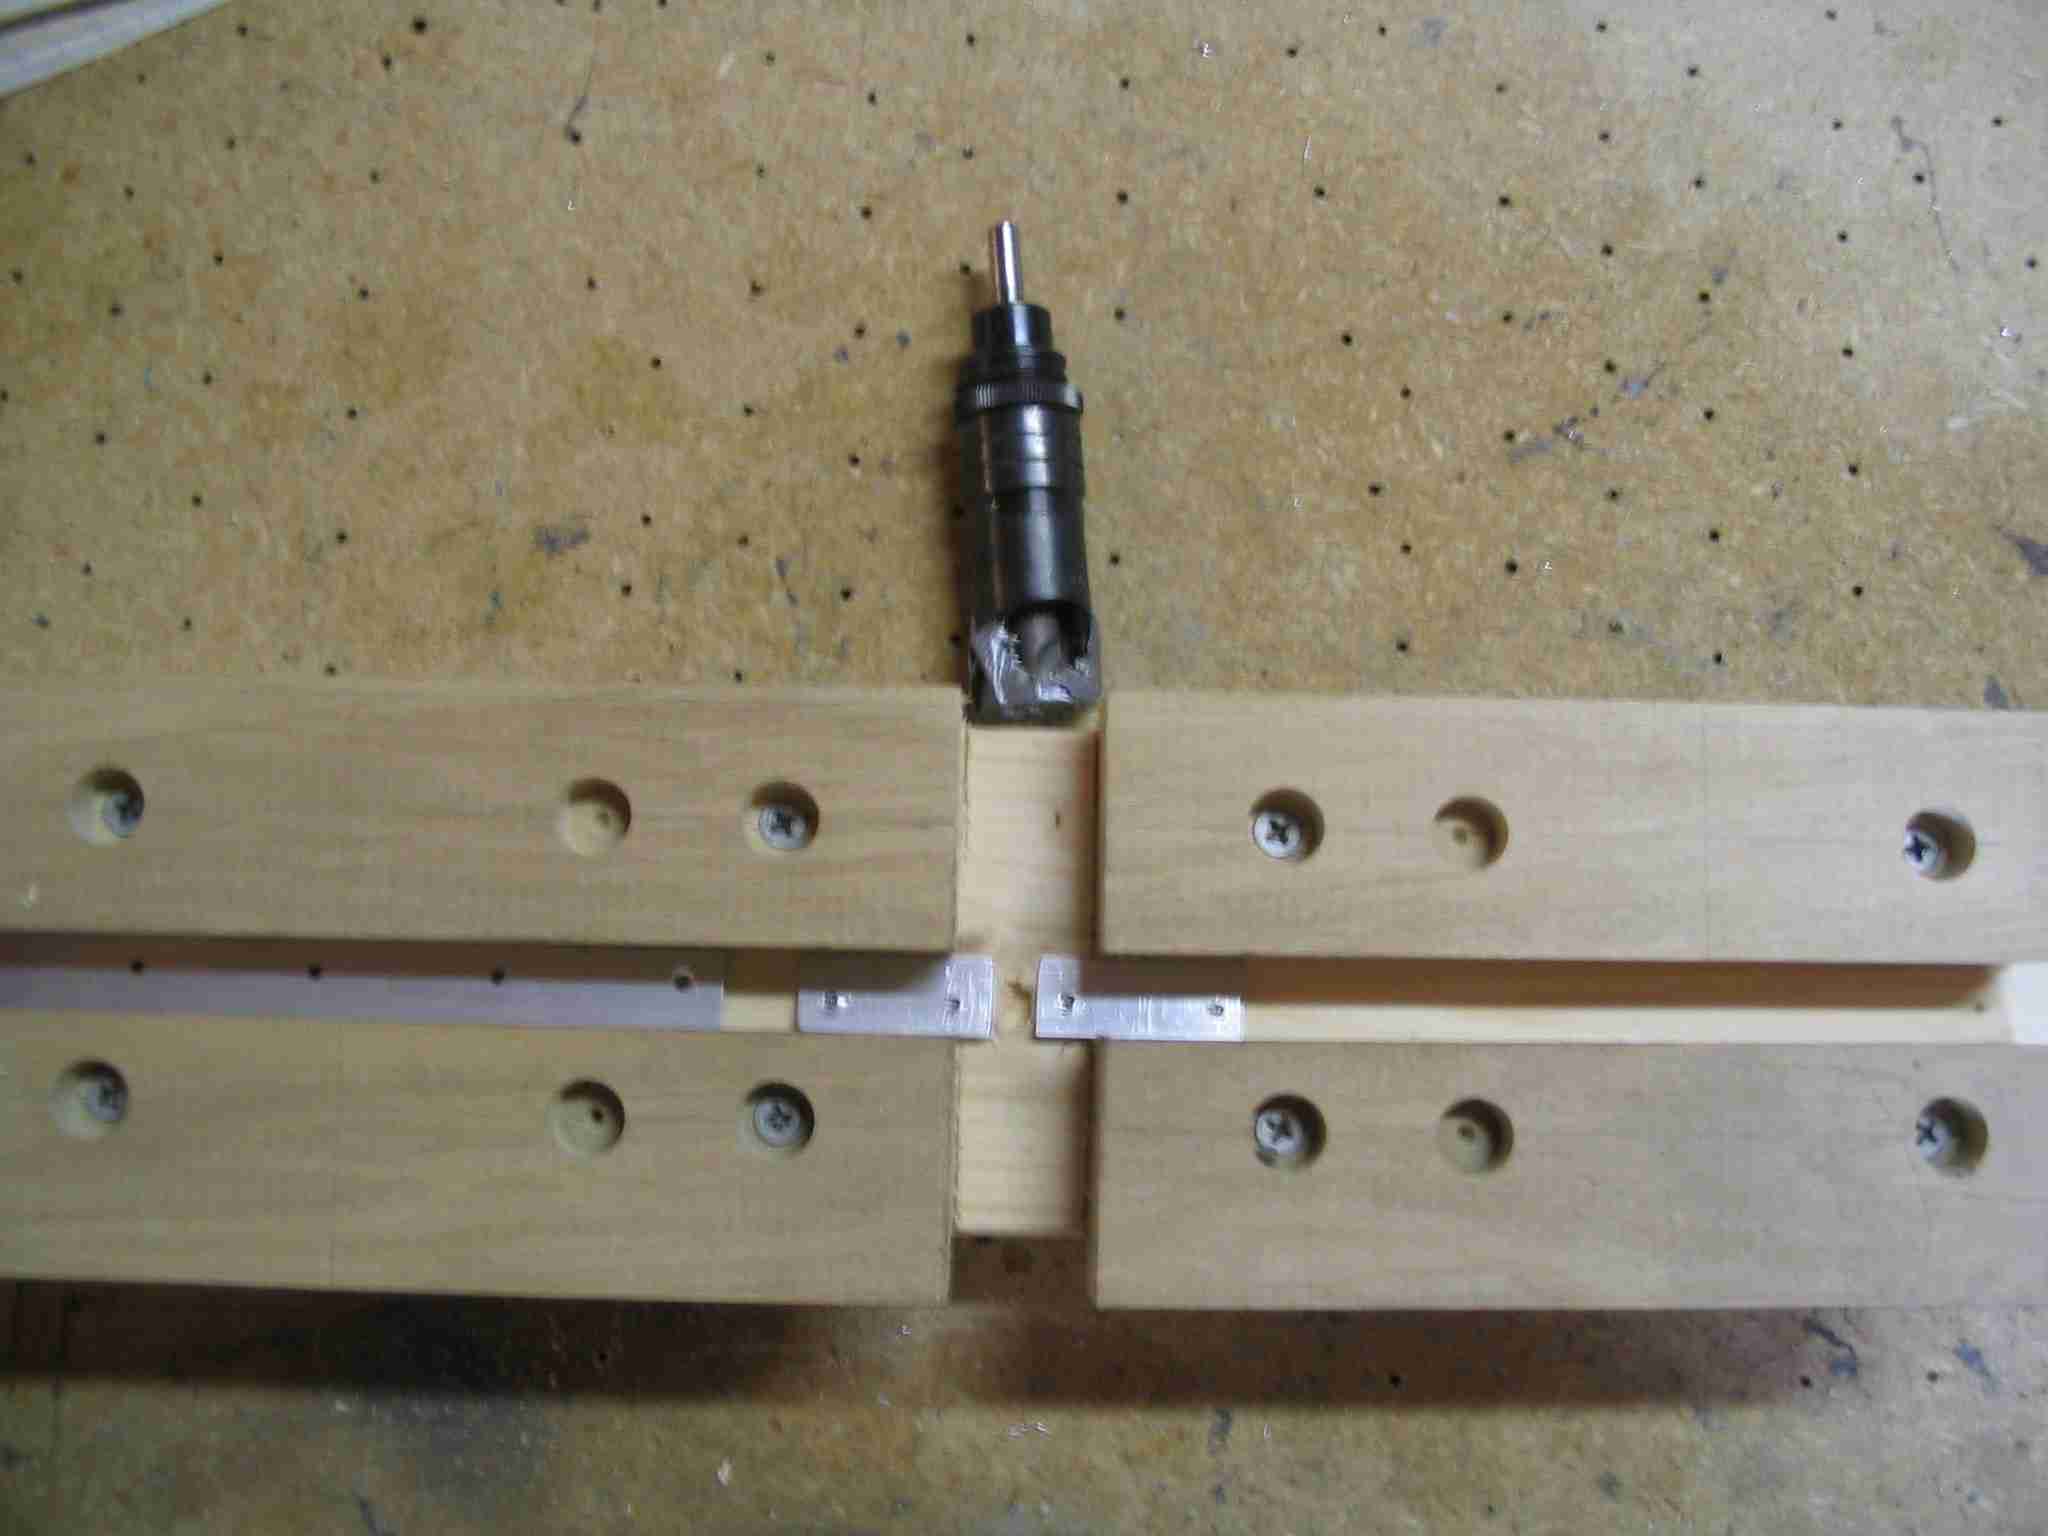
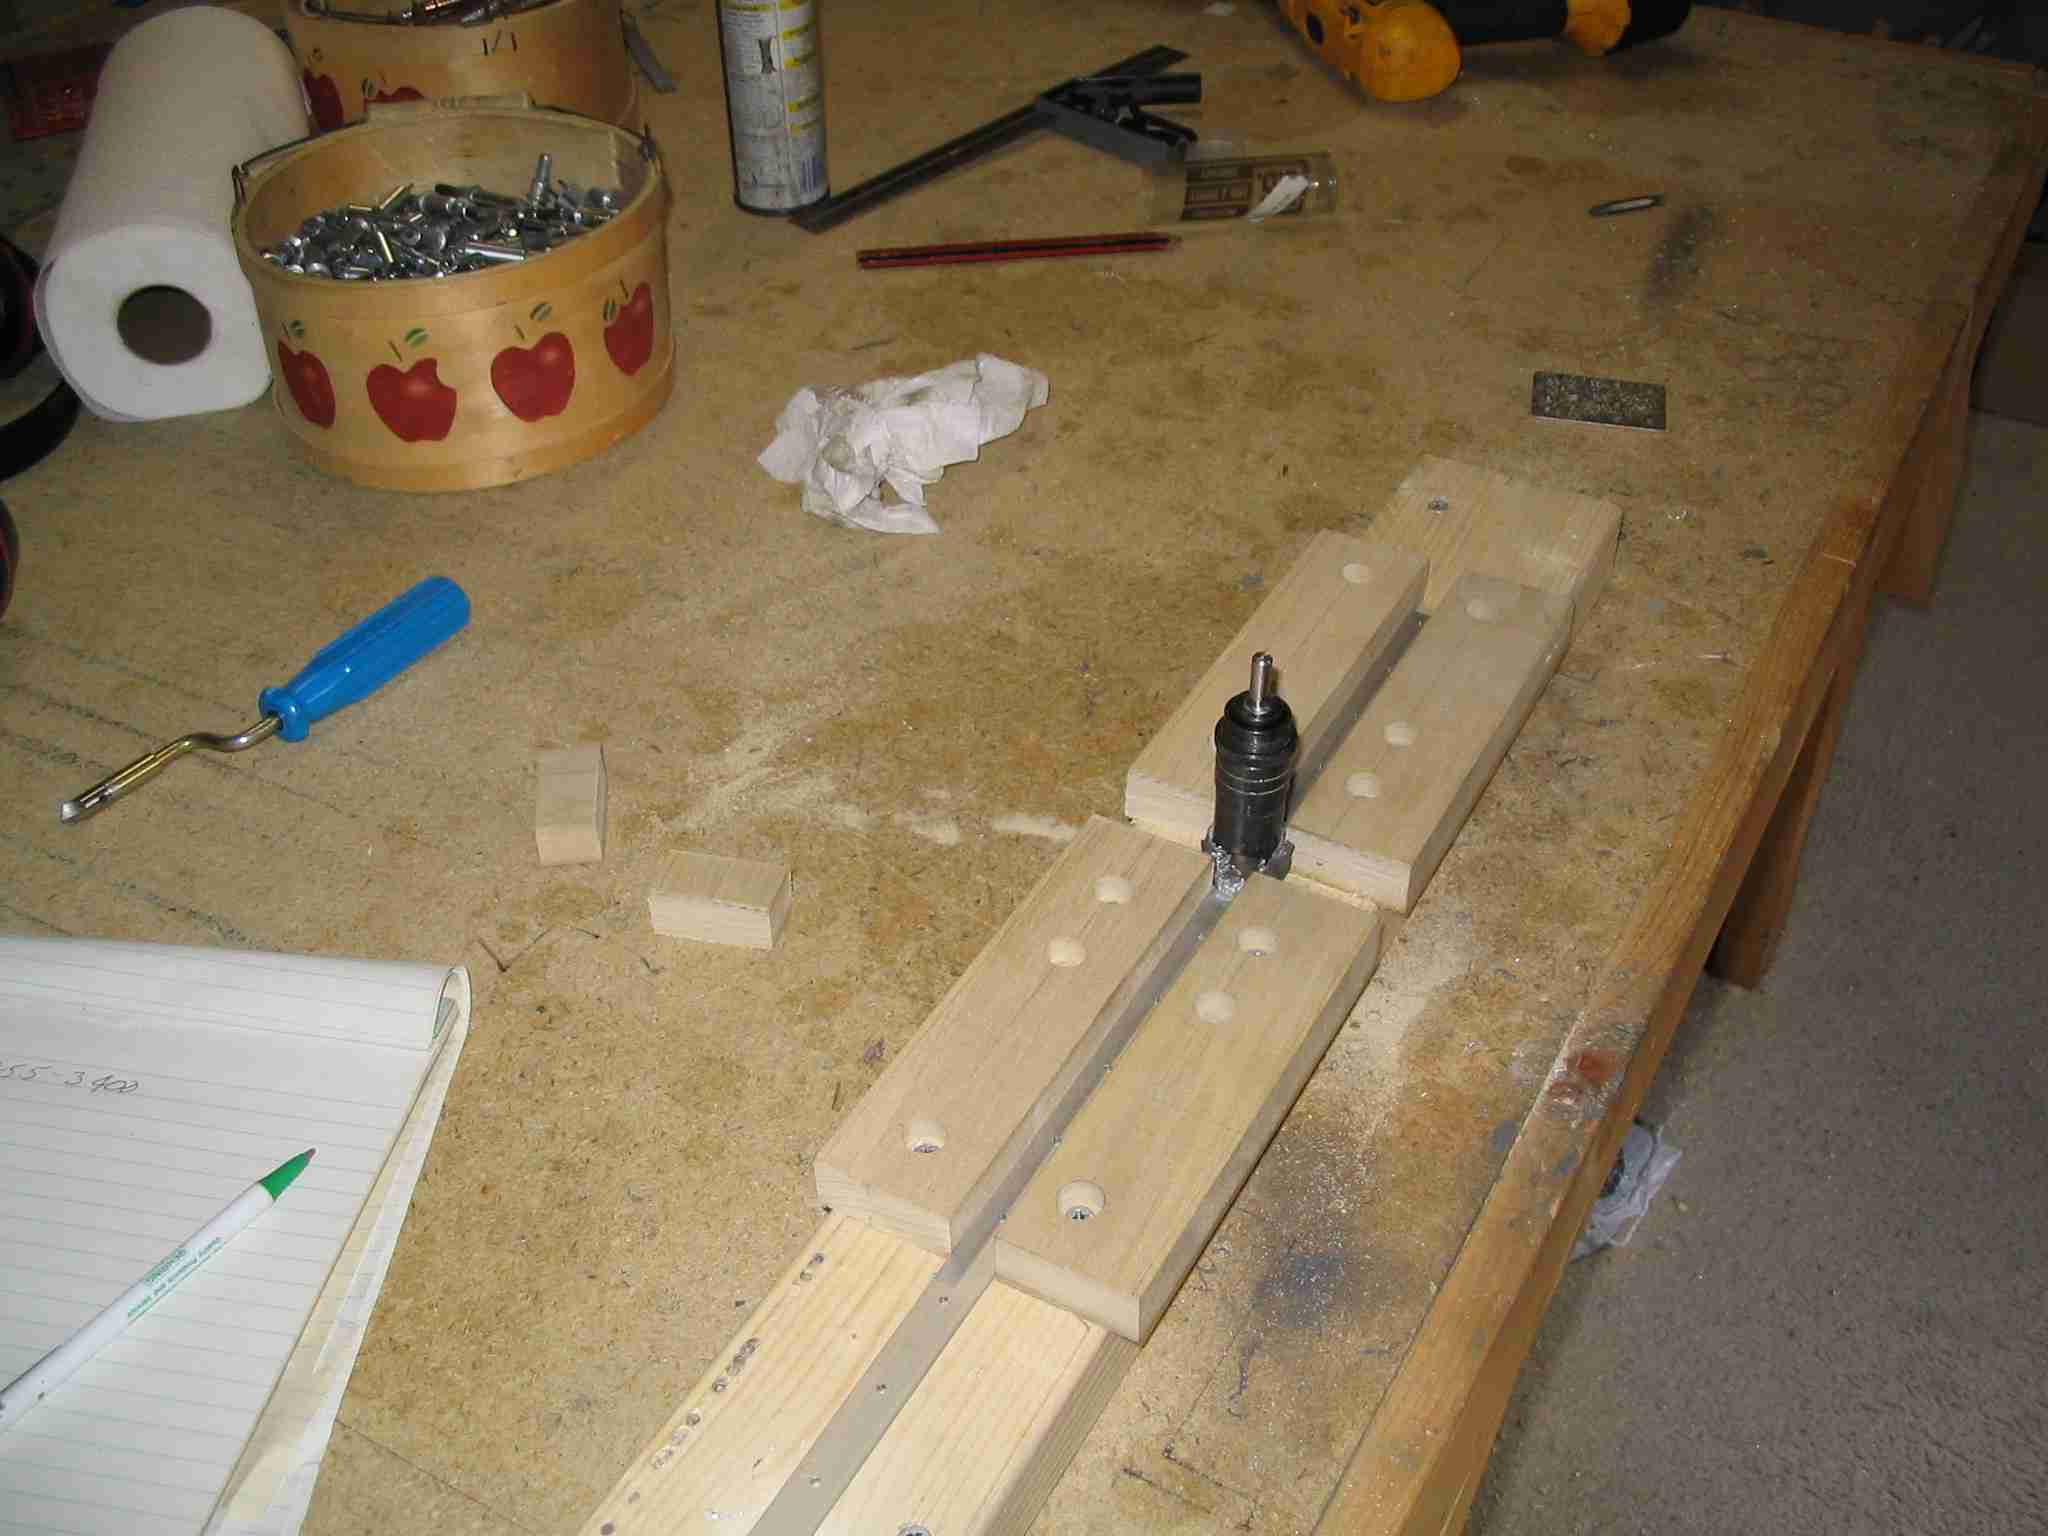
We have an 8 foot 1/4" angle iron that has had every other hole from the top skin matched drilled. That and a really flat bench are an absolute.
Find the proper location for the AEX wedge, a little bit protruding beyond the top skin is best (your skin dimples will not bottom on each other), match drill perpendicular to the top skin. The pattern we use is extreme left, extreme right, center, then between center and extreme left, then between center and extreme right, then centered between those, so on and so forth until every other hole has been coleco'ed down to the angle iron. One word of warning, since the angle iron has been drilled 90 degrees and the AEX wedge is being drilled at (15 deg?) perpendicular to the skin, your drill bit will really hog out the AEX wedge if you allow the bit to enter the hole in the 1/4" angle iron.
Remove all the colecos, de-bur. Set the AEX wedge back on the angle iron with the skin on top of it, locate the holes by dropping #40 rivets in them, this will keep the trailing edge flat. with your fingers press down around the hole to be drilled and coleco'ed. Do this in the same patteren as above.
Now all the holes have been drilled. De-bur and dimple (you will want to de-bur the trailing edge holes with 120 grit sand paper before you dimple). At this point Rivet the entire flap together, excluding the trailing edge.
Now my favorite! Countersinking
As per the Disney video use a 110 deg countersink and the countersink tool I developed to get these perfect.
Since the dimple is perpendicular to the skin and the skin lays flat on each surface of the AEX wedge you must countersink perpendicular to each surface of the AEX wedge. SO YOU CAN NOT USE PILOTED COUNTERSINKS. as the hole through the AEX is not perpendicular to one surface.
Start with a small scrap of aluminum 1/2" wide and 3" long that is the same thickness as the skin. Drill a #40 hole 1/4" from one end and dimple with the same dimple dies in the same manner you dimpled the skin. This is your depth gauge. As you countersink the AEX wedge, place this gauge in the countersink, the dimple should lay in the countersink with the surrounding metal flush on the surface of the AEX wedge.
1. If the Dimple rocks and there is space between the surrounding metal and the surface of the AEX wedge you have not countersunk deep enough.
2. If the Dimple is supported by the the surrounding metal laying on the surface of the AEX wedge and you are able to get lateral movement between the dimple and the countersink hole you have countersunk to far. Obviously this is bad so take it slow!
Time to rivet! this is best with two people. Make sure you put the head of the rivet on the top skin because the bottom skin hole is at an angle and you will end up tipping the head as you drive.
We apply loctite E120HP structural epoxy to the AEX wedge be for we slide it into the trailing edge, so there is a 40 minute window to get all the rivets in!
Put the rivets in every other hole.
put the head of the rivets on the 1/4" angle iron
coleco every open hole to the 1/4" angle iron
back rivet all the rivets
pull the coleco's, slide the trailing edge out over the angle iron so your helper can insert rivet UP into the hole. Slide the trailing edge onto the angle iron and back rivet the rivet. Repeat this for each rivet, you don't want to get industrious here and put all the rivets in as they WILL jump out and WILL get in between your trailing edge and angle iron and they WILL screw up something you don't want screwed up, so one at a time.
All most done.
as you look down the trailing edge you will notice some waviness. Take your rivet gun and lightly run it up and down the trailing edge.
For the finishing touch before the epoxy has completely hardened take another piece of angle iron and sandwich the trailing edge using clamps. Let this set overnight.