hydroguy2

Well Known Member
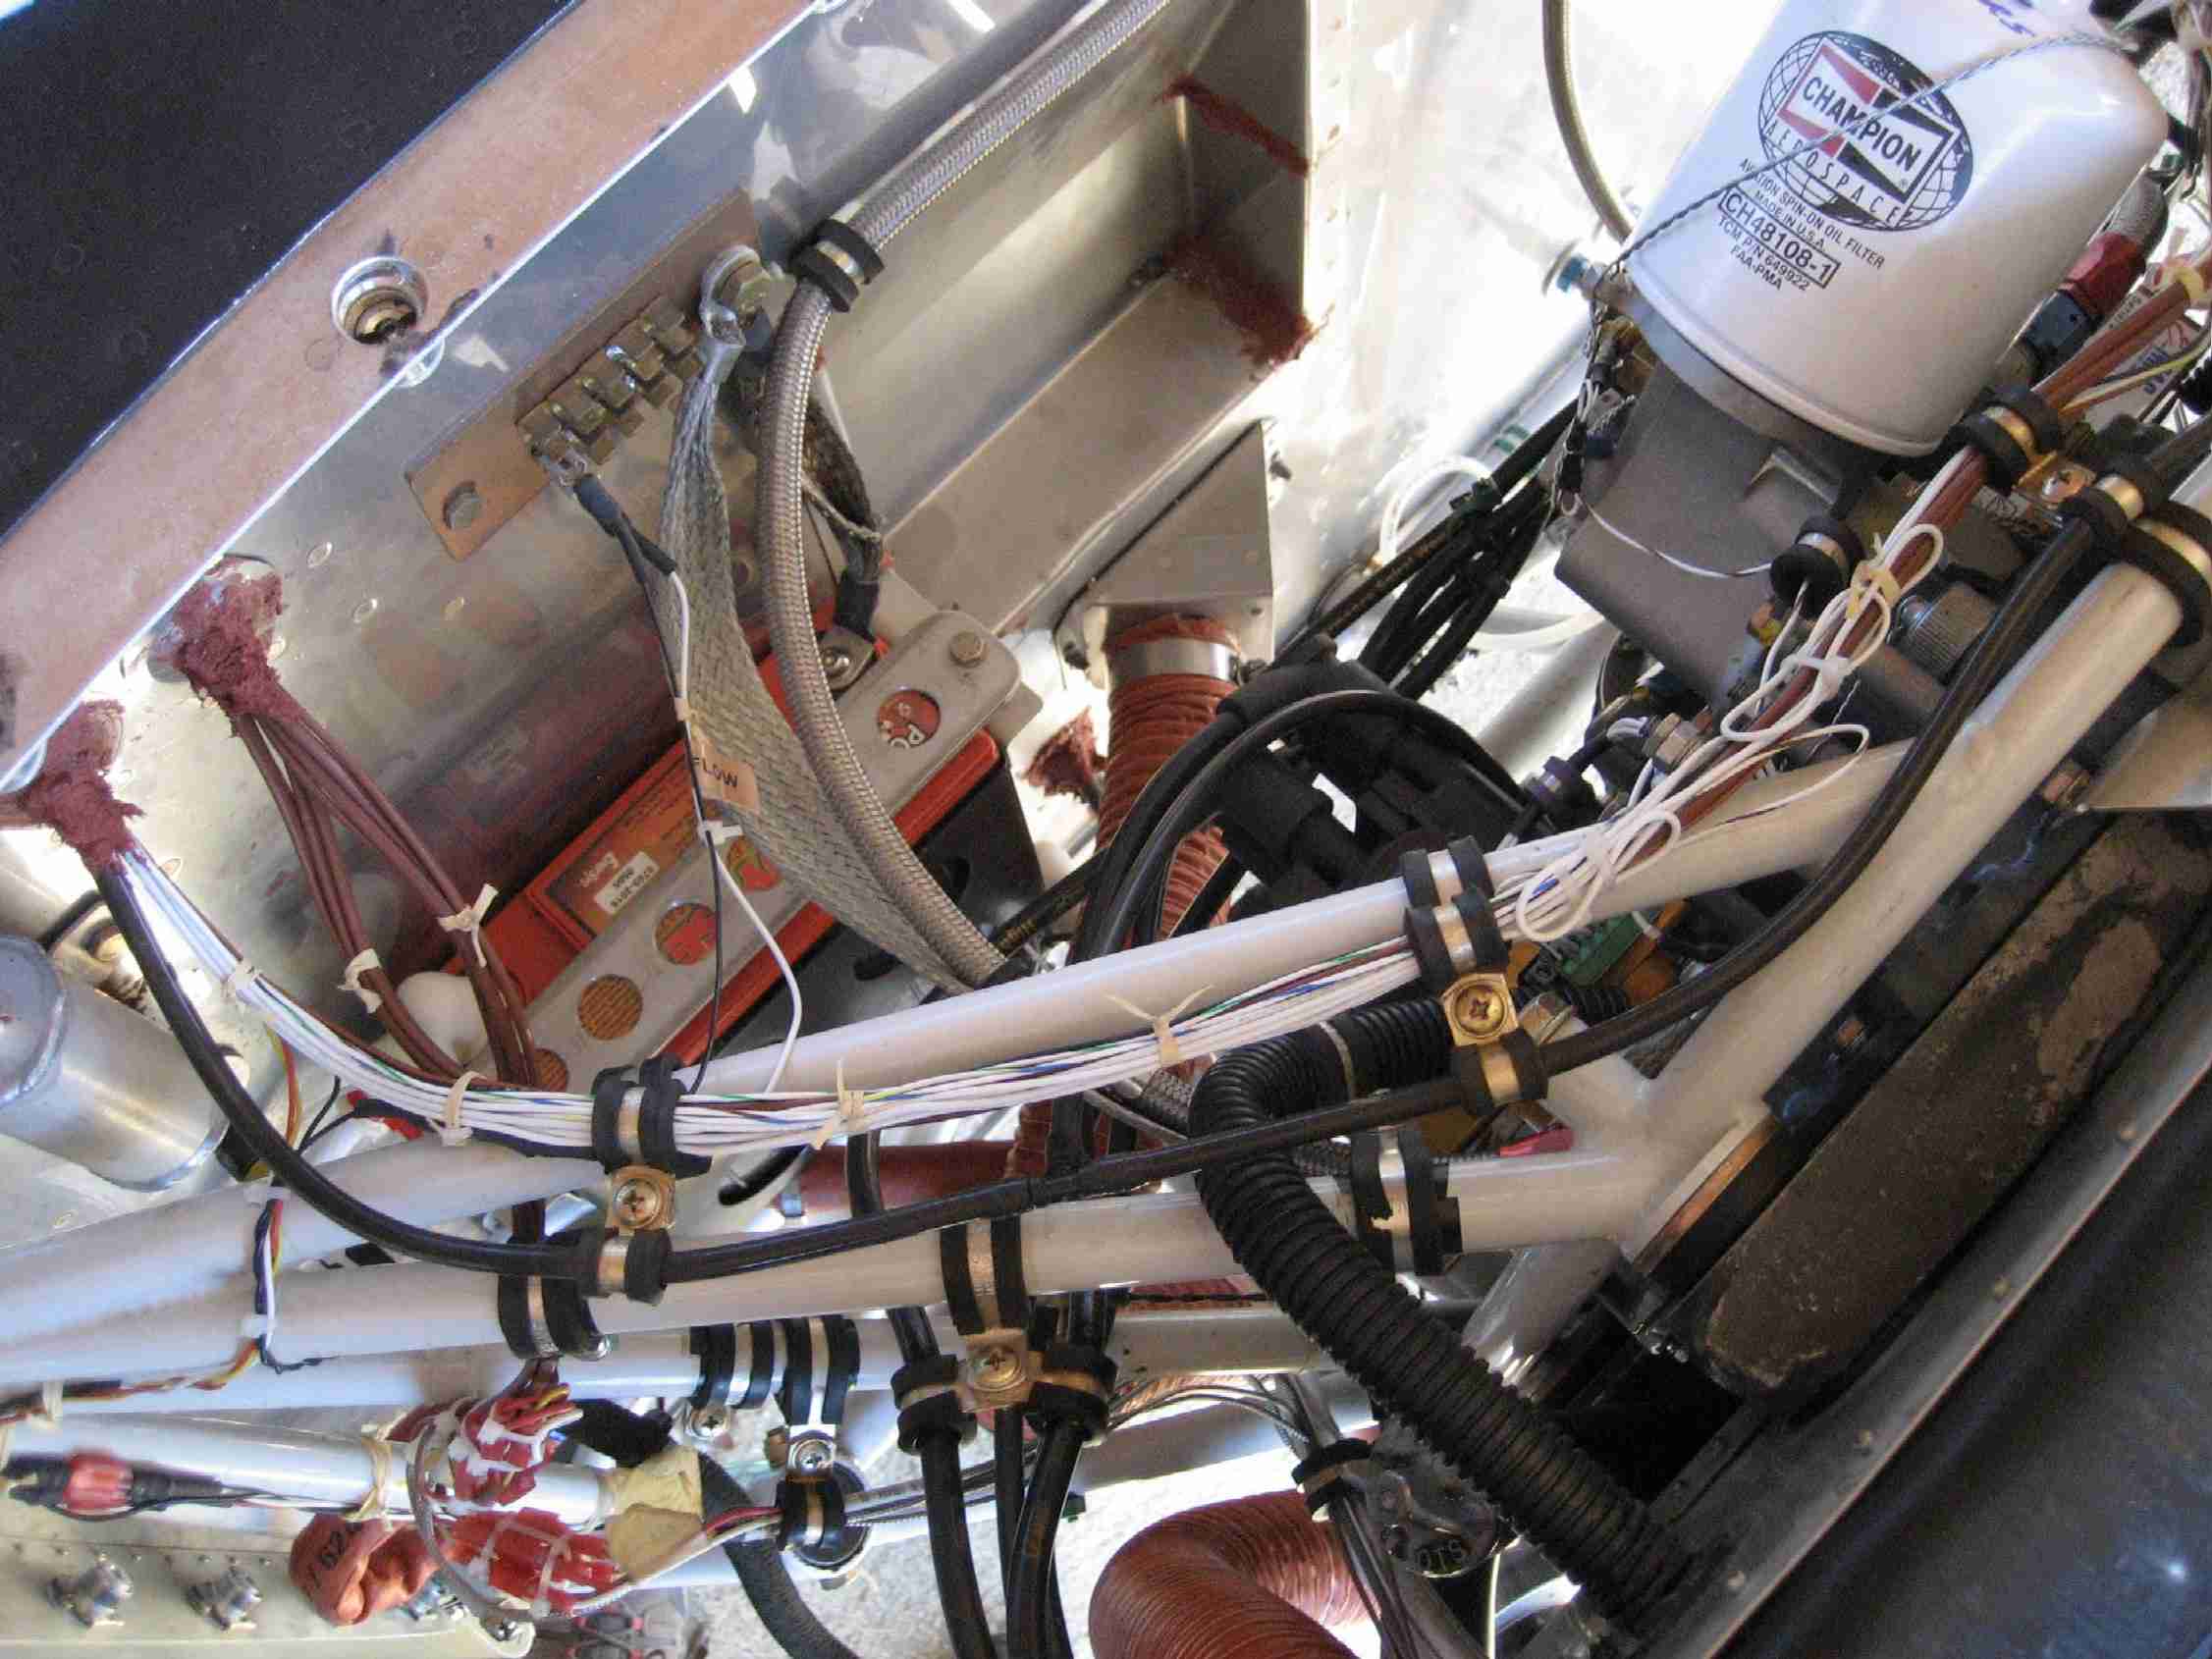
So anyone else pull the engine, just so they can rivet the side hinges. Well I did, by myself!

I was having trouble getting access to proper riveting around the mount, so off she comes. Easy Peasy! I used a ratchet strap to help keep alignment.

Anyway here's a couple of pics in case anyone is wondering.
RV-7build405.jpg

RV-7build407.jpg


Feels like I'm backing up.
 
Brian,

Based on another picture you had posted I was wondering how you were going to rivet it up. Good to hear it went well.

Cool looking exhaust BTW! How is that supposed to compare to the cross over, 4-into-1, and 2-into-1?
 
It was easy. I went back out and riveted up the firewall and am ready to reinstall. Then I thought wait until tomorrow and take a good look to see if I have more to do prior to putting it all back. Of course it went so smooth, I won't hesitate to yank it loose again if need be.

The exhaust is a a Vetterman 4 pipe. Fits like a glove and has a heat cuff that wraps around 2 pipes. As far as performance, I don't know where it falls exactly. Larry V has done some tests and the differences between systems are minor. Crossover wouldn't fit. I think there may be a 4to1 system that would have worked, but the cost was out of my budget. Vetterman has a good reputation, fair pricing and a friend of a friend. I went with the Vetterman 4 pipe as it about the only one that fits properly with my setup. RV-7, IO-360, Superior cold sump, AFP injection and Sam James cowl.
 
A couple of thoughts before putting it back together.

It looks like you have a hole under the battery box for the wires to go through firewall. If not, add one.

Also, do you have the two platenuts in place to hold the oil pressure lines across the top of the recesses? And don't forget about the one that goes down the left side of the recess for the oil breather tube.

(These are things that are called out later in the plans. Sometimes too late.)

It might be a good time to drill holes for your wire penetrations. I put in two in the upper right, to the right of the battery, but you will need to figure out what is best for you. One hole is for all the EFIS sensors, mag wires, etc. The other is for the CHT & EGT wires.

The final hole was for the manifold pressure line as my MP sensor is on the cold side of the firewall. I used a bulkhead fitting to go through the FW and transition to a rubber/vinyl tube.
 
Last edited:
A couple of thoughts before putting it back together.......

It looks like you have a hole under the battery box for the wires to go through firewall. If not, add one

Got it

do you have the two platenuts in place to hold the oil pressure lines across the top of the recesses? And don't forget about the one that goes down the left side of the recess for the oil breather tube

Done

It might be a good time to drill holes for your wire penetrations.

don't have behind the panel figured out well enough to know where these are going yet, but they will be high enough that access shouldn't be an issue

final hole was for the manifold pressure line as my MP sensor is on the cold side of the firewall. I used a bulkhead fitting to go through the FW and transition to a rubber/vinyl tube

I used the Vans factory bulkhead fitting and will be feeding the sensor for my Dynon.
What did you do to feed MP to your Pmag's?
 
...
What did you do to feed MP to your Pmag's?
I feed the MP through the FW via tha above mentioned bulkhead fitting. Aft of the FW I had vinyl tubing that I Tee'ed off of for the P-mags. The black P-mag MP hose then went back out through a wire hole and ran across the top of the engine mount, supported by adel clamps, to the P-mags. You can see the hose in these pictures, including where I Tee'ed off it to go to the right mag:


When I have to set the timing on the P-mags, I pull the hose from the Tee and stick a shore section on the Tee to use the "blow in the tube" method of timing as it sets both P-mags at the same time.
 
Thanks Bill.

Daughter and family came over to borrow some tools and guidance on Pinewood Derby car building. So first things first, I recruited the son-in-law and grandson to help bolt the engine mount back on.
Here's Austin running the hoist for me.
RV-7build412.jpg
 
Thanks Bill.

Daughter and family came over to borrow some tools and guidance on Pinewood Derby car building. So first things first, I recruited the son-in-law and grandson to help bolt the engine mount back on.
Here's Austin running the hoist for me.

No problem, happy to help.

Those kids will probably remember helping Gramp's put the engine on his plane for the rest of their life.