idleup

Well Known Member
As I lay out my panel I am learning that I could really use another inch of height, does anyone make a panel blank just like vans but an inch or so taller? I do not want an affordable panel or modular, carbon, etc., or anything like that... just simple vans style but a little larger. I know I can probably just make my own but I do not have a bending brake to make the bottom flange but if there is no other option I guess I could go that route. Any feedback would be appreciated, thanks.

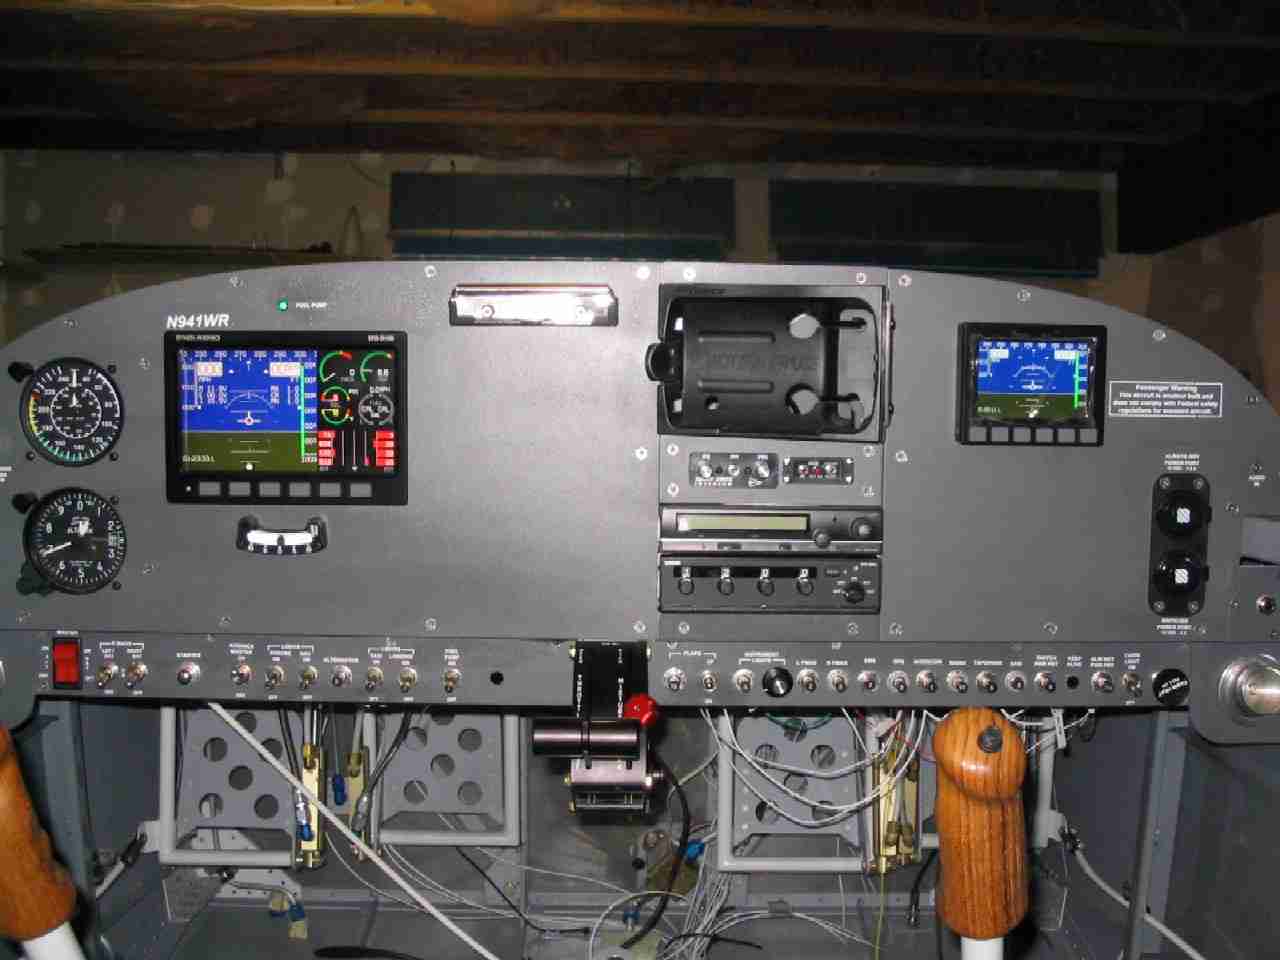
P.S. This is for an RV-7A. My current panel from my kit is an F-703
 
Hi Matt,

I made my own and it was no big deal if you have the standard panel blank as a template. I bet you can find a bending brake somewhere nearby if you go look.

Steps are:
1) get yourself some right-size sheet ali.
2) bend the bottom flange
3) position and clamp the standard panel blank over the sheet.
4) match drill and cleco the rivet holes around the top.
5) mark out the outline
6a) remove the template and cut around the marking, or
6b) as I did, course cut first then use a router to match cut the template shape.

I cut pretty much to the same shape as the standard but if I were doing it again I would try to include the underhang below the sidedecks where the airvents go in the panel shape.

Or the simpler alternative is to call up Van's and ask the to make you a deeper panel, which I believe they are more than happy to do :)

Best of luck,
Steve
 
Vans makes an oversize panel blank about 2" taller than normal with the flange pre-bent. You just need to trip the top profile to the length you want it. Just call them or look on their website.
 
Oversize Panel

Since I went with all electrical steam guages, I added to both side of the control center section and riveted an angle across the bottom.:p
33usv28.jpg
 
Last edited:
I added 1.5"

and used a 3/4" x .0625 angle for the bottom. Cut a new blank for .0625 sheet using Vans blank as a template. Next time I might go a little thicker, say .1" or so. Then I hinged the panel underneath at the sub panel to allow the whole thing to tilt for easy access in the future. I can sit in the seats and get to all of the behind the panel wiring with relative ease.. Hope the photos below make sense...

IMG_1037.jpg


IMG_1041.jpg


IMG_2494.jpg


IMG_3862.jpg
 
Last edited:
I put in an Affordable Panels panel with a recessed sub-panel for the switches and breakers. The main panel is the standard height but they do make taller ones.

The sub-panel has worked out great and I have some red electroluminescent tape above the switches.

 
Vans makes an oversize panel blank about 2" taller than normal with the flange pre-bent.........Just call them or look on their website.
When I realized the stock instrument panel was just not large enough to accomodate my instrument desires, I ordered and installed Van's oversize instrument panel. Offering an additional 2.2" of height over the stock panel, the added surface area negated the need for a subpanel although I did add a removable subpanel to it to accomodate all the control cables. I do not find the additional size to be the slightest problem concerning ingress and egress. It can be confusing trying to find the oversize panel on "The List." Give Van's a call. They will know exactly what you need.
 
Matt, I had the same issue....

I can't remember if it was 1 or 1.5 inches more that I needed. I call Vans and asked about a blank piece of AL to build a new panel with. I think that it was Scott Rising that I talked to. He told me that he would make me a new panel just like the one that came in the kit at any height that I wanted.

I think that the cost was $65, but that was 7 years ago.

Kent
 
F-6103 OVSZ

For a taller panel in the RV-6/7/9, order the:

F-6103 OVSZ OVERSIZE PANEL 13"X42"

It runs about $60 or so, and is rectangular in shape so you will have to match the top contour with your existing panel and cut it.
 
Lower, not taller....

Actually, you can't make the panel "taller", you can only lengthen it on the bottom side. Van's makes an extended panel, which I did with mine. I think it's 2". Be careful though because it does make a tighter fit between the bottom of the panel and the top of the centersection spar. It gets to be tough to crawl under the panel!
 
panel edge safety

Hey guys, since you are at the stage of making the panel whatever you want,
don't forget that bottom edge is pretty darn sharp....and now it's even closer to your knees.
(Notice that cars no longer have interiors made of sharp metal edges!)
You legs flail around like kermit the frog's in a crash......
If you can roll the bottom edge, add a 45° or more break, or add a nice firm chunk of hose, your legs will thank you, ( not to mention your scalp, when you are under the dash one day re-wiring your new gadget!)
 
For a taller panel in the RV-6/7/9, order the:

F-6103 OVSZ OVERSIZE PANEL 13"X42"

It runs about $60 or so, and is rectangular in shape so you will have to match the top contour with your existing panel and cut it.

I also needed 1" so I could fit my 8 instruments next to the radio stack so I bought the taller panel from Van's for our RV-6A :D Rosie

New_Panel_2011.jpg
 
Larger panel with sub-Panel

I added 1.5" to the bottom of the panel, then added a sub-panel for the switches. The sub-panel is set back such that a flat LED lighting strip can be used to light the switches. The sub-panel was constructed from .040 2024-T3 and formed over 3/4" plywood forms. The outside curved edges that hold the vents are constructed seperately, then attached to the center section.
Panel-DisplayMounting.jpg

Since I frequently grap the top of the panel when getting in/out of the plane, I also added stiffeners...
PanelTopStiffener2.jpg

Hope this helps..
 
If you do end up bending your own...

.. be sure to pay attention to the grain in the aluminum sheet to avoid any cracking. The grain runs parallel to the large printing on the sheet and you want to bend perpendicular to the grain.

I found a local sheet metal shop to do the bends for my Z bracket panel extension. I'm not sure what type of brake it was called. It was more like a press with a pair of v's that came together.

Good luck,