marttibenson
Member
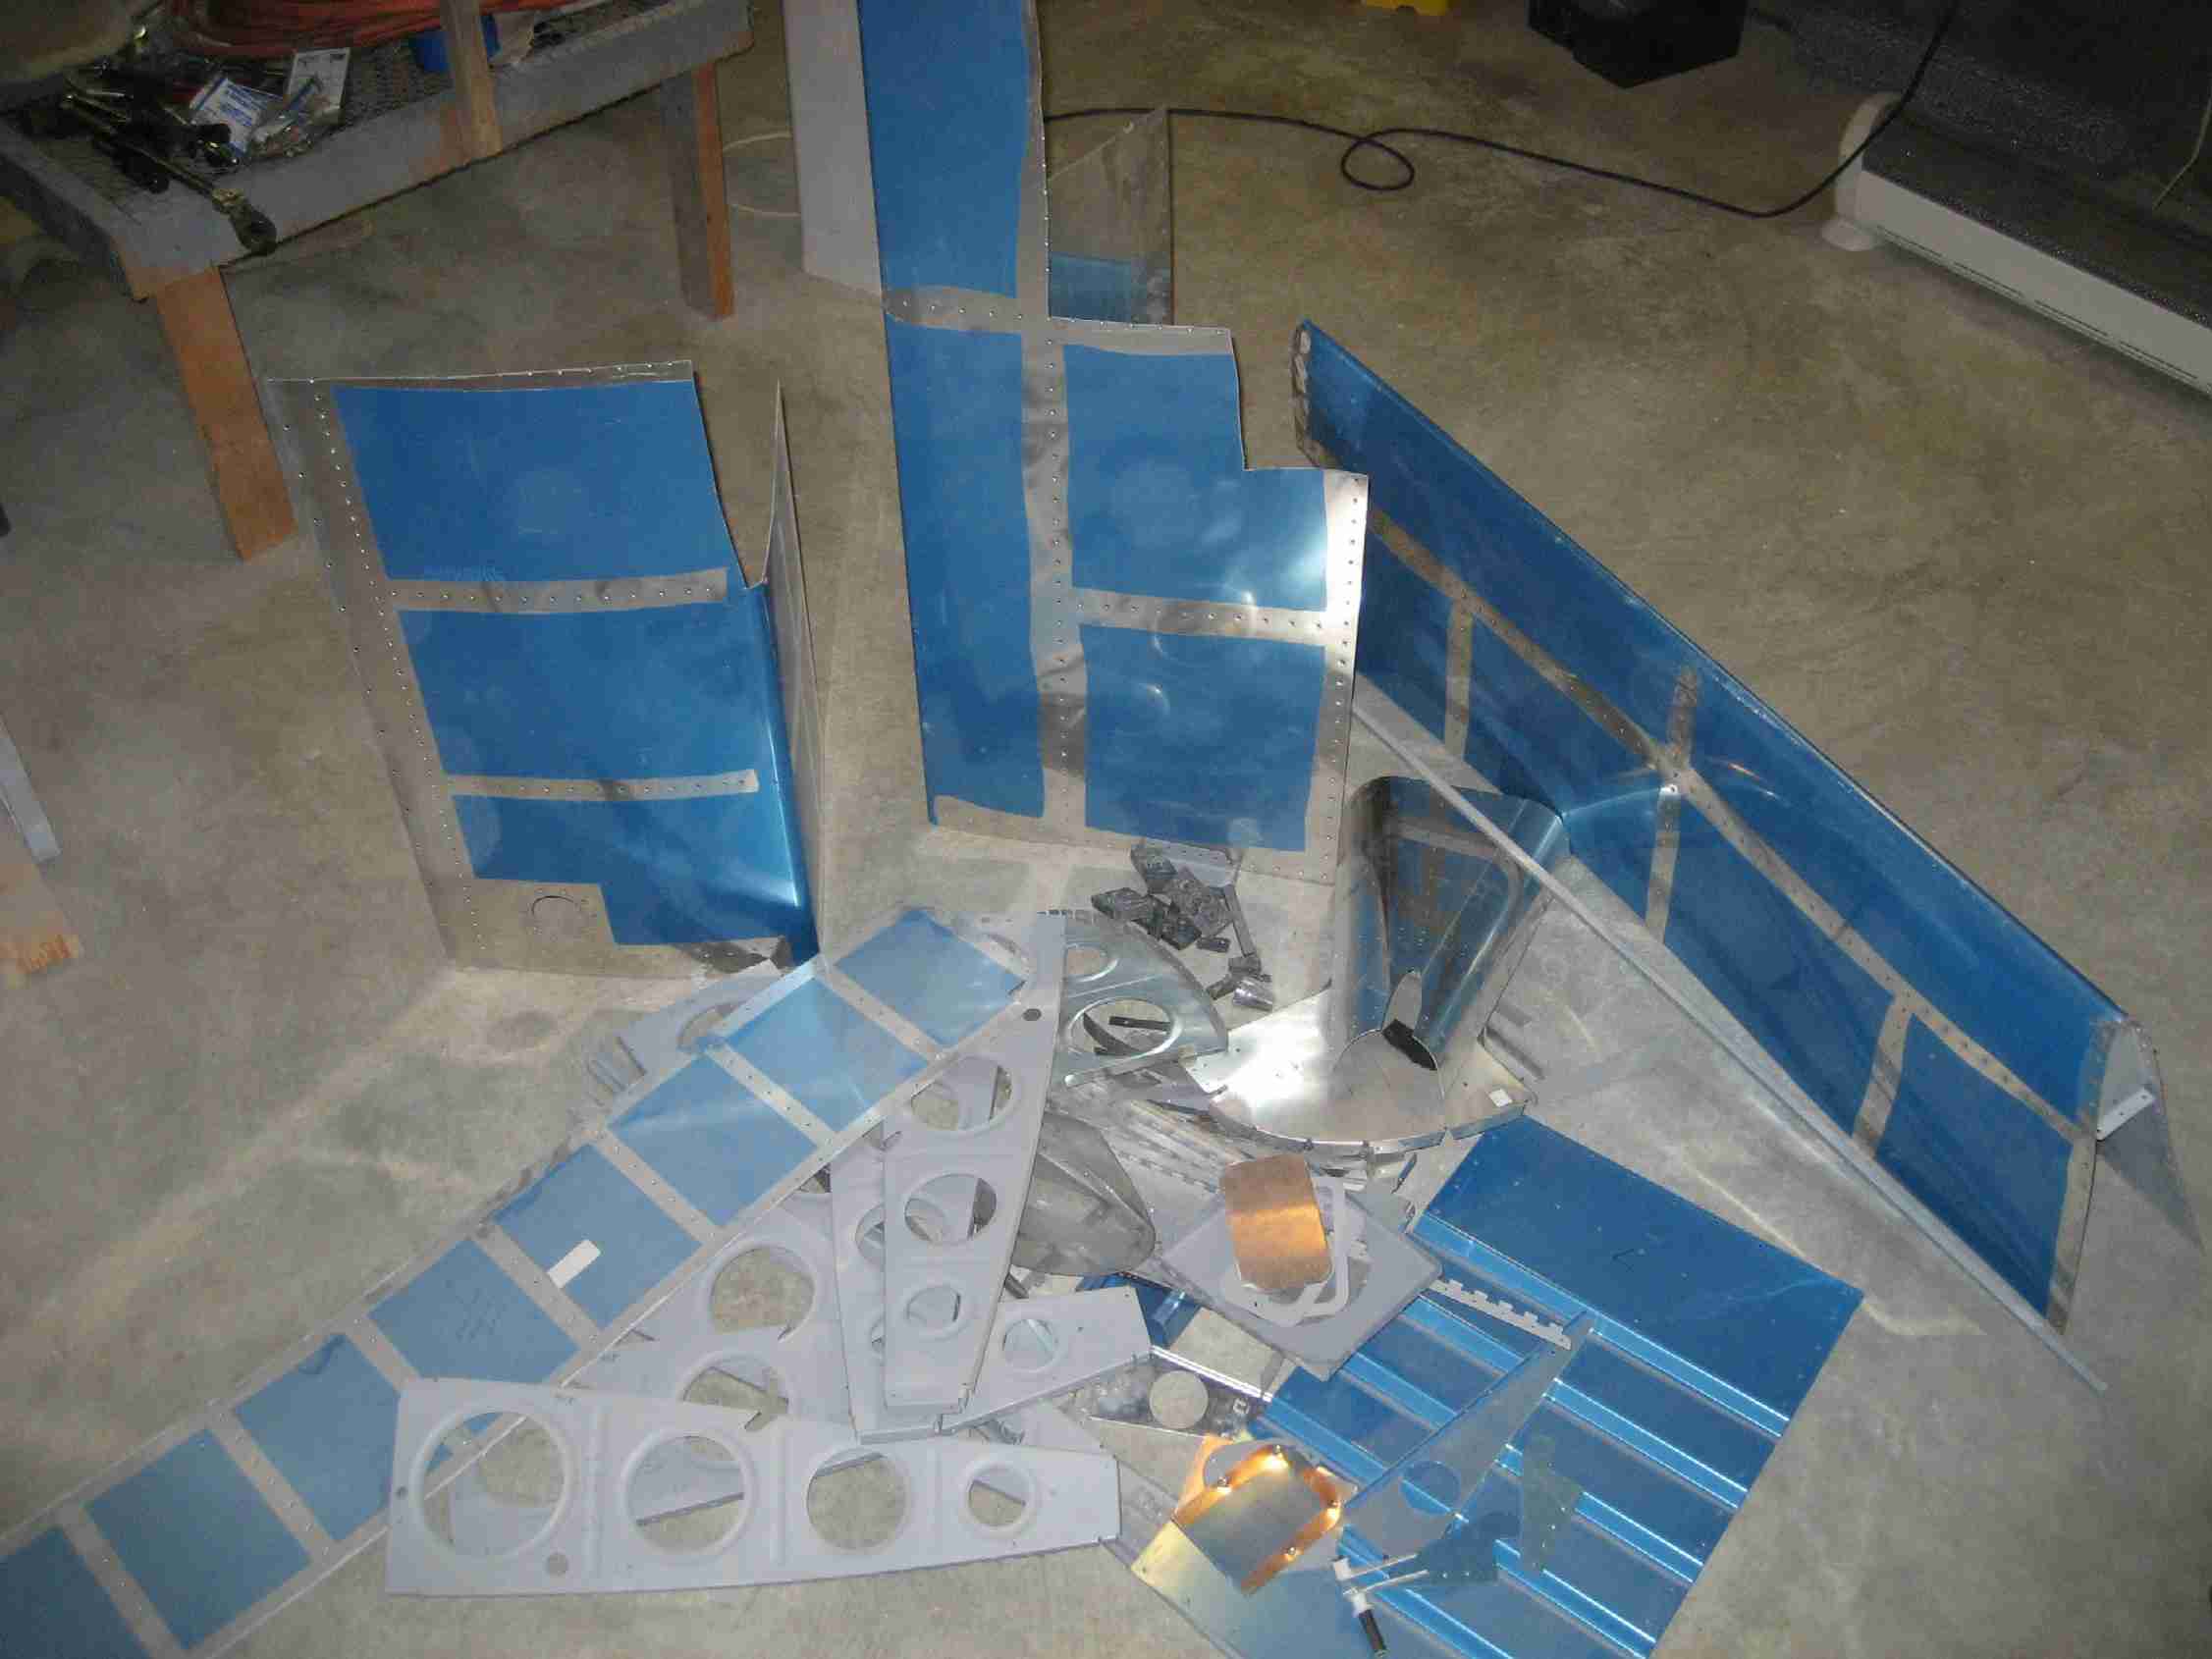
Took the jump and started my tail kit last weekend. As of last night, I've made the HS-908 attach brackets 2 or 3 times and on of them is still 1/32 too narrow. Frustrated and not sure I've got the "right stuff" to do this.

Took the jump and started my tail kit last weekend. As of last night, I've made the HS-908 attach brackets 2 or 3 times and on of them is still 1/32 too narrow. Frustrated and not sure I've got the "right stuff" to do this.
1/32"??!?? I don't know of any places on the entire airframe that require edge tolerances of 1/32" in order to be functional or safe.
 " Keep poundin' them rivets: It's ALL worth it! Rosie, which is the opposite of frustration.
The best advice coming from someone who just started building!I really support the suggestion to cut things like that oversized. After you file and polish it will be the right size. If you cut it to exact dimensions then by the time it's smoothed-up it will be too small.
.I dimpled a skin from the wrong side.
Bought a new one and wrote on it so I would not forget what was the upside on my dimple table.

