LettersFromFlyoverCountry

Well Known Member
Just curious how folks have installed the Dynon D100 trays in a stock Van's panel. The instructions say riveting is best. Doesn't seem like a lot of flange available to work with and some pictures i've seen of panels show no rivets at all. Perhaps the bezel of the unit hides it, but I don't recall the bezel being that wide.

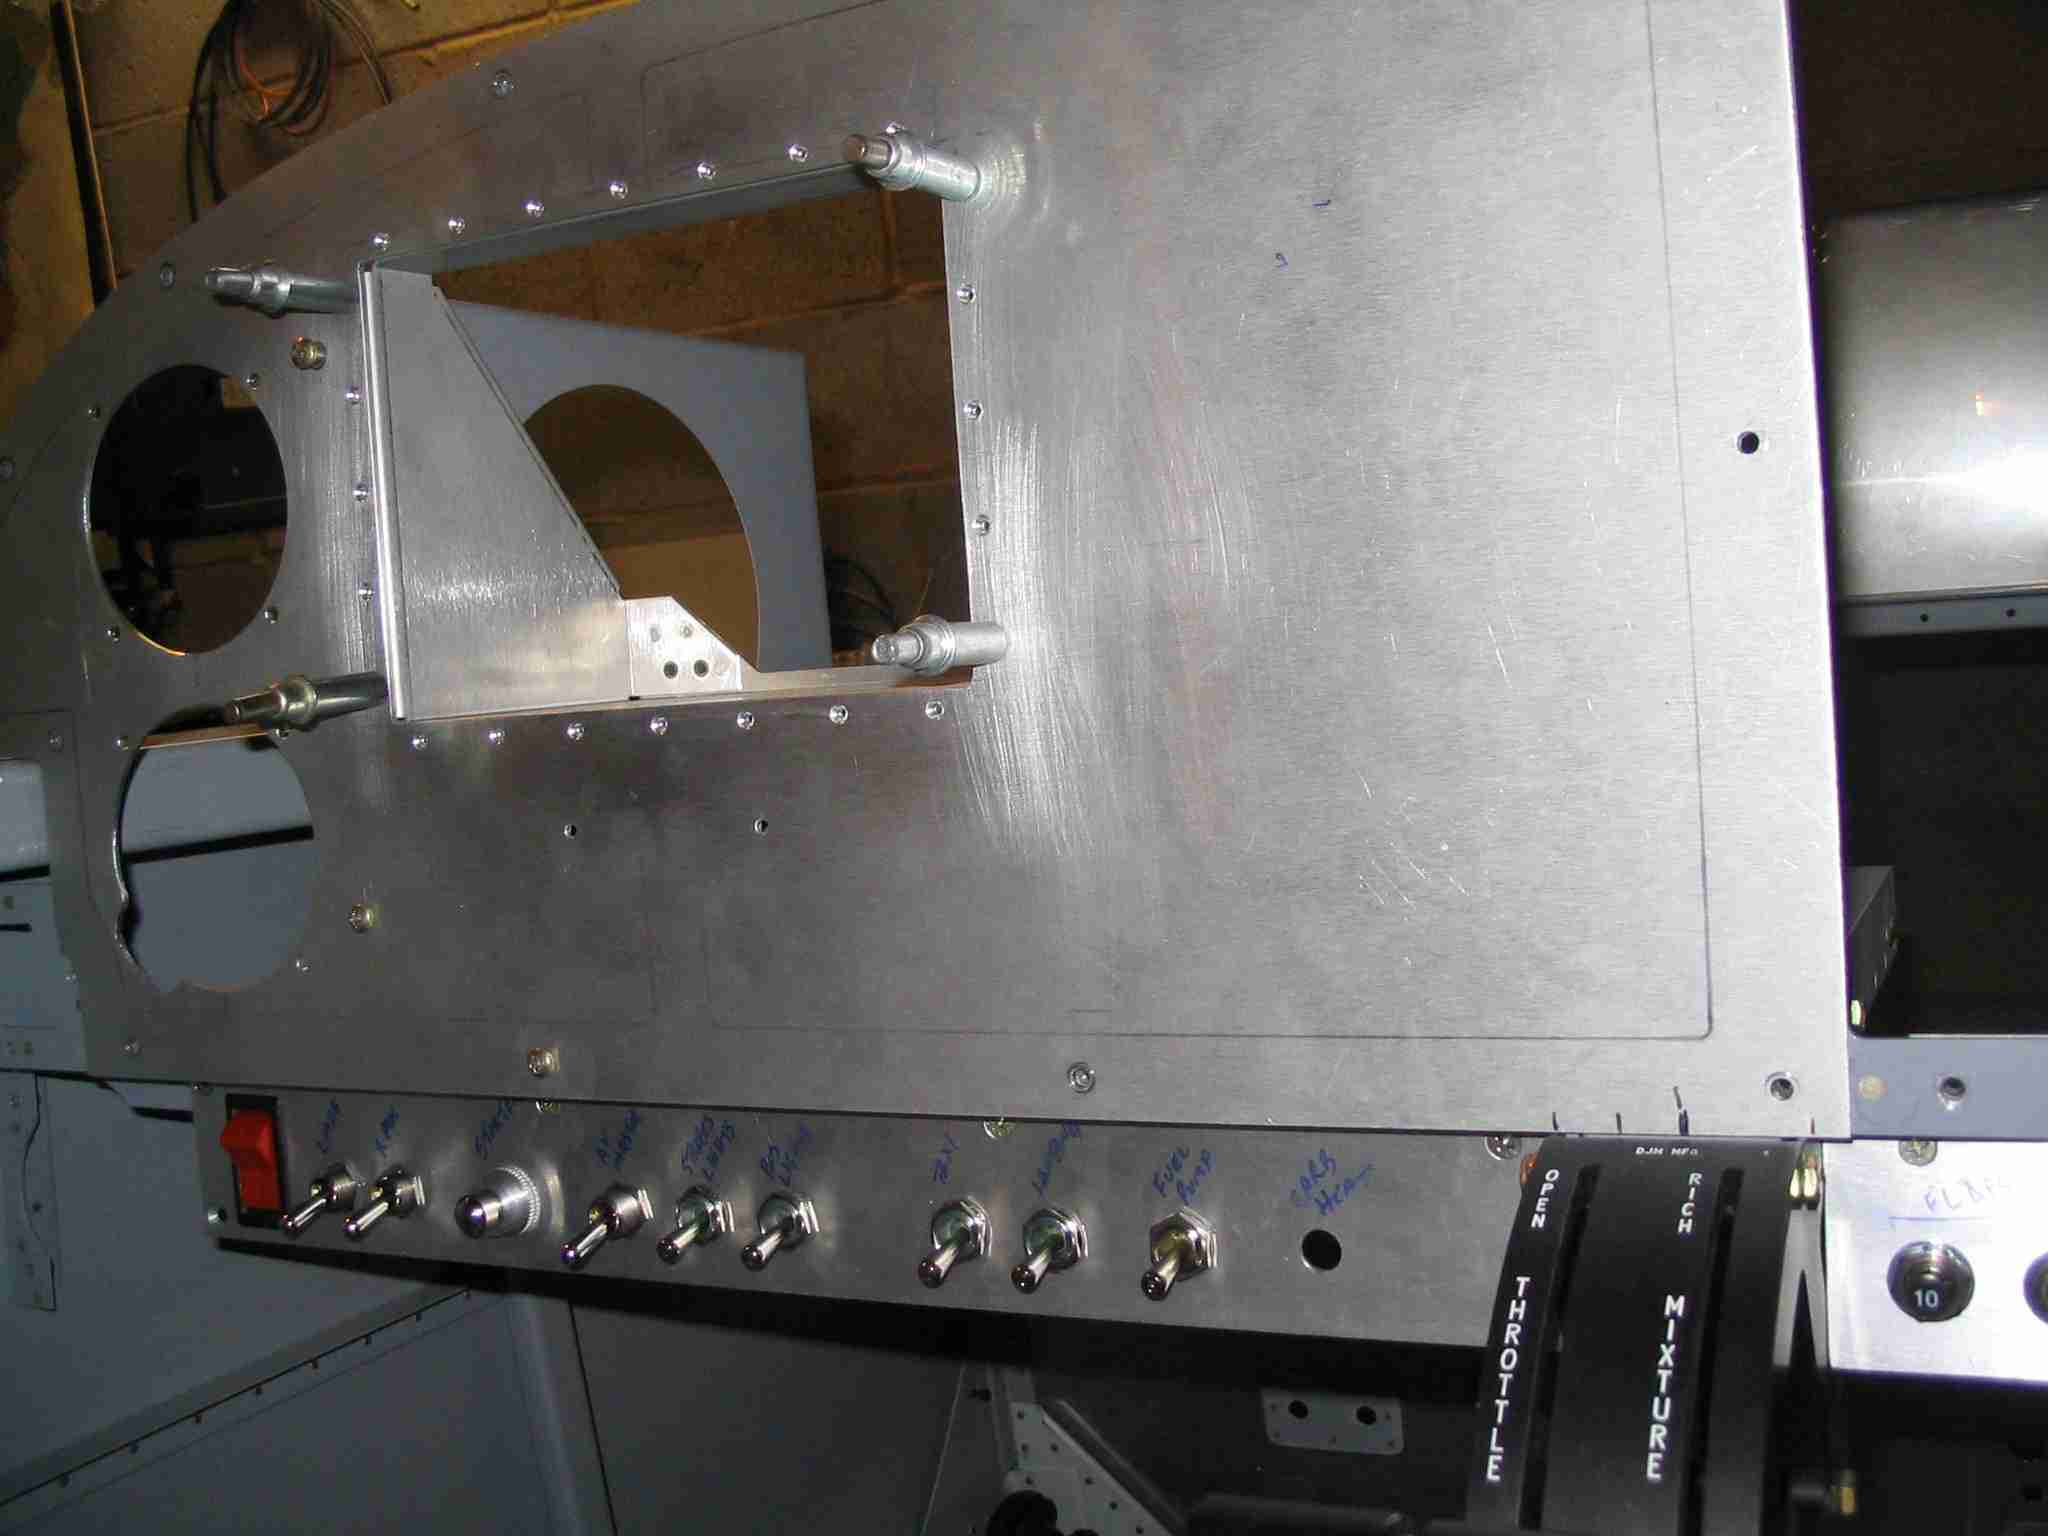
Just cut the initial cutout for fitting today.
 
Bob,

Although I have an Affordable Panels panel, I did rivet the tray in place.

With paint you can't even tell.

OK, I might have gone a little overboard with the number of rivets...


You are right about the lip leaving limited room but it is possible.
 
riveted mine too

I used flush rivets to attach mine and as Bill said, the rivets aren't really noticeable after painting. Can't remember for sure but I don't think I put any rivets in the top flange as I was trying to get it high on the panel and access was limited for bucking rivets with the panel angle and the D-100 frame configuration.

You can see the flange and rivet lines in this picture:

RV-6AN731CKpnl3.JPG


Clecos installed from behind in these pictures to hold things in place while still in the panel construction phase:

RV-6AN731CKpnl5.JPG


Other panel contruction pics from this phase at:

http://rv6aproject.ckhand.com/panelAndElectrical/panel/panelPg2.htm
 
Another vote for rivets ob - we installed the tray for the D180 in the RV-6 just like the pictures above. Yes, the edge distance is pretty small, but we're not talking about a structural load here - just a very lightweight accessory. It's very easy to sand/fill the rivets so that they completely disappear - or leave them so they show a little, and it gives the panel a little character.

Paul
 
I prefer nutplates. The instruments are attached with screws, why not the avionics trays too? I prefer the option of easy
removal and/or disassembly including this D-100 tray, greatly simplified by the turning of a few screws.

fog8hs.jpg
 
Last edited:
thoughts on clearance...

Bob,

If you have a tipup, and you haven't already cut the holes in your panel, be sure to check for clearance with the canopy down. ie: the canopy frame stiffiners.

On another note, I was installing a 430 and wanted the top of it even with the top of the Dynons. I cut the hole in the panel and sub-panel for it, as it sticks through the sub-panel about an inch. Then I realized that the forward rib of my TU canopy frame protrudes down into that area. I swear, my stomach shriveled-up to the size of a raisin & I broke out in a cold sweat as I just knew the rib was going to interfere with the 430. I put the canopy on & much to my relief, I had about 3/8" clearance. Whew! Close call. :eek:

Just be sure to check clearances on all that panel stuff.
 
Last edited:
Nut Plates

I riveted nut plates on like Rick G. did.

Alows me to remove my panel while still keeping the Dynon in position.

Found this is easier for servicing down the road. Don't have to leave as large a service loop for wires and pitot/static tubes to enable removing the unit.
 
I drilled for rivets (3 on the sides, 4 on the bottom) on the tray, then fit the Dynon in the hole, then fit the tray, then backdrilled. Came out great.

I didn't put any rivets in the top because it's asking for trouble trying to get a bucking bar in there (the overlapping flange on the top gives you less than an 1". However, I may put a nutplate right in the middle of that one just to snug it up just right.
 
-3 Solid Rivets

d100trayfront.jpg


d100trayrear.jpg


I used 3/32 flathead solid rivets. Very solid installation.

I back drilled the panel from a pilot hole pattern that I pre-drilled in the tray flanges. The only problem area was the top flange which is hard to get access to due to the turned up flange on the forward edge of the top side of the tray. In the end I added the three access/lightening holes to the secondary flange that you see in the picture. This allowed me to back drill three of these holes and then drill the intermediate two from the front using the others as a guide. Riveting was easy and as you can see from the front view the rivet heads are hardly noticeable. And as I always say RVs are supposed to have rivets showing - as long as they are neat. Covered and/or filled rivets make me suspicious :)

Jim Sharkey
RV6
 
Last edited: