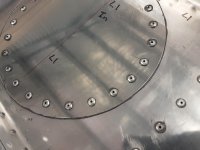
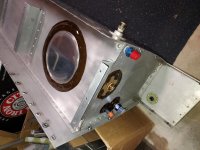
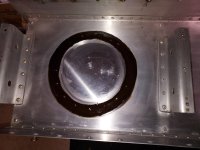
Just finished the cutting hole in my 6 tank baffle and prosealed the tiny leak I found. Any advice before I close it up? Thanks
Just finished the cutting hole in my 6 tank baffle and prosealed the tiny leak I found. Any advice before I close it up? Thanks
I always "topcoat" seal any cover plates or seams with Proseal 1422-A1/2. The A consistency flows easily over rivets and seams applied with a soft bristle brush. This is standard seal procedure for the type aircraft I work on at my dayjob (Big jets and refueling tankers). I understand buying the 1422B (thick) material hurts the wallet, but the additional 1422A (thin) really finishes the job out nice. When I do an RV tank re-seal I also use the 1422A to brush topcoat all the rib flanges inside.
And just a reminder for those who are yet to do Fuel tank repairs, an electric vacuum is not on the list of approved tools to use in a previously fueled tank. The vapor will ignite when pulled thru most conventional shop vacs. Many auto shops have been burned to the ground using electric vacs. Like the OP says Cloth wipe and pro seal overcoat maybe a pneumatic ventura vac if you have one.