TASEsq

Well Known Member
Patron
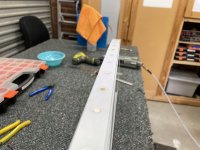
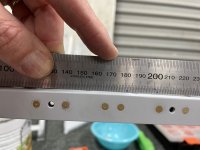
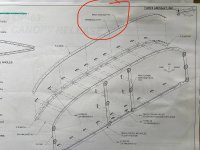
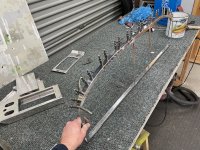
On page 35-13 the instructions call to countersink the 0.032” thick F-01467B Instrument Panel Flange Doubler.

Has anyone dimpled this instead? (Including dimpling the underlying flange parts?)

I’m wondering why they would call to countersink this part.

I do vaguely recall this being discussed, but I apologise I can’t find the thread.
 

Attachments

  • IMG_0175.jpeg
    IMG_0175.jpeg
    921.5 KB · Views: 35
  • IMG_0176.jpeg
    IMG_0176.jpeg
    6.6 MB · Views: 32
Last edited:
I did find that E’s blog shows he dimpled. Perhaps that was the thread I remembered. Anyone else?
As a first time builder, I just followed the plans and countersunk them. I'm not an engineer and figure Vans knows best.
 
Generally it’s tough to dimple 3 layers and get a neat joint. In the few places this occurs (trim tab hinge sandwiched between skin and spar for example) it’s more common to dimple the top, countersink the middle and leave the bottom untouched.

Over a curved surface like this I suspect trying to nestle 3 dimples together you could distort things enough over a long curved distance to introduce other problems - or at least get a poor looking result.
It’s just 2 layers. I would use the substructure dies on the flanges and the normal dies on the doubler strip.
 
To close off on this thread, i ended up dimpling the F-1467A angle pieces with sub-structure dies, and dimpled the F-1467B flange doubler with normal dies. Had to upsize the rivets to -3.5. All nested nicely and was a lot quicker and easier than countersinking in my personal opinion.

Prior to painting in the cockpit color, I had to cleco it into the fuse for the money shot. 🤣
 

Attachments

  • IMG_0268.jpeg
    IMG_0268.jpeg
    4.9 MB · Views: 20
  • IMG_0267.jpeg
    IMG_0267.jpeg
    3.4 MB · Views: 15
  • IMG_0266.jpeg
    IMG_0266.jpeg
    1.6 MB · Views: 19
  • IMG_0279.jpeg
    IMG_0279.jpeg
    4 MB · Views: 18