What's new
Van's Air Force

Don't miss anything! Register now for full access to the definitive RV support community.

Brake questions from my hangar.

AndyRV7

Well Known Member
I am making a second attempt to rebuild the Matco master cylinders on my RV-7. They were slowly dripping from one cylinder when I bought the plane but all four cylinders were weaping. I had an A&P help me rebuild the cylinders once and a couple hours later they were the same. This time it was a different cylinder that was dripping but all were weaping again. Everyone found this odd.

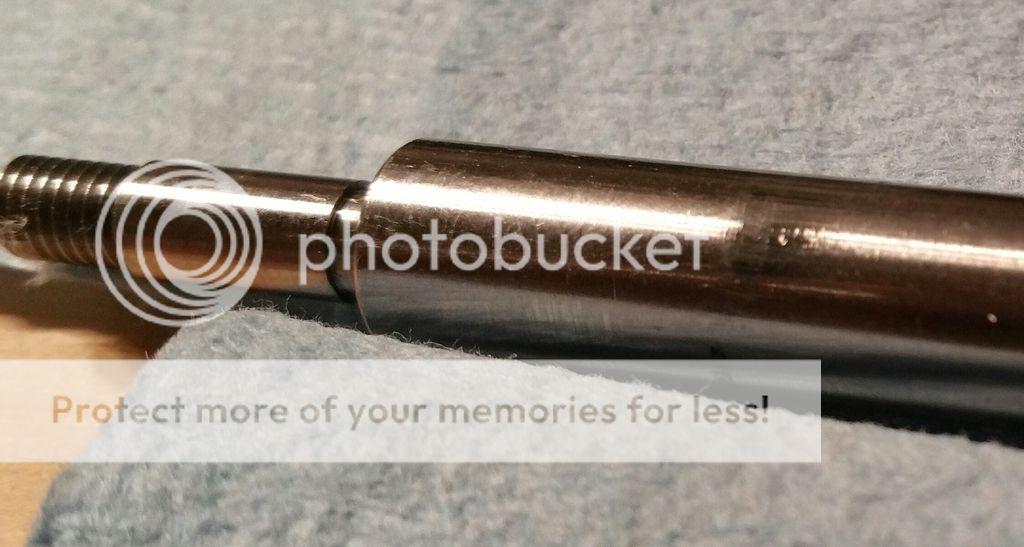
I've talked extensively with the Matco people and am in the process of rebuilding them again. I was hoping to be a little smarter this time but I was not able to pinpoint the leak. I wiped the dripping cylinder clean with mineral spirits and taped clean paper towel around the 5 spots I thought might be the source...the top where the shaft is, and the two ends of the two fittings (hose side and cylinder side). I then pumped the brakes very hard several times from both seats but at best, tgere was a hint of fluid on one or two of the fitting locations, both the hose side and the cylinder side. Not enough to draw a conclusion though. I also wiped the hoses a few times during the process to make sure no fluid was running down from a higher location. They seemed dry throughout. At this point I pulled all four cylinders and began to break them down and clean them.

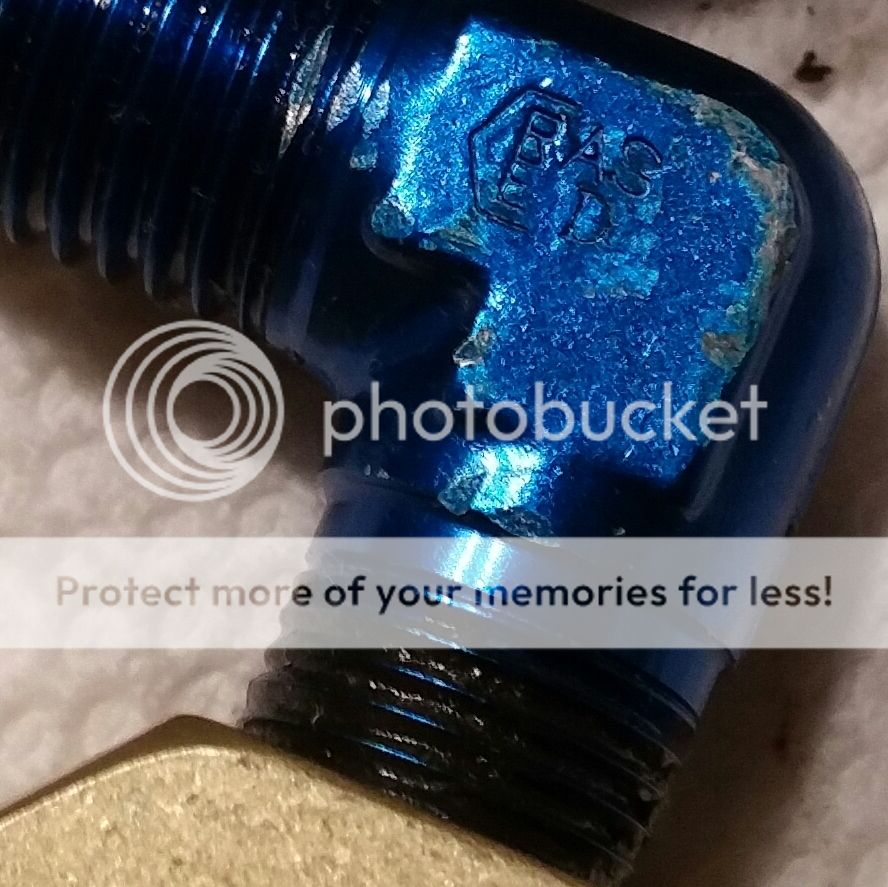
I have steel break lines, aluminum fittings, and the thread sealant on the cylinder side of the fitting is one of the black or dark gray sticky sealants that comes in a tube. Possibly Permatex 2 Form-A-Gasket. This time I will be using Loctite 567 as the Matco guy suggested. I also used Phillips 66 X/C Aviation Hydraulic Fluid. It seems to be made to at least the same standard as the fluid Vans sells.

Here are my questions:
1. Does anyone know why I have a leak!?:D

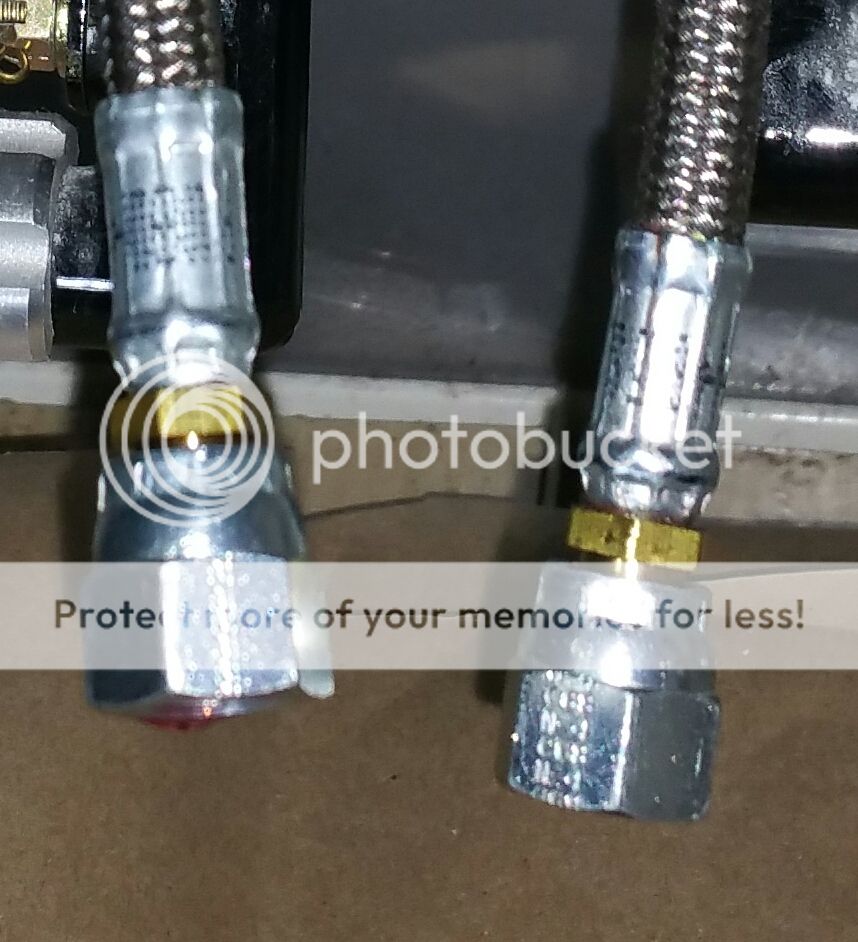
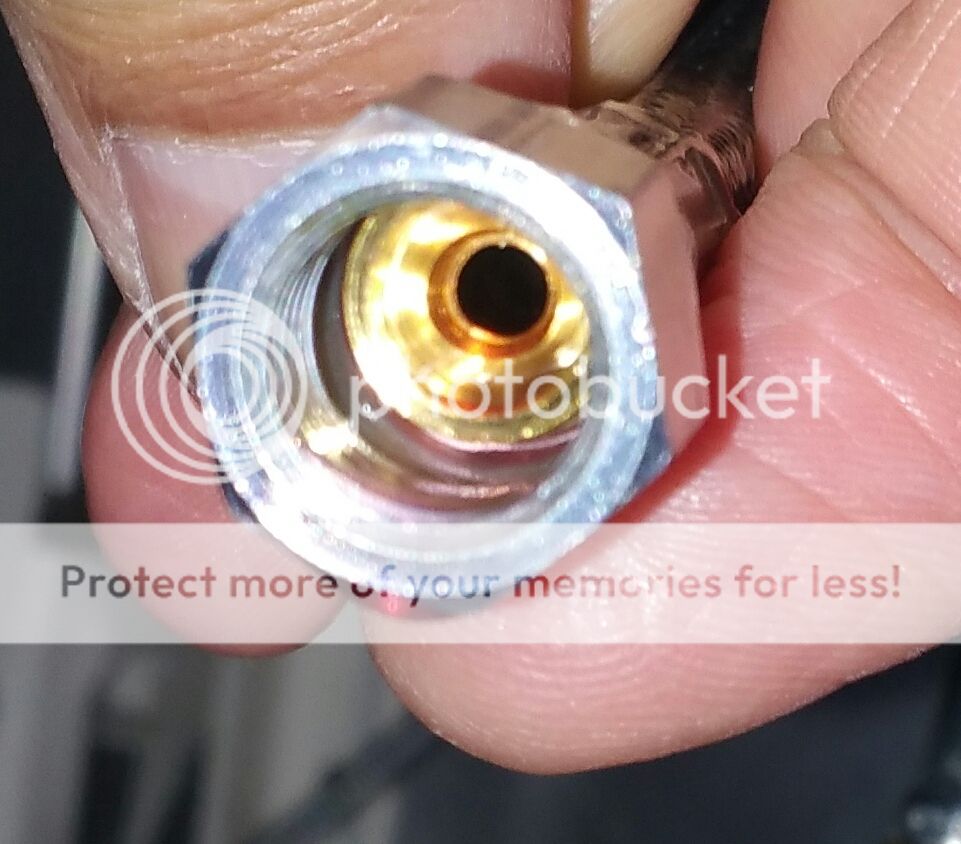
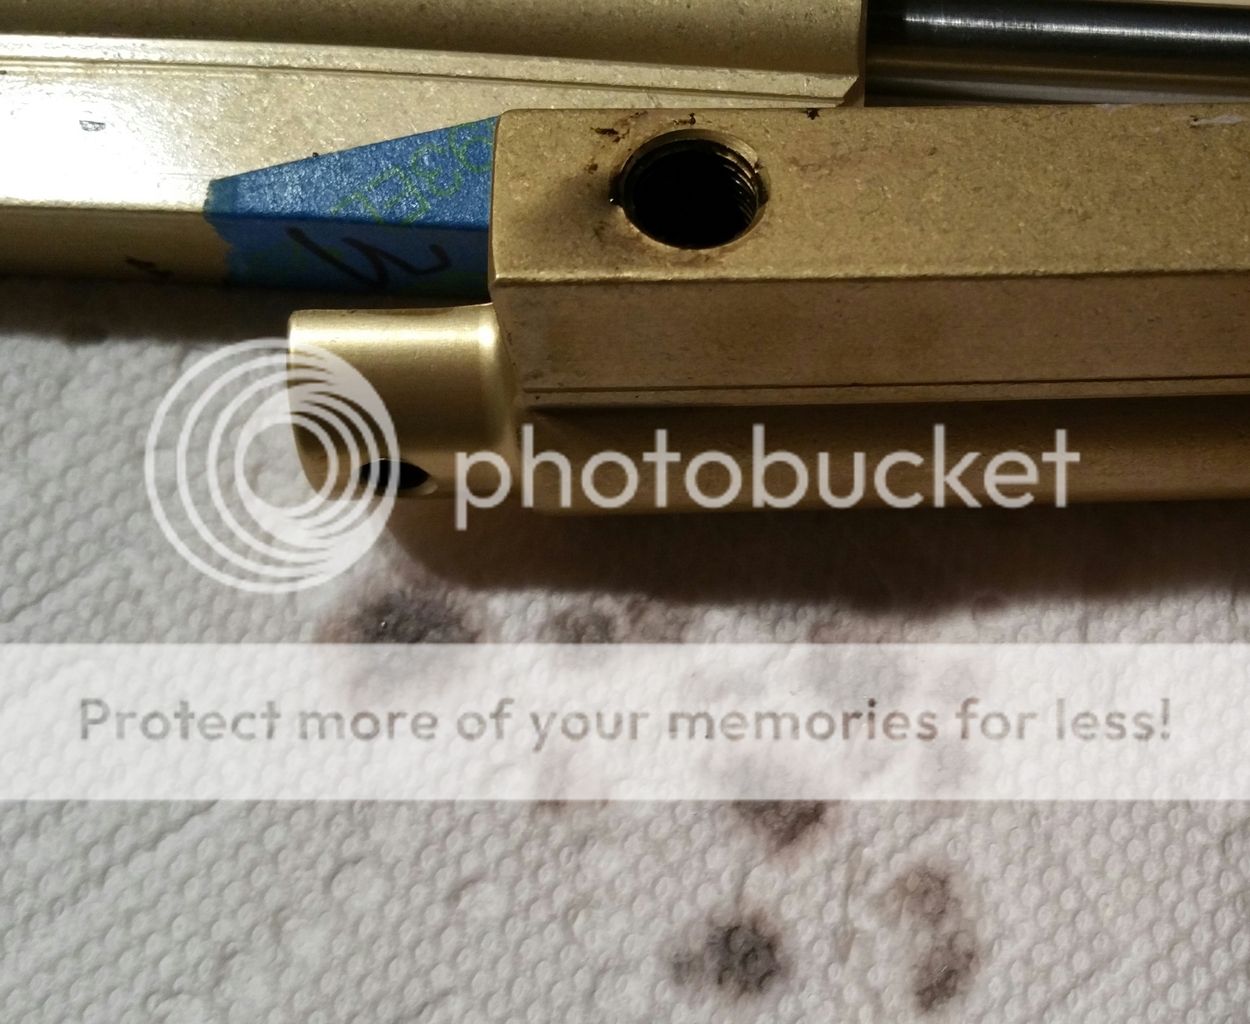
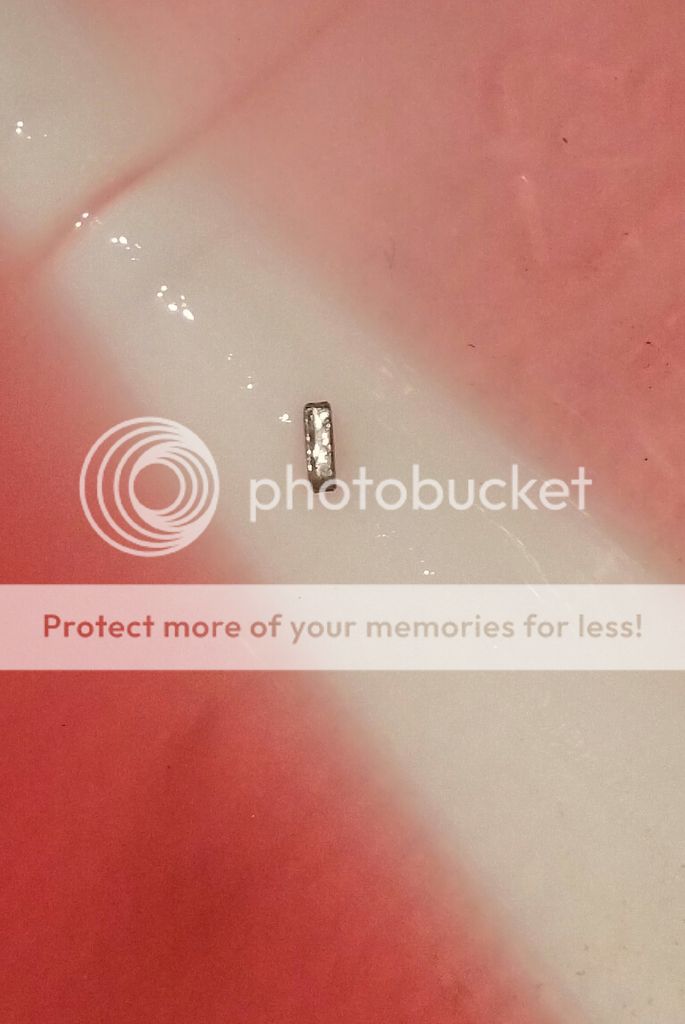
2. The dripping fluid appeared to be "dirty" this time instead of clean red. I presumed it was just picking up some grit from the floor. But when I removed the cylinders and shook them out on my workbench, at least two of them dripped some blackish fluid out. You can see it in the picture below. I also attached a picture of some fluid that ran out of the lines when I pulled them off of the cylinders in the plane. It looks mostly clean except for the small piece of metal that may have come out of one of the lines. Does anyone have any ideas about this?

3. I was able to do a decent job cleaning the threads on the fittings with a combination of alcohol bath, a metal pick, and a wire brush. The cylinder female threads are going to be a lot more work. Are there any tricks for these threads!? I imagine I am headed out to a gunshot to buy a small copper bore cleaning brush. Is copper even safe to clean the cylinder threads with?

Thanks a TON for any help!

Andy,

20160402_122414-1_zpsprb9hqyg.jpg


20160402_122906-1_zpsidekcrgn.jpg
 
Last edited:
Check the depth of the threads....... Matco has, in the past didn't tap deep enough. Just shorten the fittings by 2 threads to allow it to make 2 more turns if needed.

The color of the fluid could be from the fluid not being compatible with the matco parts.
 
These are interesting ideas! What I did find when I cleaned the parts and threads was odd. I have at least 2 different fittings, maybe more. They are different in the color of the blue anodizing, different in the length of the threaded portion (at least on the cylinder side), and the cylinder threads themselves had what appeared to be deeper of flatter sections of thread in places. That is, if you looked into the opening fitting hole and rotated the cylinder, there were several sections around the thread hole that seemed to have mashed or flatter threads. These areas were like lines about 3/32" wide from the outside to the inside across all the threads. I didn't get a picture of it though. And lastly, I have one fitting that is wider at the bend than the others. I can easily slip a 3/8" (???) wrench over them other fittings to tighten or remove them. This one fitting has to be nearly 1/16" wider and I need to use an adjustable wrench instead.

One last thing of note is there was scuffing on all of the shafts. I have no idea if it is significant but I though I'd ask. I think I am going to call the Matco guys back and see what they suggest before I begin any more home remedies. But I would still be interested in any feedback. I rebuilt the dripping cylinder and replaced the shaft but that is all the new shafts I had so the others are disassembled on my bench still. I don't mind tapping the threads but I don't want to do that until I run out of other options I guess.

Oh, and incidentally, the Matco guy thought that the fluid was acceptable.

Thanks!!

20160402_150638-1_zpsptebqsyb.jpg


20160402_151455-1_zps5vmrjg3c.jpg
 
Check the depth of the threads....... Matco has, in the past didn't tap deep enough. Just shorten the fittings by 2 threads to allow it to make 2 more turns if needed.

This just sunk in. I will pull the clean fittings back out and check the uniformity of the thread depths. Hence the bottoming tap! I think I also need to order some more fittings so at least I know I have a uniform group. I have a set of steel fittings for this purpose but they weigh way too much for me to want to use them now.
 
I had a leak on one of my cylinders prior to first flight. It always looked like the leak was coming from the brake line fitting but no matter what I did, I would always find more leaking fluid the next day. I finally removed cylinder and disassembled it finding a small piece of aluminum lathe turning chip inside that damaged the cylinders piston wall and "O" ring seal. I de-burred and buffed out the groove and replaced the "O" rings. Problem solved. Basically the same thing with my parking brake valve. Persistent leak prior to first flight. No debris found there during disassemble however new "O" rings did the trick.
 
I had a leak on one of my cylinders prior to first flight. It always looked like the leak was coming from the brake line fitting but no matter what I did, I would always find more leaking fluid the next day. I finally removed cylinder and disassembled it finding a small piece of aluminum lathe turning chip inside that damaged the cylinders piston wall and "O" ring seal. I de-burred and buffed out the groove and replaced the "O" rings. Problem solved. Basically the same thing with my parking brake valve. Persistent leak prior to first flight. No debris found there during disassemble however new "O" rings did the trick.

Thanks. I'm sure the builder tried unsuccessfully at least once to remedy this problem. And I rebuilt all the cylinders once myself with the help of an A&P, including new pistons. So I don't think I am going to be a simple fix. Also, all of mine leak. Everyone I talk to about that is amazed.:(
 
If you are enlarging the pipe thread in a closed bottom hole, you can do it by carefully grinding off the end of the pipe tap. Then tap a little deeper until it bottoms out. Then grind off a little more of the end of the tap and do it again until your fitting can fit properly.
 
With the NPT I remember this being a pain to get the correct TQ and have the fitting pointed in the correct direction. I erred on the tight side for no leaks, one more turn errrr Come on!
 
It sounds very much like a thread issue. You don't need to be out of tolerance on a tapered thread to have it go too deep or not deep enough. The NPT fittings from Summit Racing are very popular because they are from China and are way cheaper, but I bought some for my oil cooler lines and the 90 deg ones only went 1 1/2 turns into the acc. case. They were a few thousanths too big in dia. If you had a fitting that was a few thou too small you would bottom out and it would never seal. I don't know if that is your problem, but that is where I would look. If threads are damaged that is a sign that something went wrong. NPT threads in good shape with sealant don't leak. If yours do the threads are damaged or not well formed etc. Try different fittings, try cleaning up the threads very carefully with an NPT tap, make sure you are not bottoming out. It could also be that the thread is poorly formed in the cylinder so it goes too deep.Those are the things I would look for.

If that doesn't work buy new cylinder bodies. You need clean undamaged threads and good fittings and you should have no problems.
 
Thanks Scott.

Maybe I need to take a step back and understand better what I am doing. I struggled with the appropriate tightness of the fittings the last time I did this. They may have been too loose because I was afraid to try to go past the proper final direction and still be able to get a full turn more out of them without stripping something. It sounds like you want more than a couple threads of depth but not so many that the fitting bottoms in the threaded portion of the bore. Is this correct? Accomplishing this sounds like a challenge for sure! This time I got them to "snug up" and then still too my chances on 3/4 - 1 full turn further. But I have no idea if they could have gone even further.

I think to be safe, I am going to start from scratch and order the new fittings and some new cylinder bodies. Can anyone confirm that these are the fittings I need?

http://www.aircraftspruce.com/catalog/hapages/an822.php

I'm guessing 4D size!??? I looked on my plans but I have braided steel lines so the fitting isn't listed on the plans.

Thanks for the help! Andy
 
That fitting looks odd? it listed for a flared tube, is that a 45 deg, our JIC fittings are 37 deg.
 
That fitting looks odd? it listed for a flared tube, is that a 45 deg, our JIC fittings are 37 deg.

I'm not sure I can even answer your question. :eek:

All I know is they are 90 degree elbows and one end is the NPT threads. I don't have any information on the brake lines so I can't look up the proper fitting. You guys are all smarter than me!

EDIT: OK, I just looked up JIC fitting and I see what you are speaking about but I still cannot answer your question. I see that they are not interchangeable with 45 degree fittings. Would there be a mark on the line that would help me know what fitting I need?
 
Last edited:
I'm not sure I can even answer your question. :eek:

All I know is they are 90 degree elbows and one end is the NPT threads. I don't have any information on the brake lines so I can't look up the proper fitting. You guys are all smarter than me!

EDIT: OK, I just looked up JIC fitting and I see what you are speaking about but I still cannot answer your question. I see that they are not interchangeable with 45 degree fittings. Would there be a mark on the line that would help me know what fitting I need?

take the two fittings, put the bevel sealing area together, if it makes a right angle, 90 deg, those are the wrong ones for our plane. those wrong ones are SAE 45 deg, not JIC 37 deg
 
take the two fittings, put the bevel sealing area together, if it makes a right angle, 90 deg, those are the wrong ones for our plane. those wrong ones are SAE 45 deg, not JIC 37 deg

OK, let me go a little further. What makes them wrong for the plane? Provided they meet the required spec of the brake system (AN or mil-spec or some similar standard) wouldn't the type of female nut on the end of the brake lines themselves determine the appropriate fitting (45 or 37 degrees) on the line side of the elbow??

Maybe I'm just slow but it seems like we are trying to determine if the fittings are appropriate for the steel lines the builder used on the plane. Beyond that, I may still have some substandard brake component but at least we would know if the builder's chosen elbow fittings are the correct ones for the lines??

I won't be near the fittings until the weekend to check them.

EDIT: From Wikipedia

The refrigeration and air conditioning industry usually uses 45° flare connections while hydraulic hoses are usually 37-1/2° flare connections.

OK, so I hope I actually have 37 1/2 deg fittings but I won't know until Saturday.
 
Last edited:
Ok, so I do have 45 deg SAE fittings.

20160409_080855-1_zpszcntpytz.jpg


Here are a couple pics of the female fittings. There don't appear to be any markings on them to help with identification.

20160409_081816-1_zpsbe5oubpf.jpg


20160409_081900-1_zps6jwkycbw.jpg


Any ideas? Next steps?

I'm trying to get some info from the builder but I'm not sure that will be quick.

Thanks! Andy
 
Back
Top