
Van's Air Force
You are using an out of date browser. It may not display this or other websites correctly.
You should upgrade or use an alternative browser.
You should upgrade or use an alternative browser.
another paint booth
- Thread starter A5555
- Start date


Looking good Steve. I am using the same stuff since I saw how good yours went.
Aerosport1
Well Known Member
Looks great Steve. Nice work
the last chapter
the tail wasn't painted for over a year because I was tired of it. the good news is you can pick it back up without issue. the remaining paint as well as hardener and reducer was stored in the basement at even temperature for over a year. the only difference was that the base applied paint had become much harder and required red scotchbrite rather than the grey to scuff it properly. stripes extended to the rudder and the vertical stab tip painted. I painted this outside in the warm breeze. the tape stayed on for up to four days and still peeled fine. the stripes are two coats. paint the first coat same as the final coat and let the first coat flash until the tape is dry to the touch before painting the second coat.
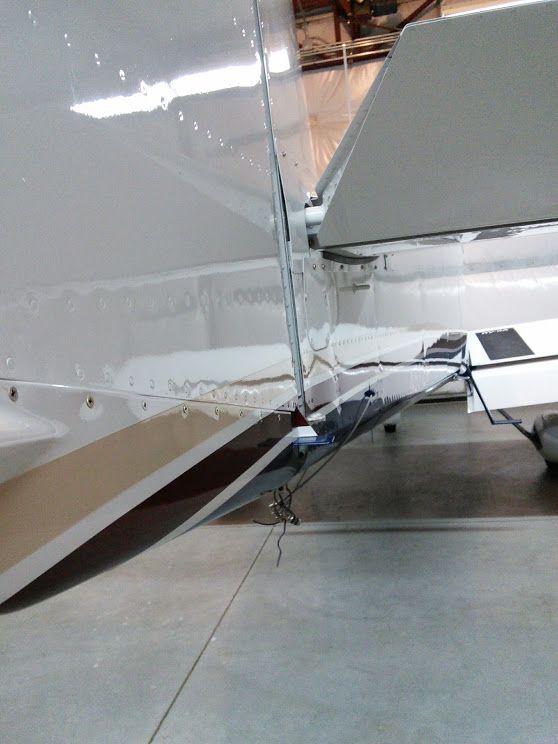
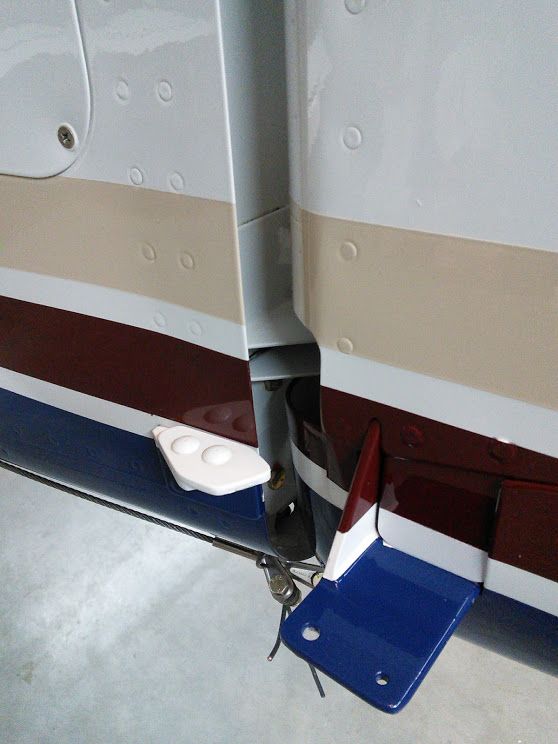
the tail wasn't painted for over a year because I was tired of it. the good news is you can pick it back up without issue. the remaining paint as well as hardener and reducer was stored in the basement at even temperature for over a year. the only difference was that the base applied paint had become much harder and required red scotchbrite rather than the grey to scuff it properly. stripes extended to the rudder and the vertical stab tip painted. I painted this outside in the warm breeze. the tape stayed on for up to four days and still peeled fine. the stripes are two coats. paint the first coat same as the final coat and let the first coat flash until the tape is dry to the touch before painting the second coat.
Last edited:
Bob Martin
Well Known Member
Nice
Steve,
Nice work.
I like the added touches.
Worth the wait.
Steve,
Nice work.
I like the added touches.
Worth the wait.
one final glamour shot
one final glamour shot by a professional. Sky Galley restaurant inside http://www.skygalley.com/. The pulled pork sammich is one of the best in Cincy. If the the weather is good, sit outside on the patio and watch planes come and go. if the winds are from the south or west, when you call the tower ask for the restaurant and you might get runway 25 which puts you right there. Lunken has three runways and they use them all.

one final glamour shot by a professional. Sky Galley restaurant inside http://www.skygalley.com/. The pulled pork sammich is one of the best in Cincy. If the the weather is good, sit outside on the patio and watch planes come and go. if the winds are from the south or west, when you call the tower ask for the restaurant and you might get runway 25 which puts you right there. Lunken has three runways and they use them all.
Last edited:

Your plane looks great Steve. I'm just starting on painting and my scheme is somewhat similar to yours. The curves and colors are a bit different, but I am planning the long stripe above the bottom color. Can I ask how thick your stripes are and how wide is that gap between the blue and the burgundy? It works so well on your 9A and I'd like to see it similar on mine.
Thanks.
Thanks.
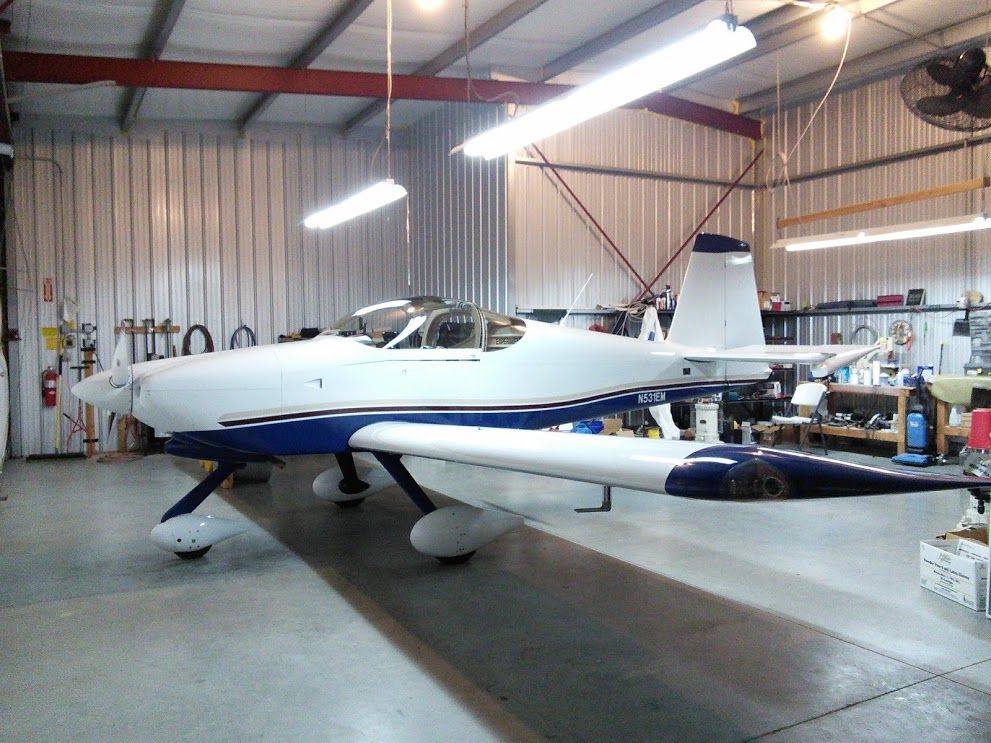
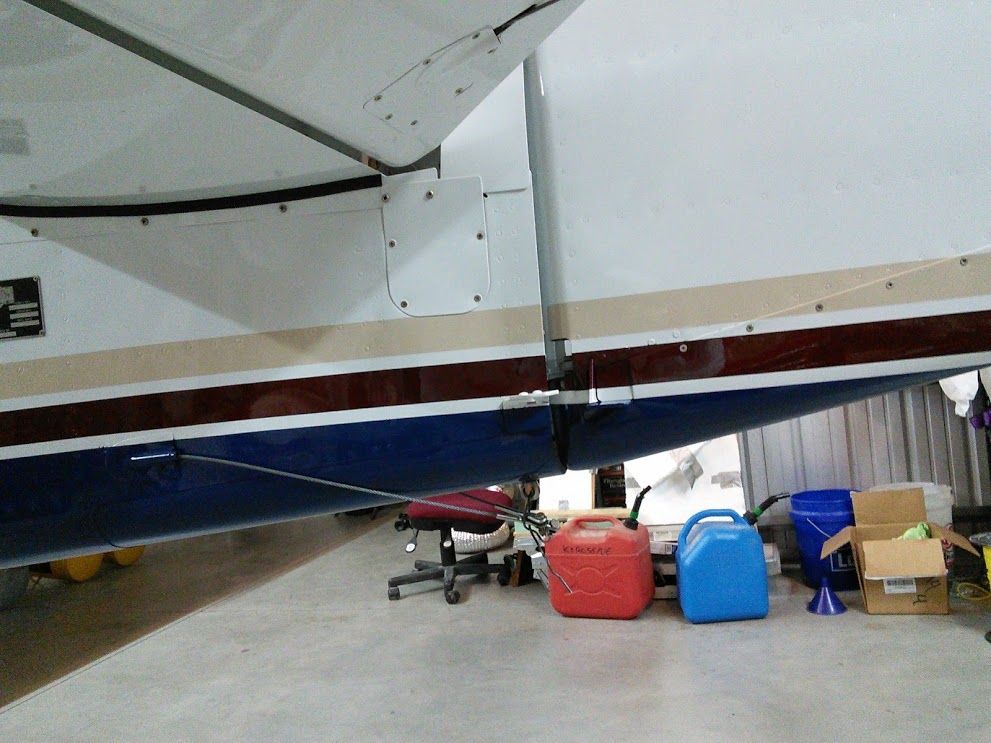
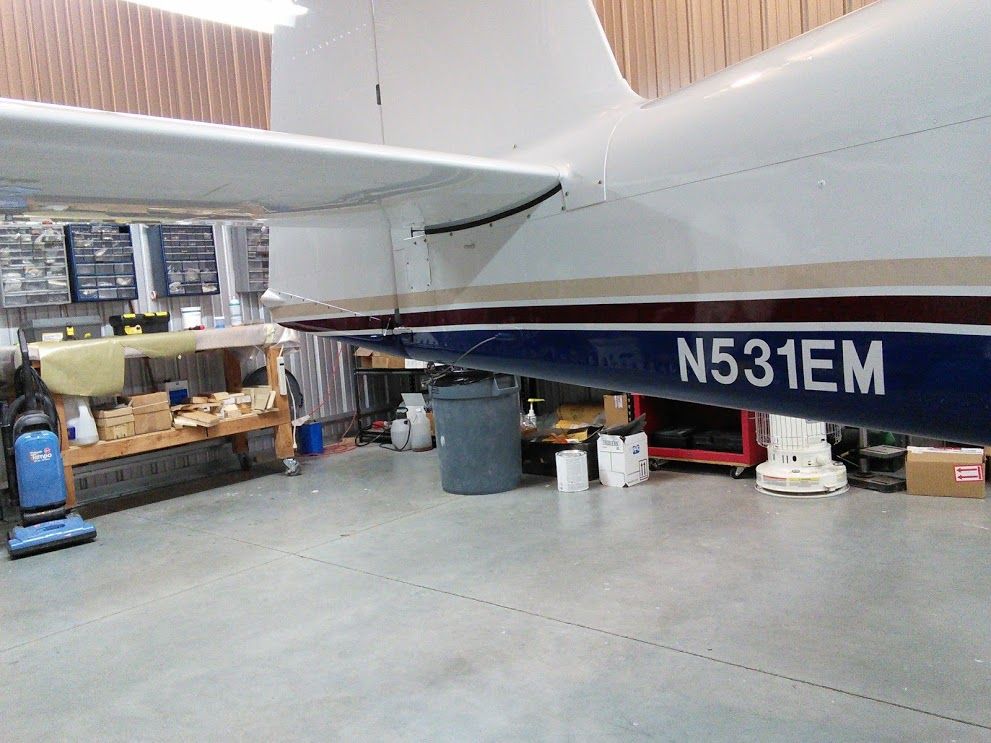
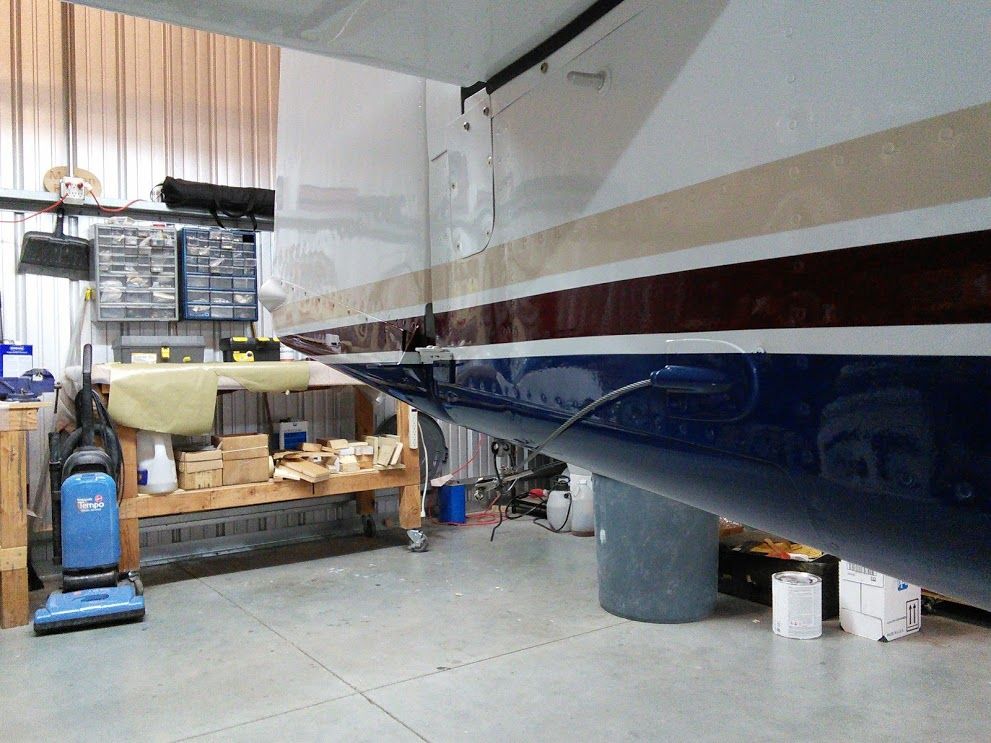
1/2 inch 3M vinyl tape between all stripes. stripe width = 2 x 1 inch masking tape. a very simple layout to execute for a novice like me. I tried to optically stretch the fuselage with the stripes and clip the vertical stab and wings with color at the tips. my wife picked the overall scheme and colors.

Last edited:

