What's new
Van's Air Force

Don't miss anything! Register now for full access to the definitive RV support community.

Fuselage faceting

HeliCooper

Well Known Member
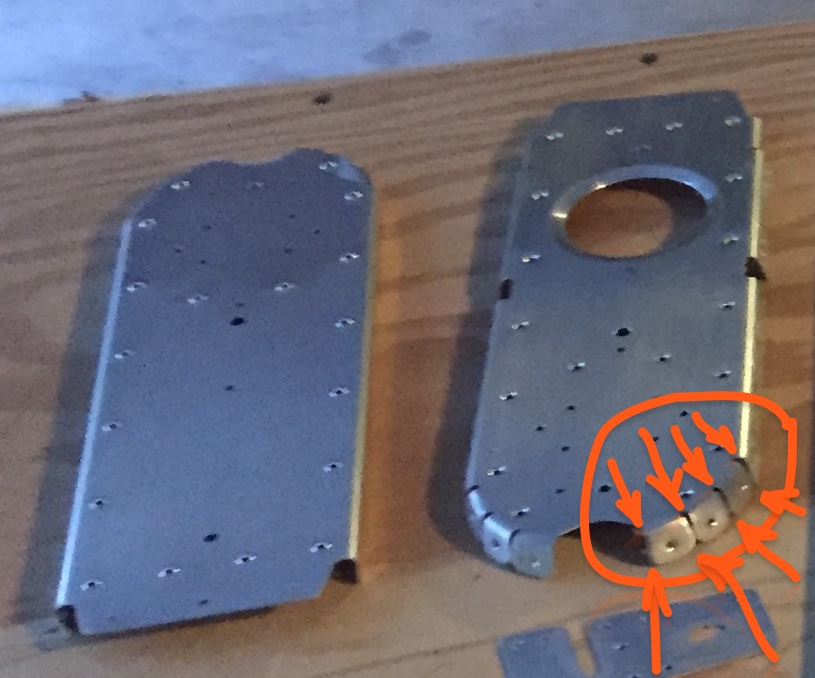
I hate to be a new guy here but I am wondering exactly what they want faceted on page 10-06. The diagram they show appears to be the edges that are already rounded. I guess I don't exactly understand what they want faceted.
 
I was wondering the same thing. What I think has happened is that the parts being supplied now are already rounded off where they indicate to do this in the plans. I did my usual smoothing/deburring process on these parts but the edges are rounded so nothing to facet.
 
they are telling you to round over the face of the flange that touches the skin. Its not a huge deal but it will keep the skin looking round once its shot to the bulkhead instead of being more octagon shaped.
 
they are telling you to round over the face of the flange that touches the skin. Its not a huge deal but it will keep the skin looking round once its shot to the bulkhead instead of being more octagon shaped.

The instructions say this:


The parts look like this, already "rounded" at the edges:


Are you saying that some place other than the already rounded part needs to be modified?

Thanks
 
Round the edges of the tabs as indicated in the arrows in the photo below. I just ran the bulkhead over my Scotchbrite wheel in a circular motion until the edges were knocked down. You want the tabs to form a smooth radius where they contact the skin. If you don't knock down the edges they will tend to contact the skin and leave the rest of the tab riding a little high which then makes it harder to rivet without leaving a gap and can also cause the skin to not lay down smoothly over the former.
empennage1.jpg
 
When a part has formed flanges that are short as on the bottom of the aft bulkheads, they typically do not fully form with the curved shape that is desired.
By buffing off a small amount of material as shown in Section 5 finishes the shape to the proper curve.
 
Smash and Scott:

Thanks for the clarification. I'll modify the parts I've done and re-prime. The instructions are confusing because they show the "flattened" part. Smash's photo is much more helpful. I did similar modification in a couple of other places like the vertical stabilizer.

TB
 
Not completely related to question, but I wonder if Vans modified the flanges for this bulkhead in later kits. Look at the difference in spacing between Turners's picture and Smash's. Mine look more like Smash's with the flange tabs very closely spaced.
 
Not completely related to question, but I wonder if Vans modified the flanges for this bulkhead in later kits. Look at the difference in spacing between Turners's picture and Smash's. Mine look more like Smash's with the flange tabs very closely spaced.

In some places mine are closer, almost touching. I "flossed" like crazy with emery cloth to smooth edges - that's some of the separation, but the photo makes it look like there's more space than there is.
 
Thanks

In some places mine are closer, almost touching. I "flossed" like crazy with emery cloth to smooth edges - that's some of the separation, but the photo makes it look like there's more space than there is.

Thanks for that info. My flanges could have probably used a little more "flossing". Once installed with clecos, a couple of my flange tabs were actually touching fairly tightly and preventing the tabs from sitting flush to the skin. At that point, I had to do a little extra "flossing" and even resorted to bending the edges of the tabs up very slightly to match the curvature of the bottom skin. Looking back, I should have increased the tab spacing early on in the de-burring stage.
 
Back
Top