What's new
Van's Air Force

Don't miss anything! Register now for full access to the definitive RV support community.

Well Shoot. A setback and a very bad night

ERushing

Well Known Member
Just need to commiserate a bit...

I had a very bad night tonight. Just finishing up a few things on the left outboard wing skin before starting to rivet it in. (The right wing is done.)

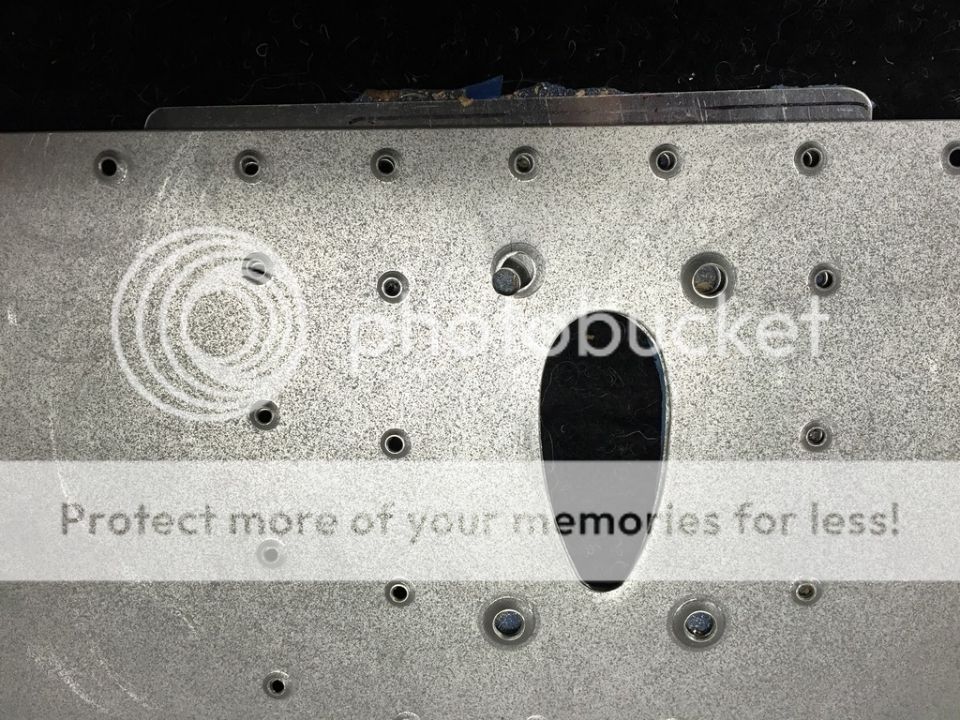
I was dimpling the #8 screw holes in the skin for the Gretz pitot mast and a big chunk of the skin cracked and just broke away. The hole was deburred but not perfectly round. I could not get it any more round with the #19 drill so I just proceeded.

209CF72E-364B-4769-BBC0-7B1E50790CD0_zpspctkd0so.jpg


Looks like I get to order another skin and start over. I'll be ordering a #19 reamer as well. Not going to take that chance again!
 
Couldnt you just drill & smooth that hole out to make sure it wont crack, then make a doubler to go between the skin and pitot tube?
 
Not sure how the doubler would work here? Exterior or interior? Note that there already will be a doubler behind it.

The stack up is Pitot mast base plate (interior), washer plate, dimpled doubler riveted to dimpled skin.

Thanks for any help! If I can save this, that would be a huge relief.
 
Last edited:
How about just smoothing the edges out real well and using a tinnerman washer under that screw head if you are worried about it? Not exactly a high visibility area. Can't see a good reason to scrap a whole skin over that. I think almost all of us have a few similar boo-boos.

Chris
 
I would just assemble as designed and make that a spot for inspection early on. Just make sure there are no sharp edges or burrs.
 
I took a closer look at the cracked dimple this morning. Virtually the entire dimple is cracked. The side that looks OK actually has a significant crack as well.

My plan is to remove all the cracked material and sand smooth. I'll fabricate an exterior doubler that will tie into the rib and spar and duplicate the rivet pattern of the interior doubler + rib. Basically about 4 3/8 x 4 3/4. Match drill, dimple, prime and move on.

Thanks for keeping me somewhat sane! I'll post pics when done.
 
Good! Nobody will ever know the difference when it's done, either. :)
 
Last edited:
Other hole

Hey Eric,
That other #19 hole looks a little irregular as well.

One other question, is the mottled appearance due to an application of primer? Is that bare aluminum showing through the primer?
 
Why?

A previous posts suggest, I would fabricate a doubler and build on.

I would question why the dimple cracked though. There must be a reason and discovering it now, in a non critical area, would be better than later, in a more critical area. What tool did you use to make the dimple? Was is a C frame that you struck to form the dimple or was it a squeezer? Was the squeezer set properly? Was the piece flat with the dies?

Just thoughts...trying to analyze the issue to be certain it is not an execution issue will prevent additional incidents in the future...

Ask me how I know...I have a whole BOX full of messed up tubing flares. I finally figured out that it was improper technique that caused the flares to be unsat...
 
Hi Antony,

You're right. It was. In fact, they all were. Next time, I will be using a reamer instead of a drill bit.

Fortunately, the other three dimpled just fine. I looked closely and no cracks. They will be backed up by the existing interior doubler and the new exterior doubler so all should be good.

I still have no idea why that one hole pretty much exploded. I struck the rivet set with some force so maybe that was the cause. I used a pneumatic squeezer on that last hole and it worked out just fine. The other two holes also dimpled just fine and I used the same amount of force behind the hammer.

Yes, the mottled appearance is Napa 7220 primer.
 
Last edited:
That top hole in the photo looks like its not round also. You may want to get rid of that drill bit.
 
Second that!

I would agree with that, try a new bit. I change mine out often and haven't had any dimples crack like that. Haven't used a reamer yet so can't speak about that.
 
Eric- Sorry for the setback, hate when that happens but all part of the fun I suppose. On dimpling if I'm able to use the squeezer I always use it. In fact on the Gretz #8 holes on the skin was the first time to use the C-Frame to dimple anything other than a #30 or #40. I was a bit nervous about it and did a two tiny taps to get it to sit and then wacked it fairly square. Luckily it all worked out.

I use reamer bits quite a bit and love them. There seems to be less risk of enlarging a hole with them and will use them when I'm just final drilling vs match drilling.
 
I have an extra pitot mast but I am not sure what brand it is. If you send me the dimensions I will check. If it will work you can have it for the postage.
Joe
Eugene OR
 
Hi Justin,

I'm almost done with the doubler just need to prime it now.

Unfortunately, this appears to be a case of human error and a lapse in judgement. I've heard it said that if you're trying something new, don't try it on your airplane first. I hadn't used the C-Frame dimpler other than in the EAA sheet metal class 18 months ago. Since I couldn't reach two holes with the squeezer and I didn't want to take the time to set up my dimpling setup and DRDT, I just pulled out the C-Frame. It worked just fine for the first two holes.

When it came to the third hole, I thought I had it positioned correctly. Lowered the female die over top of the hole, grabbed the hammer and gave it a whack. Sometime between inserting the female die into the C-Frame and bending to pick up the hammer, the material must have shifted. I punched a hole through the aluminum skin instead of dimpling the hole as intended. The pics below (upper left hole) spell it out pretty clearly! I've got the new doubler positioned under the skin to highlight the mistake.

B067C1AE-A474-409C-A53A-839AD1A6E82A_zpsenew5cjm.jpg


7C544B76-A7D7-4C6F-942A-C1E16FAC229F_zpshdewkbyu.jpg


To finish this, I'll squeeze the offending dimple flat, gently re-dimple for the appropriate hole and then move on to assembly. Note that the part on the left is the exterior doubler. The one on the right is the internal doubler that came with the Gretz Pitot mast.

Embarrassed but glad I know what I did wrong and that there was a reasonable fix.
 
wait and see...

With a stainless doubler already behind the skin I really question the need and value of the external doubler. The latter can be added anytime down the road, if ever needed. You could think about using #8 countersink SS washers as well to distribute the load from the screw, perhaps fill with some epoxy resin too. Since there is good access to this area down the road if needed, really the same as doing original installation, it makes this kind of wait, inspect, and see reasonable and safe. Like many have said I can only add one more vote, we all have those nights.....SB or FB...it happens.
 
Back
Top