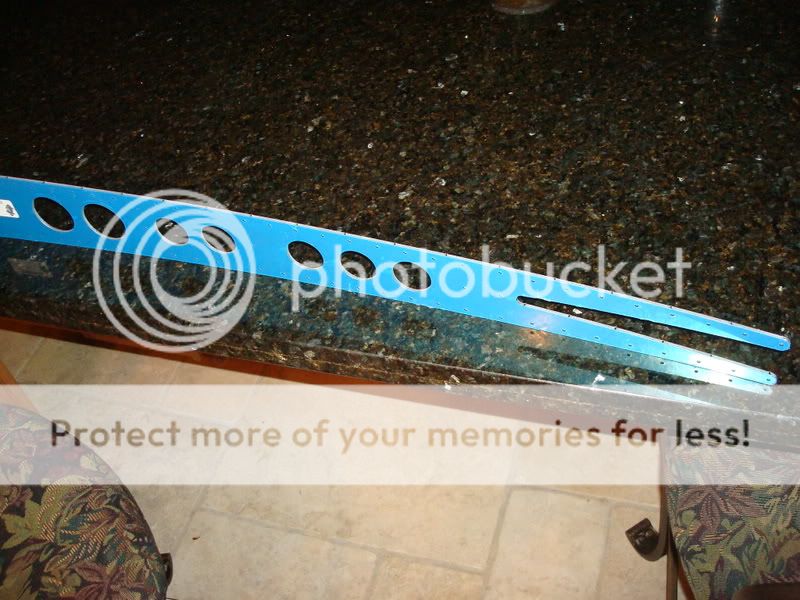
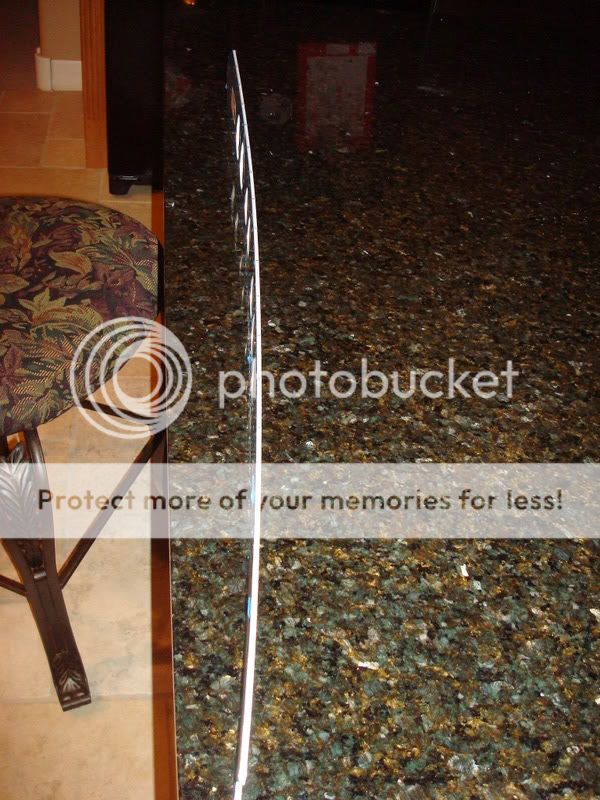
Hello, I was doing my EMP inventory this evening and came across a bent & twisted VS spar. Is this normal?
If it is normal, I will have to work it back to close. Though I don't think it will ever be 100%.
Everything else was perfect and complete.
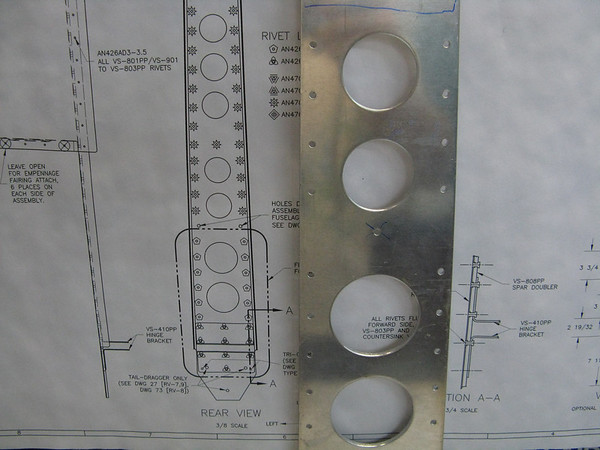
While I have your ear, im going to assume the "trim bundle" is drop scrap to play with, not control "trim"? Also got a thick piece about 4"x6" with many holes in it??
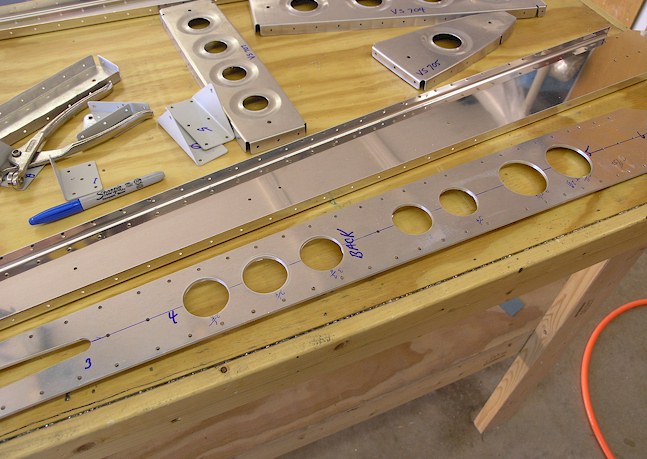
Here are a couple photo's of the spar and me having fun.
Thanks!


If it is normal, I will have to work it back to close. Though I don't think it will ever be 100%.
Everything else was perfect and complete.
While I have your ear, im going to assume the "trim bundle" is drop scrap to play with, not control "trim"? Also got a thick piece about 4"x6" with many holes in it??
Here are a couple photo's of the spar and me having fun.
Thanks!
")