swisseagle
Well Known Member
Hello all thogether!
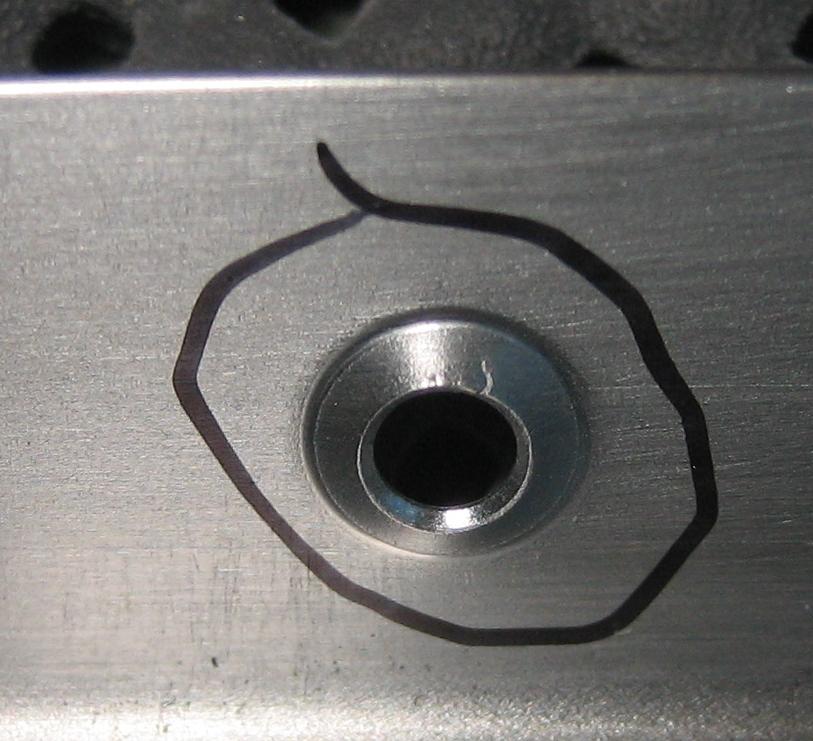
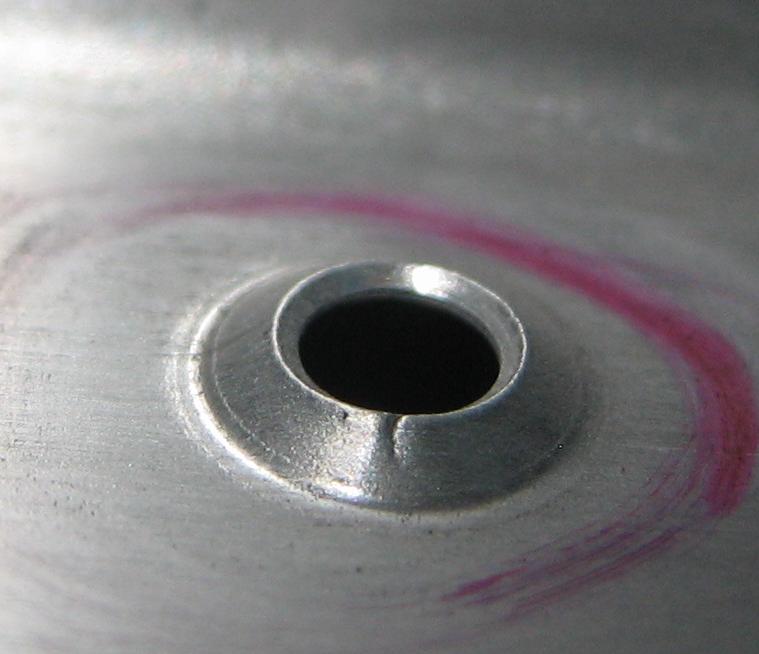
I found a real showstoper after I started dimpling baggage ribs and seat ribs of my center section.
I could not beleve what I have seen, but look yourself. 2/3 of all the dimpels are cracked
More pictures later in the thread!
Yes I had the correct drill, I deburred with a good CS tool, no damage before dimpling in the hole, ... all was fine as I have done it 1000th of times during the build up of the empenage, wings and aft fuselage ...
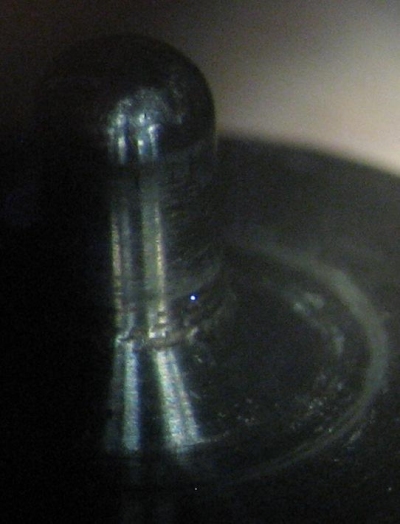
I broke the pin of a dimple die a few month ago, and this could be the first time I'm using the new one! I bought it from a very well known tool supplyer, so it should be ok, but lets check this first. I dont think it can be the material,
because it happend on different parts, different thicknes of material, prepunched and drilled by my own holes.
Does someone can give me mesurements how the dimple dies should be?
- mesurement of the conical part at the bigest diameter?
- height of the conical part where the pin start?
I think I have to buy new baggage and seat ribs ... I can not think about to deburr, straigthen and flute these parts AGAIN
Thanks for your inputs,
regards, Dominik
RV-7A slow build
Switzerland
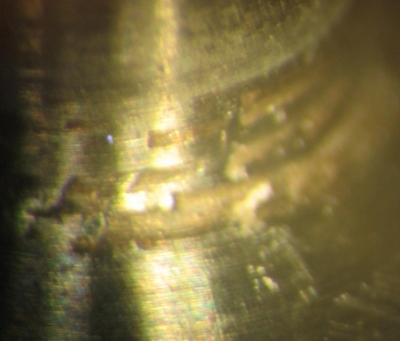
I found a real showstoper after I started dimpling baggage ribs and seat ribs of my center section.
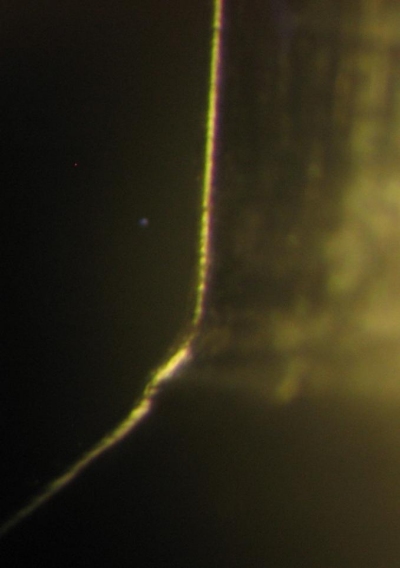
I could not beleve what I have seen, but look yourself. 2/3 of all the dimpels are cracked
More pictures later in the thread!
Yes I had the correct drill, I deburred with a good CS tool, no damage before dimpling in the hole, ... all was fine as I have done it 1000th of times during the build up of the empenage, wings and aft fuselage ...
I broke the pin of a dimple die a few month ago, and this could be the first time I'm using the new one! I bought it from a very well known tool supplyer, so it should be ok, but lets check this first. I dont think it can be the material,
because it happend on different parts, different thicknes of material, prepunched and drilled by my own holes.
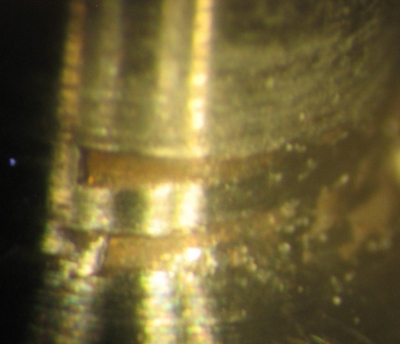
Does someone can give me mesurements how the dimple dies should be?
- mesurement of the conical part at the bigest diameter?
- height of the conical part where the pin start?
I think I have to buy new baggage and seat ribs ...
I can not think about to deburr, straigthen and flute these parts AGAIN Thanks for your inputs,
regards, Dominik
RV-7A slow build
Switzerland
Last edited: