What's new
Van's Air Force

Don't miss anything! Register now for full access to the definitive RV support community.

Closing the empennage

WVM

Well Known Member
Hi,

The inspection of my empennage was done last week by the local aviation authorities. They gave approval to close all parts. :D

One of the tasks that I am a bit worried about it the edge of the rudder and elevators. I have seen many techniques on blogs, but I was wondering, what is the best advice that you would give for this task? Or even better, what techniques do NOT work. The thing I am most worried about is the straightness and the riveting on both sides.

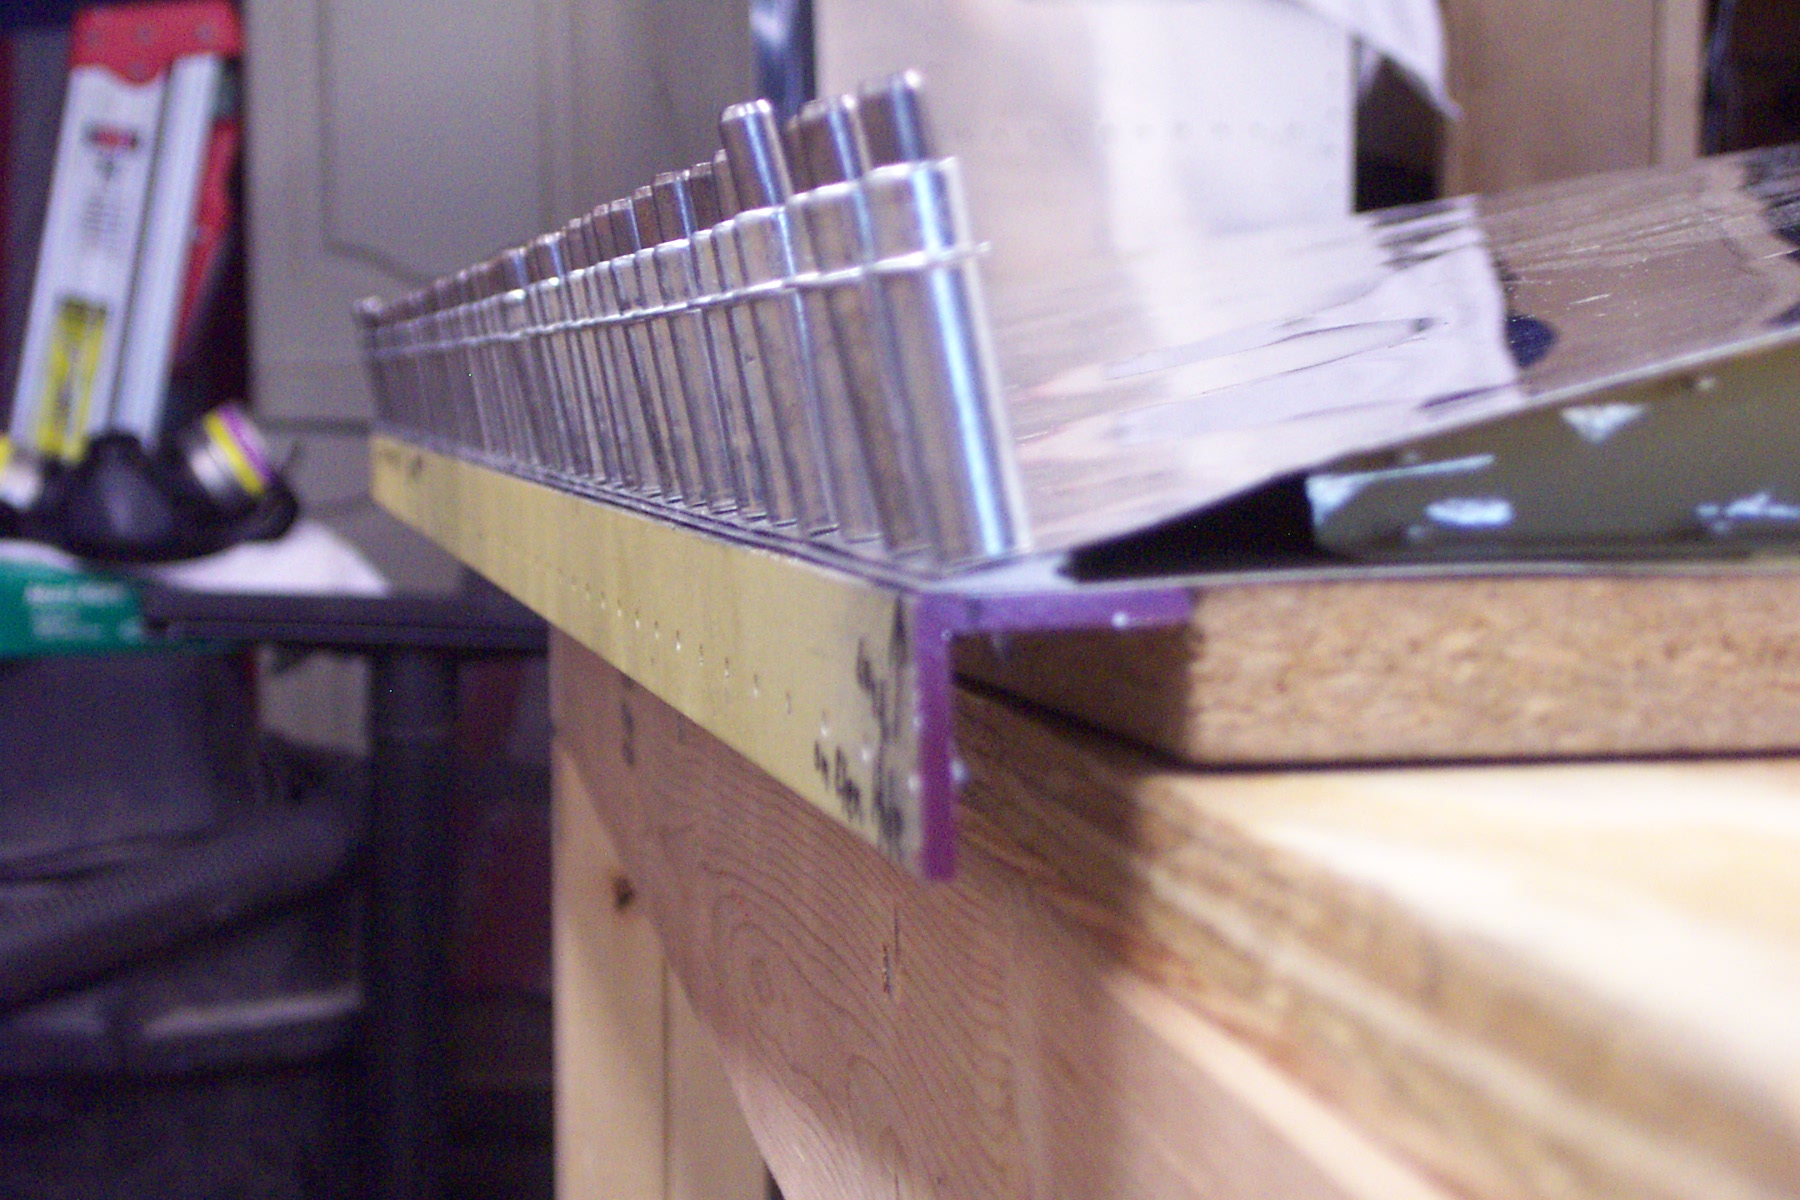
I am considering to use the angle to hold the skin straight during the curing time of the pro-seal.

Thank you!
 
I used a sheet of 8 plywood(19mm) and drilled and clecoed the trailing edge to that before pro sealing. Then applied the pro seal and clecoed it down. Used the same sheet for all my trailing edges. Make sure the plywood is sitting flat. Think I put a sheet of plastic over the plywood so the pro seal didn't stick to that, easy to cleco through once you have the two end holes done. Washed the clecoes in thinners.
 
I think this is how Vans recommended the trailing edges:
DCP_1411.JPG
 
I used the Vans' method of clecoing to an aluminum angle, as shown above. No problems; result was perfect. :D
 
Trailing edge

I used the Vans' method of clecoing to an aluminum angle, as shown above. No problems; result was perfect. :D

Same here. Remember to put a glob of proseal at the end of each stiffener where they meet the trailing edge wedge. About the size of a wad of chewing gum.
 
How does the alternating rivet technique actually work on the rudder/relevators?

VAN'S suggests to start with one half-set rivet each 10th position. Then followed each 5th etc. But I see a lot of builders alternating the rivet head from one side to another. But how do you rivet those as they are not yet flush with the skin?

I decided to orient the rivets all the same way. Turned out great, looks fine and got a nice straight edge.
 
Back
Top