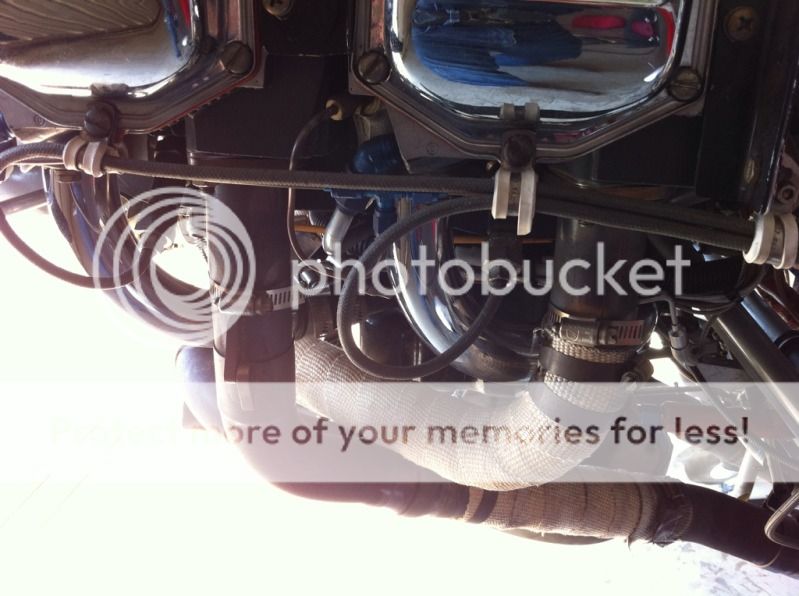
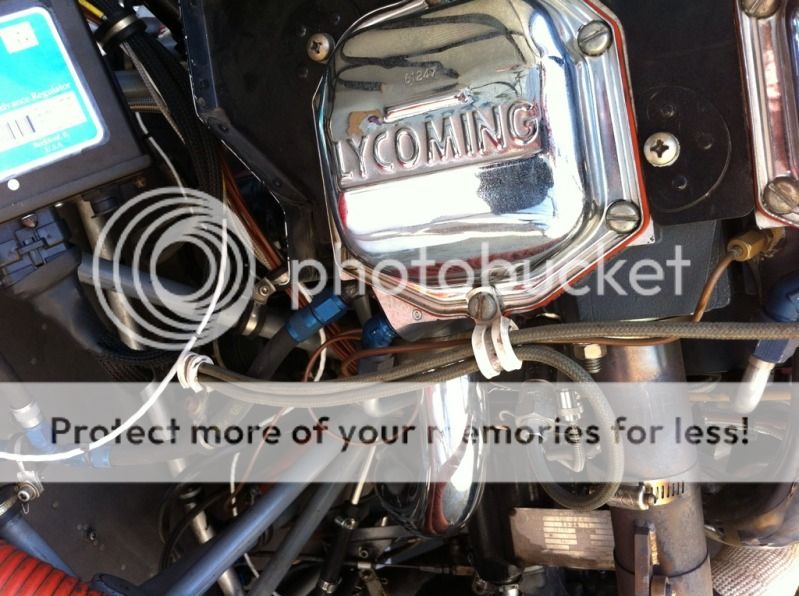
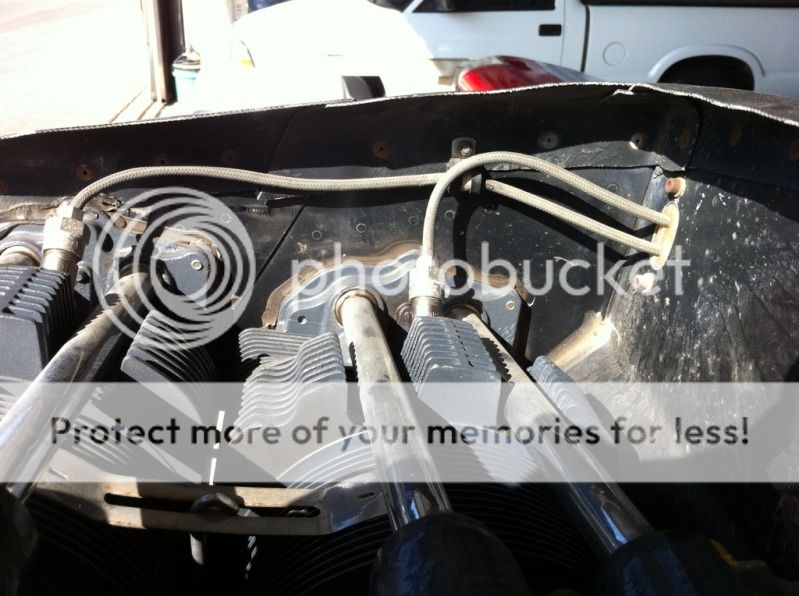
My problem was obvious as soon as I began to route the plug wires. I have a newly purchased Vans IO 360 M1B installed on my 7A. The top plug wires are 24" and 19" too long on the left and right sides, (top only) respectively. After rounds of communication with Vans and Lycoming, I have been to told they are spec'd that way to provide for different engine configurations. Really, what configuration is so different from the standard baffling shown in the plans as to require an additional 24 inches of plug wire? Color me very skeptical. Anyway I was told to just "make it work". Sound familiar?
Well, although extremely disappointed after paying close to 30 grand for an engine, I might as well get on to the "making it work" part. I have spent several hours on a method of tying up the excess wire but am not happy with any of my solutions so far. Has anyone who has encountered this problem arrrived at a method you can share?
BTW, has anyone else encountered this problem?

Thanks
Well, although extremely disappointed after paying close to 30 grand for an engine, I might as well get on to the "making it work" part. I have spent several hours on a method of tying up the excess wire but am not happy with any of my solutions so far. Has anyone who has encountered this problem arrrived at a method you can share?
BTW, has anyone else encountered this problem?
Thanks
Last edited:

")