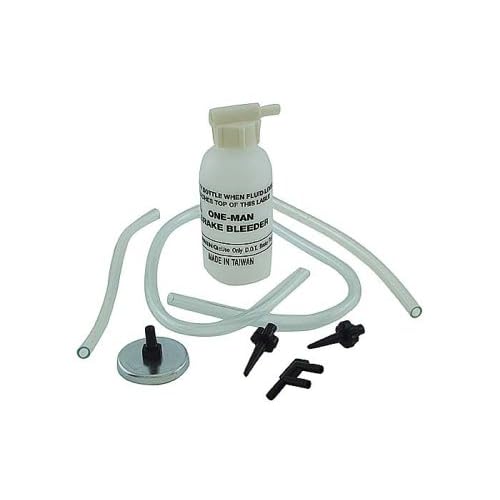
I checked on the Brakes+fluid forum, but it did not prepare me for the hassle and mess of installing brake fluid from the bottom up.
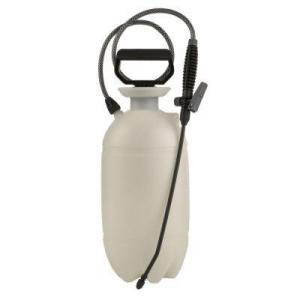
I purchased a swell, large oil can which did a very good job ($35.00). I connected a hose to the oil can, pushed the handle and got the fluid all the way to the hose end, held it up high so the air bubbles disappeared, connec ted the hose to the bleeder valve and opened the valve up.
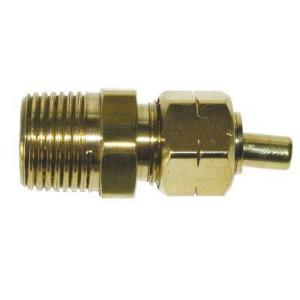
The hose leaked at the bleeder valve end quite profusely. I seemed to get to a tight spot. After MUCH leaking I heard a "pop". Looked around and did not see anything wrong, It seemed to come from the cockpit so I figured it was a brake cylinder popping open from the pressure. Checked with a friend and he suggested to place a ty-wrap around the hose at the bleeder valve. Continued on and finally, after more then a hundred pushes on the oil can handle, I got fluid in the lines and a small amount in the resevoir. Did much the same to the right side and then filled the resevoir.
What a mess, took a lot of time and trying to determine a better method, but was finally successful.
Surely, there is a better way???
The biggest problem was getting the hose tight enough at the bleeder valve.
I purchased a swell, large oil can which did a very good job ($35.00). I connected a hose to the oil can, pushed the handle and got the fluid all the way to the hose end, held it up high so the air bubbles disappeared, connec ted the hose to the bleeder valve and opened the valve up.
The hose leaked at the bleeder valve end quite profusely. I seemed to get to a tight spot. After MUCH leaking I heard a "pop". Looked around and did not see anything wrong, It seemed to come from the cockpit so I figured it was a brake cylinder popping open from the pressure. Checked with a friend and he suggested to place a ty-wrap around the hose at the bleeder valve. Continued on and finally, after more then a hundred pushes on the oil can handle, I got fluid in the lines and a small amount in the resevoir. Did much the same to the right side and then filled the resevoir.
What a mess, took a lot of time and trying to determine a better method, but was finally successful.
Surely, there is a better way???
The biggest problem was getting the hose tight enough at the bleeder valve.