Backup for EFIS.
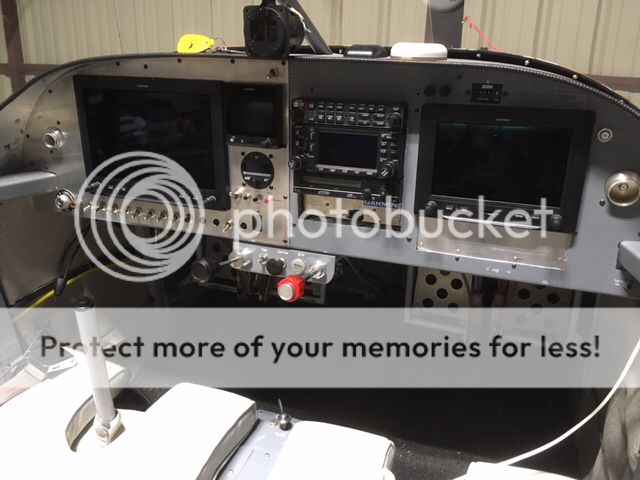
I am searching for "backup" solutions for my new G3X. What I suspect as a typical failure is some alternator problem and a dead battery. Second might be some issue with the primary display and or ADAHRS and other systems connected to the EFIS. I do plan to fly IFR. For the near future I will have a single display and likely add a second screen next spring.
My initial search and thoughts are something like the GRT mini WITH the internal battery might provide a good solution. I might also consider a secondary backup battery.
I don't want to put a vac pump back into the picture.
What are some of the popular solutions?
Jim