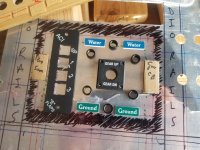
Has anyone else made a removable flush instrument sub-panel?
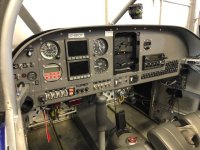
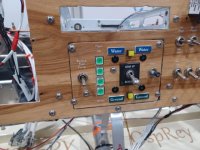
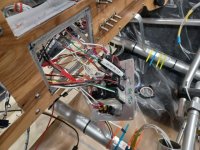
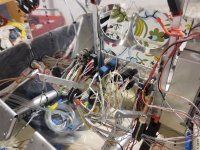
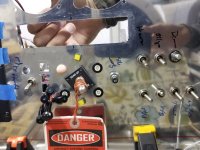
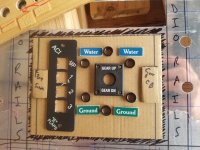
I've got a mess of stuff under the radio stack (from L-R: backup fuel pump, flap selector, gear selector and indicator lights, and gear CB), in the MK I & II version of the panel I just mounted them in place. I had to redo the MK I panel after a design flew (can anyone spot it?) and being older and wiser I realize it will be a real pain to have to remove and replace anything in that rat's nest of wires so I'm working on making a removable sub-panel.
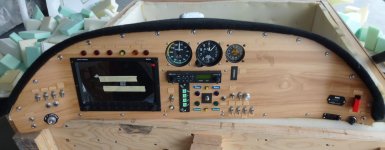
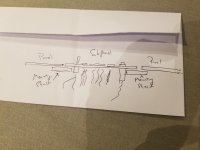
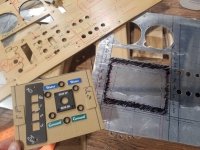
The easy way would be to just make the sub-panel lay on top of the main panel, but I'm taking a crack at making it lay flush by planning to attach it to a "shelf", or sub-plate, with nutplates and #6 screws.
Question: how wide should the sub-plate be for the sub-panel to be securely mounted? I've been kicking i=with ~.5-.675" under the main panel, with ~.25-.5" under the sub-panel. The main panel will be solid across the bottom, there will not be a gap.
TIA. See you at Sun 'n Fun!
I've got a mess of stuff under the radio stack (from L-R: backup fuel pump, flap selector, gear selector and indicator lights, and gear CB), in the MK I & II version of the panel I just mounted them in place. I had to redo the MK I panel after a design flew (can anyone spot it?) and being older and wiser I realize it will be a real pain to have to remove and replace anything in that rat's nest of wires so I'm working on making a removable sub-panel.
The easy way would be to just make the sub-panel lay on top of the main panel, but I'm taking a crack at making it lay flush by planning to attach it to a "shelf", or sub-plate, with nutplates and #6 screws.
Question: how wide should the sub-plate be for the sub-panel to be securely mounted? I've been kicking i=with ~.5-.675" under the main panel, with ~.25-.5" under the sub-panel. The main panel will be solid across the bottom, there will not be a gap.
TIA. See you at Sun 'n Fun!
Attachments
-
 Mark I.JPG161.5 KB · Views: 164
 -
 Mark II (1).jpg240.8 KB · Views: 152
 -
 Mark II (4).jpg191.7 KB · Views: 127
 -
 Mk III side view.jpg303.9 KB · Views: 110
 -
 Mark III removeable (5).jpg234.7 KB · Views: 116
 -
 Mark III removeable (1).jpg217.3 KB · Views: 107
 -
 Mark III removeable (7).jpg229.5 KB · Views: 120
Last edited: