-POSTING RULES

-Advertise in here!
-
Today's Posts
|
Insert Pics
Keep VAF
Going
Donate methods

Point your
camera app here
to donate fast.
|

01-05-2018, 06:44 AM
|
|
|
Join Date: Feb 2016
Location: Kalamazoo, Michigan
Posts: 142
|
|
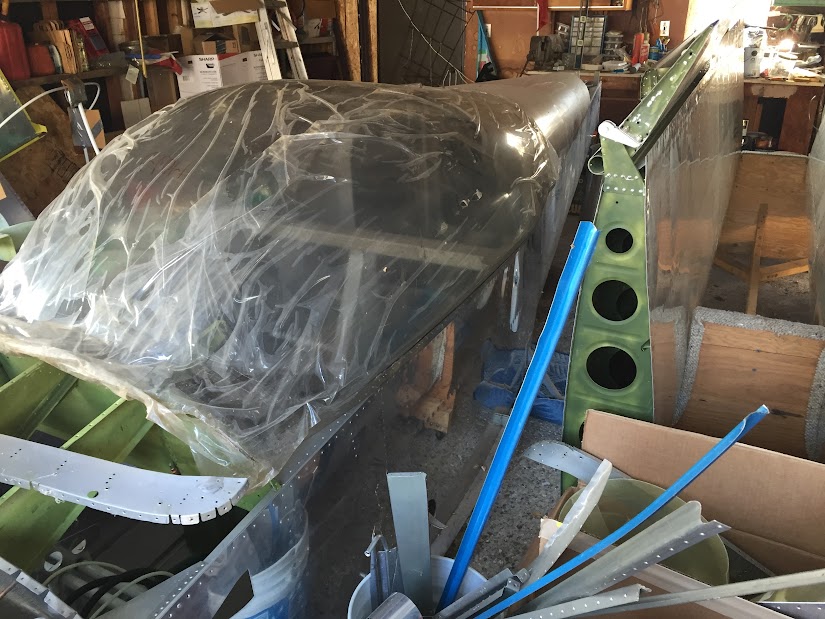
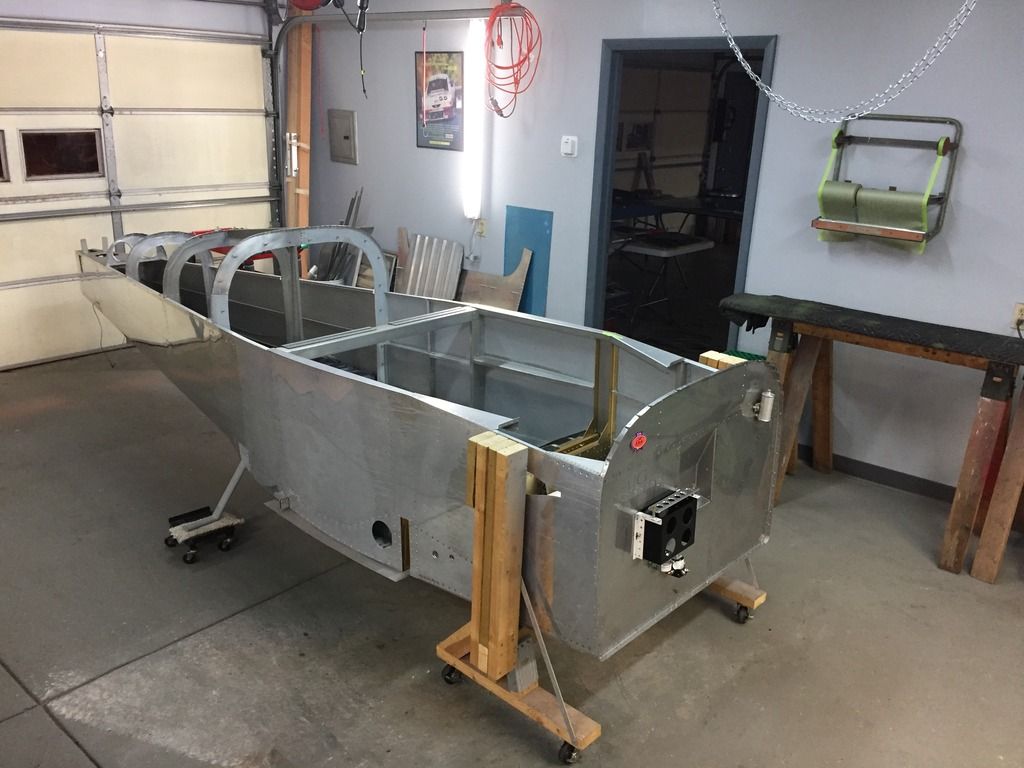
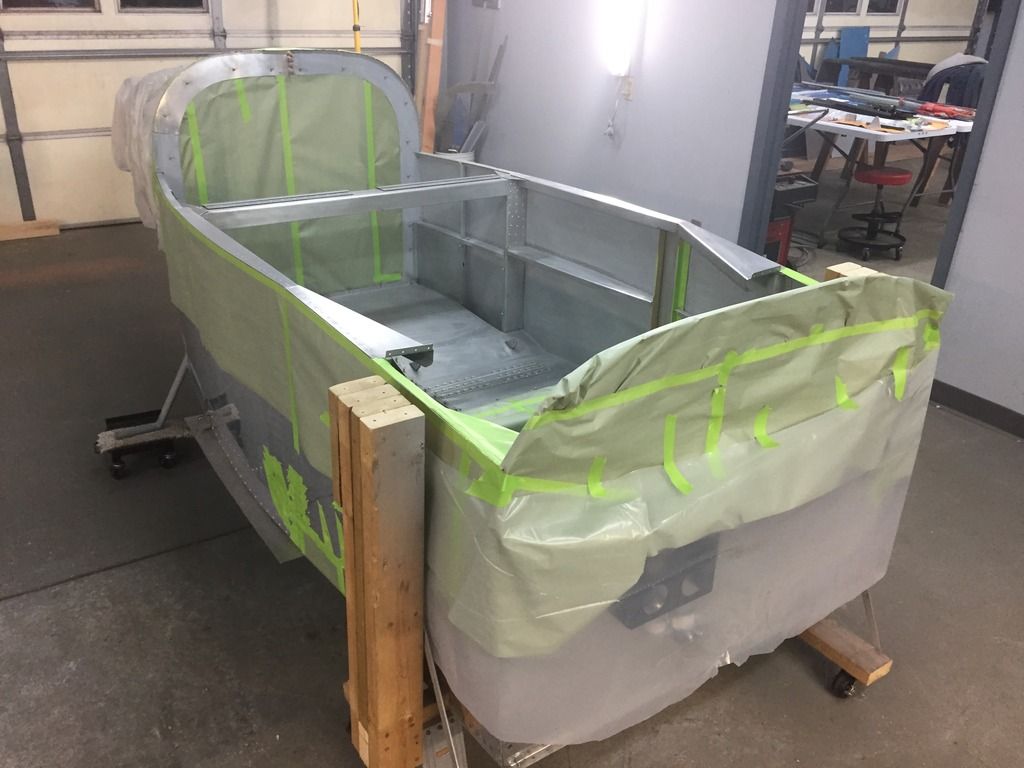
Back to work on the RV-9A project here in wintry Kalamazoo Mi. Took a bit of a break from building, but managed to retire in the meantime so the project is taking a decided leap forward.
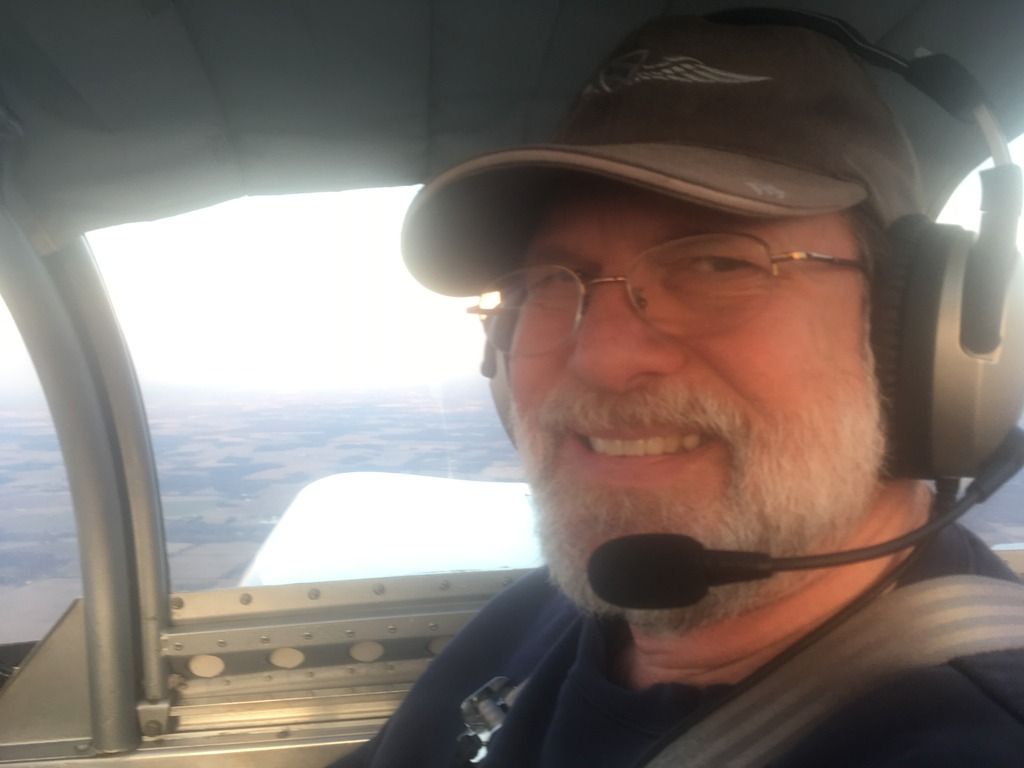
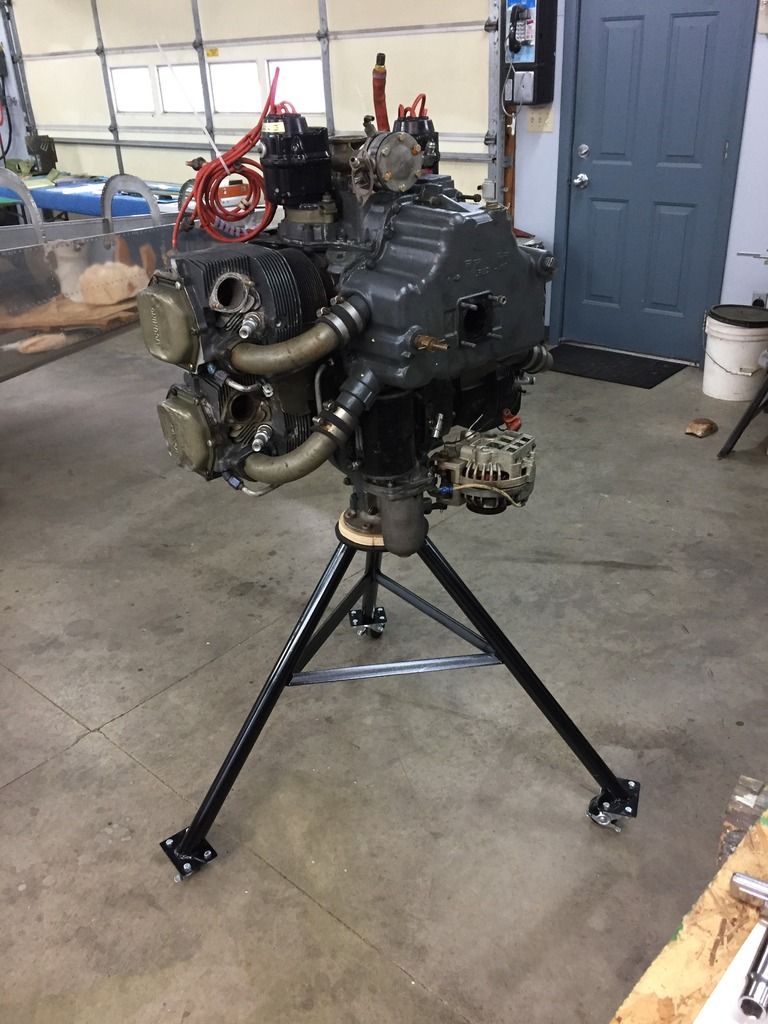
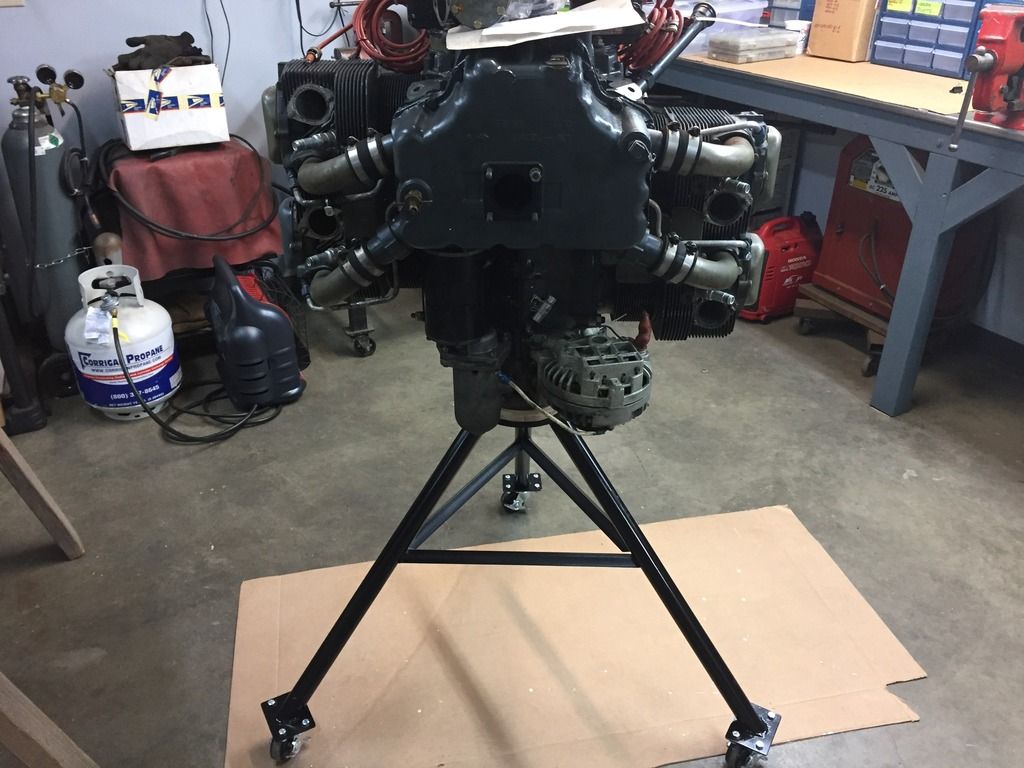
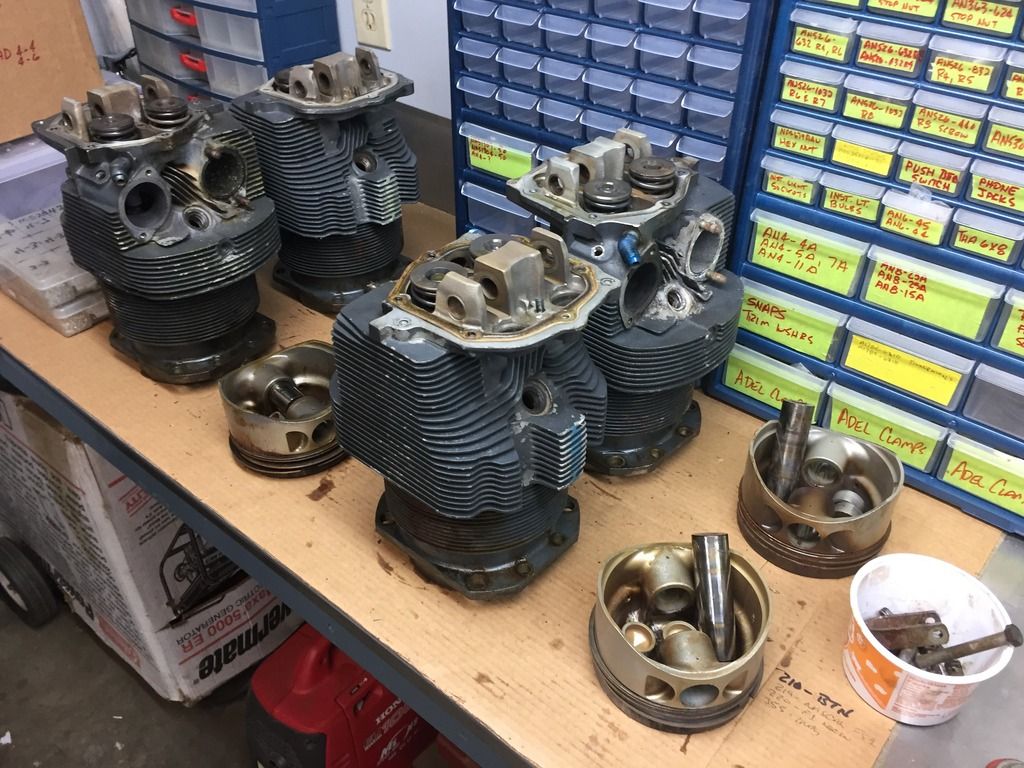
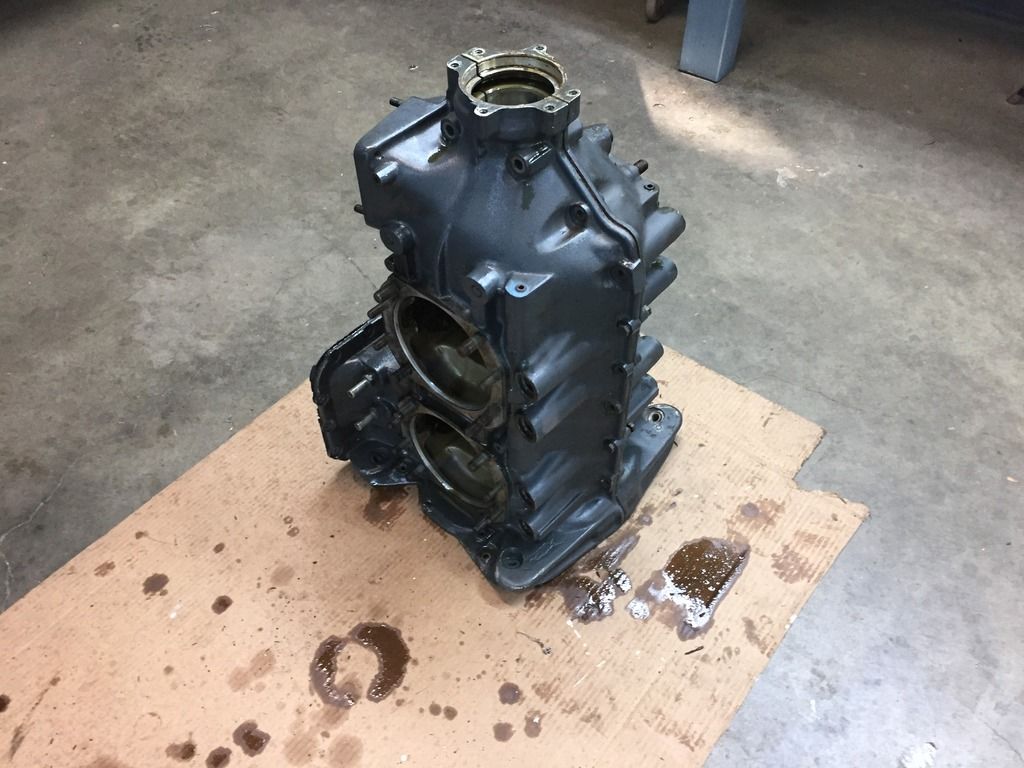
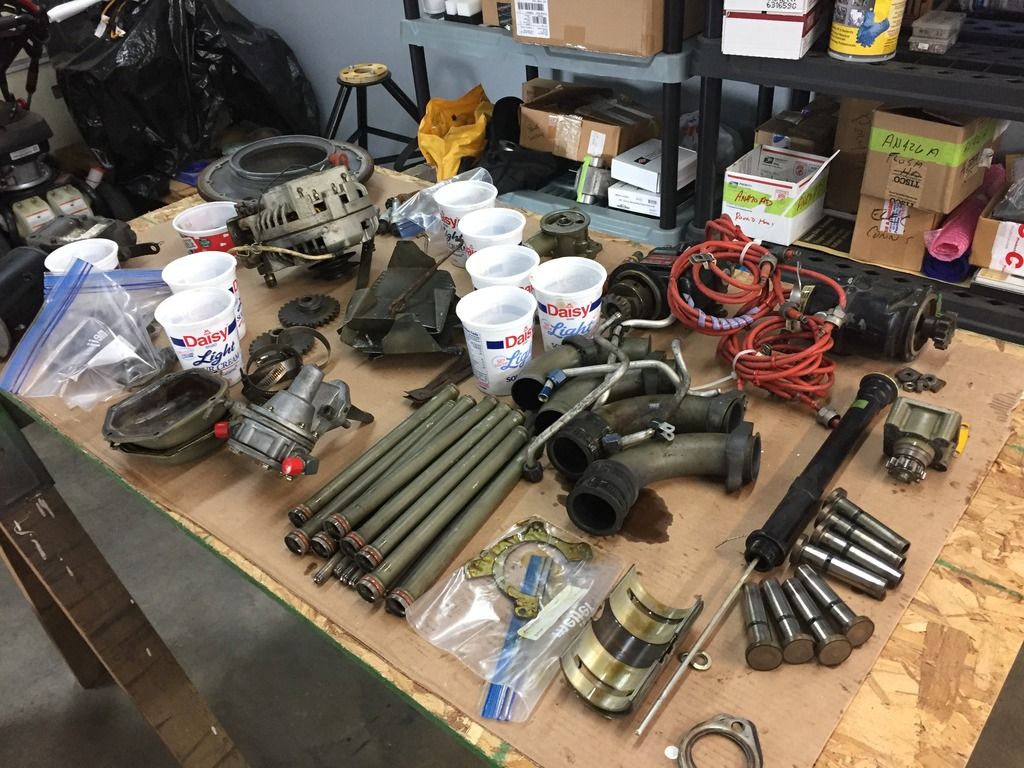
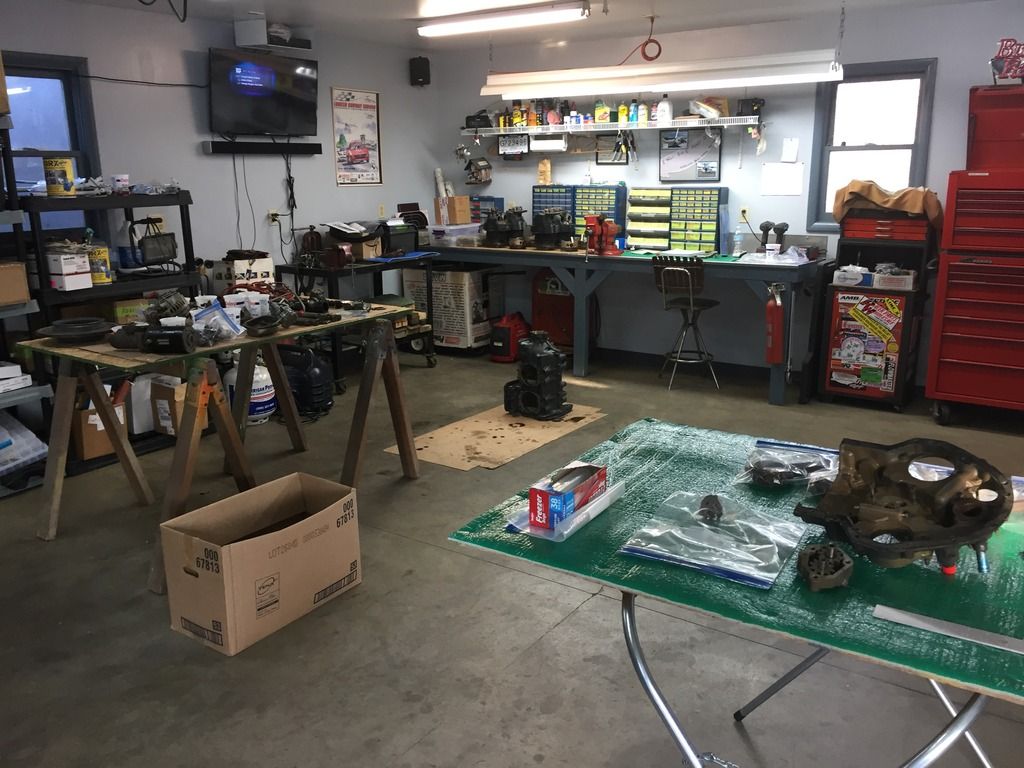
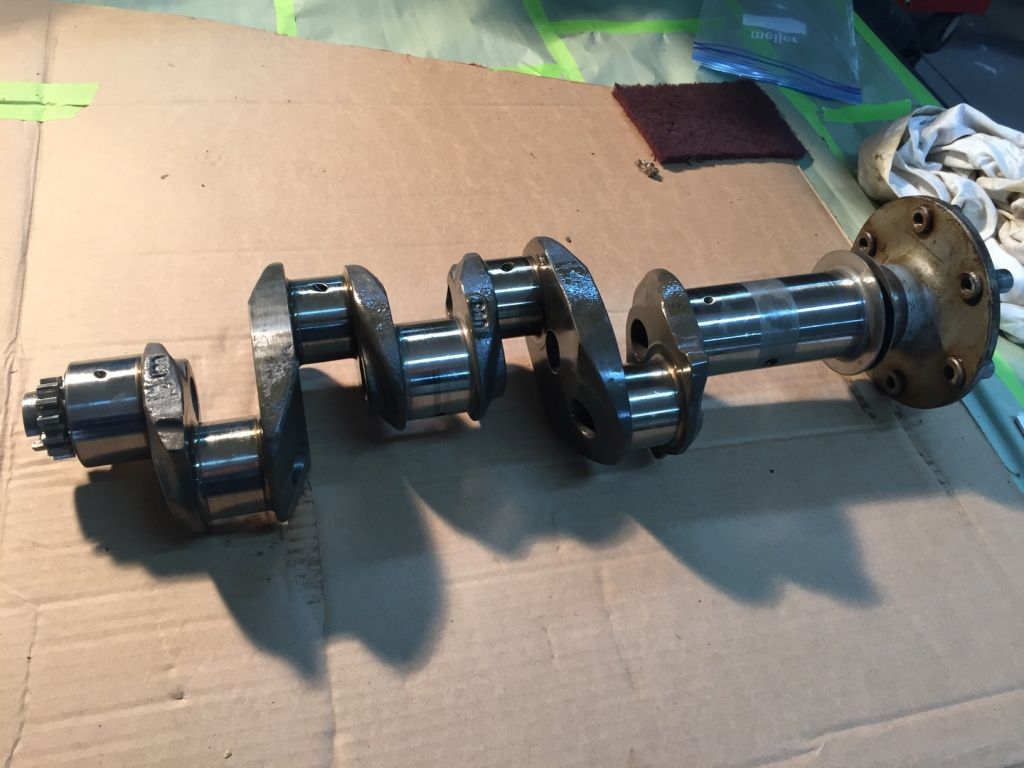
Ill be dropping off all my engine parts that I've been gathering and refurbing, to Poplar Grove Airmotive for assy and run-in. Great shop up there in Ill.
And have been working on the right fuel tank, I think I'm done with the Pro-seal work. Best thing was the use of a Semco potting gun, vs. squeezing pro-seal out of a baggie!

|

01-10-2018, 09:38 AM
|
|
|
Join Date: Feb 2016
Location: Kalamazoo, Michigan
Posts: 142
|
|
So it's been really cold up here in Michigan lately, and the shop's been pretty chilly, and I don't heat it when I'm not out working on the RV.
So after 4 days or so since closing up the right fuel tank, I notice that the Proseal sealant isn't curing very well.
...So I figure that bringing it into the warm house is probably a good plan and the heated mattress pad seems like an even better idea!
(Hope the wife doesn't mind sleeping on the couch for a few nights...)

|

01-11-2018, 05:09 AM
|
|
|
Join Date: Feb 2016
Location: Kalamazoo, Michigan
Posts: 142
|
|
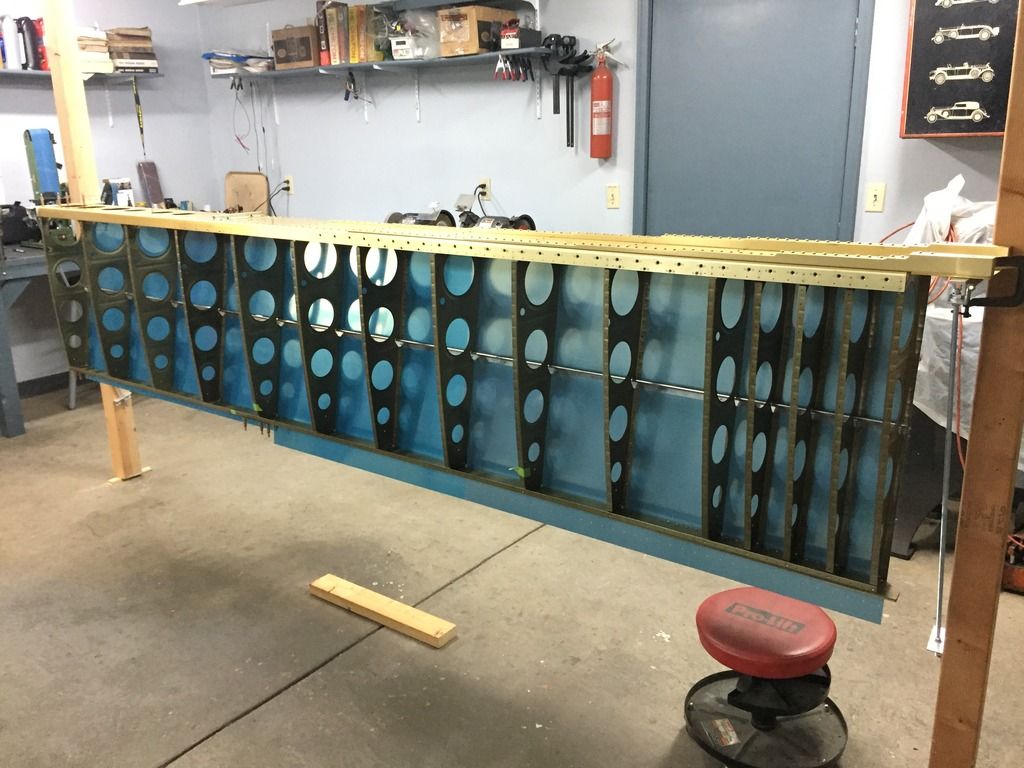
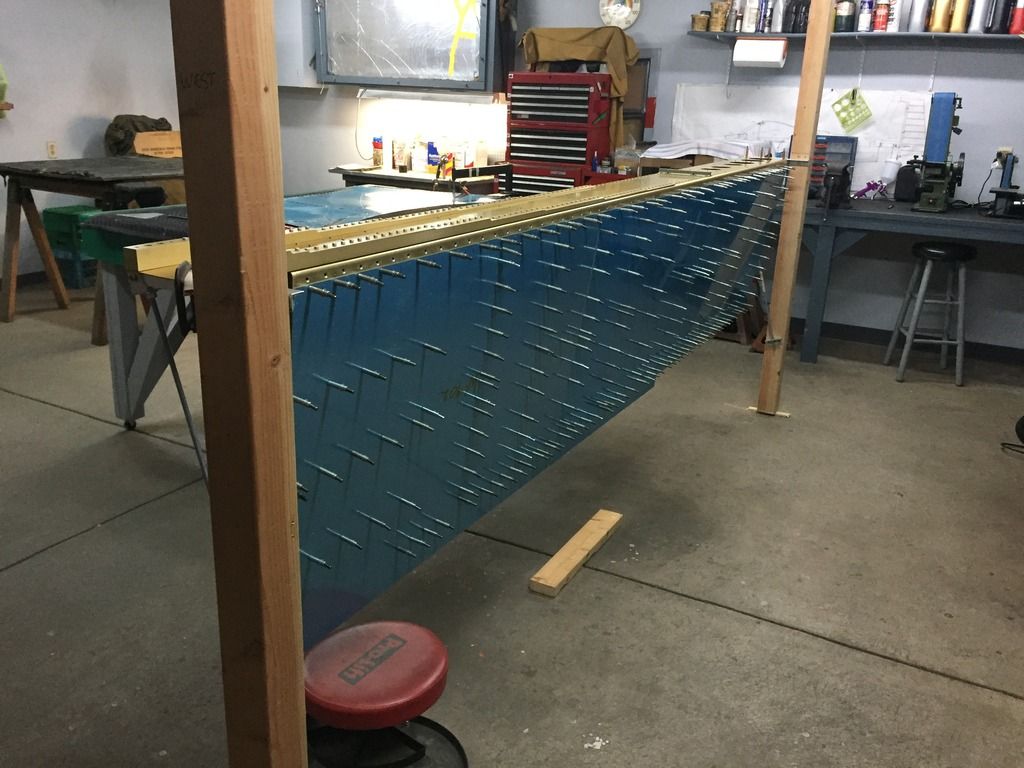
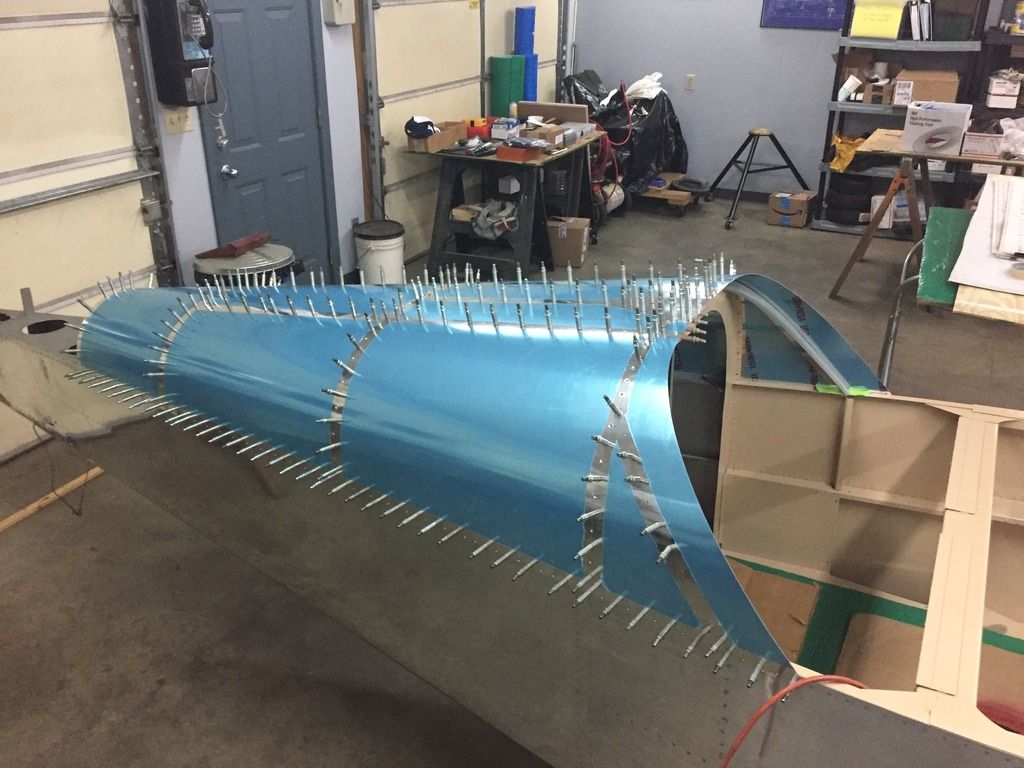
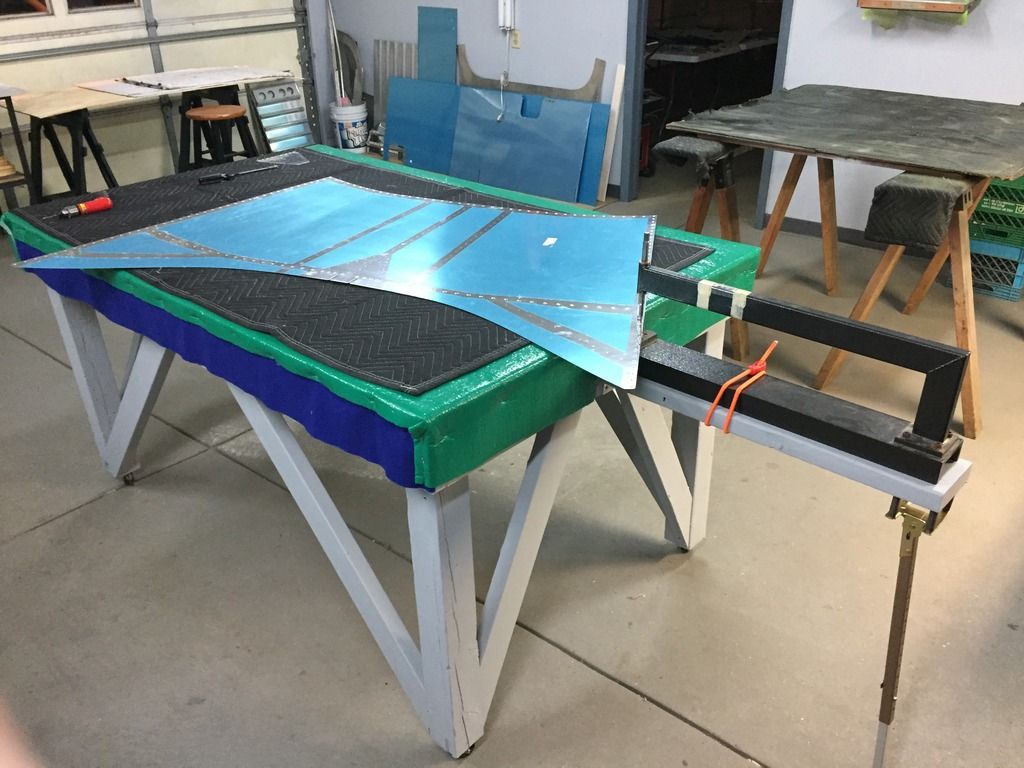
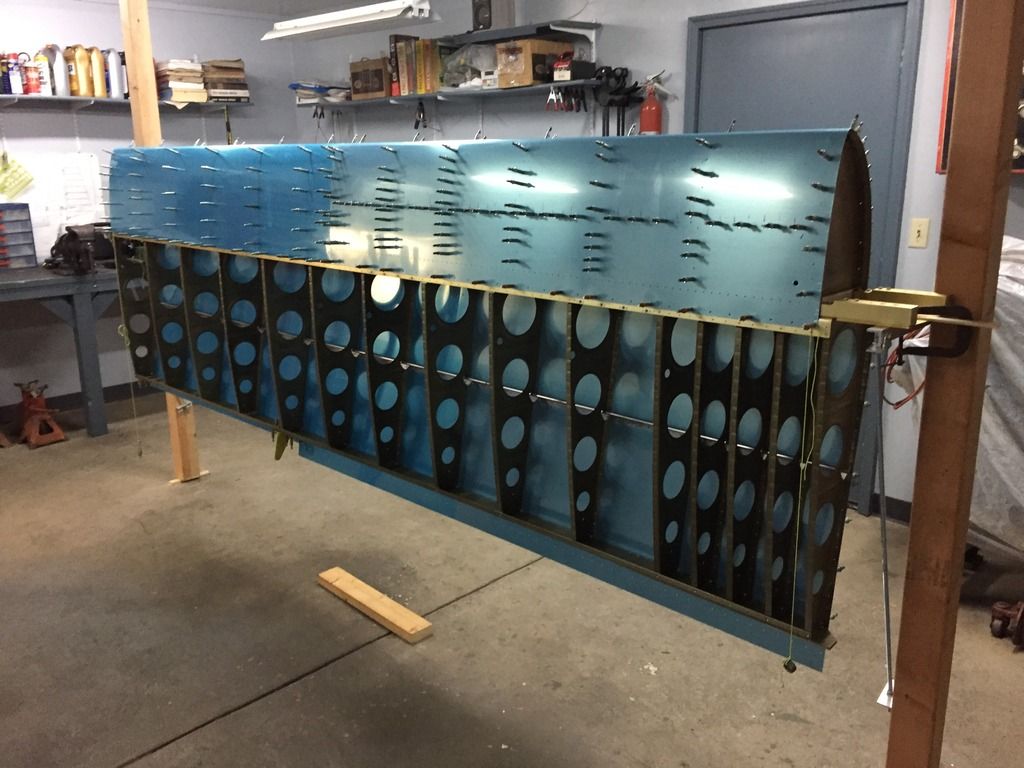
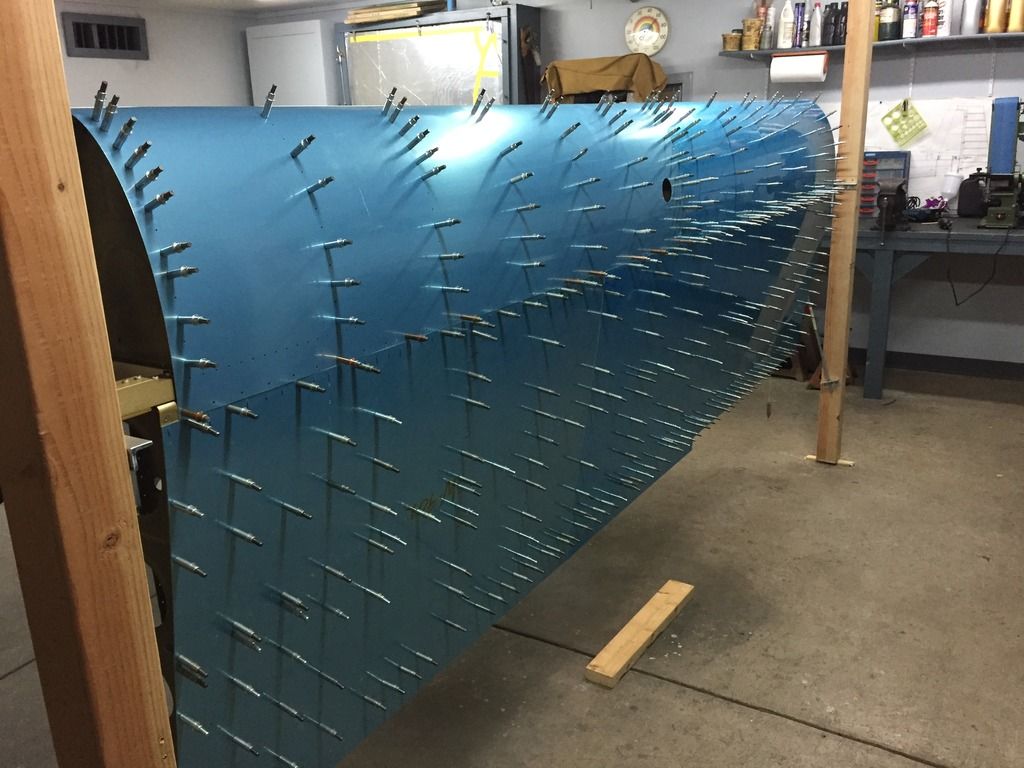
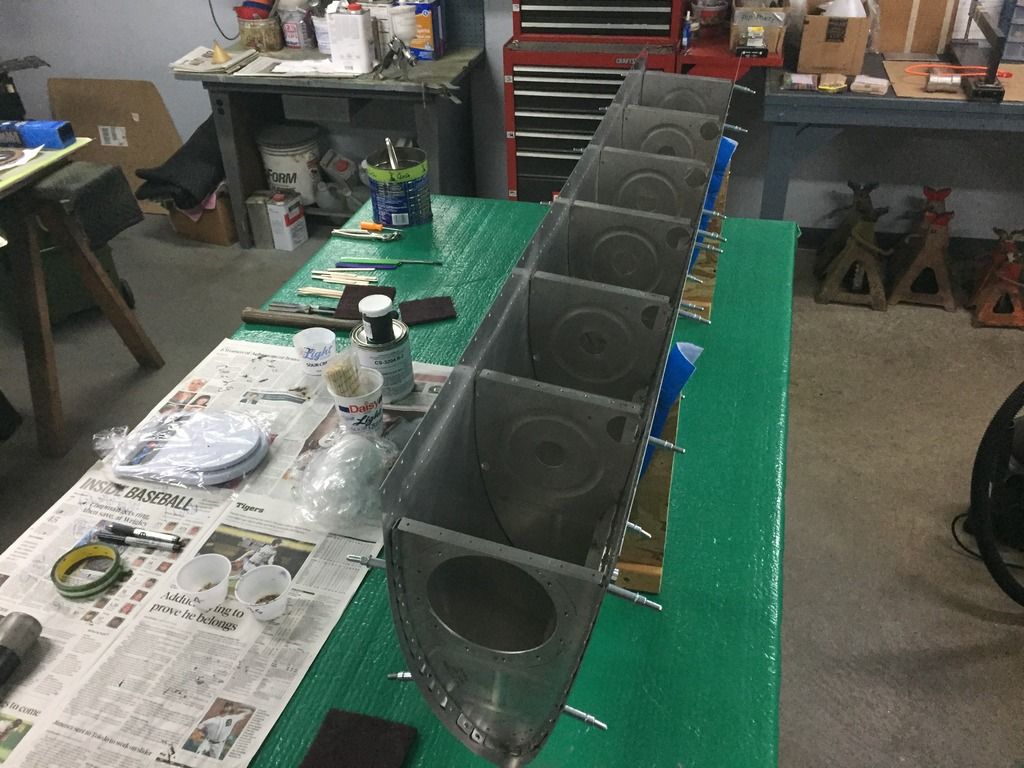
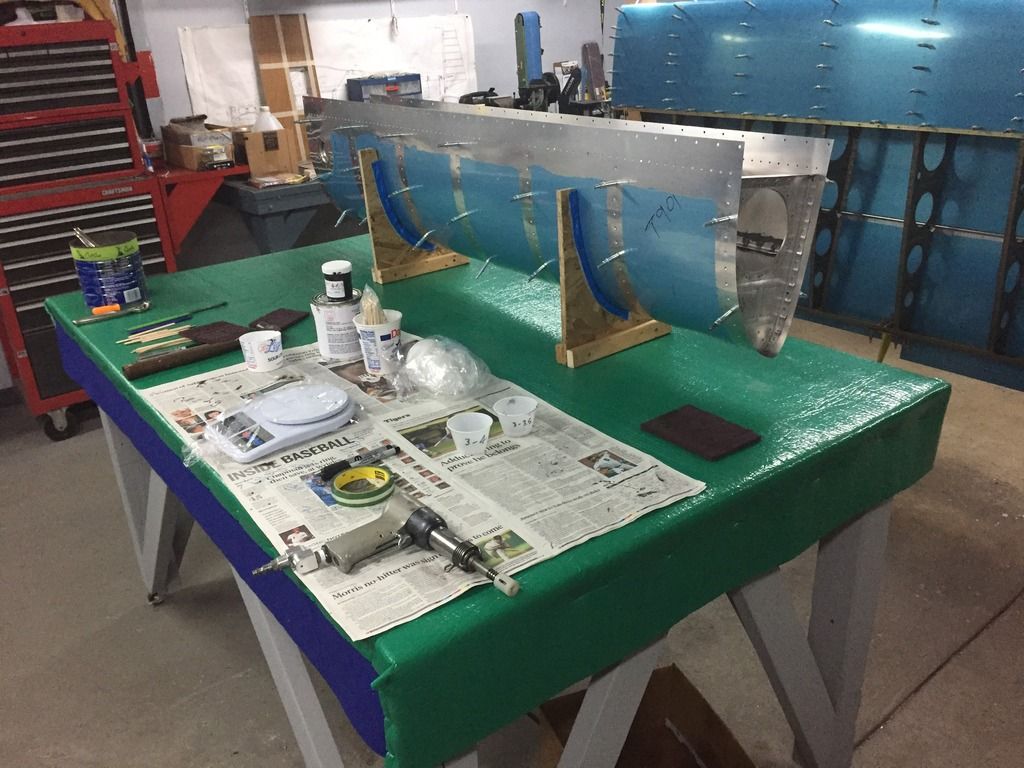
Working on the right wing top skins. The Blue stuff has been on the skins for years, so was really tough to remove. One of the local EAA members who has been helping me, saw this broom trick for removing the protective film. Gives you leverage over it.
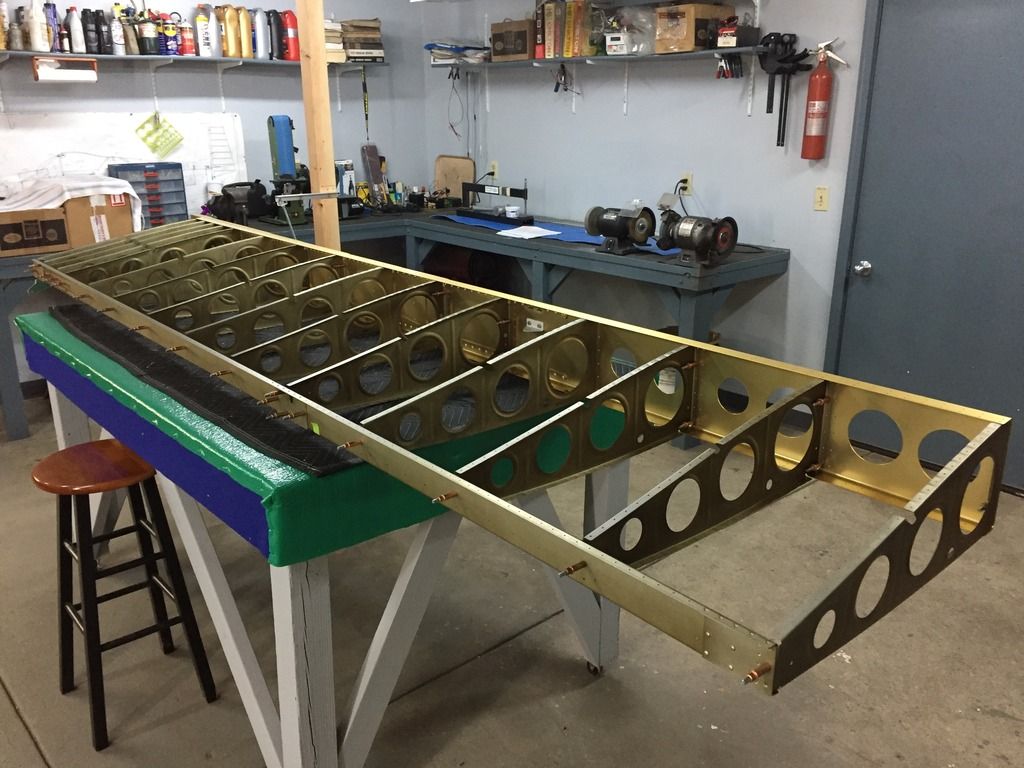
And just assembly work on the outer leading edge. Lots of holes to final drill, debur, and dimple. Ready to rivet here.

|

01-15-2018, 05:18 AM
|
|
|
Join Date: Feb 2016
Location: Kalamazoo, Michigan
Posts: 142
|
|
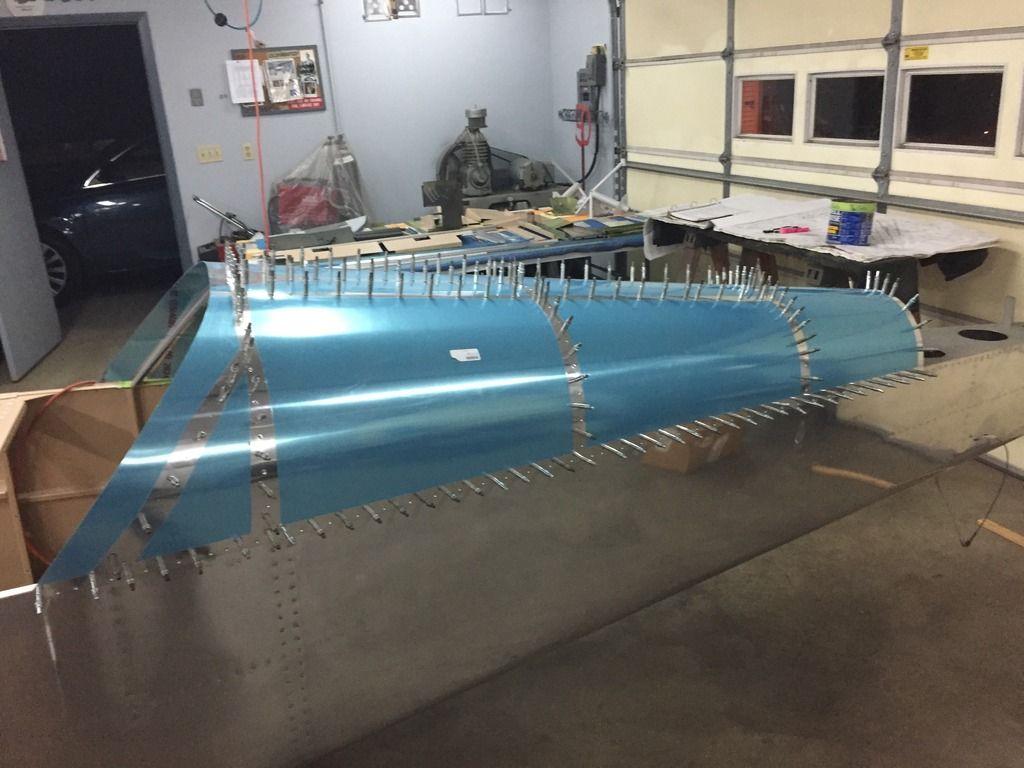
Continued working on the right wing leading edge. Had a couple of days last week in the upper 50's here in SW Michigan, worked with the shop door open for awhile!
Leading edge now on, finally something permanently installed!

|

01-16-2018, 01:41 AM
|
 |
|
|
Join Date: Nov 2014
Location: Hinckley, Ohio
Posts: 2,738
|
|
I have a question... I'm not a builder. I see the blue protective film on the skins and wonder how you cut the film to expose the bare aluminum for riveting. Do you use a razor blade, and if so, wouldn't that make a scratch and potential stress riser?
__________________
-
Jim Stricker - EAA #499867
PPL/ASEL 1970 - Sport Pilot since 2007
80 hrs Flying Aeronca Chief 11AC N86203
1130 hrs Flying 46 Piper J-3 Cub N6841H
Bought Flying RV-12 #120058 Oct 2015 with 48TT - Hobbs now 780 
LSRM-A Certificate 2016 for RV-12 N633CM
Special Thanks... EJ Trucks - USN Crew Chief A-4 Skyhawk
MJ Stricker (Father - CFI) - USAAF 1st Lt. Captain B-17H
|

01-16-2018, 05:43 AM
|
|
|
Join Date: Mar 2017
Location: Ann Arbor
Posts: 43
|
|
Weller soldering gun for that blue plastic. Only successful use of it in 30 years.
__________________
Eric G.
Ann Arbor, MI
RV-9A under construction (QB fuse)
President, EAA Chapter 333 Flying Stinkers
|

01-16-2018, 06:09 AM
|
|
|
Join Date: Feb 2016
Location: Kalamazoo, Michigan
Posts: 142
|
|
As Eric said, use a soldering gun with rounded tip, along a straight edge (I used a 1" wide piece of flat alum). Then peel off where desired. No marks on skin.
I don't have any razor blades in the shop, for the reason you noted.
AC
|

01-16-2018, 11:16 AM
|
 |
|
|
Join Date: Mar 2008
Location: Ramona, CA
Posts: 2,609
|
|
I found using the soldering iron on the plastic worked great. You don't need much pressure at all, and you can polish the tip which will prevent any scratching of the underlying aluminum. I did however, use a wooden yard stick instead of any metal ruler to make the lines. The metal ruler would suck just enough heat out of the tip to no longer melt the plastic. The wooden ruler worked much better.
Also, if you are going to prime your skins, you can run the soldering iron along the overlaps and leave the plastic on as a mask for the places where you want to prime just the underlying area.
|

01-18-2018, 05:50 AM
|
|
|
Join Date: Feb 2016
Location: Kalamazoo, Michigan
Posts: 142
|
|
Finished up riveting the outer leading edge. Then time to pressure test the right fuel tank.
The wife had a bicycle pump, but it seemed to only fit a 1980's Cannondale tire tube,,, so no joy there. But I found my trusty Mastervac and pumped things up sufficiently to soap up all the seams and rivets, and no leaks indicated, Yay!
Installed the tank and now onto riveting the top skins.

|

01-18-2018, 06:39 PM
|
 |
|
|
Join Date: Aug 2009
Location: Newport, RI
Posts: 770
|
|
Tank test.
Do your self a favor. Put a half gallon/gallon of av gas in the tanks and let the tank rest horizontally with the rear baffle downward. Put it on the garage floor.
If you have a leak it will most likely come from the rear baffle area. You will see spots on the concrete if it leaks. I pressure tested mine with soap and there was no sign of bubbles. Yet both of my tanks had small leaks discovered when mounted on the plane. I would have saved a lot of time if I put fuel in the tanks when they where not mounted to the wings. The true test.
__________________
Al Girard, Newport, RI
N339AG
RV-9
|
Thread Tools |
Search this Thread |
|
|
Display Modes |
Linear Mode
|
Posting Rules
|
You may not post new threads
You may not post replies
You may not post attachments
You may not edit your posts
HTML code is Off
|
|
|
All times are GMT -6. The time now is 09:25 PM.
|