Not sure what tungsten bar you have but you should be able to get to them with it. They won't be centered on the bar but you will have to learn how to adjust for that eventually so might as well be now.
I have custom ground/modified many steel bucking bars but no way am I grinding on my tungsten bar. The one I have helped me build the majority of my 7 and the emp parts of my 10 and works great in almost all situations without modification.
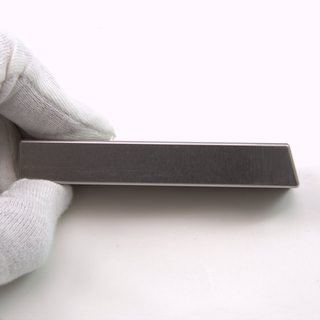
Mine looks something like this:
The 4" no hole should also work OK with these. Use a 3/8" dia flat set on the ram to make sure you get all of the manufactured head under the set. The flat spot on the yoke is large and should be fairly forgiving.


")

