Space Cadet
Well Known Member
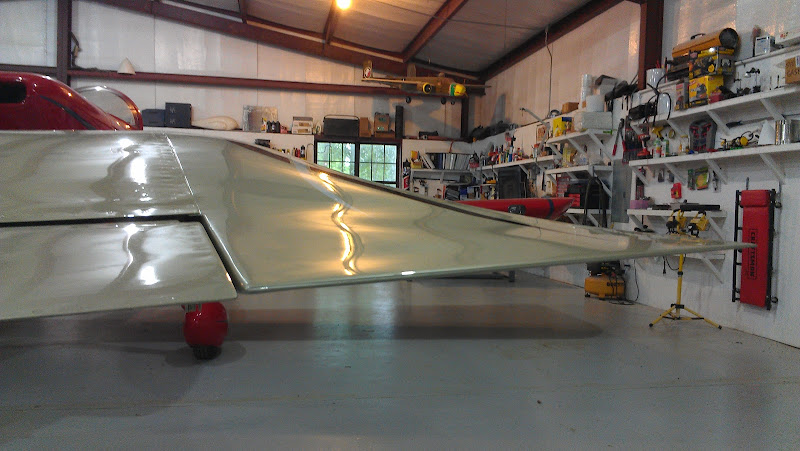
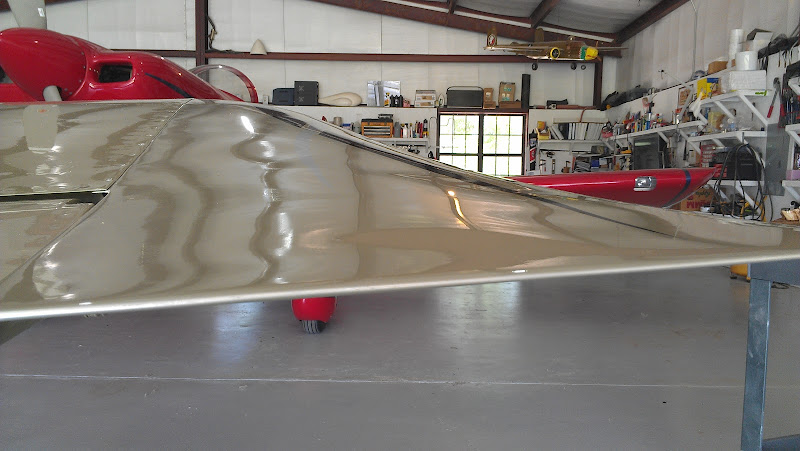
I'm about out of ideas on my left wing heavy problem, which requires the full electric trim setting and even then seems marginal and requires nearly continuous right stick force. I've checked and adjusted the aileron vertical heights more than I think is reasonable and it didn't help much (about a 1/2 bolt hole diameter). I've adjusted a minor difference in elevators, and checked the horizontal stabilator's squareness to the fuse. I don't see any issues with the rudder or vertical stab, and I've fixed a ding in the wing tips. I've flown with and without the fairings and wheel pants, and it makes no difference. Rudder trim is just slightly right at cruise. Quick-build wings and fuse, so hard to believe wing incidence angles would be off.
So, could it be the wing tip's trailing edge shape, one of which seems to have more curve upward than the other? Everything was in alignment (flaps, ailerons, tip) when I set it up, but have had to make some changes so no longer in alignment. But it sure doesn't look like a lot of difference.
Any other ideas? I'm going to call Van's Monday if nothing else comes to mind.
Dwight