What's new
Van's Air Force

Don't miss anything! Register now for full access to the definitive RV support community.

Flap Aileron Alignment

bobby

Active Member
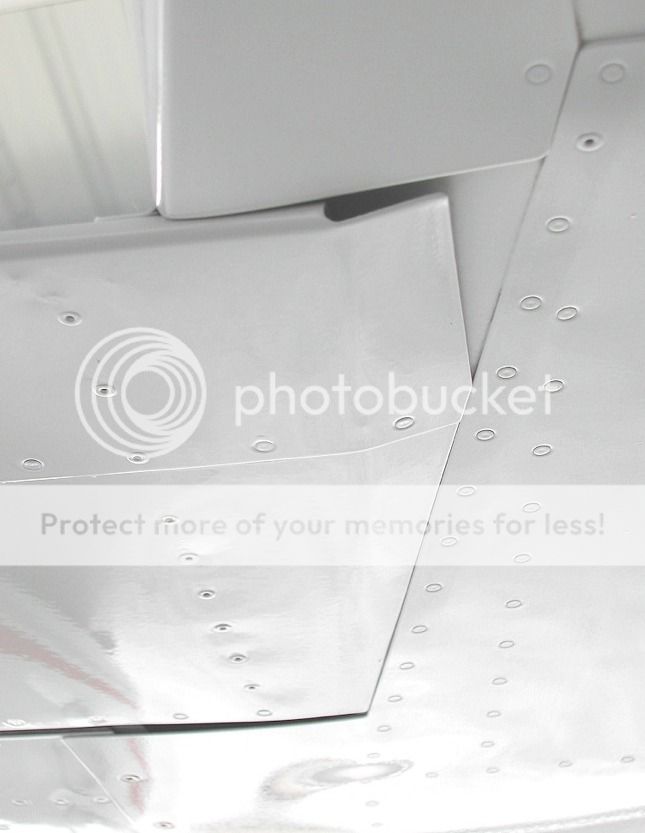
I'm fitting my flaps, trimming to fit the fuselage and something doesn't look quite right. More still needs to be trimmed for the flaps to fully retract but the trailing edges of the flap and aileron line up now. Once the flap is trimmed to fully retract its trailing edge will be a bit higher than the trailing edge of the aileron. I don't know now by how much but the third photo down shows how much trimming still needs to be done.

According to the plans the aileron is in neutral position in these photos. I also rechecked the wing incidence and it is correct. The flaps do not appear to have any twist.

Any thoughts on this will be greatly appreciated.


DSCF1659_zps8a42a869.jpg


DSCF1652_zps545dad5b.jpg


DSCF1654_zpsf14723c4.jpg


DSCF1661_zpsa749c6d2.jpg
 
Hi Bob

My suggested sequence:
  1. Fit Wings / Rear Spar attach to final drill
  2. Align Ailerons using tool v outboard rib holes. "Lock" Ailerons using Bellcrank tool
  3. Align Flaps to Ailerons
  4. Fit Fus/Flap Fairings to match Flaps
  5. Fit Wingtips and attempt to align with Aileron/Flap.
  6. If Wingtip fitting not going too well, aim to align Outboard Tip of Wingtip with Aileron/Flap. Then "unzip" some TE of Wingtip, and use the fitting of the Tip Rib and some Resin back in TE to now align Inboard end.
  7. Some creative artistry is now required to bend up the Inboard Flap ends to match the fuselage somehow...
It is a "homebuild" and some of the above will likely not all work to the accuracy of a modern digital protractor :eek: Just do your best and hope the (small) errors balance out ;)
 
What Andy said in #7 is common. After ailerons and flaps are in alignment per Andy's 1-6, most people put a joggle there to match the fuse.
 
I'm fitting my flaps, trimming to fit the fuselage and something doesn't look quite right. More still needs to be trimmed for the flaps to fully retract but the trailing edges of the flap and aileron

By definition the flaps ARE fully retracted when the aileron is in the neutral position as defined by the tooling holes, and the flap lines up with the aileron.

I think you are trying to get the bottom of the flap to contact the fuselage as is. As posted earlier, trim the flap top surface so the flaps retract to align with the aileron. Then you will cut and bend the bottom of the flap to best "blend" into the fuselage bottom.

Don
 
Hi Bob

My suggested sequence:
  1. Fit Wings / Rear Spar attach to final drill
  2. Align Ailerons using tool v outboard rib holes. "Lock" Ailerons using Bellcrank tool
  3. Align Flaps to Ailerons
  4. Fit Fus/Flap Fairings to match Flaps
  5. Fit Wingtips and attempt to align with Aileron/Flap.
  6. If Wingtip fitting not going too well, aim to align Outboard Tip of Wingtip with Aileron/Flap. Then "unzip" some TE of Wingtip, and use the fitting of the Tip Rib and some Resin back in TE to now align Inboard end.
  7. Some creative artistry is now required to bend up the Inboard Flap ends to match the fuselage somehow...
It is a "homebuild" and some of the above will likely not all work to the accuracy of a modern digital protractor :eek: Just do your best and hope the (small) errors balance out ;)

Andy has posted the most concise process for attaching and aligning the flaps.
The above posters also are spot on, so....... When the inevitable occurs and someone suggests re checking your incidence angle, DISREGARD!
 
For what it's worth:

I aligned my ailerons using the tooling holes and a bolt fitting snugly into the back of the ailerons. This held the ailerons very firmly. The bar stock was 1/8 x 1 1/4 aluminum from the hardware store...


Then I aligned the flaps to the ailerons, the two shots below are what the inboard end of the flap looked like at this point. I was amazed how big the gap was... It was difficult to neatly bend the inboard lower flap skin to close the gap to the fuselage. Not a great part of the design in my opinion... Unfortunately I did not get a picture of this but there are others on the forum.


Last installed is the top fairing.


This is a shot of someone else's inboard flap bends, neater than mine...

 
Thanks to everyone for the replies. On Andy's list I'm on step 3 now and I have completed steps 1 and 2 as he has listed. When I hold the flap fairing in place it also looks like the flap should go up a little. When I fit the wings everything fit very well and the wings needed very little adjustment to get them straight and with the correct incidence. I'll check the flap again for any twist.

Today I'll fit the right flap and see how that one lines up. Yesterday I rechecked both the aileron alignment with the tooling holes and also the wing incidence. They were both correct. When I first set the wing incidence I spent the better part of 10 hours measuring, remeasuring and remeasuring again and again and again. Even with all that initial measuring I was a little nervous measuring it again but it is correct.

Ron - Thanks for the pictures. The last one showing the underside looks like what I'll need to do.
 
Hi Bob...
When I hold the flap fairing in place it also looks like the flap should go up a little
The idea, IIRC, is to position the fairing to the flap, not move the flap to where the fairing seems to best fit?

Unless in the newer kits all this is pre-punched (fus & fairing) in which case I can see the issue..?
 
For future builders coming to this thread I can vouch for Andy's steps - I built mine in this sequence too(see my log). Andy was the test pilot on my first flights and the aircraft flew wings level stick free :)
 
Back
Top