Been following this thread and collecting some data, and am continuing to experiment. Been slow to jump in because I've also been chasing oil seeps, before, during and after the Air Oil Separator (AOS)/Crankcase Vent Valve (CVV) install, and I can't fully correlate the leaks to a plugged CVV, so I don't want to jump to conclusions...and Allan has been very good to work with throughout. Here's my experience:
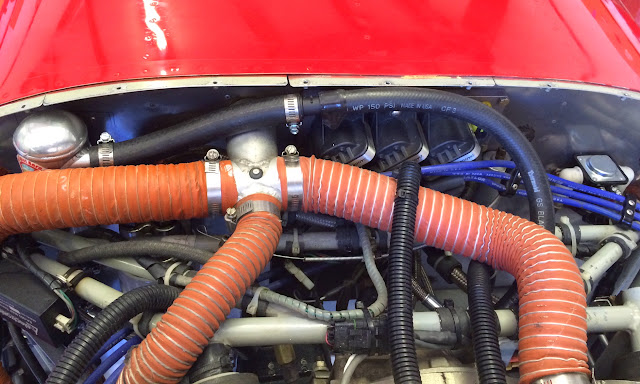
IO-540 on a Super Six. ASA AOS, with CVV installed about 20" from exhaust pipe exit, first with a direct weld, then a weld plus a gusset (both failed), and now via a home brew saddle (Allan sent me his, but it didn't fit with my custom engine mount and constrained space).
I had replaced my crank nose seal last September. I used a replacement split seal, just like the one I pulled out (that had done a good job for 14 years). It seemed to go well, but I continued to have oil seeps. Replaced a suspect oil return line, a cracked oil breather nipple, and ensured all connections in the lubrication system were tight. Still had seeps up front that made me a little suspect of my nose seal install, though my timing wheel was clean.
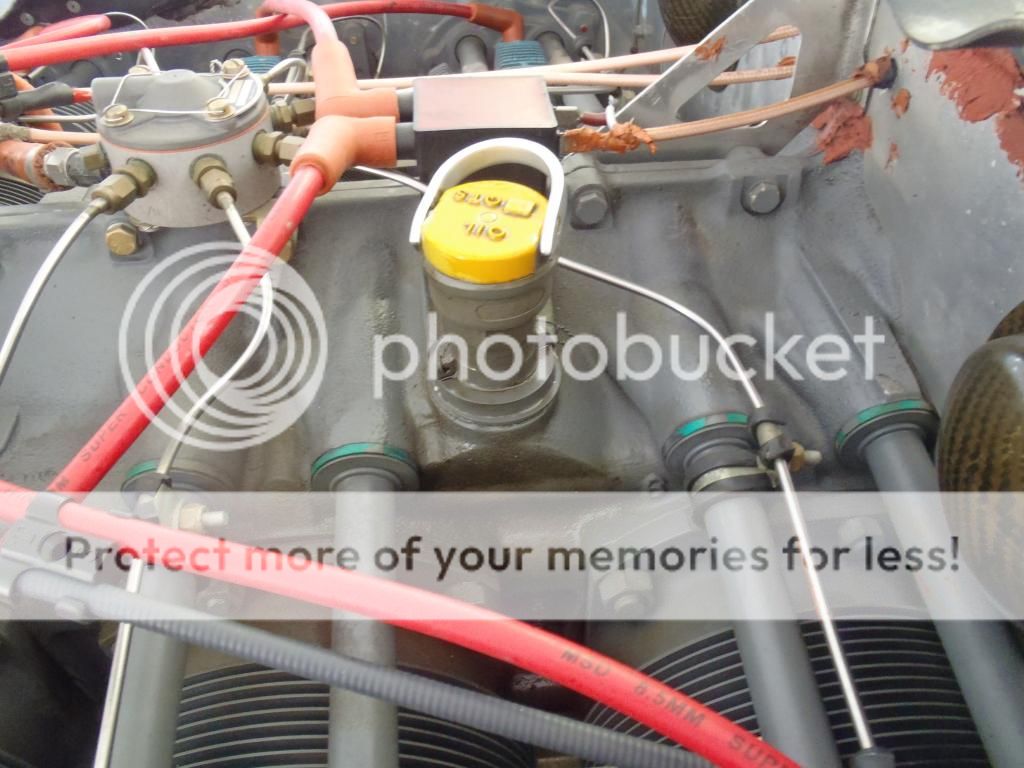
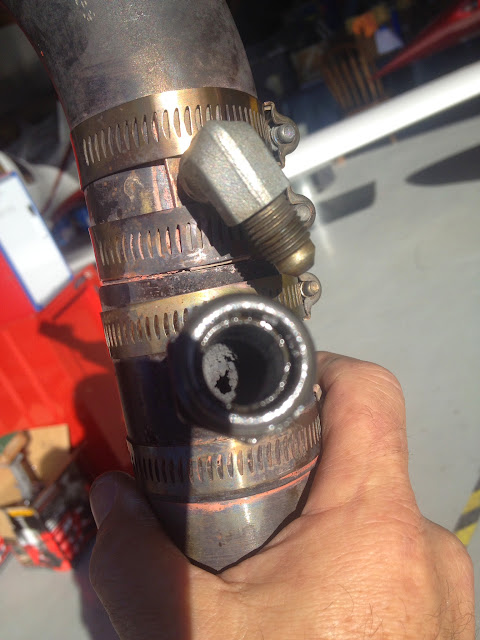
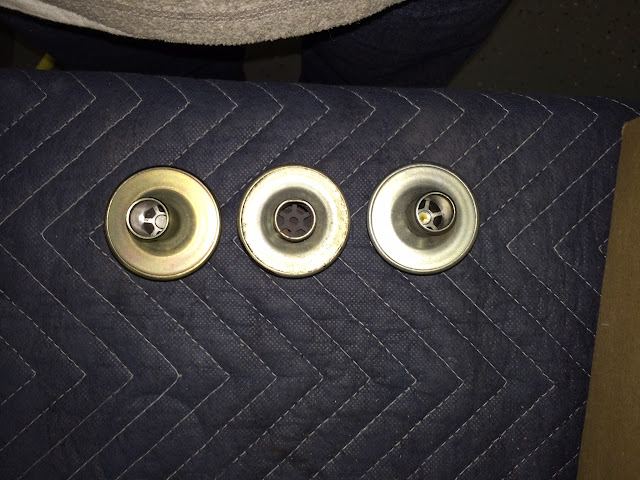
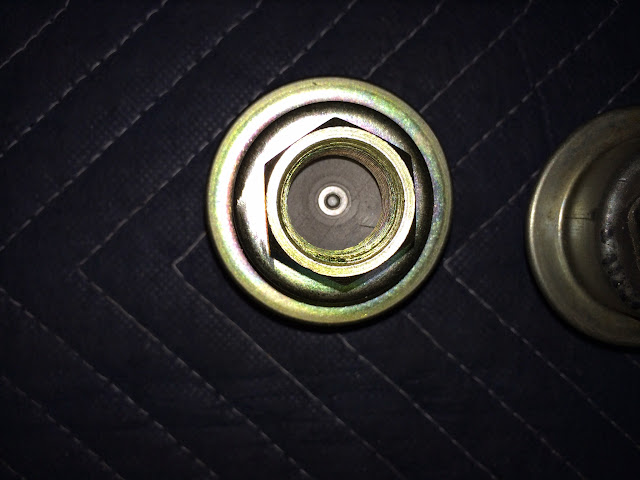
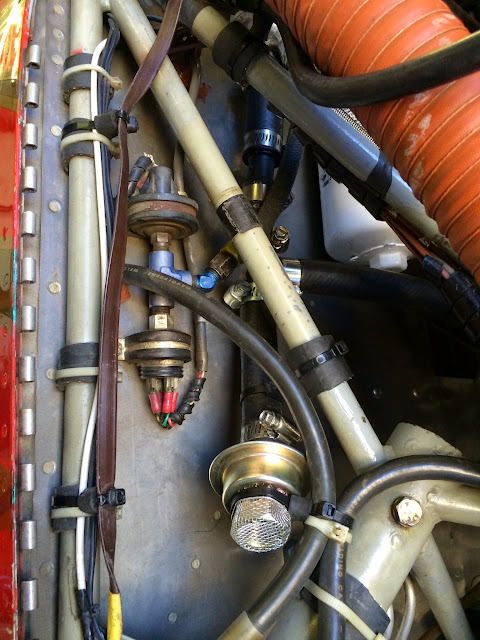
Installed the ASA AOS/CVV last November. I did not see an immediate increase in oil seeps after the install. Flew about 40-50 hours, including a mix of long X-C, 2 SARL races, as well as a fair bit of formation. Some typically cool operations, and some that are typically warmer (wrt to engine and oil temps). However, cool winter OATs prevailed, so my engine ran fairly cool throughout. Still had a pesky seep, and changed a suspect prop governor gasket. Flew our Havasu form clinic in February, and saw the seeps increase, to the point where I decided to install another nose seal. Pulled the CVV (actually the exhaust pipe), and found this:
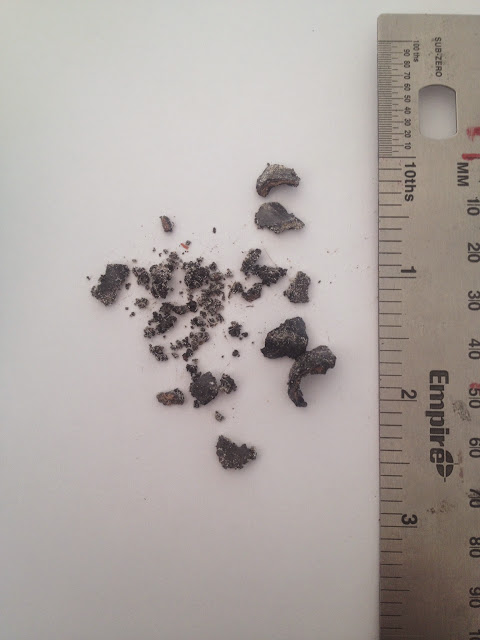
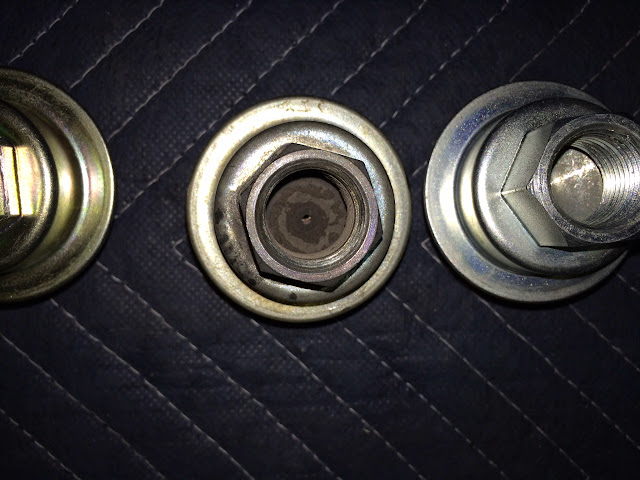
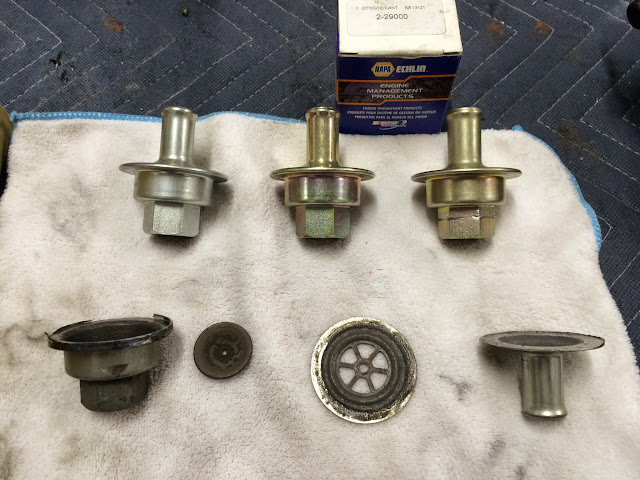
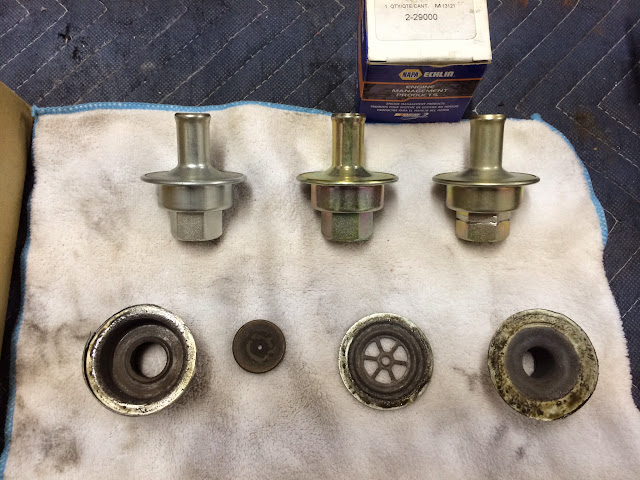
Here's what came out of it:
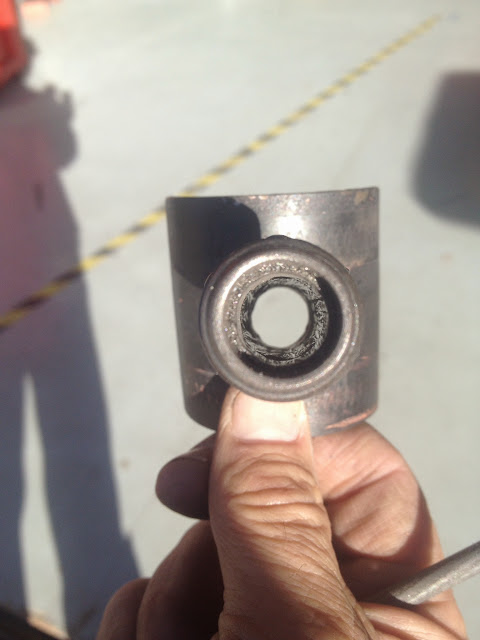
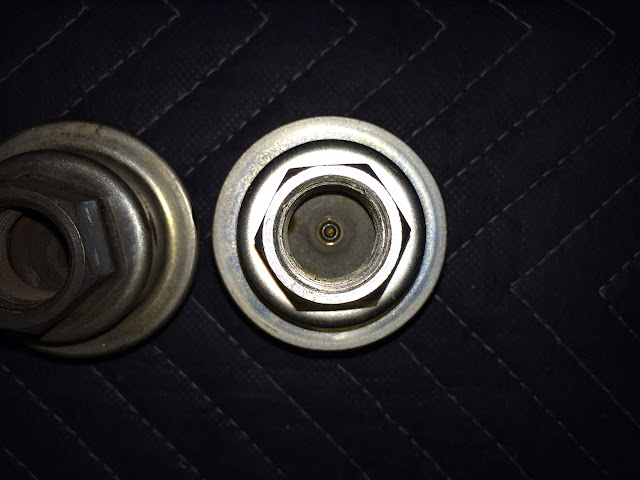
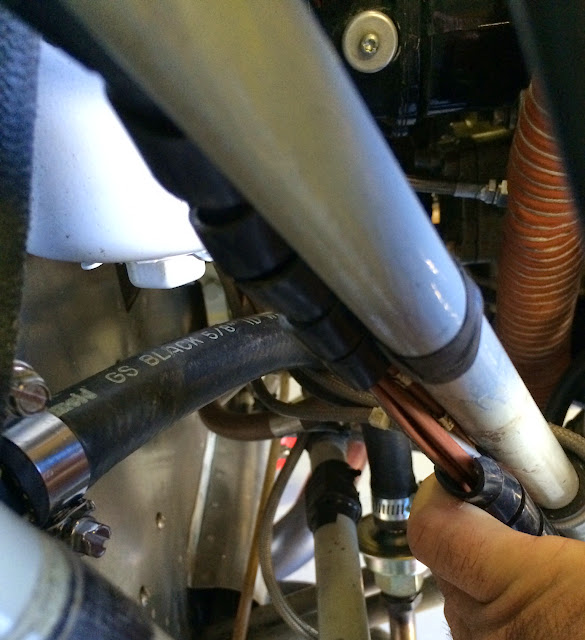
And what it looked like as it cleaned up:
The valve was very coked up, and the diaphragm in the CVV had broken, and was bouncing around inside the housing. Did the coking and broken diaphragm lead to the increased seeping, or did the split nose seal and my first try at replacing a nose seal contribute, or both? I can't say for sure. I did replace the seal with a single piece seal after returning from Havasu, and received some good mentoring by the gang at Lycon on how to prepare the bore even better than my first try, which was fairly fastidious, but I do think there was a steep learning curve there.
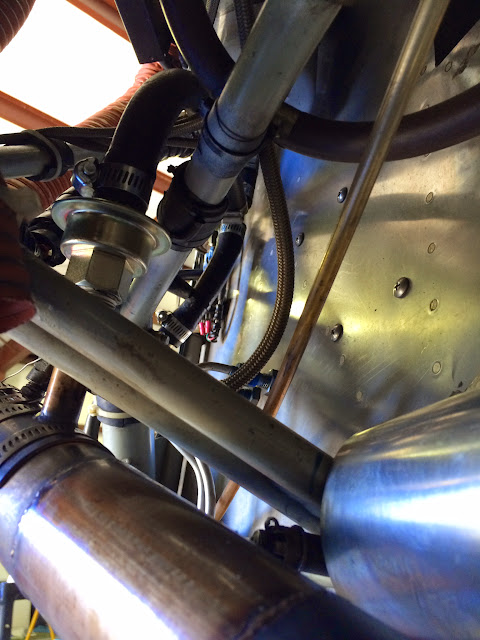
Allan provided me with a spare check valve, so I reinstalled the CVV after the second nose seal change, and have flown about 100 hours since, most of which has been formation and racing, in higher OATs, so the engine and oil temps have been hotter than in those first 40-50 hours. The nose seal has held well, but I am still chasing seeps, which have worsened. I'm replacing a suspect oil cooler line tomorrow, and it appears I have a slight seep at the lower-front case split between the oil sump and the crank opening. Interestingly enough, I've checked the CVV about every 25 hours, and it has not coked over significantly again. Very small coke deposits are evident, and they do seem to like the inner bore where the weld to the saddle is, as has been noted by others. But it has been nothing like the picture above, at all.
So did higher spring and summer temps during typically hotter operations (formation and pylon racing) decrease the coking? Did shortening the inspection and cleaning interval on the CVV and spigot keep the deposits at bay (IOW, do the deposits take more than 40 hours to develop into major plugs, or do they accelerate their development after a certain buildup has occurred)? Just dunno!
I described my oil seep situation in detail, so I would not be unfairly pointing a finger at the ASA product. Because the CVV has been fairly clean on the past four 25 hour inspections, I'm going to keep experimenting to see if I can see a correlation between the CVV and my seep. Today I bought a pair of NAPA 2-29000 valves, and some more hose. Because the silicone hose seems to sweat oil a bit, and I'm having these seeps, I want to isolate the two, so I'll use fuel hose. I'll also T-in a second safety CVV, as Dan showed in his application.
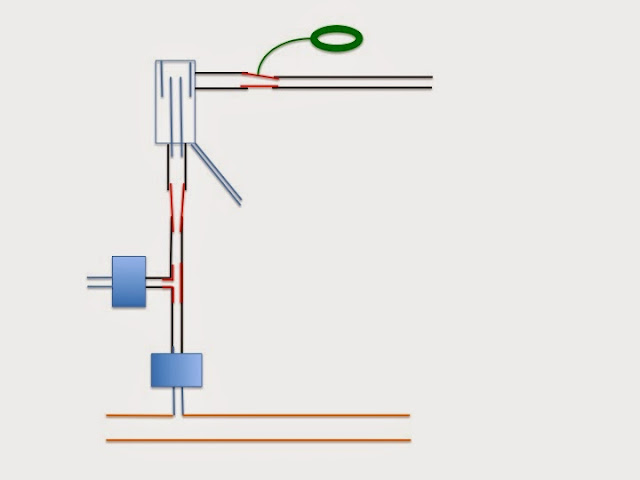
Another comparative test I'd like to run is to disconnect the CVV completely and see what happens to my seeps. Vic, since you did that on the recent job you showed, I have a question for ya (others likely know the answer as well). I can cap the CVV as you did, that's easy. To complete the changeover for the test, which method of the following is best?
1. Remove the -4 return line at the case and reinstall the case plug, then capture or vent that -4 line overboard.
2. Remove the -4 line completely, reinstall the case plug, cap the -4 opening at the ASA AOS, and route the large hose (that went to the CVV) to a capture cup or vent it overboard.
3. Leave the return line installed to the case, and just vent the large ASA tube to a capture cup or overboard (or does that result in a case leak via the ASA AOS?
Allan, I'll give you a holler on this as well?I'd like to see about giving the dual-walled spigot a try. Is that available without the saddle, so I can weld up another custom saddle?
Thanks much guys!
Cheers,
Bob