7DeltaLima
Well Known Member
Hello all:
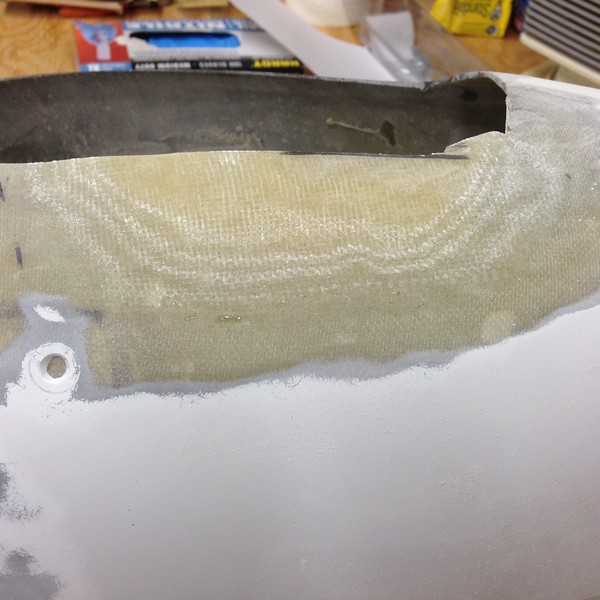
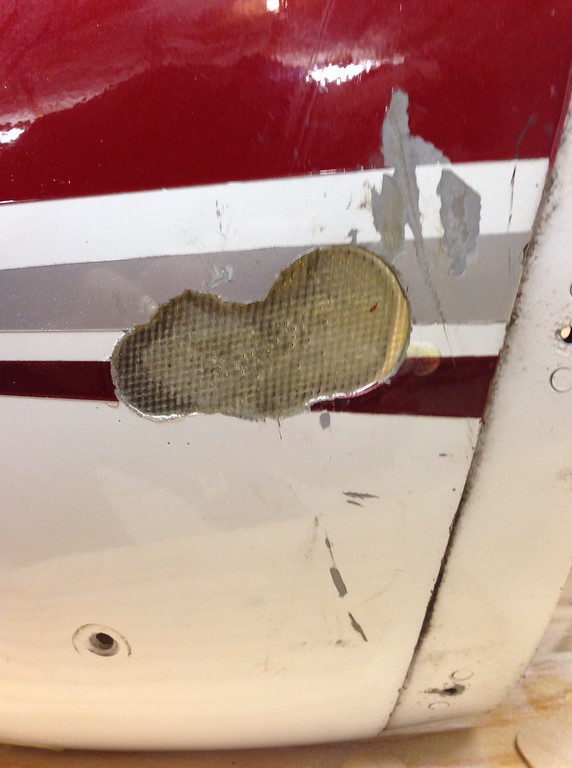
The Powertug slipped a few months ago and left a couple of gashes in the wheelpant. With the cold and ice, I thought it about time to repair.
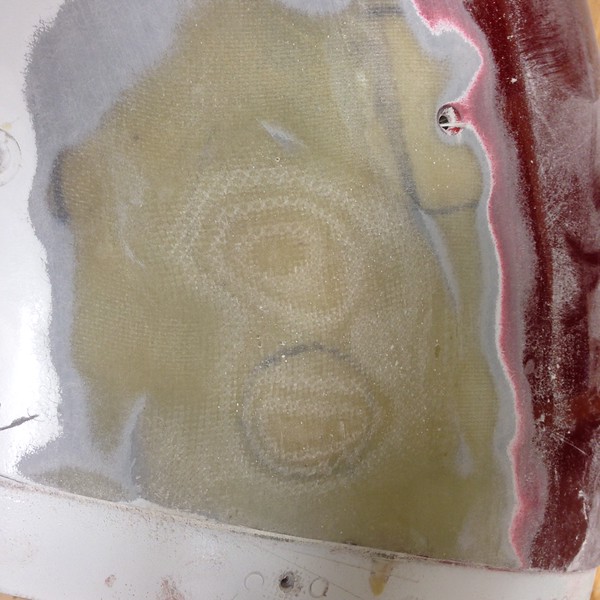
I've laid up a couple of strips behind the gashes but how should I fill the hole? I have some Fiberfil that I've used and it's easy to work with but not sure if it is appropriate for this big of a gap. I built up the edges of the cabin in a couple of places with some cotton fiber / resin. Since the move, I have no clue where any of the cotton fiber is or if it made it from Iowa to Georgia.
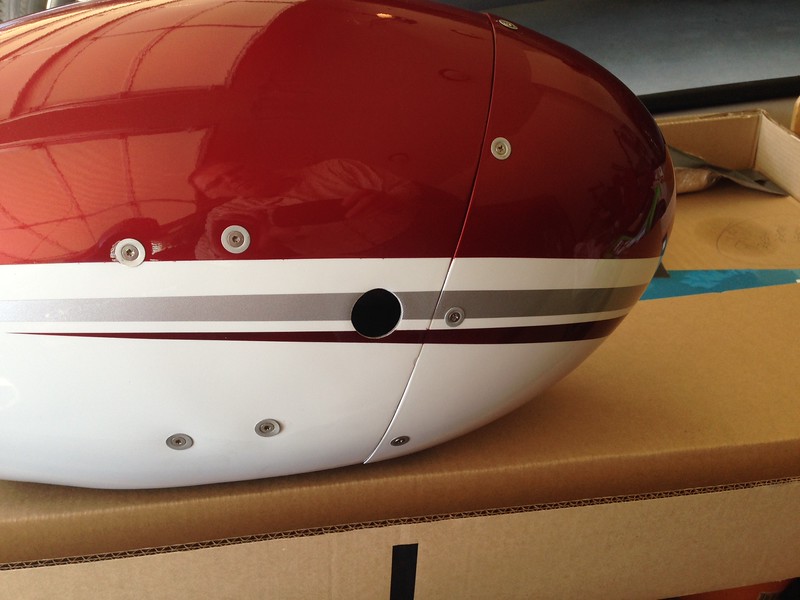
Once the surface is smooth again, I'll have to drill the 1 inch or so hole for the tow bar to pass through again and I think the cotton fiber may just grab.
Thanks in advance,
Doug
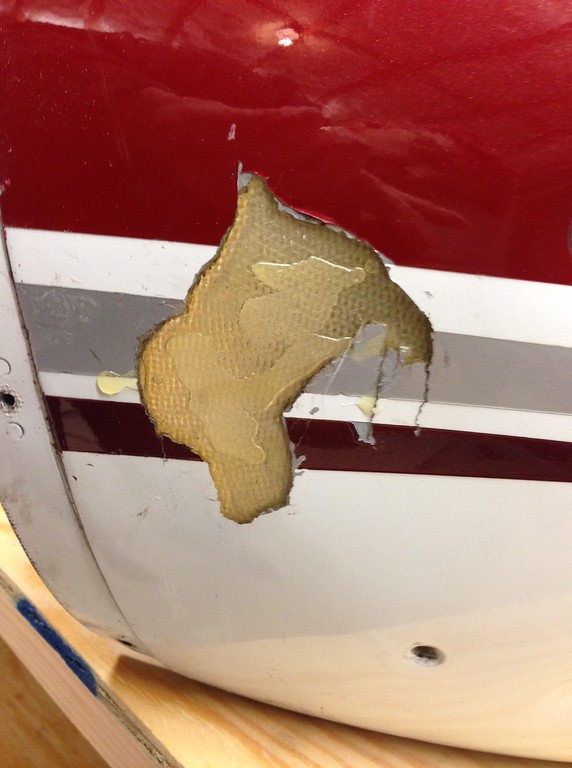
The Powertug slipped a few months ago and left a couple of gashes in the wheelpant. With the cold and ice, I thought it about time to repair.
I've laid up a couple of strips behind the gashes but how should I fill the hole? I have some Fiberfil that I've used and it's easy to work with but not sure if it is appropriate for this big of a gap. I built up the edges of the cabin in a couple of places with some cotton fiber / resin. Since the move, I have no clue where any of the cotton fiber is or if it made it from Iowa to Georgia.
Once the surface is smooth again, I'll have to drill the 1 inch or so hole for the tow bar to pass through again and I think the cotton fiber may just grab.
Thanks in advance,
Doug