Charles in SC
Well Known Member
Where is a good place to mount one of these or is there?


Hi Charles,
How do you intend to use the plug:
1) hook up a "topping off" type battery charger like a Battery Minder?
2) Jump start the airplane if the battery is discharged?
3) Hook up a charger to fully recharge the battery?
Maybe all or any of the above.
I just kind of had one of these laying around the shop and thought I would use it if I could figure out a good place to put it.
I have seen a jump plug save the day for quite a few people over the years when they left the master on or something. Most fobs have a Piper type plug on their jump cart. The problem with jumper cables as suggested above is that they can blow off when the engine starts and cause all sorts of nasty problems when they short out not to mention flogging around and beating up your plane.
The reason I am building my own plane is so I can set it up the way I want it. Some of those ways are not the way others want their plane. That's ok with me.

Hi Charles,
I have the Cole Hersey parts as well and am considering installing it for battery top off - though I'd have it inside my baggage compartment.
I've studied the "GroundPower" article quite a bit to understand the instructions for installing the threaded toilet seat bolt. I think I understand it - basically:
1) reduce the size of the flat heat until it just fits in the back end of the receptacle.
2) Grind down most of the back end of the receptacle
3) Push the bolt head into what's left and fill it with solder.
I spent a lot of time looking about for how the unit is supposed to be installed as is - without modification. Can't find anything.
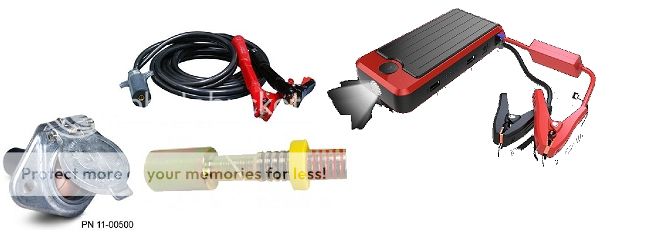
I'm also considering these:
https://www.amazon.com/gp/product/B01KHQR0K4/ref=oh_aui_detailpage_o02_s00?ie=UTF8&psc=1
They would be lighter, flatter, not require any modification and the holes you see in the middle of them go all the way through so you could use those to mount one of them. Though again I'm installing this in the baggage compartment.
Let us know what you decided upon and how you're going to do it. This is a common project and the more ideas and solutions that are out there the better.

What is the "Ground Power" article?
Posting a follow-up here. Ordered the Piper-style plug and socket from Spruce. Now that it's here, I can sympathize with some of the comments made above. For reference, the following weights apply to these devices:
Piper-Style Receptacle - 9.7 ounces
Piper-Style Plug - 10.1 ounces
TOTAL MATED WEIGHT = 19.7 ounces
Then add the wire you would have attached to the plug so you could effectively use it as a booster/jumper when away from home. Pretty easy to get to 2lbs total weight, and more.
I consulted with a couple of local A&Ps and was told to heat the big brass contact with a torch and "tin" it with solder. Use a torch so you can get on and off of it with the heat fast so as not to melt the plastic part. "Tin" your wire and then solder the two together. I have not done it yet.


This Piper jump plug is a Cole Hersee part. It can be found at any NAPA autoparts store.
Part number 11041 socket and 11042 is the plug. They are both too heavy to use on an RV for what they do.... You might look at welding machine taper lock lead connectors. They can be mounted flush with the skin. Miller used them on their small stick machines.
[/QUOTE]
