What's new
Van's Air Force

Don't miss anything! Register now for full access to the definitive RV support community.

Wind damaged rudder....advice.

Here's my solution

I had the elevator pulled all the way back and secured by the seatbelt. The rudder lock is a thin bar stock bent in a "u" shape that sits upside down through small holes on the rudder stop and bottom of rudder. This lock worked itself out through the course of continuous gusting even though I had wrapped a "remove before flight" tag around the assembly numerous times. While I won't say this is ideal it had served me well in the past, even during several t-storms at OSH.

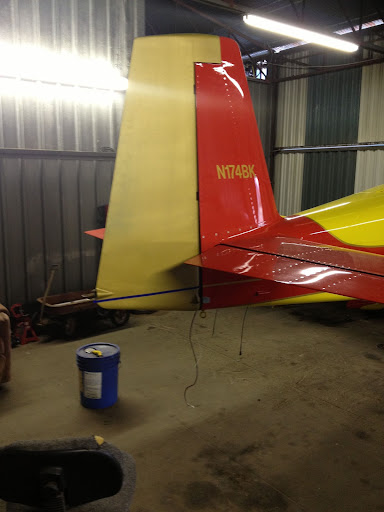
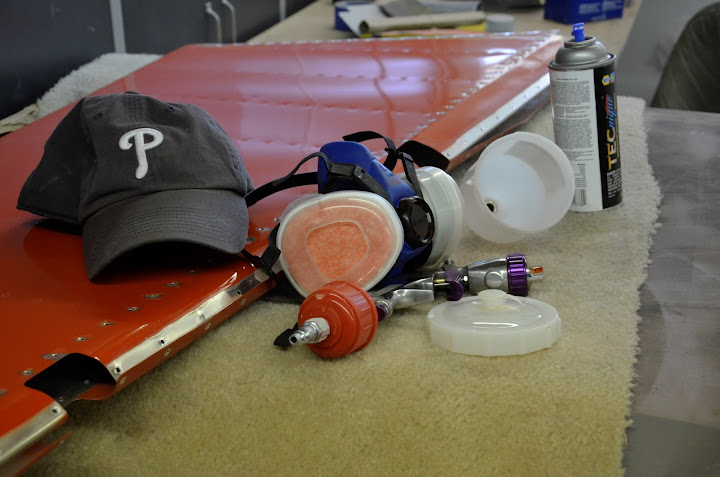
Here is my simple Rudder gust lock solution. I believe most of the items can be picked up a your local ACE hardware store. The "U" lock is 3/16" diameter stainless rod.The "cross beam" is 0.063 thick aluminum and prevents the "U" lock from spreading under extreme loads. The webbing clamp prevents the "cross beam" from sliding off the "U" Lock which prevents the "U" lock from working its way out during gusty conditions. Note my really poor sewing job on the webbing.
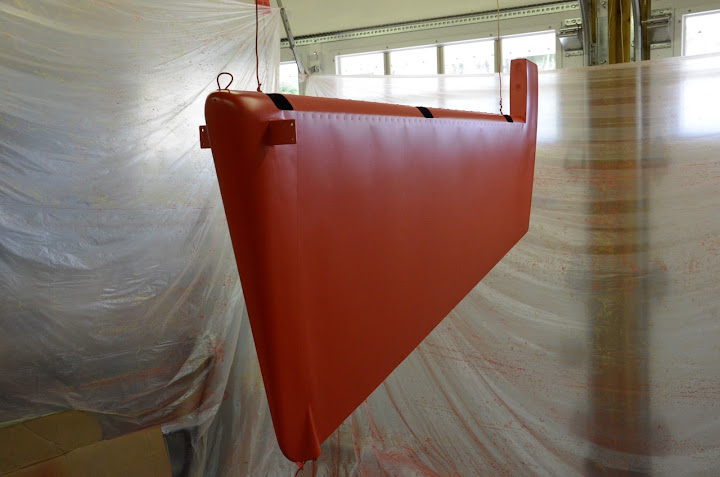
Rudder Gust Lock.jpg
 
Control Serface Damage!!!!

... I have seen this time and again! Once on my own airplane. This is the reason we elected to create the "Ultimate Gust Lock". Go take a look at the video on our web-site. Thanks, Allan...:D
 
I got the parts last week and the assembly followed. An interesting note between kits. The -8 kit that I built last year had each stiffener defined by tabs. Each pair being shorter than the next. The -7 (-9) rudder is different in that the stiffeners are all the same length and then cut down to fit the skins. Seems like a waste of material there but....

_DSC0630.JPG


_DSC0632.JPG


_DSC0633.JPG


The trailing edge of the -7 is new to me as the -8 that I built has a folded trailing edge. I copied someone and made these angles to keep the trailing edge straight. They allowed me to keep everything straight and use a pneumatic squeezer to start the rivets before traditional back riveting.

_DSC0634.JPG


The original builder used a filler to blend the rudder tips seemlessly. I tried to replicate that with West Systems epoxy and 407 filler. The can says it is easy to sand...I disagree. I would use a different product if I were to do it again. The West Sytesm epoxy mixture hardens so much it is difficult to sand without damaging neighboring parts. In any event, I got it done. Ready for primer.

_DSC0635.JPG


First a self etching primer.

_DSC0636.JPG


Then a high build primer that I could sand. It was the contrast between black self etching primer and gray high build that helped me know when I was going to sand too much.

_DSC0637.JPG


Painting is a HUGE learning curve. While I'm thankful for the education, I also know I would NOT paint the entire plane myself. It is SO MUCH WORK!!
I painted the gold trim strip and then practiced by painting the entire rudder.

_DSC0638.JPG


More to follow....
 
Looking good Tony. That epoxy is hard stuff. If you use the brown - I can't remember the number now, it is easier to sand. Some glazing paste helps with the little stuff.
 
I was scared of the DA sander....the skins are THIN! But I want to lay the paint on thick before the clear coat so I can use your buffing technique if needed.
 
I had to temporarily fit the rudder to match the gold stripe at the bottom. Then I ran home to spray the red.
test.jpg


When I got home I ran into a problem. I took a picture of the log with the paint codes...I showed the paint man the picture and told him I needed the red...he must have written the code down for yellow.
test.jpg


So I had to wait another day to exchange the paint. The paint guy understood the issue and didn't give me any problems. I was happy about that and now I had the correct color.
test.jpg


Painting can be most frustrating but also most rewarding...
_DSC0640.JPG


_DSC0641.JPG


This is where the repair sits now. I will attempt to shoot the clear tomorrow. My garage has red dust EVERYWHERE. Seem like it will just blow away with air but I don't dare mess with it until the clear is done.

I was thankful for the respirator...as you can see my lungs would have been red.
_DSC0639.JPG
 
Looking good, brings back nightmares I mean pleasant memories of sanding, I think I put in 20 hours to blend the rudder bottom tip.
 
Yep - and using pieces of sanding belts work the best and last the longest. Get the 4" wide 24" or the wider ones for the bench grinders. You do need to be careful on the aluminum.
You guys ever hear of 80 grit and a DA sander?
 
I am with DanH. I was a beginner until I bought a DA sander. Now sanding is easy and fast.
Looks good Tony. Carefull with the clear overspray. It doesn't dry as fast as primer or base and will make a mess.
And Tony watch out for that gun air filter. I used a descant filter that was restrictive and it caused me to be short air and get bad orange peel when spraying clear.
 
But I want to lay the paint on thick before the clear coat so I can use your buffing technique if needed.

Keep the color coat thin. One additional pass with the clear for cut and buff, and don't even do that if it's flowing out well. Two coats of clear is plenty if the surface is good.

Overall you want the rudder as light as possible...minimum filler, minimum paint. Unlike the elevator it is not 100% static balanced.
 
The clear goes on! Seems much more toxic and messier. It leaves a pretty strong lingering cloud. Use as much plastic sheeting as you can. When the dust settles it looks pretty good.
test.png


There is definately some orange peel but the original paint had that also. I wanted it to match so...:D:D
test.png


The color is just a hair darker that the original but nothing obnoxious.
image.jpeg


So after double checking my install I called Walt to make sure I wasn't forgetting anything. He walked me through a few things and I was confident to test fly it afterwards. She felt fine but with lower cielings I really couldnt do too much. I did notice that the "ball" was cheating slightly to the right before the repair and now it cheats slightly to the left. I will have to do more testing in smoother air.
test.png


I have to say I am excited that I got to learn a few things and something I created is now flying. Was kinda scared at first but I was gauging the effectiveness of the rudder on takeoff roll....ready to abort if need be. This experience will give me more confidence when I finally get my -8 finished.
 
After watching an "A" model's rudder bang back and forth in a light wind at S&F (I know your winds were considerable), I can see the need for a really good gust lock of some sort. I tried to get a couple of the ramp guys to make an announcement to find the owner, but apparently garnered no interest, I never heard it.
 
Last edited:
Seeing the damage that can be caused by wind, whether natural or prop/jet blast, has made me a believer of using gust locks anytime my plane is left setting outside. How many aircraft have had/has wind damage that is not directly visible. What type of stresses are put onto the rodend hinge bearings when enough force has been applied to break a rudder stop?:(
 
Last edited:
Back
Top