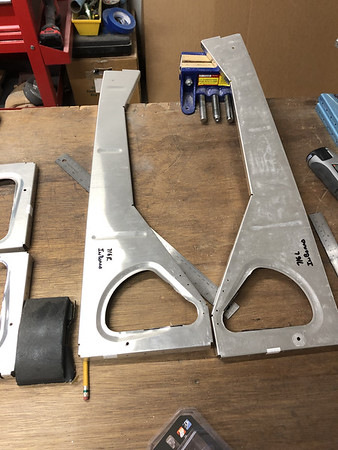
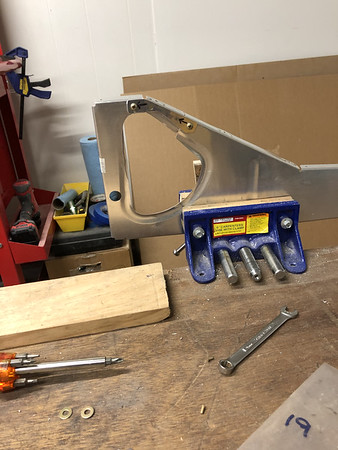
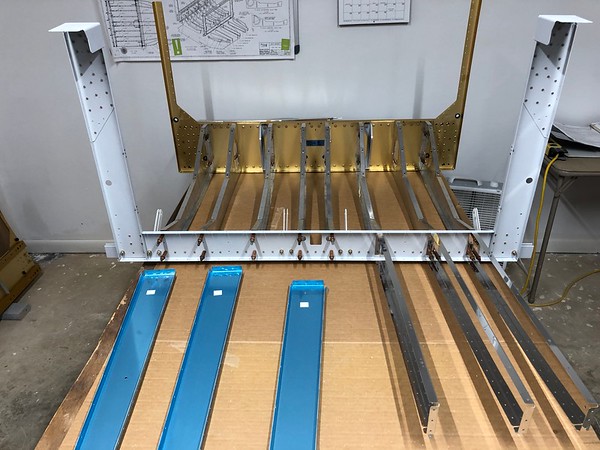
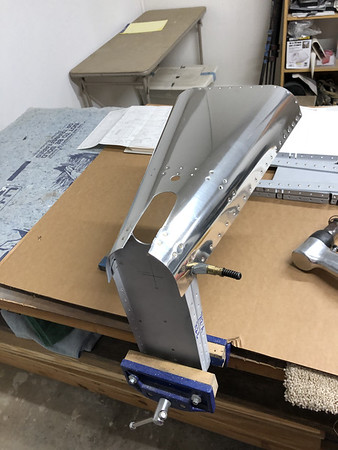
After assembling and match drilling the fuse tail section, I disassembled for deburring, edge shaping, dimpling, etc. As I was getting the parts ready for assembly, I started looking around the shop and decided I had to do something before I began the next phase. I replaced some old wall board, painted and generally reorganized.
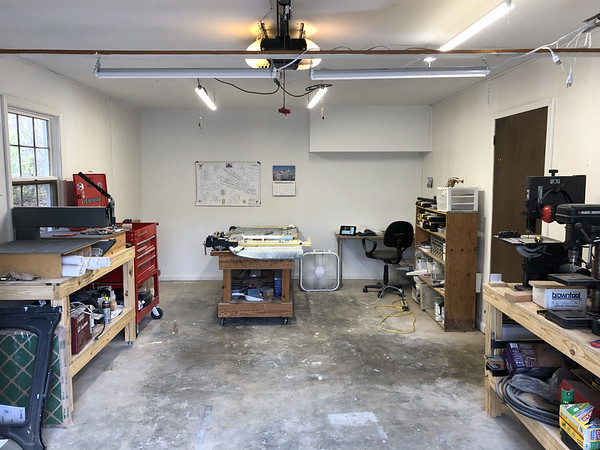
Sooooo much brighter. Now to get on with it.
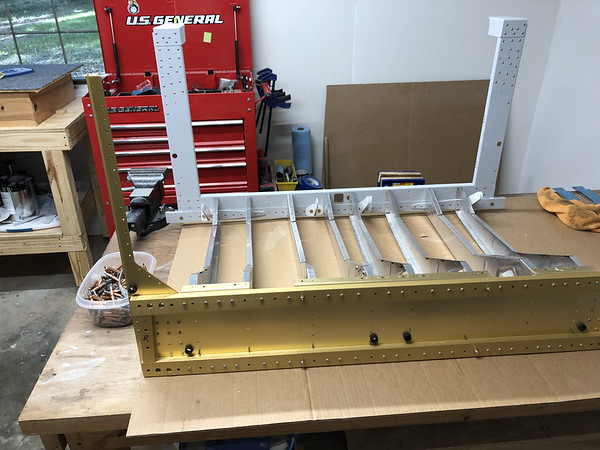
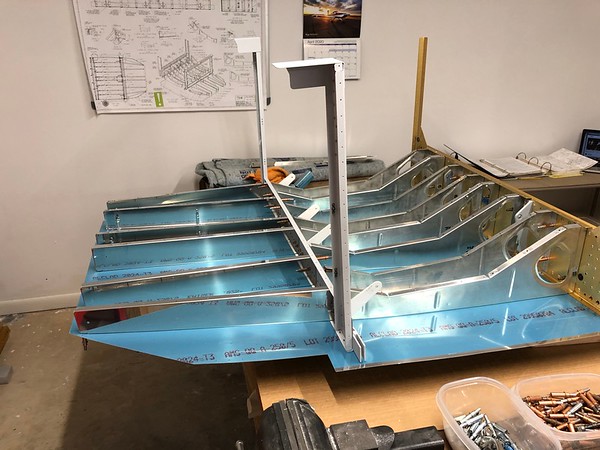
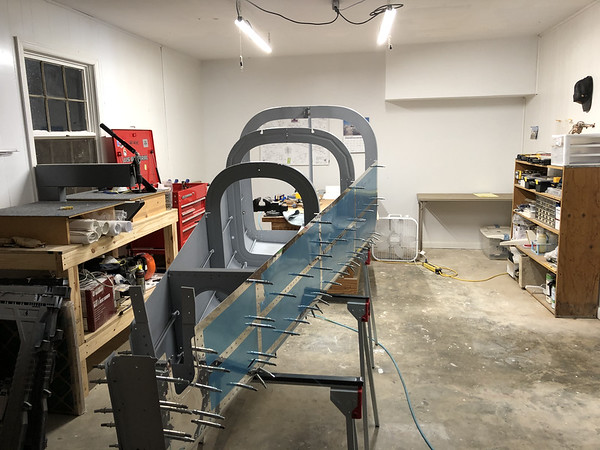
Putting things back together. I fastened the bulkheads in place first, then the stringers. This assembly got rigid in a hurry.
This assembly almost made me wish I built an /A. Almost...
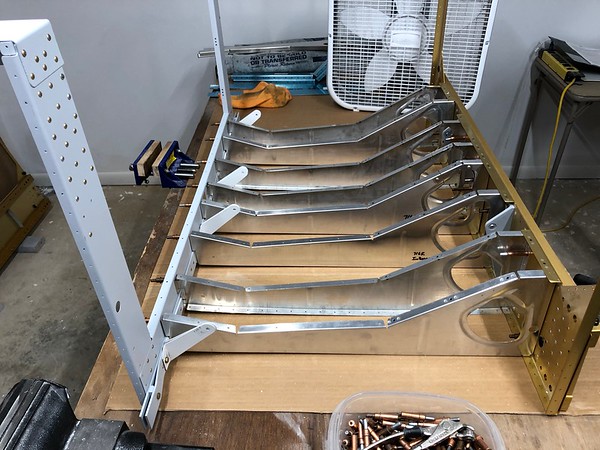
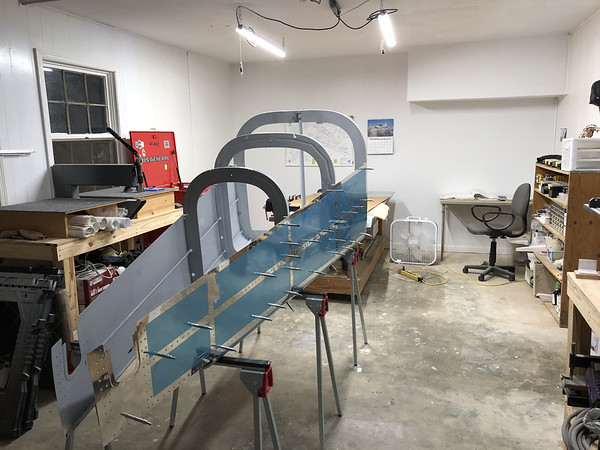
Finally have the tail cone in place. Now to start the riveting. Before I did that, I got the laser out and checked alignment again. Looking good so I started the assembly.
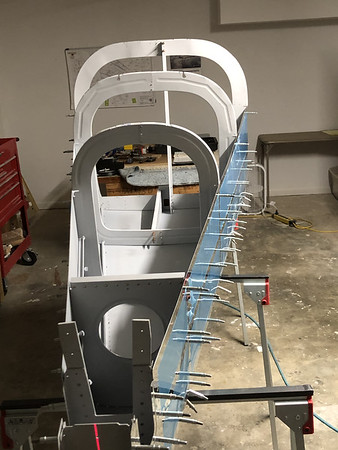
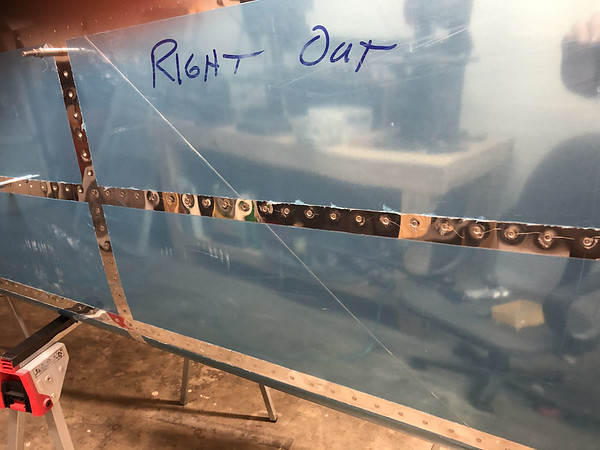
Finally have the tailcone riveted together up to the upper J channel.
Sooooo much brighter. Now to get on with it.
Putting things back together. I fastened the bulkheads in place first, then the stringers. This assembly got rigid in a hurry.
This assembly almost made me wish I built an /A. Almost...
Finally have the tail cone in place. Now to start the riveting. Before I did that, I got the laser out and checked alignment again. Looking good so I started the assembly.
Finally have the tailcone riveted together up to the upper J channel.
Last edited: