I think that's great advice. I've been thinking that putting some fuel in the tank for testing should be a plan. I intend to paint the wings before final installation, and I could imagine that even primer/paint could initially seal what might later become a leak. And what a pain it would be to have to fix it after that, and after installation.
So I am devising a plan of some sort, to fuel the cell and check further.
But for now, by the normal inspection methods, all's good!
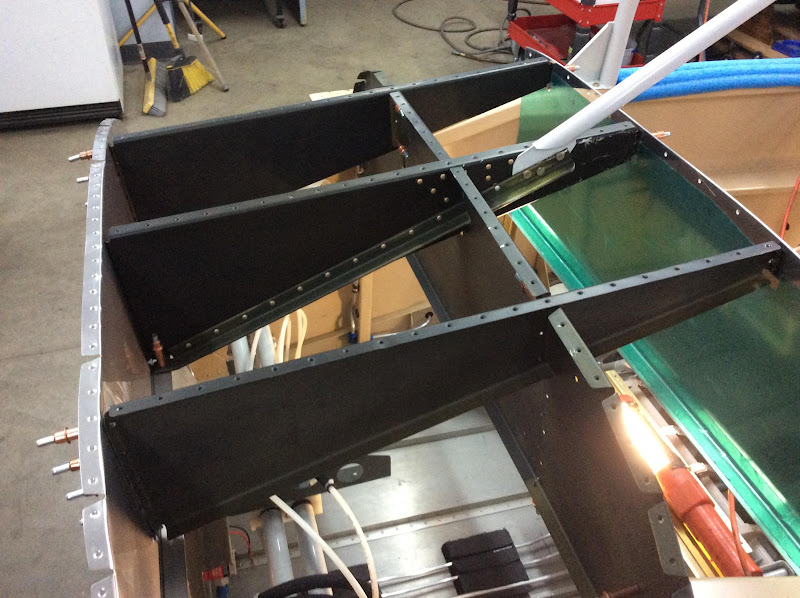
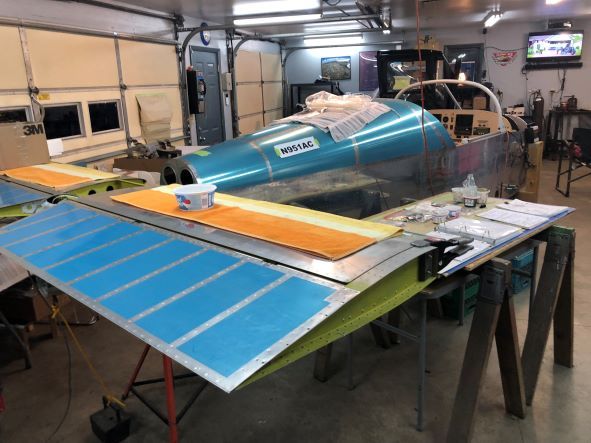
It's interesting in the Van's written instructions, it says to install the fuel tank with about half the bolts and screws, before riveting on the top skins. I can't seem to find where the instructions tell you to final install and torque all fasteners,,,, Must be too obvious for me to find, I'm usually the problem!
So I am devising a plan of some sort, to fuel the cell and check further.
But for now, by the normal inspection methods, all's good!
It's interesting in the Van's written instructions, it says to install the fuel tank with about half the bolts and screws, before riveting on the top skins. I can't seem to find where the instructions tell you to final install and torque all fasteners,,,, Must be too obvious for me to find, I'm usually the problem!


")